 Tonight my daughter and I had a butter making contest. The contest was her idea. She decided that whoever made the best tasting butter would get an extra bowl of ice cream! Not a bad prize (like mother, like daughter I’m afraid!) 🙂
The whole reason we decided to make butter was because my husband showed up tonight with a couple half gallon containers of heavy whipping cream! After many holidays, stores have an over abundance of leftover heavy whipping cream that they need to get rid of before it goes out of date. That is a great time to snatch it up for a fraction of the cost! If you aren’t quite sure what to do with an abundance of it, whip up (literally!) a batch of butter. You can always package it up and freeze it for later!
I remember making butter in elementary school. Mrs. Haas’ 1st grade class. We used little baby food jars and shook, shook, shook those babies until…wa-lah the cream was not cream anymore but solid!
My mother-in-law and father-in-law were telling us tonight about how his mom used to make her own butter, too. She would skim the cream off of the top of the milk that they would get from milking their cows, save it up and make butter about once a week.
We saw when we moved here to the family farm in the top of our bedroom closet an antique butter churn. I was tempted to use it tonight when making our butter, but opted for the electric mixer instead. My father-in-law said somewhere up in the attic is an even older churn as well. We will have to see if it can be dug out. These simple tools used throughout the years to make something as timeless and delicious as butter seemed to somehow tie together the generations of family that have lived here before us. I may not have known them, or ever been able to, but feel a bit more of a connection to the past. Just knowing family before us has spent time doing just what we were doing tonight. Not with the same tools necessarily, but I find myself sentimental about it nonetheless. Kind of cool.
Anyway, if you decide to give a try at making butter, maybe make it a family affair…make memories! I know we made some tonight! Be blessed, Shelley.
How To Make Homemade Butter:
First you need a container of heavy whipping cream and a big bowl.
Pour heavy whipping cream into bowl. You want to make sure that it doesn’t come up past the halfway mark of the bowl.
Using an electric mixer, whip on high speed. It will change consistency the longer it whips. It starts off very liquidy.
At some point along the way, it will become stiff and make peaks. At this point it is whipped cream. Stay patient and keep on mixing….(It is really hard at this point not to want to stop, add some sugar and vanilla and eat away. Must. Show. Restraint. Mmmm, looks good, doesn’t it?!)
It will start to look a little chunky. Every once in a while stop to scrape the sides of the bowl. Mix just a little bit longer….
When you start to see the liquid separating it is time to stop mixing. This liquid is the milk that separates from the butter…hence buttermilk. 🙂
(Updated picture: I made butter again and I should have mixed this first batch just a little bit longer. When you beat just a little bit beyond the above stage all of the sudden it clumps up into large chunks of butter and really separates the solid from the liquid. It also makes squeezing the buttermilk out much easier!)
Get a strainer and another container. Pour the buttermilk through strainer into another bowl.
Next…it’s time to squeeze! (First make sure that you have clean hands…well, you probably should make sure you have clean hands before starting BUT at this point go ahead a wash them again!) Pick up handfuls of butter and squeeze as much of the remaining buttermilk out of it as possible.
(Update #2: I read somewhere, after making my first batch, that you should rinse the butter at this point with cold water and squeeze/knead out any of the remaining buttermilk. Keep rinsing until water runs clear and then knead out the remaining water from the butter. I am pretty sure it just makes the butter last a little bit longer. I froze my first batch so I am not too worried!)
Once that is done, if you desire, add salt. You can add about 1/4 t of salt per pint (1/2 t per quart or 1 t per 1/2 gallon). You can either mix it with an electric mixer or squish it in well with your hands (like playing with play dough!)
Put butter into desired container. Slather on a nice piece of bread and enjoy!

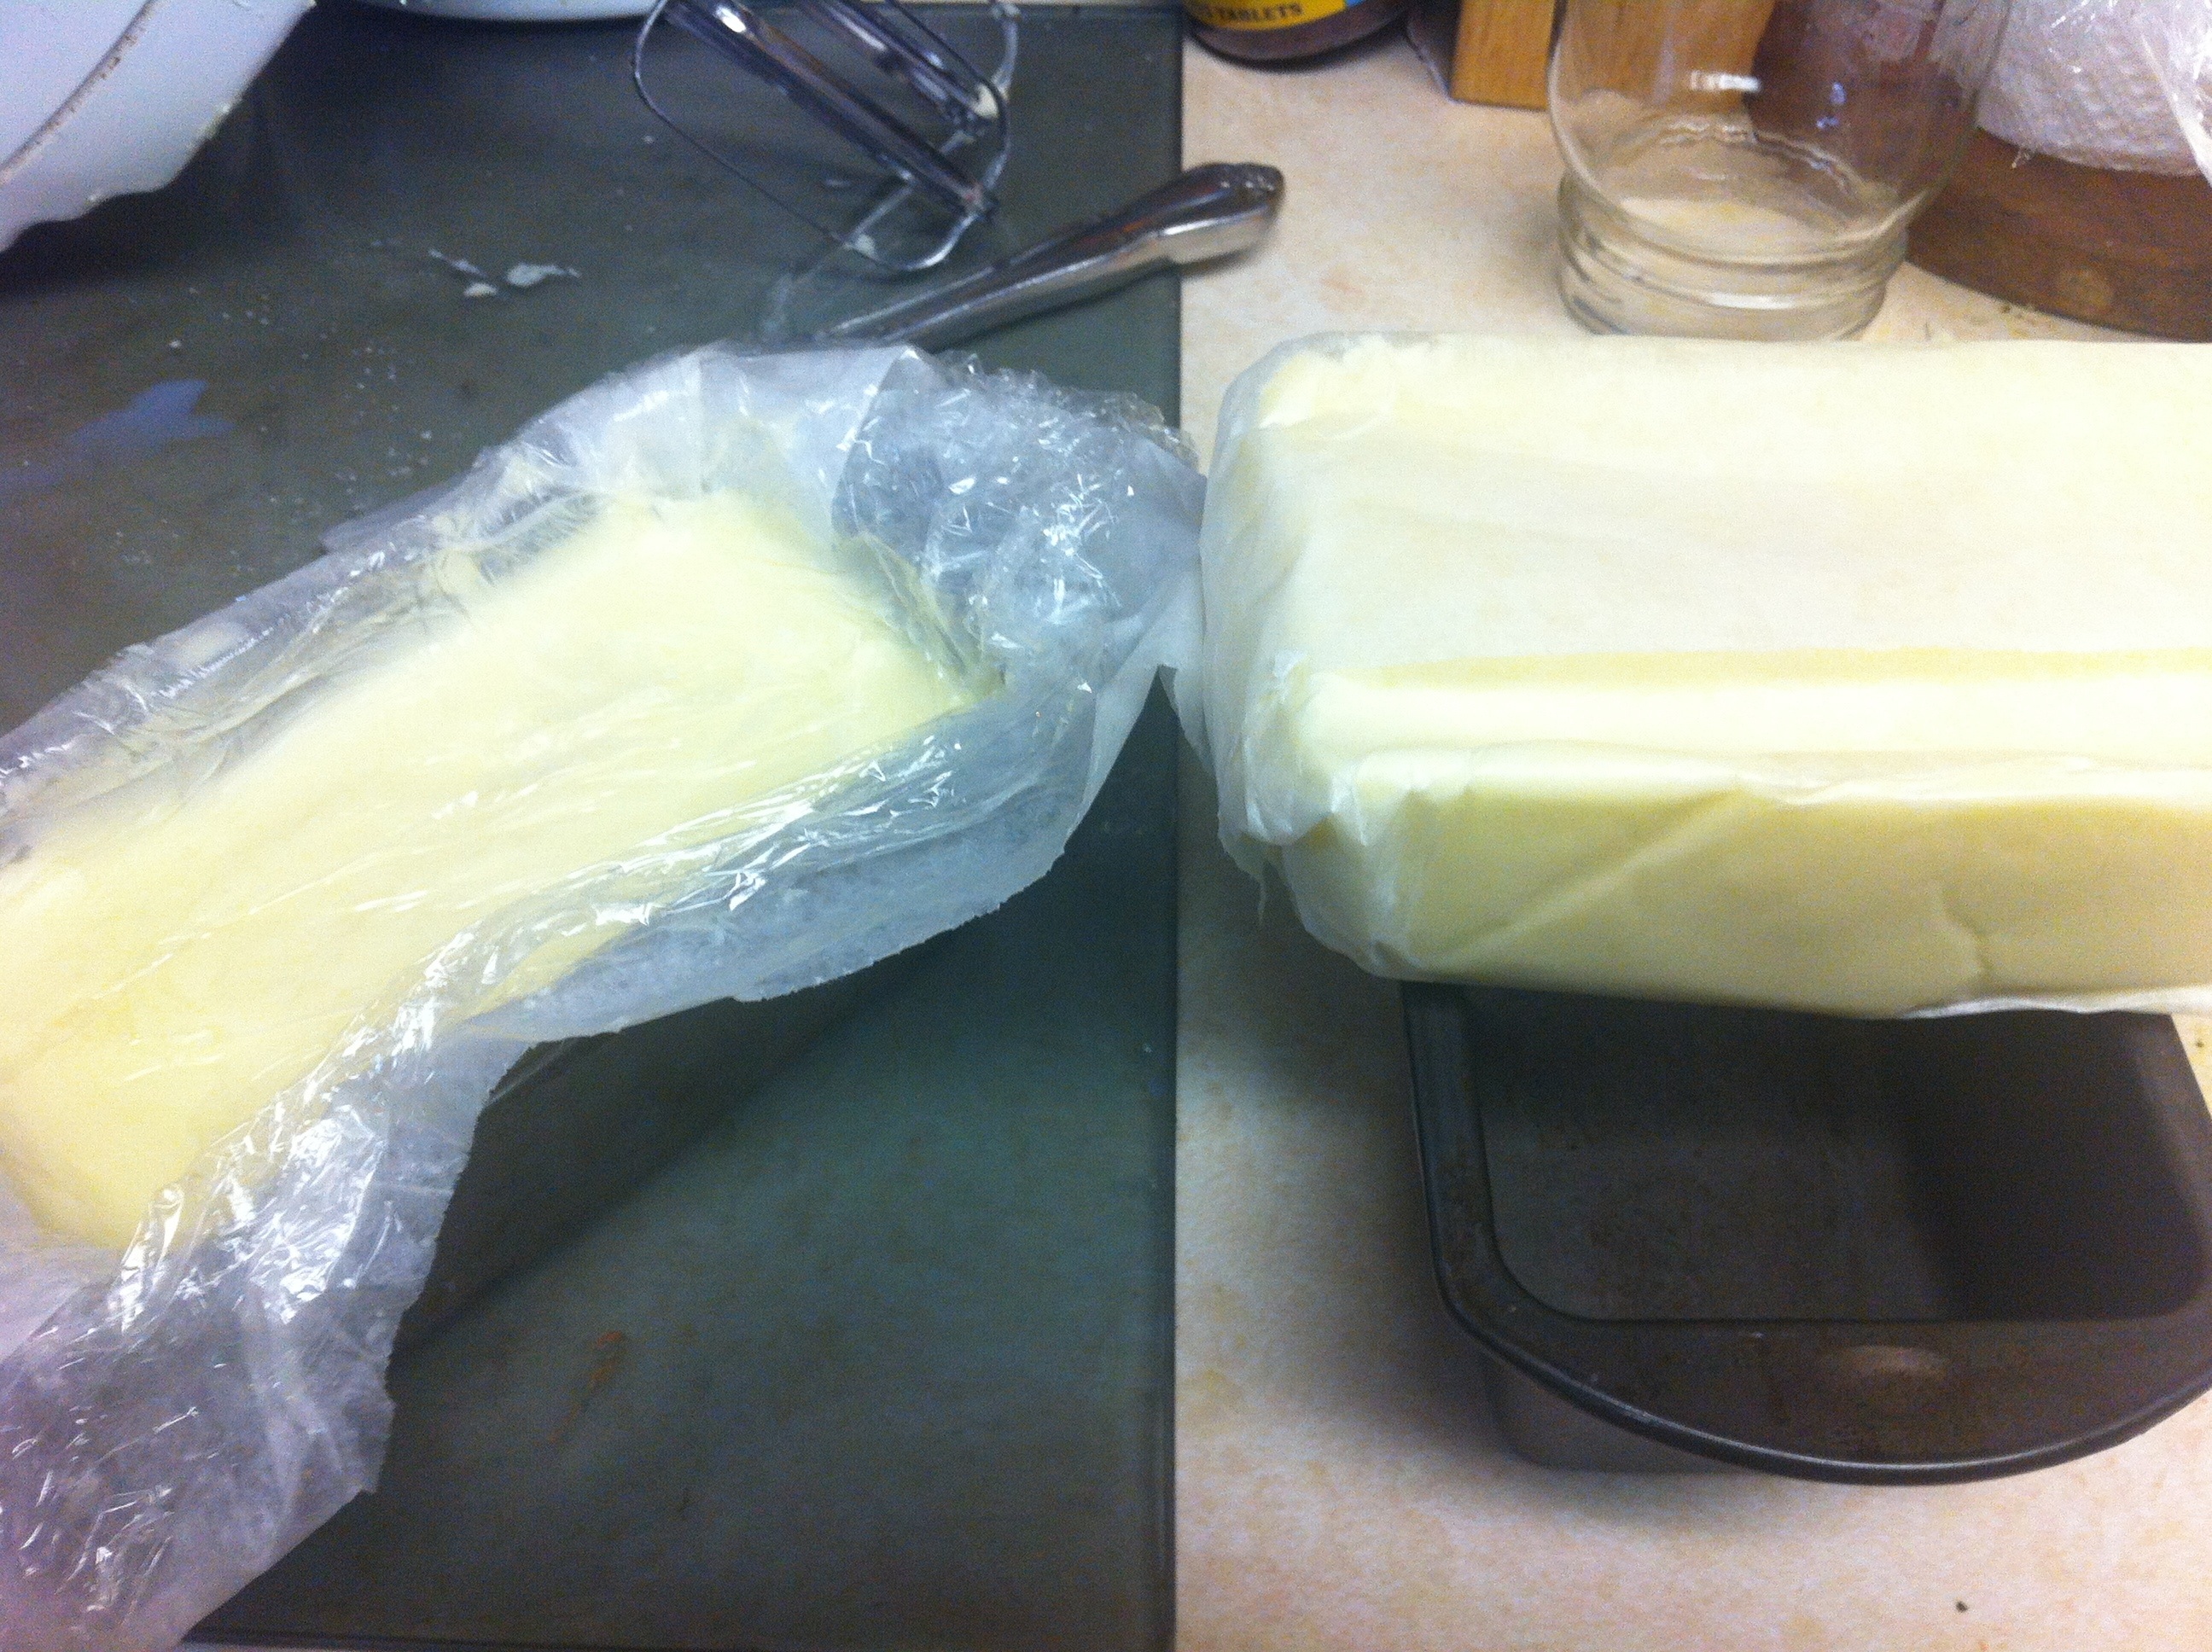
These were the two contestants for the best butter competition. Grandma ruled a tie. My daughter had her second bowl of ice cream. I didn’t even get a chance to eat my first (too busy making butter ‘n all!) I will try to make up for that soon!
Oh! Don’t forget to put your buttermilk in a container and put in the fridge. You may want to strain it one more time to get any leftover butter chunks. But then again, maybe that is what makes buttermilk, well, buttermilk. I guess I didn’t think that through before I strained it another time, ha! (Maybe my “buttermilk” is more like 1% milk since there isn’t any butter in it!!) Regardless, it tastes good and is great for cooking and baking!
Oh, one more thing! I figured that a pound of butter was about the size and shape of a mini bread pan…and so it was! I put waxed paper in the bottom of the pan, filled it up with butter, topped it with plastic wrap and let it set up good and solid in the fridge. Once hard, I just pulled it out by the edges of waxed paper, folded it up, marked what it was with the date on it, wrapped it up one more time with plastic wrap and froze.


 Tonight my daughter and I had a butter making contest. The contest was her idea. She decided that whoever made the best tasting butter would get an extra bowl of ice cream! Not a bad prize (like mother, like daughter I’m afraid!) 🙂


Oh my…that looks really good!!!
LikeLike
You make this look easy 🙂 If you don’t add the salt, does it taste very good?
LikeLike
Jen,
It tastes just like unsalted butter that you would buy at the store if you don’t add salt. If that is what you like, go for it! I always buy salted butter though! 😉
LikeLike