 Today’s post I originally guest wrote and was published on the Grain Mill Wagon website. If you would like to see my original post click here, otherwise read on and enjoy!
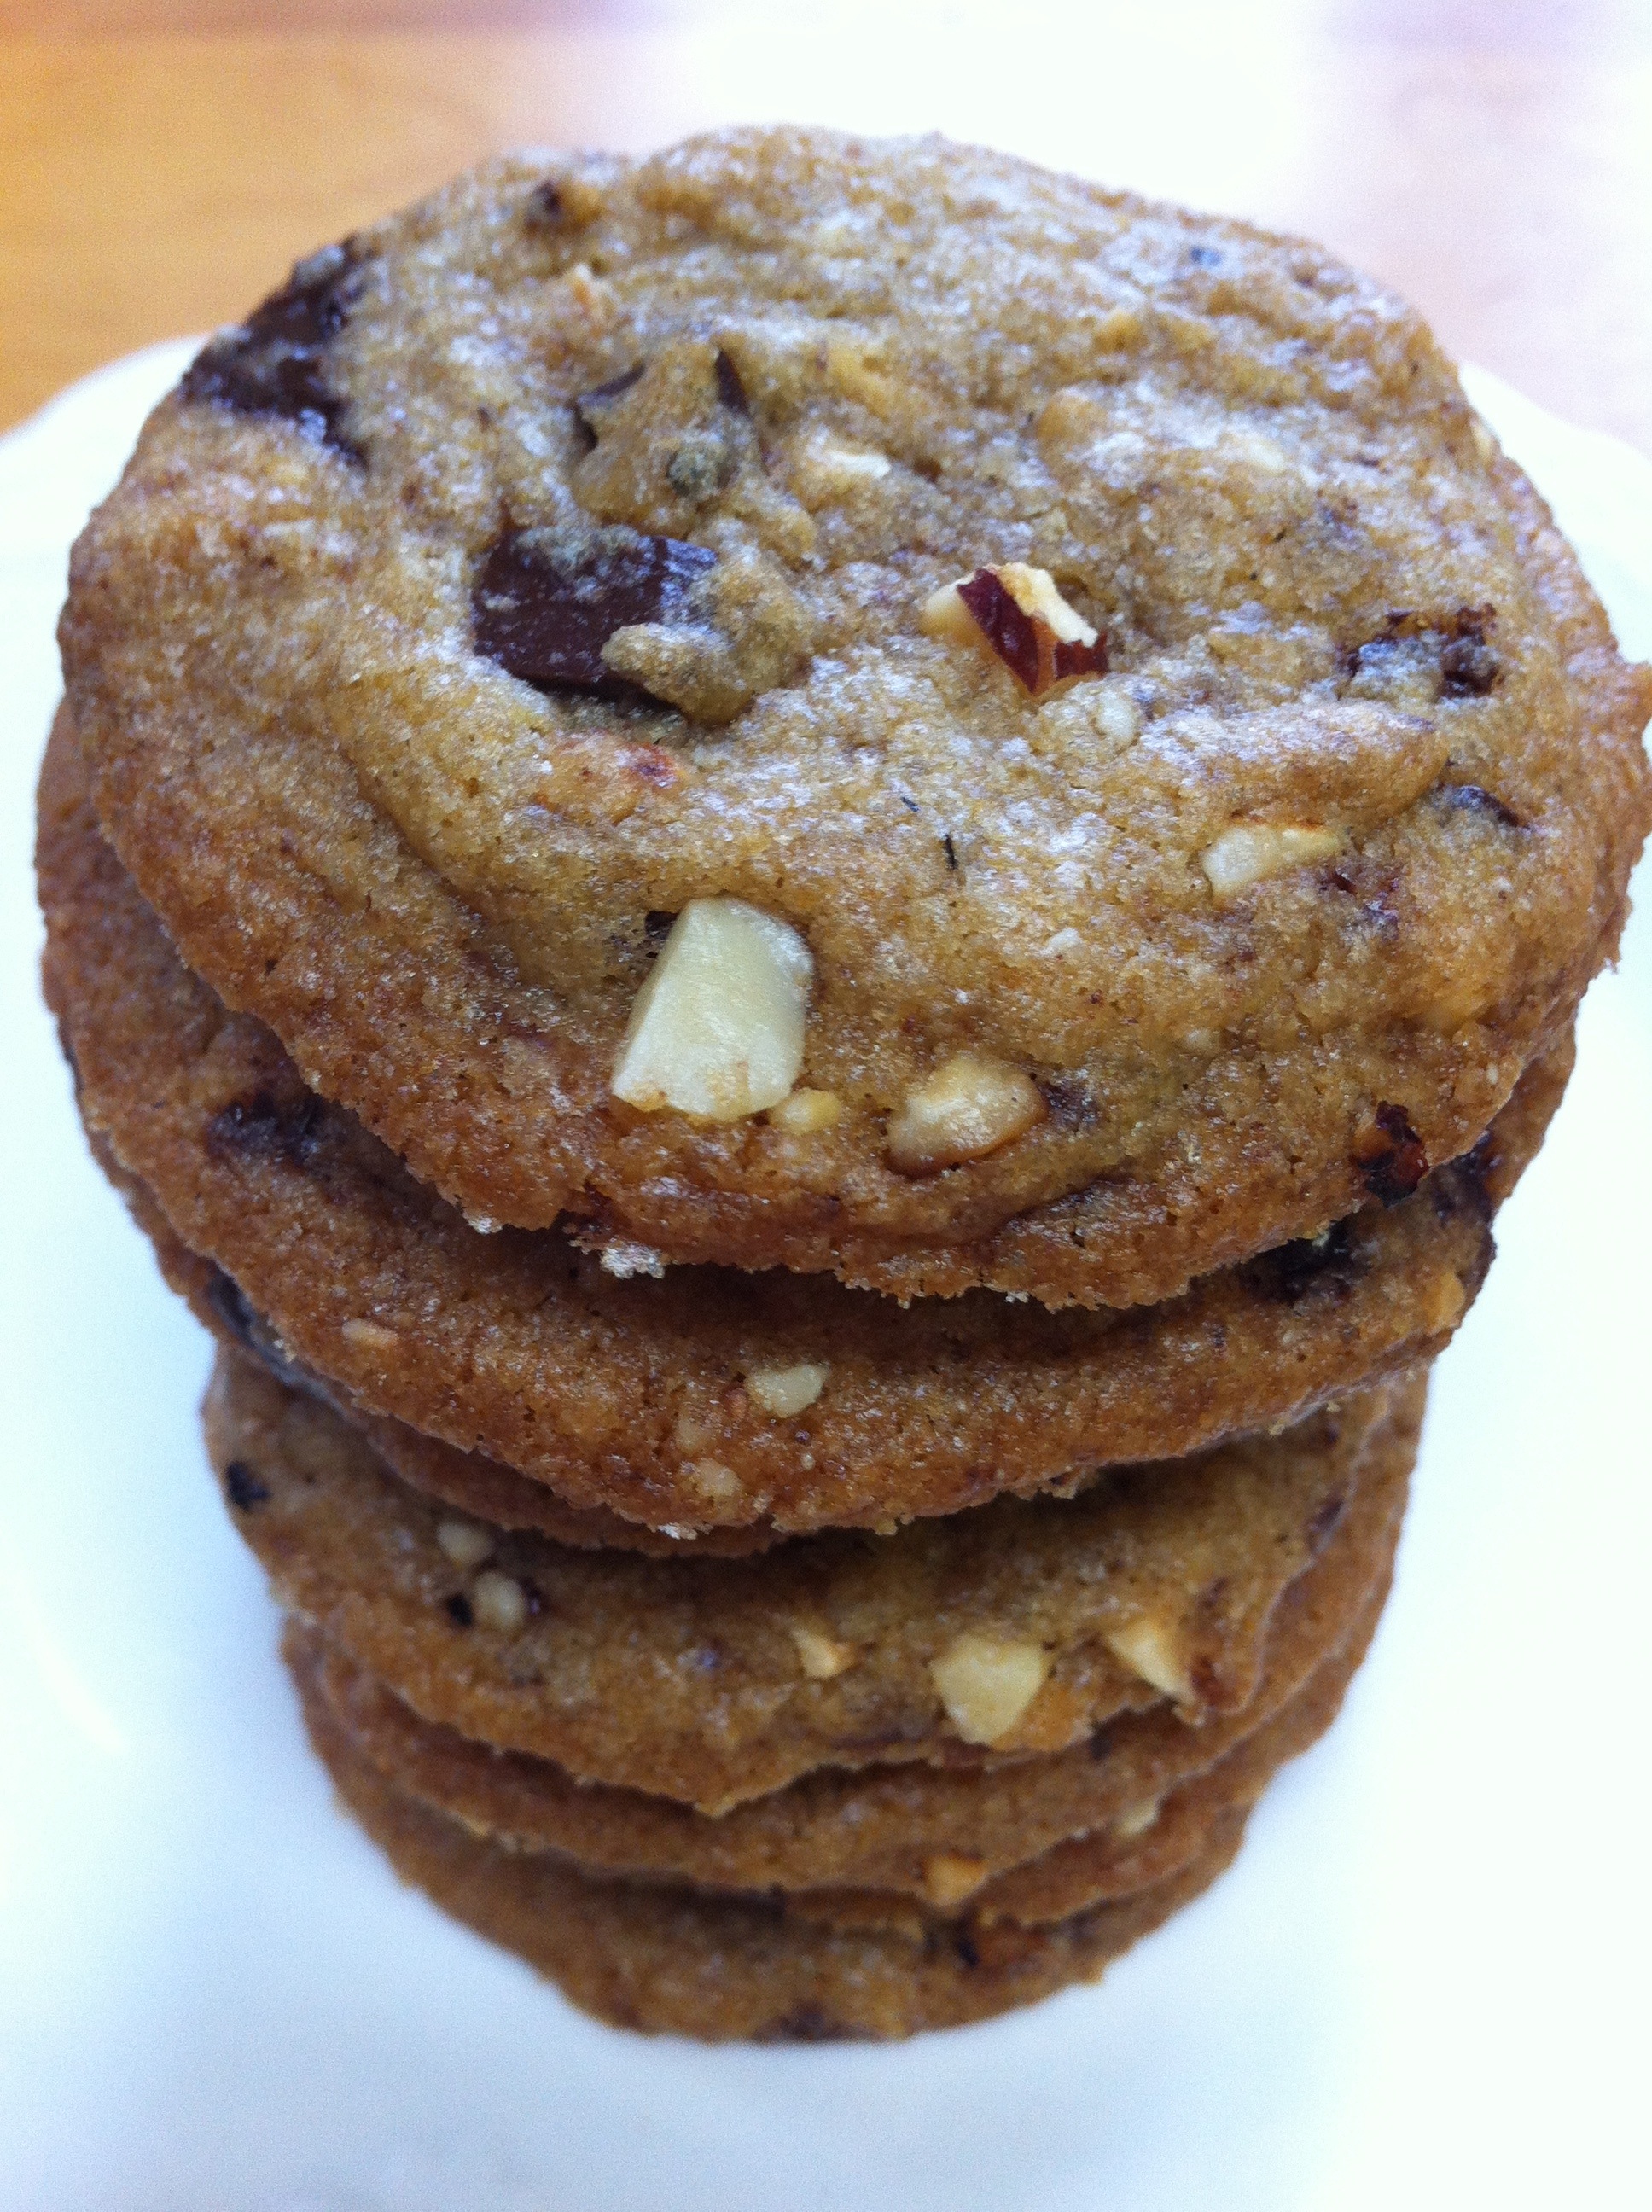
I love dark chocolate and nuts together…one of my weaknesses I am afraid {especially as of late}. Give me some dark chocolate and hazelnuts and you are speaking my language baby! It is a very good thing that my husband figured this out a long time ago, by the way! The love that my taste buds have for this combo was probably the deciding factor when contemplating what my next recipe to post would be. Something with dark chocolate and hazelnuts…and most definitely sweet. In my mind’s eye I was picturing a gloriously huge cookie, with evenly distributed yummy goodness along with a nice little tune playing in the background, “Aaahhhhh!” {think angelic choir singing with me…}.
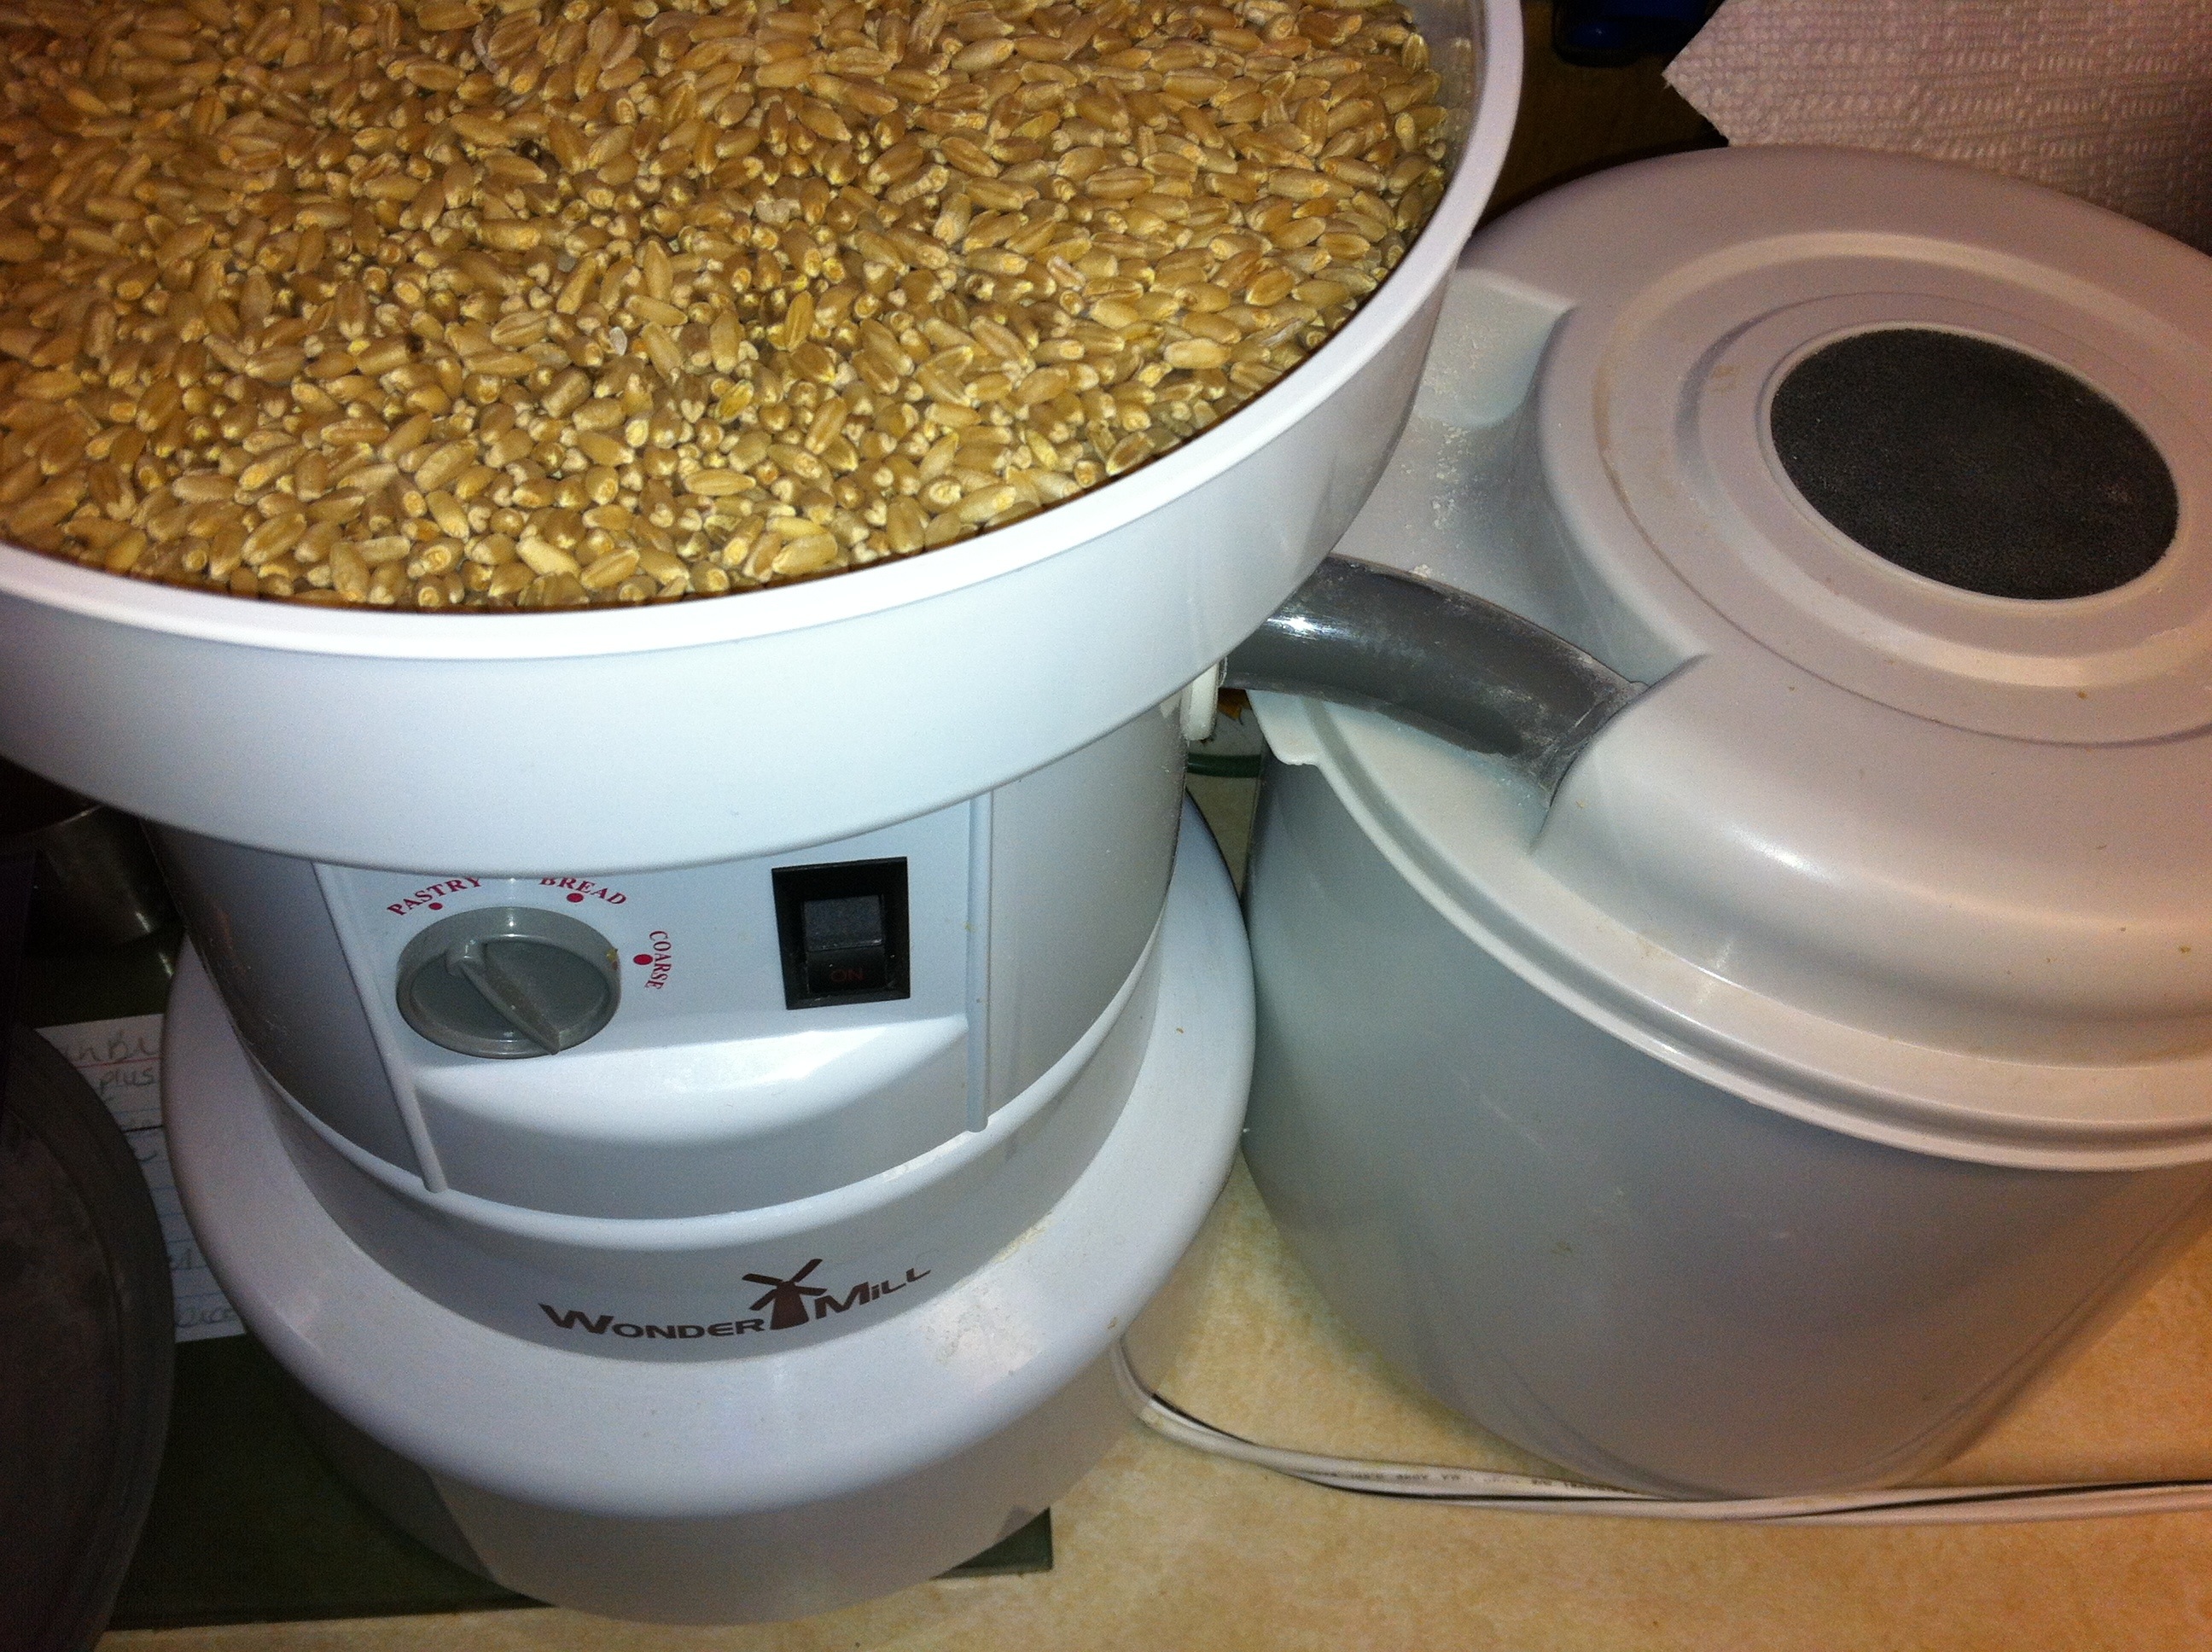
Speaking of loving things…I love my WonderMill grain mill and being able to grind fresh flour whenever I need or want it! I also have developed a love for coconut oil over the past couple of years as well. There is just so much awesomeness about coconut oil, which I am afraid I won’t get into in this post, but check it out if you aren’t familiar with it as of yet. Coconut oil is also a great alternative to use in baking and cooking when dairy allergies are an issue, like they are in our family. I also love baking. So, we have a lot of loves going on, and when I combined them all tonight I ended up with {cue angelic singing again please!}… Dark Chocolate Chunk and Hazelnut Cookies made with some whole wheat flour and with coconut oil instead of butter.
The only other thing that I have to say before sharing the recipe would be that if you are wanting this recipe to be dairy free, just make sure when buying the dark chocolate to make sure the ingredients list doesn’t list milk/dairy as an ingredient. Most varieties do include milk, but there are a few out there that do not…so just be sure to read the ingredients list carefully.
Finally, here we go…what you have been waiting for. When you make these cookies {because I know you want to!} I know you will surely enjoy! Go ahead and enjoy one extra one, just for me. -Shelley.
Dark Chocolate Chunk Hazelnut Cookies
*Pre-heat oven to 375 degrees
2 1/4 c flour {I used 1 1/8 c freshly ground whole wheat white flour + 1 1/8 c All-Purpose Flour}
1 t baking soda
1 t salt
1 c coconut oil
1 1/2 c brown sugar
1 t vanilla
2 eggs
1 c dark chocolate, cut into whatever size chunks you desire
1 c lightly toasted, chopped hazelnuts
Start off by grinding wheat berries in your WonderMill to make freshly milled flour. I prefer on the “Pastry” setting. If you don’t have access to freshly milled flour, that is okay…just use what you have on hand!
In a large mixing bowl combine flour{s}, baking soda and salt.
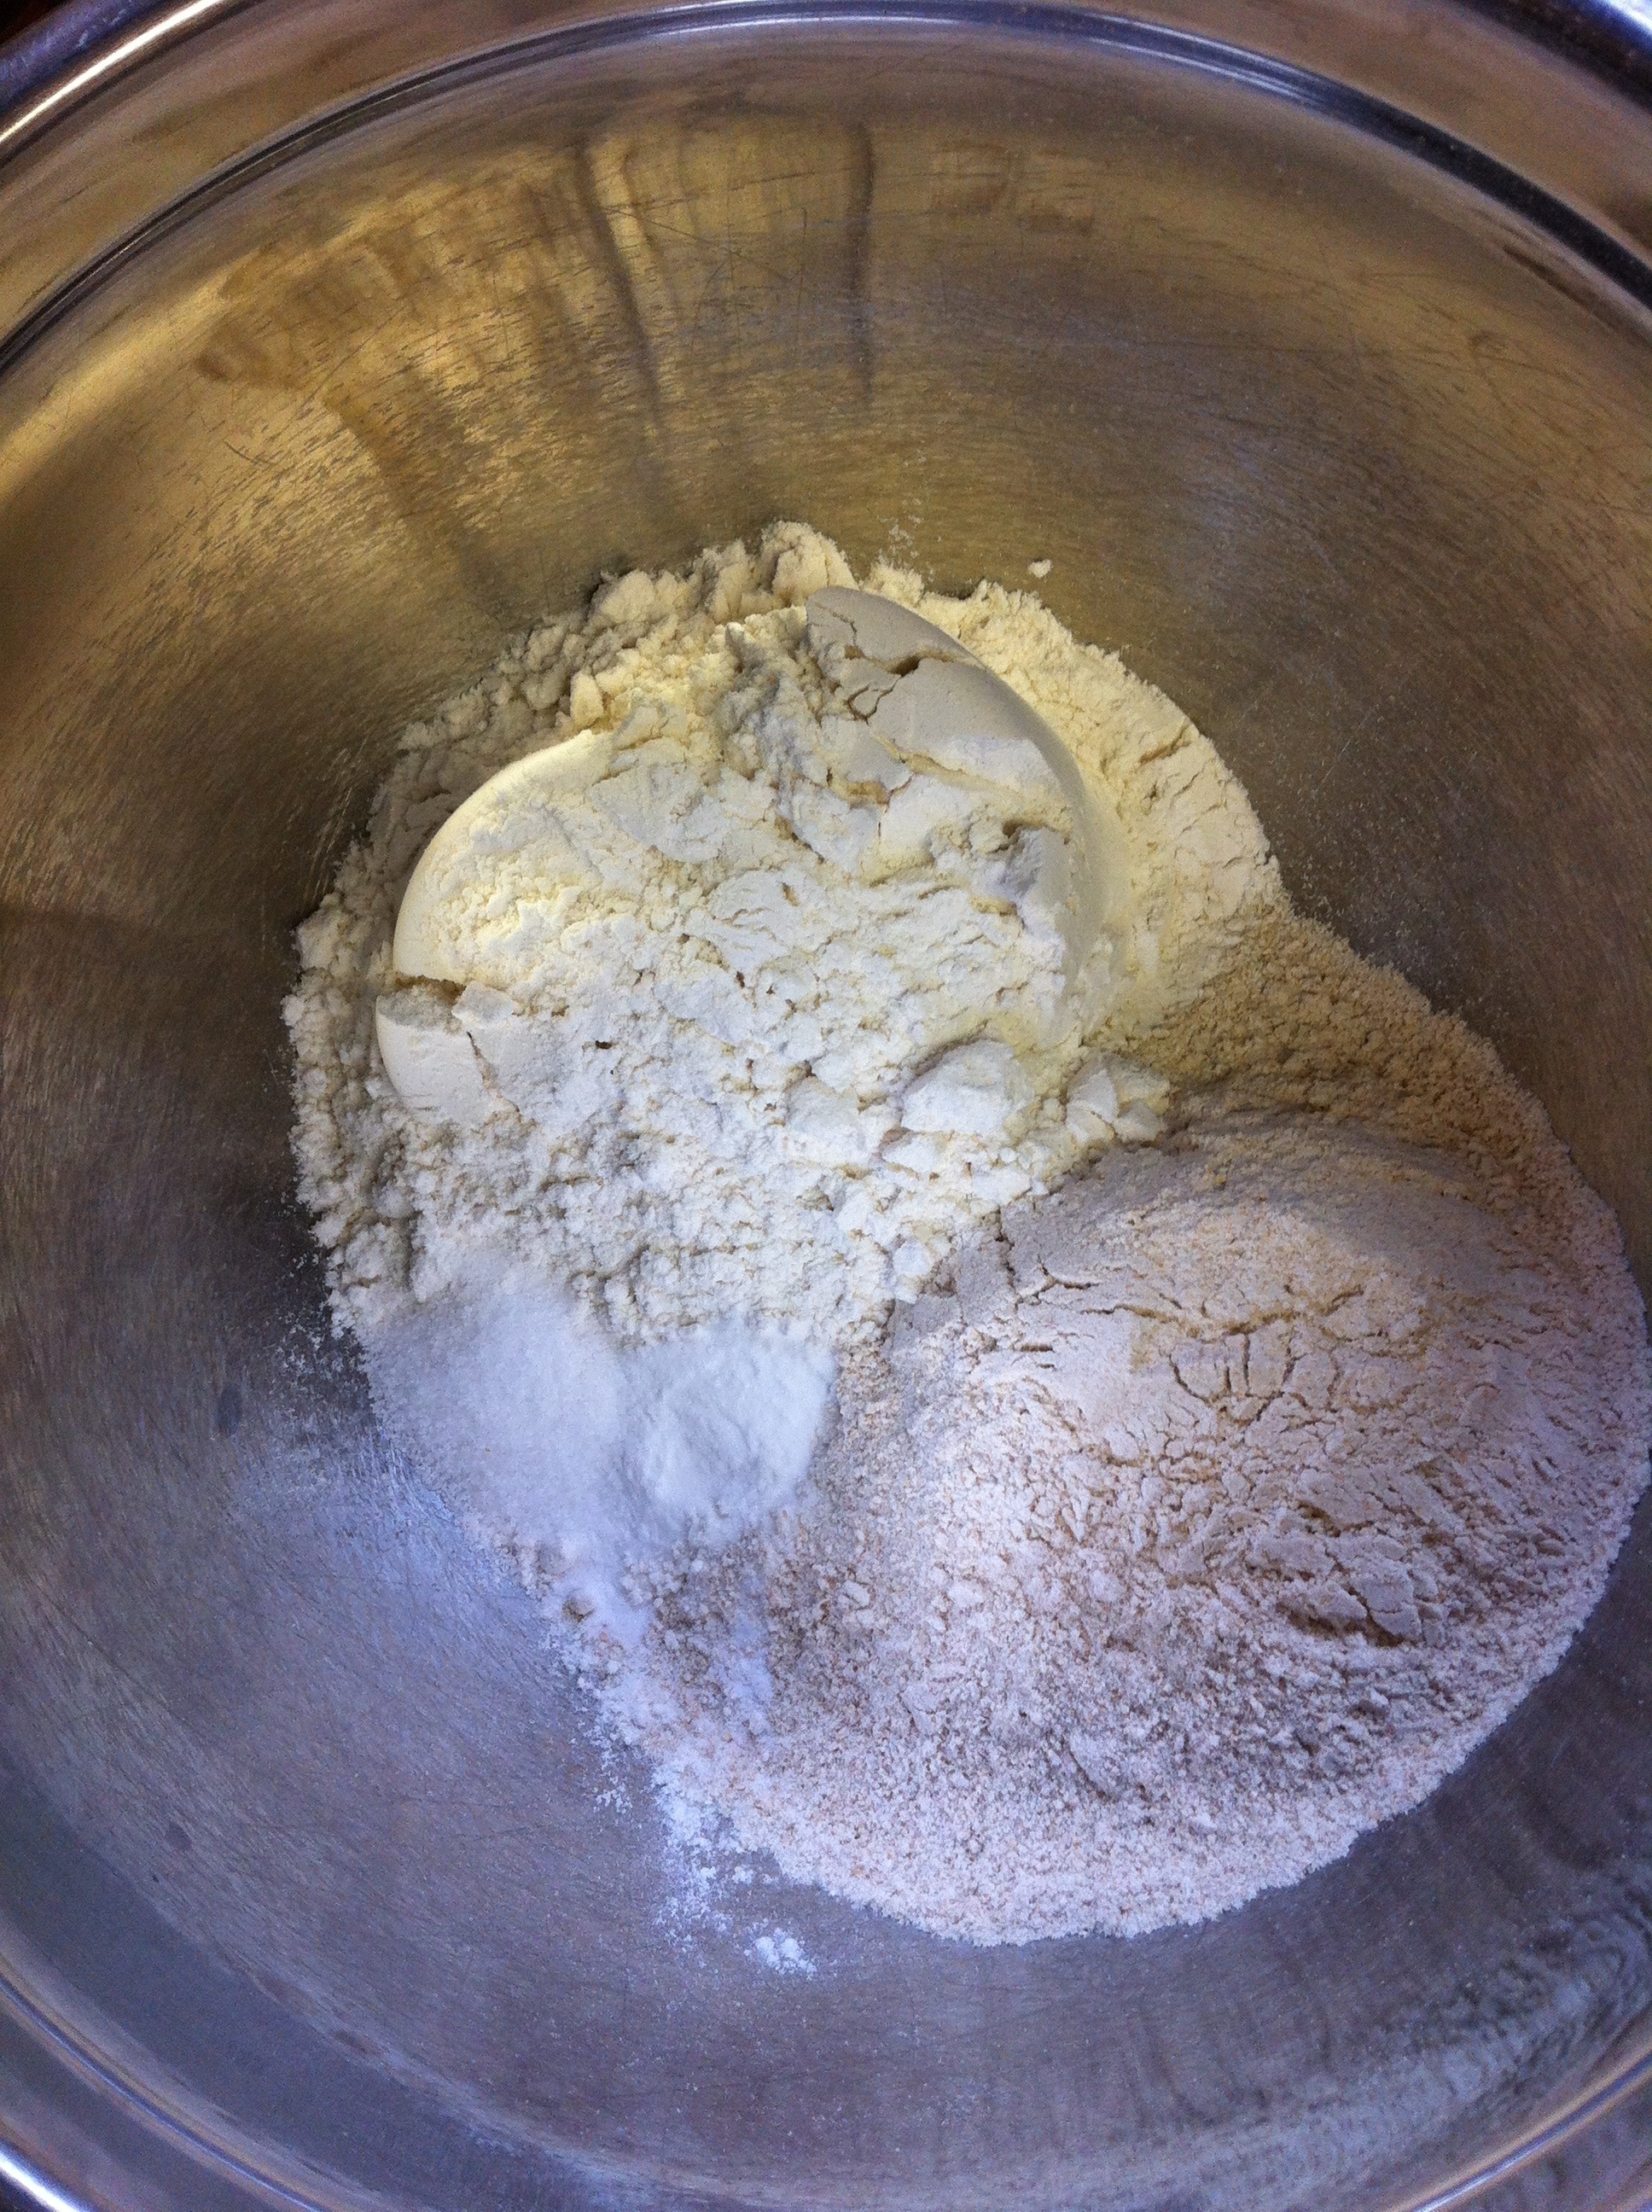
Whisk together well.

In another mixing bowl add coconut oil and brown sugar.
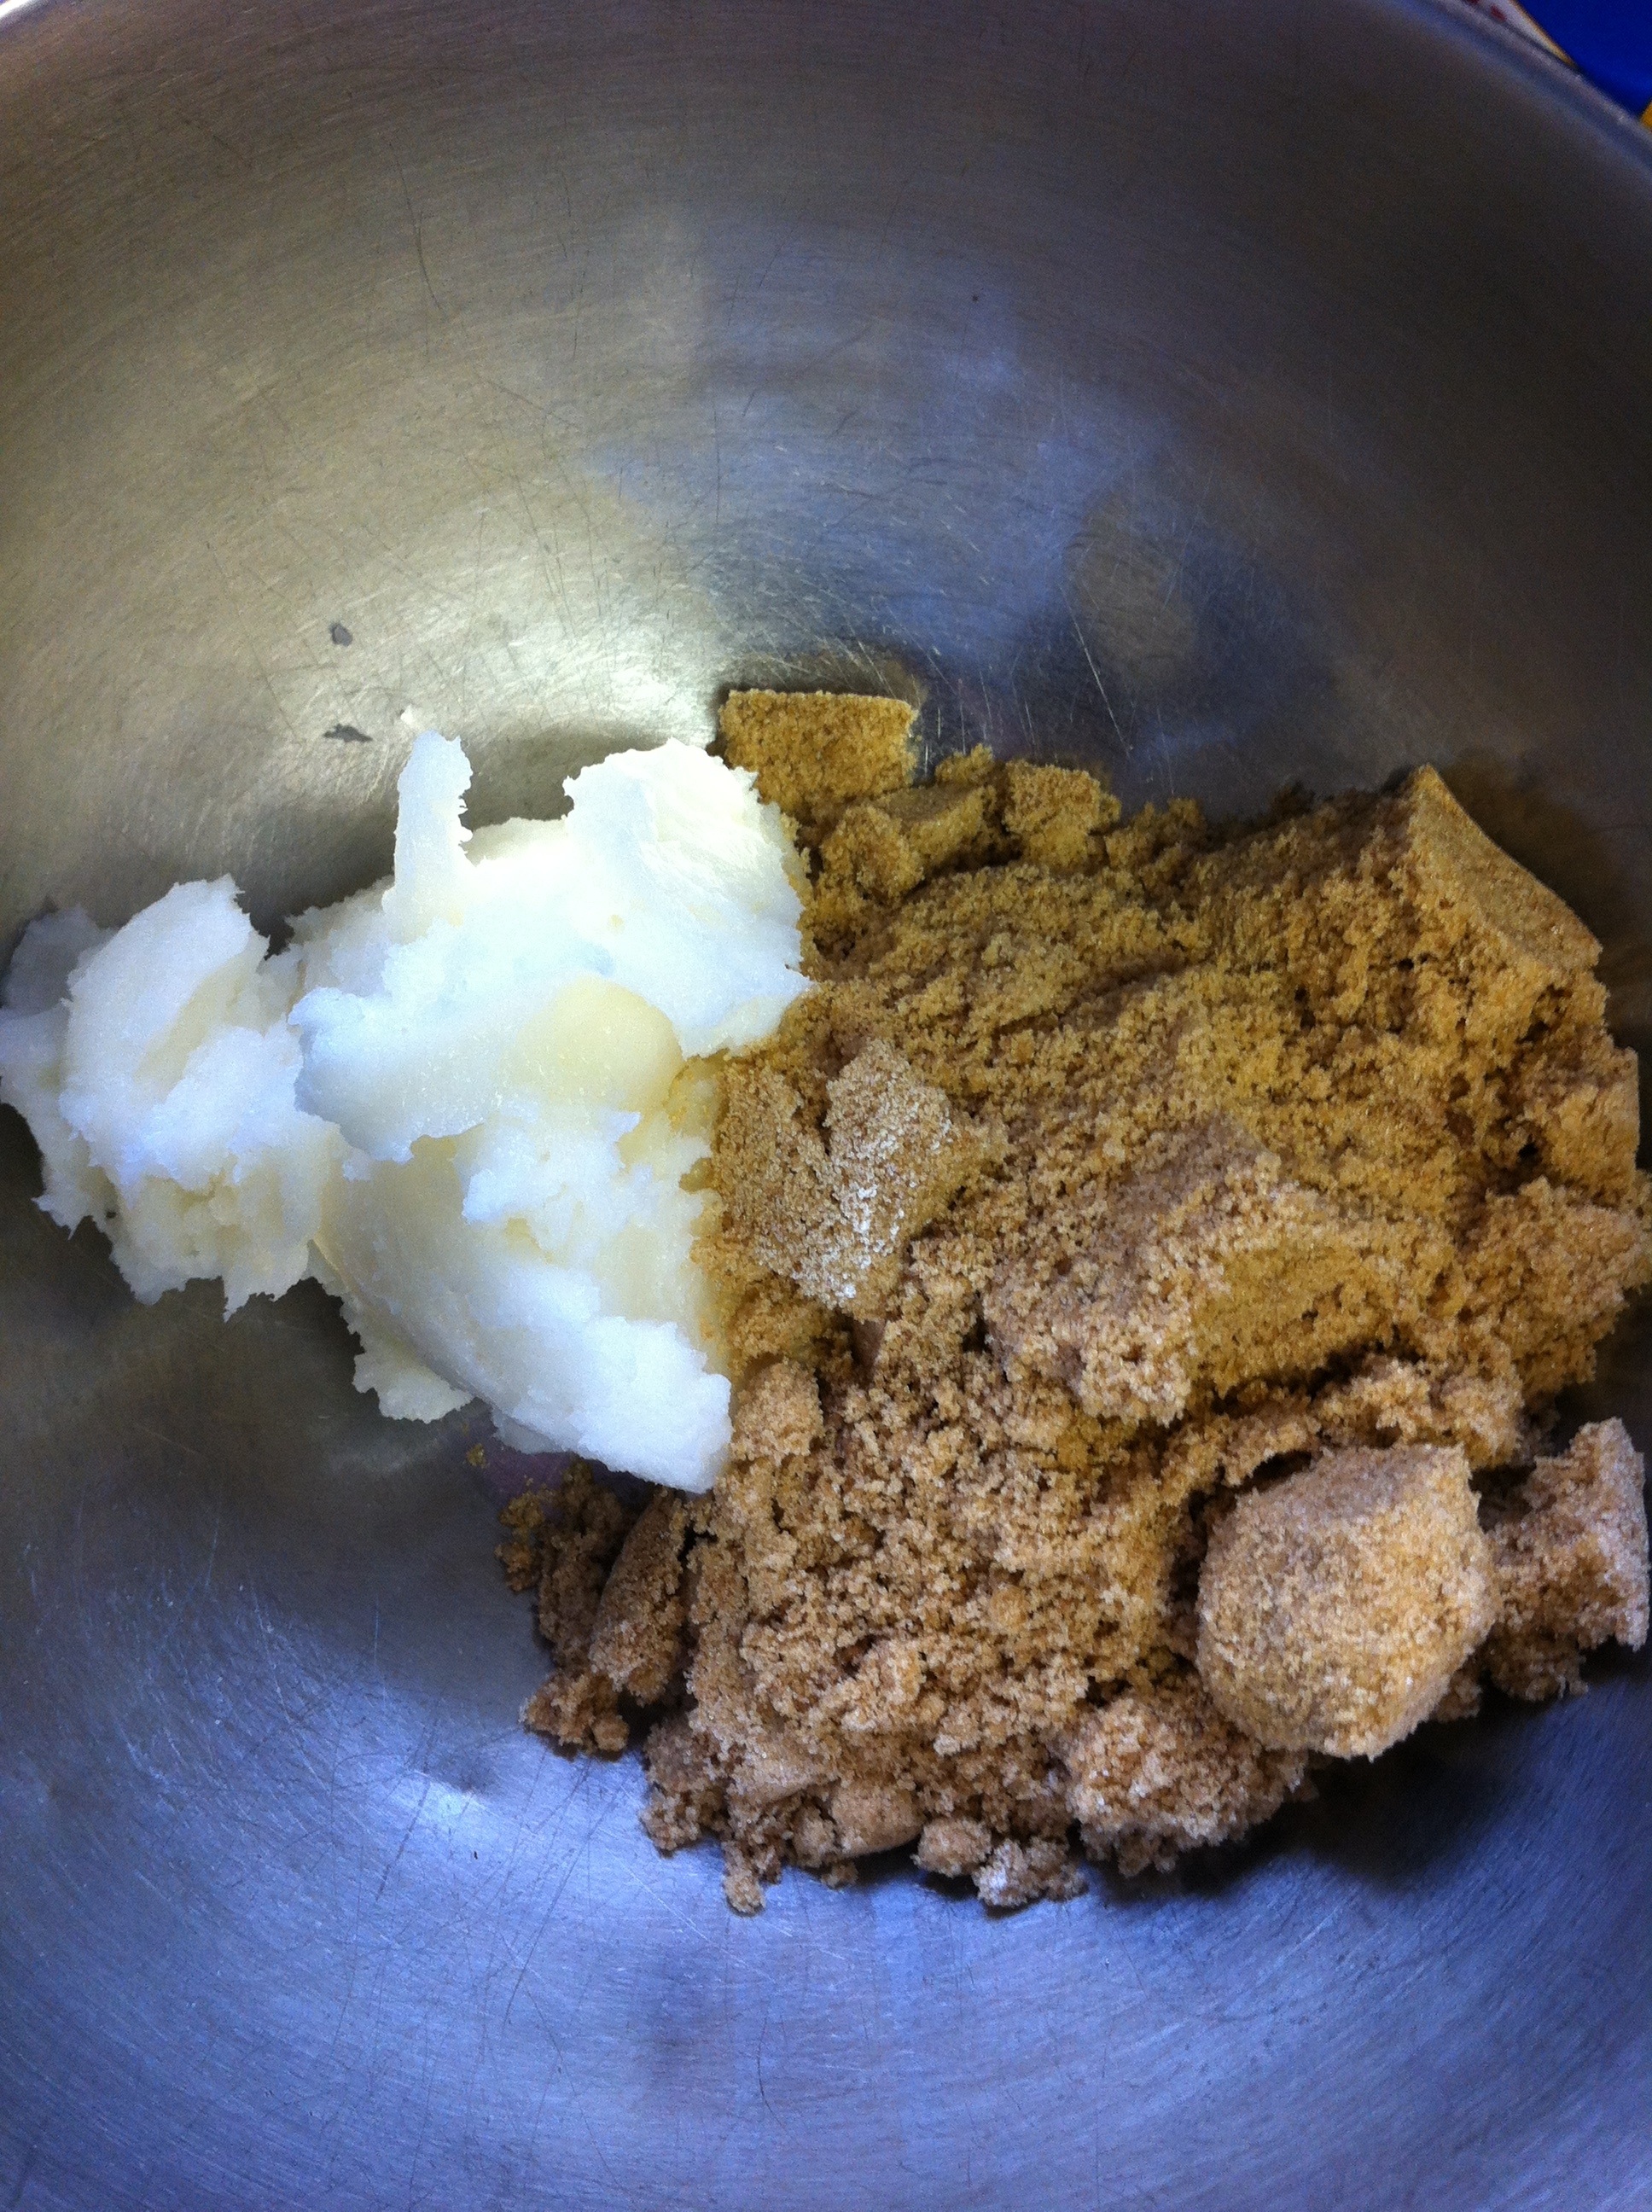
With an electric mixer, combine until well incorporated.

Add vanilla and eggs.

Mix with electric mixer until smooth and creamy, and scrape sides of bowl well with rubber spatula.

Add dry ingredients to wet ingredients bowl.

Mix well.


Add dark chocolate chunks and hazelnut pieces.

Fold into dough until well combined. {That. Is. What. I. Am. Talking. About. Right there, baby! Mmmm….}

If you want to, cover dough with clear plastic wrap and refrigerate for 15-20 minutes or until ready to use. {I thought it would help the coconut oil set up a little more in the dough since it has such a low melting point at 76 degrees. I am not sure if it affects the way the cookies bake, but my thought was that they would be a little less flat after baking if I refrigerated the dough first. I can totally understand not wanting to wait the extra 20 minutes though, trust me.}

When ready to bake the cookies, grab some cookie sheets and get ready to scoop the dough. I like to use a regular size ice cream scoop {remember how I was talking about the gloriously huge cookies?! Those result from using the ice cream scoop as the measuring guide}.
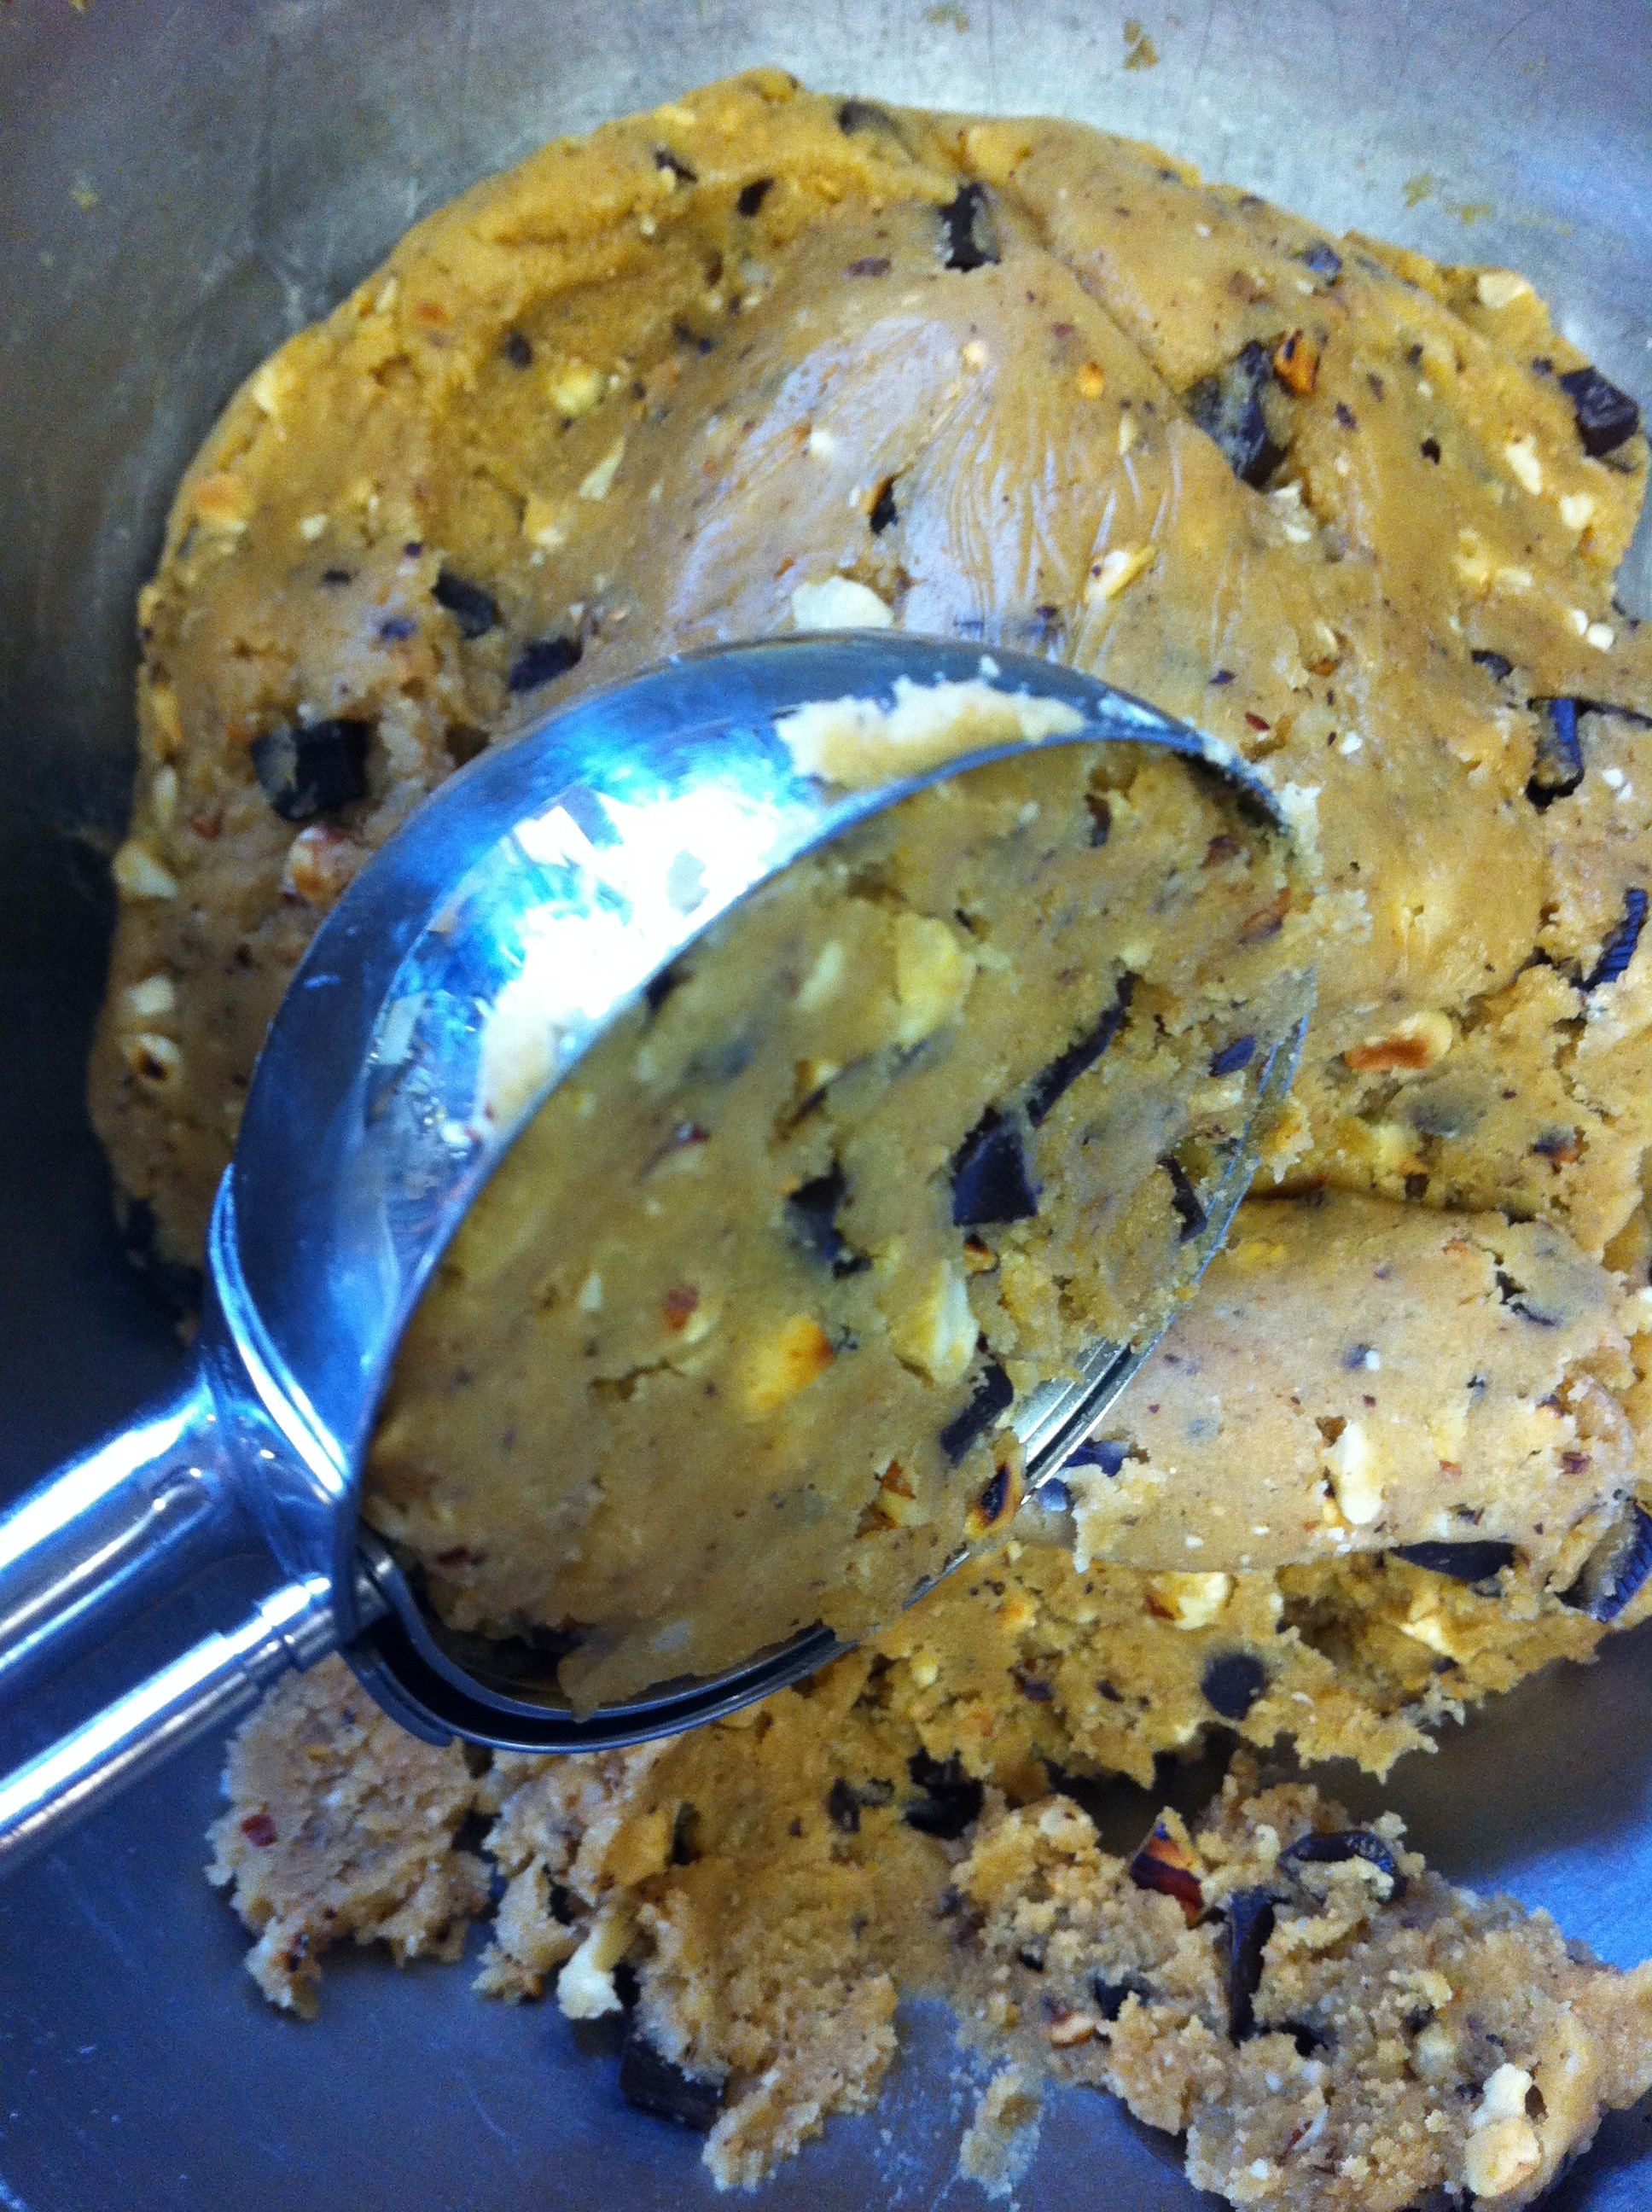

Bake the BIG cookies about 10-11 minutes in a 375 degree oven, and allow to sit on cookie sheet a for few minutes after baking before transferring to a cooling rack to cool completely.


If you don’t want quite so gloriously sized cookies, just grab about 1-inch little scoop {melon ball sized}, and place by rounded scoop fulls onto cookie sheet. The regular sized cookies are just as tasty, you just might have to compensate for size by eating 2…or 3…to make up for the size difference. {Besides, I make the smaller cookies for my kids and keep the big ones for us grown ups…or maybe just me. Heh, heh. :)}


Bake the smaller cookies 7-9 minutes in a 375 degree oven, and allow to sit on cookie sheet for a few minutes after baking before transferring to a cooking rack to cool completely.

Enjoy!


