 Does the idea of making homemade pie dough intimidate you? I understand… I have been there. Having a dry, crumbling apart crust that falls apart before you even get it in your pan, or an overly sticky dough that, when rolled out, ends up a holey, sticky mess is very, very disappointing. Very. Disappointing enough that you want to quit and run to the store to get a pre-made one. I understand.
The key to a great crust is learning to get a feel for how the dough should look and feel. It isn’t about following the recipe and only putting in, let’s say, 6 T of ice cold water because that is what is written in black and white. If the dough is obviously not coming together and you have very dry flour left in the bowl, sprinkle in a bit more. It also isn’t just dumping in all 6 T of that water at once either. Sprinkle in about a tablespoon at a time and toss lightly with a fork in between until the dough starts to come together. If that means the final count of tablespoons of water is 10 instead of 6, so be it. There are so many different variables that can change the moisture content. The season, altitude, temperature, type of flour, etc. can all contribute to how much less or more of water that you need to add. It is just getting a feel for it. Sorry I can’t be more scientific or specific, but I will try to show you. Hopefully this step by step will help you make a successful pie dough that will, in the end, make a delicious pie! Good luck! – Shelley.
Pie Dough Recipe:
2 c flour
1 T sugar
1 t salt
2/3 c shortening/lard {semi-chilled coconut oil can be used instead of shortening or lard…see my update at the end of the post}
6 T ice cold water {more or less as needed}
*Combine in mixing bowl flour, sugar and salt.
*Measure out shortening. You can certainly use your 1/3 c dry measuring cup and fill ‘er up twice {or 2/3 cup if you happen to have one in your set}, but it makes a big sticky mess to clean up afterward. I learned a trick a long time ago in a cooking class that makes the clean up of the utensils a little bit easier. Fill up a liquid measuring cup with cold water. Let’s say you have a 2 cup measuring cup. Fill it up to the 1 1/3 cup mark with the cold water. Now take a spoon and add shortening a little bit at a time, totally submerging under the water, until the water line raises to the 2 cup mark. I know, using your math skills. Maybe I’m expecting too much, but I believe in you! 1 1/3 c of water + 2/3 c of shortening does add up to 2 cups total! Since water and oil don’t mix, just pick up the shortening, shake off the water and use. The clean up of your liquid measuring cup should be a cinch!

Because I doubled my recipe I needed 1 1/3 cups of shortening. I filled my water up to the 2 2/3 cup line.

Because there was 2 2/3 c of water, when I added 1 1/3 c of shortening it raised the water line to the 4 cup mark.
*Add shortening to flour mixture.
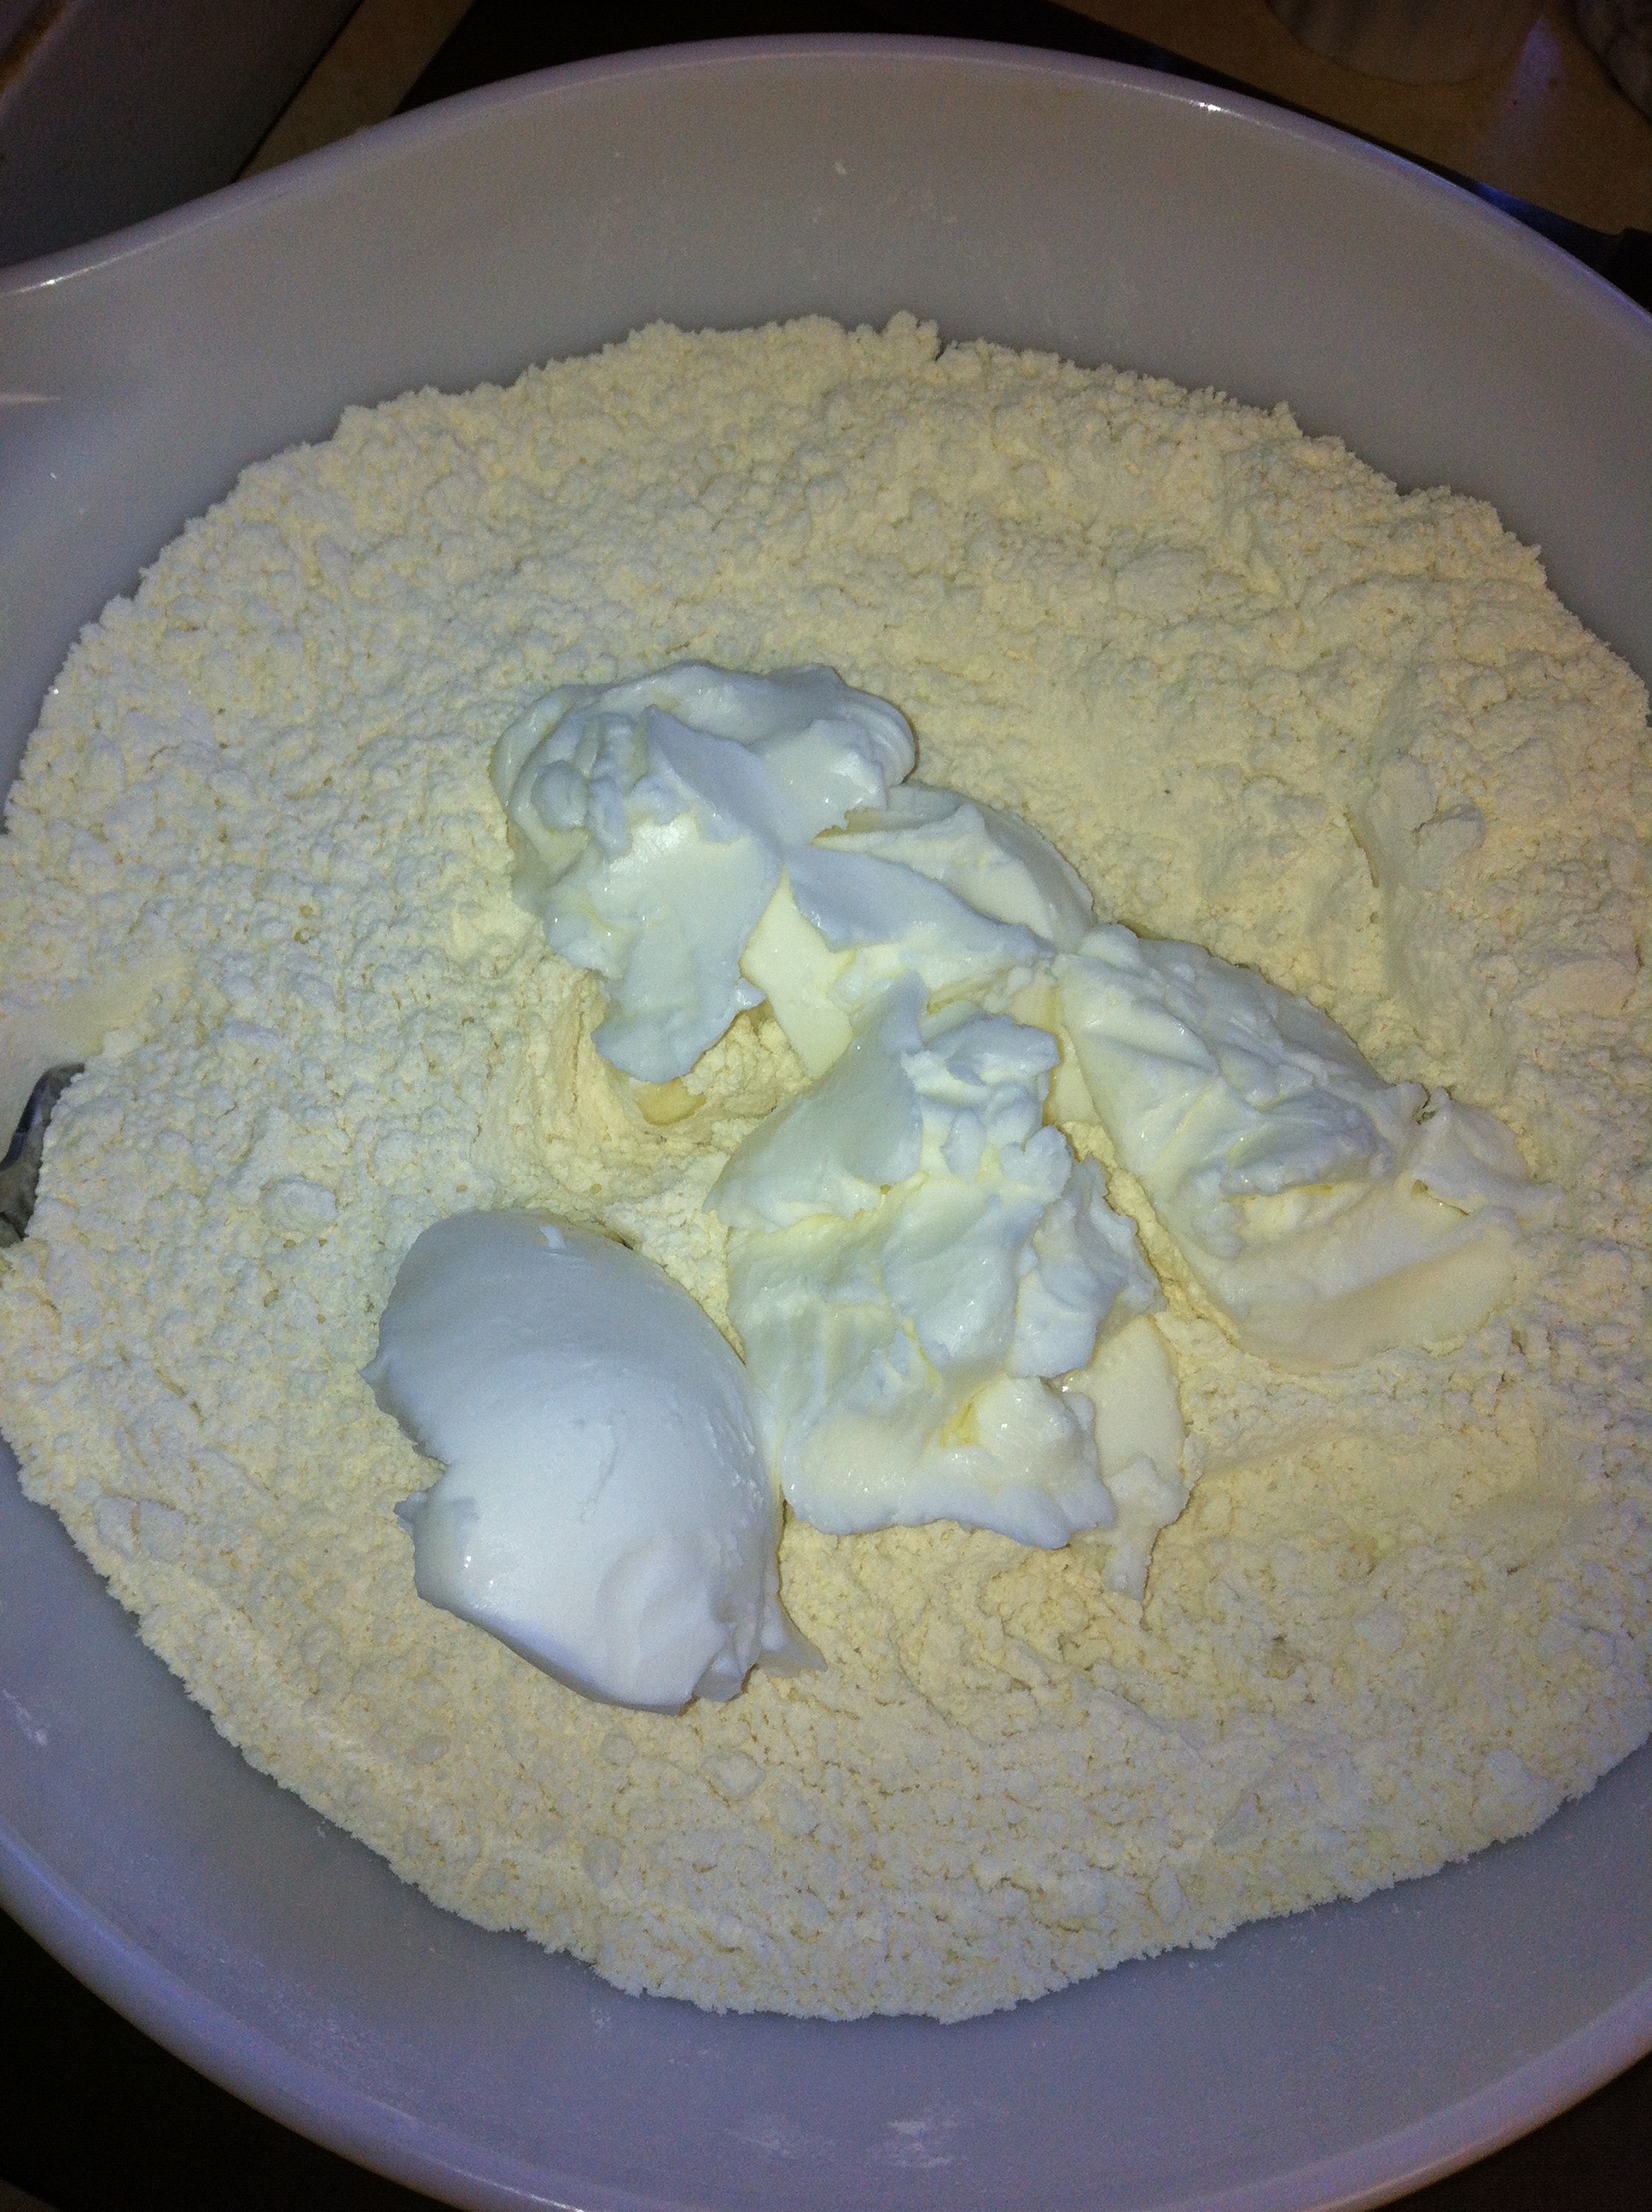
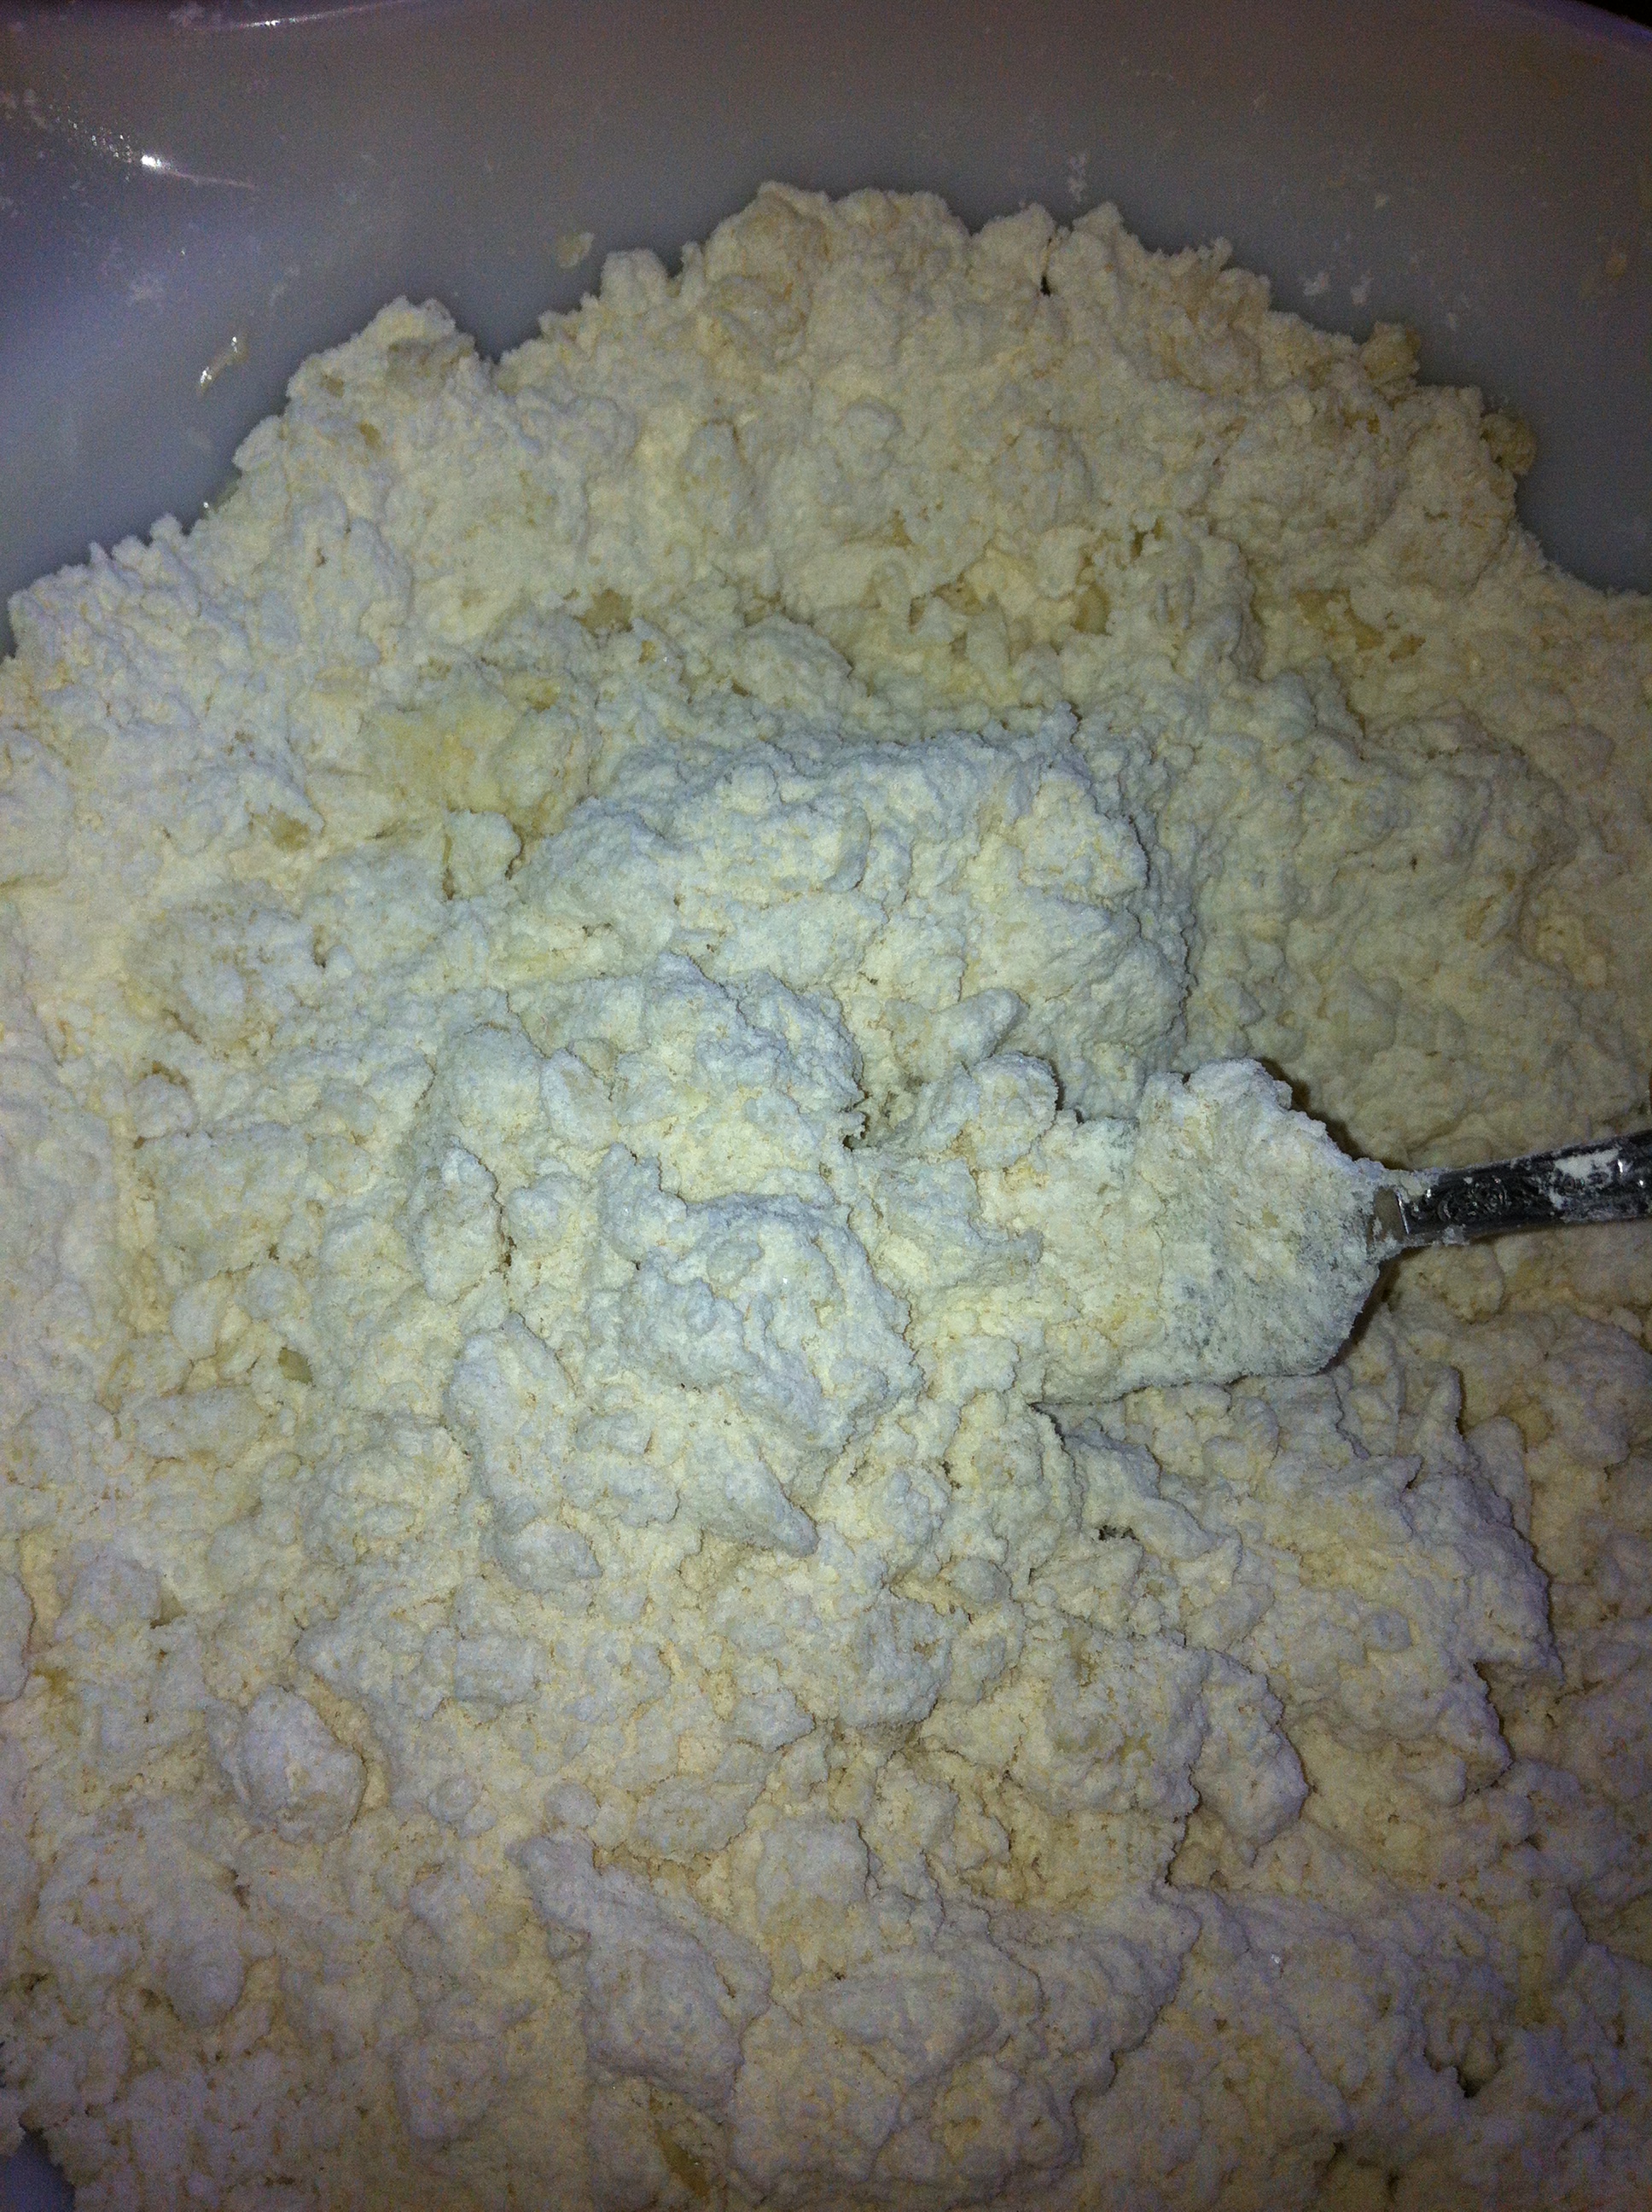
*Cut in with a pastry cutter {or use the tines of a fork if you don’t have a pastry cutter} the shortening/lard/coconut oil.
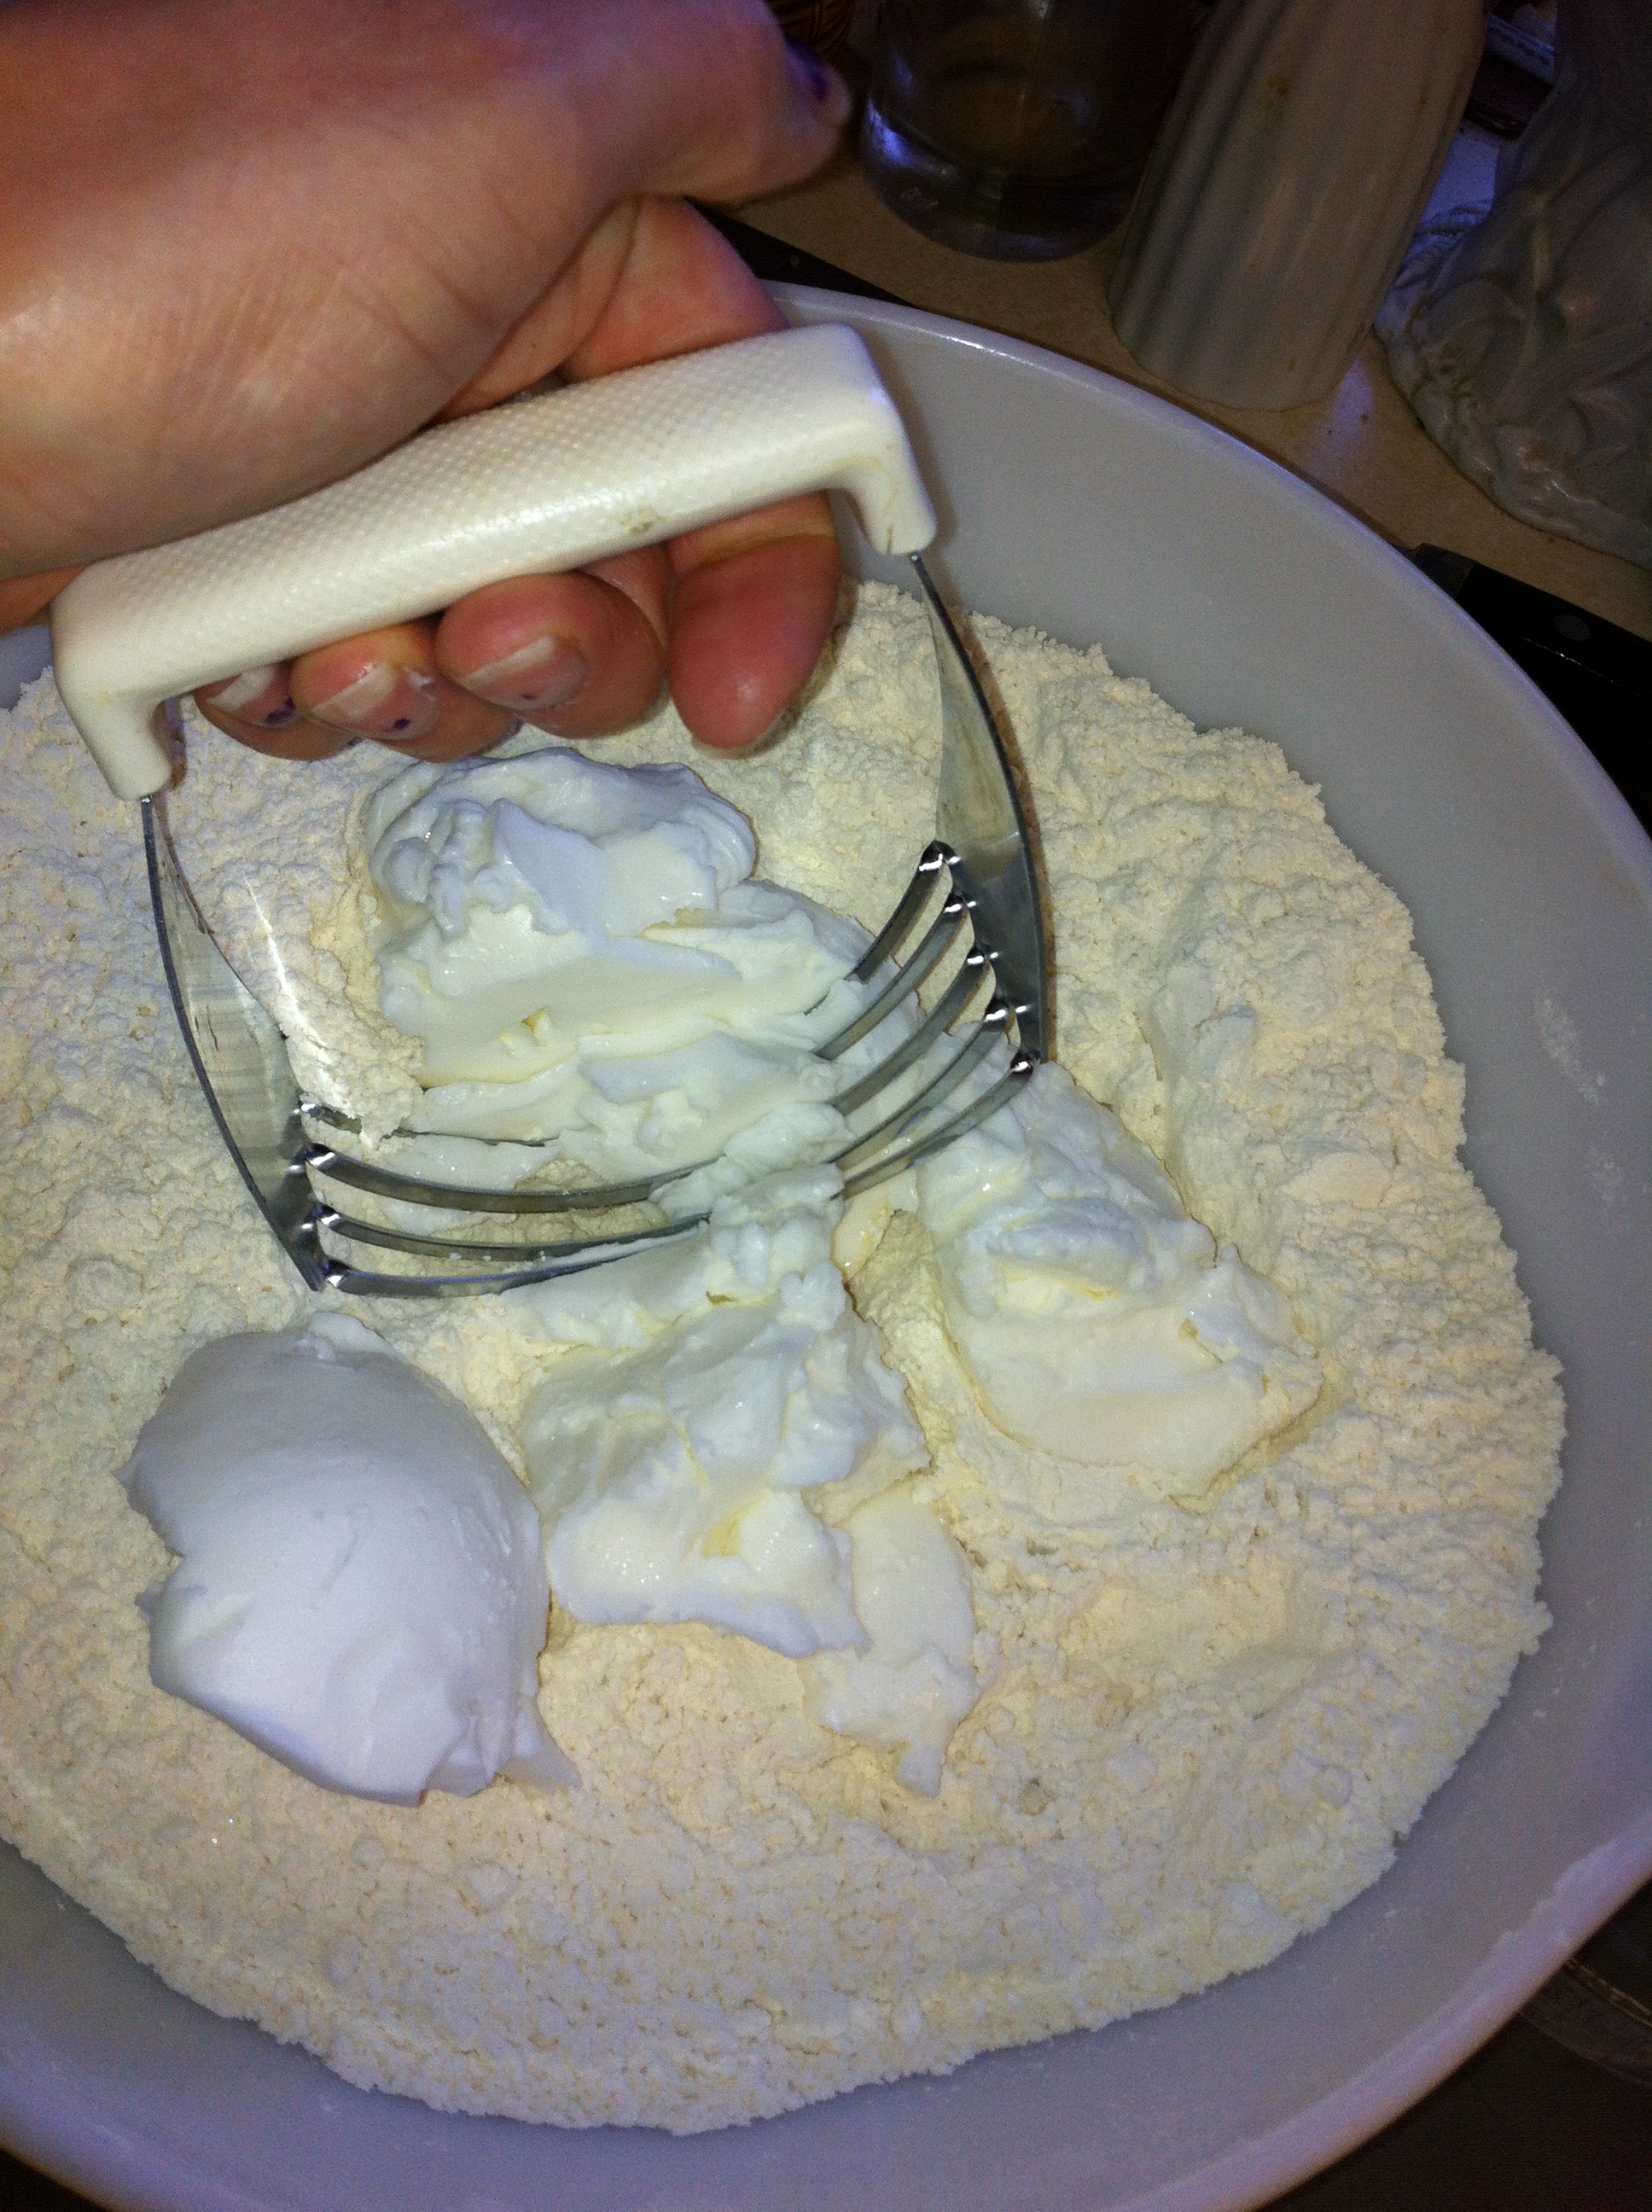
*You want to cut it in until the shortening pieces are about the size of small peas.
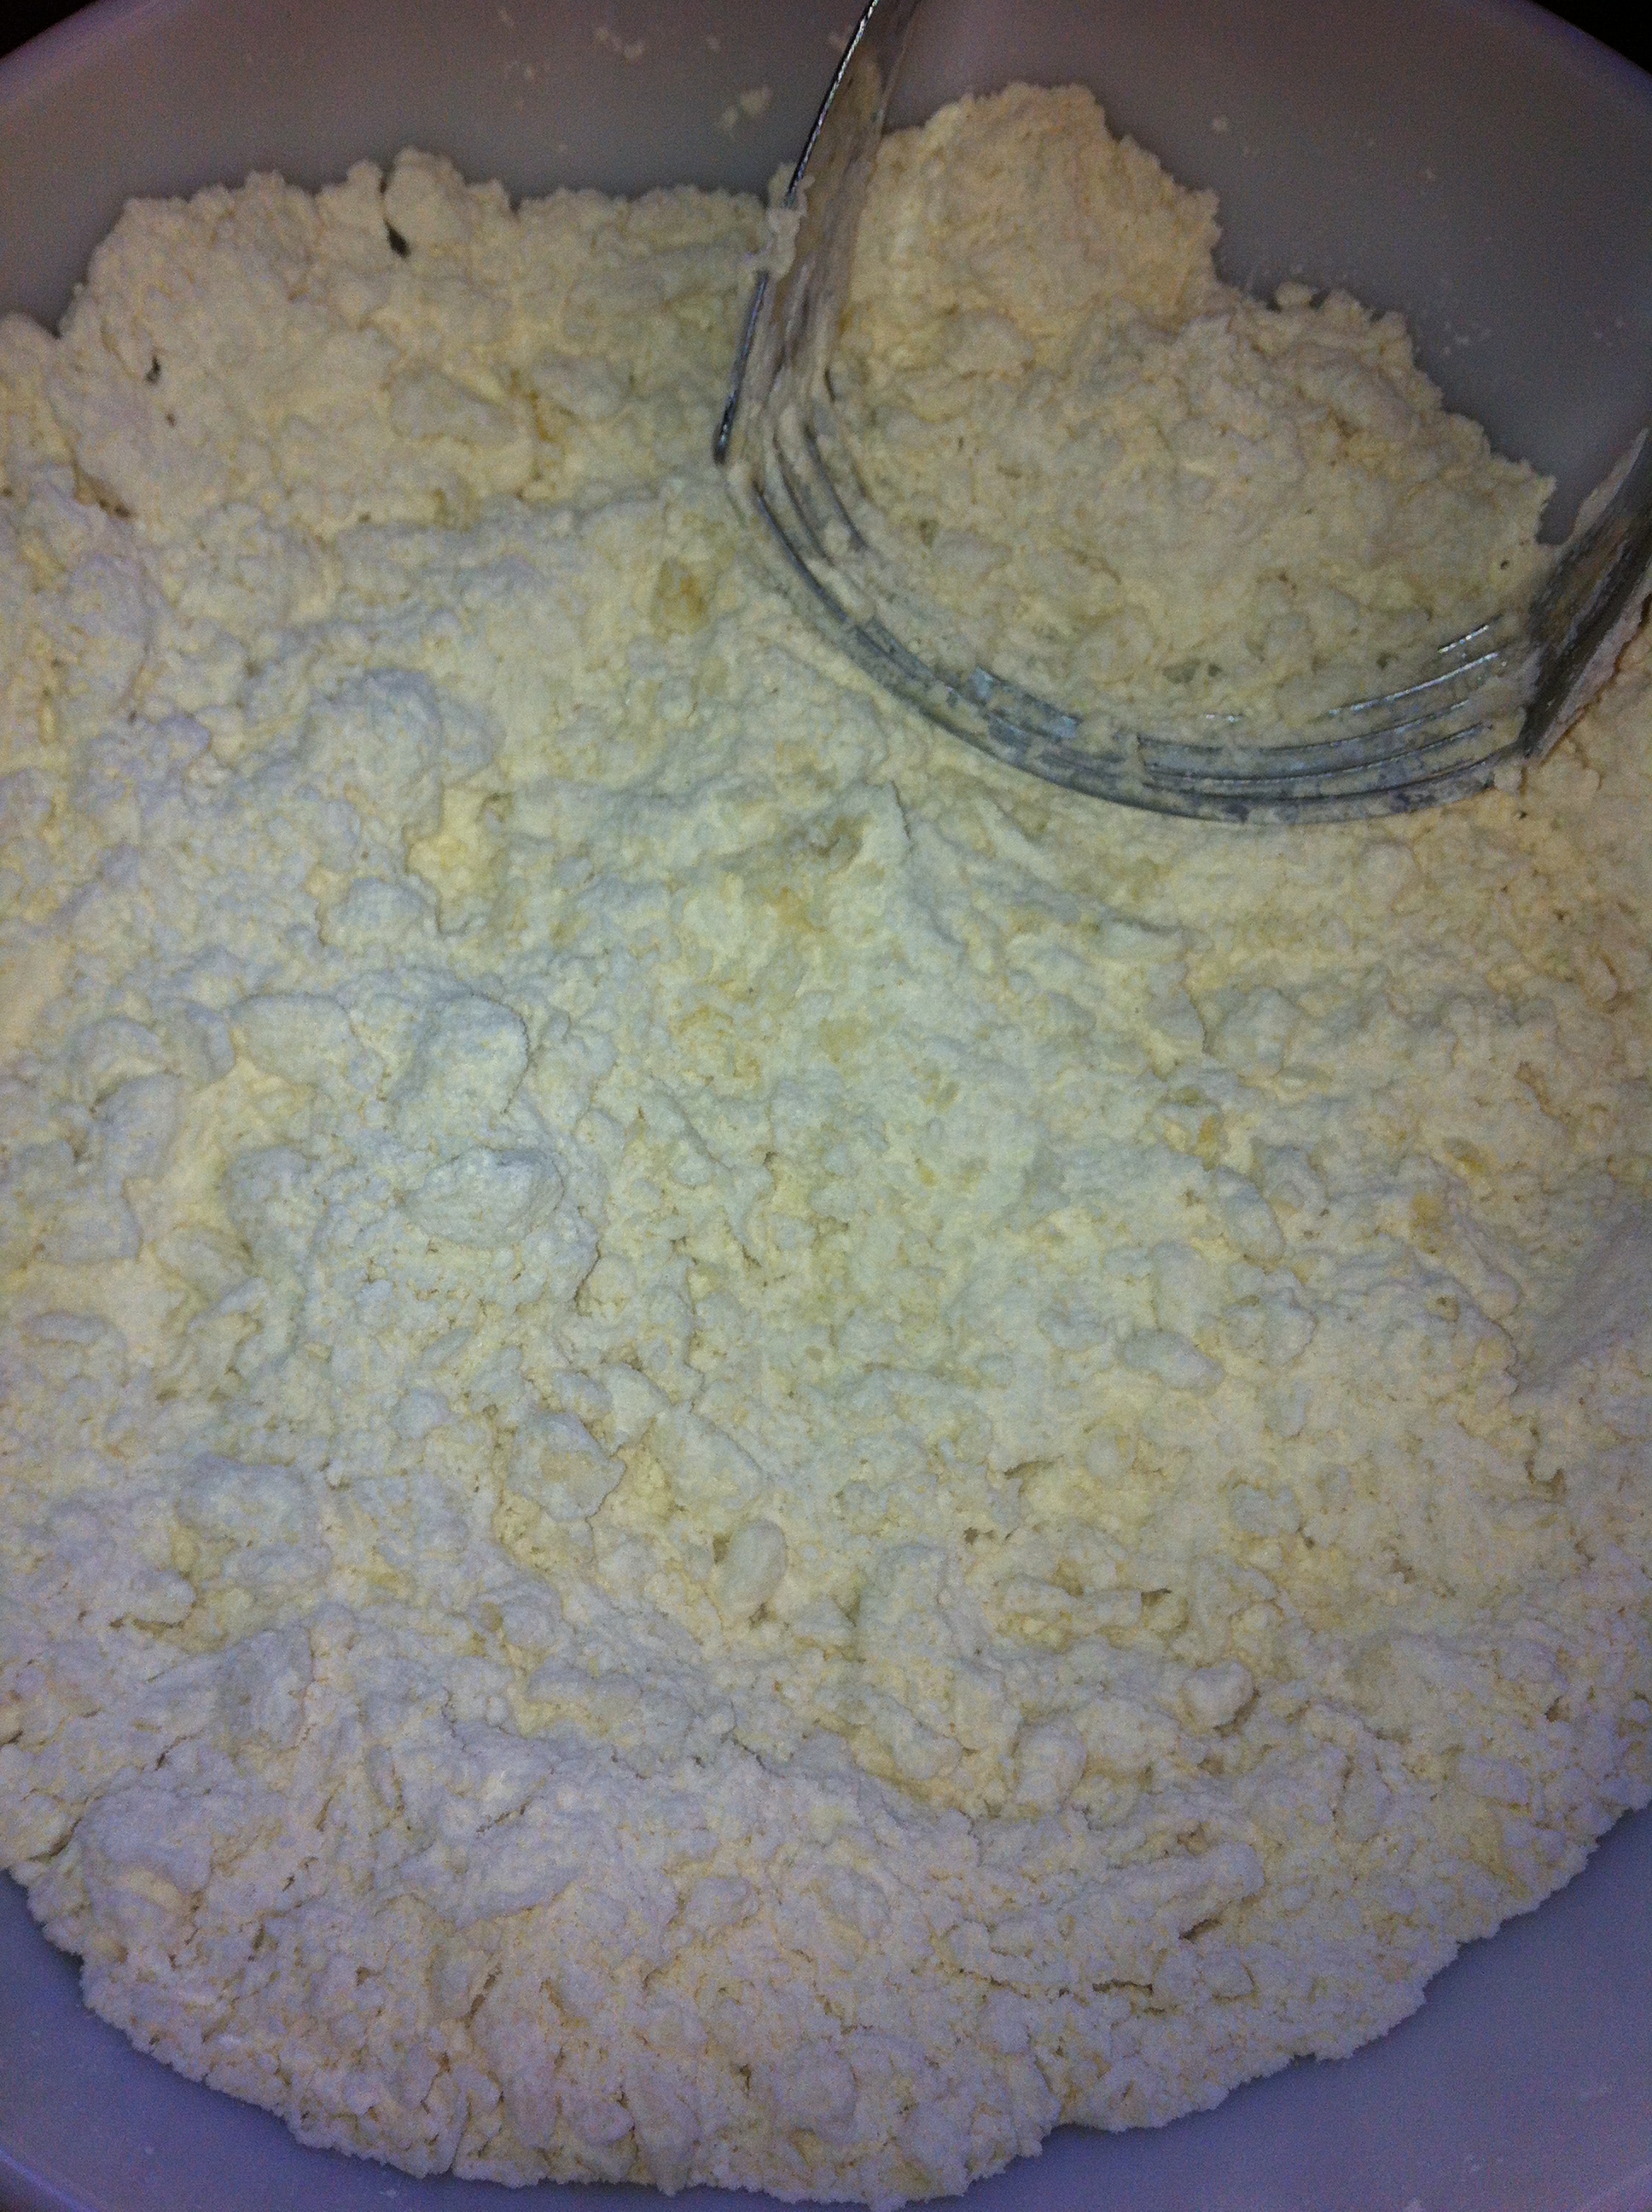
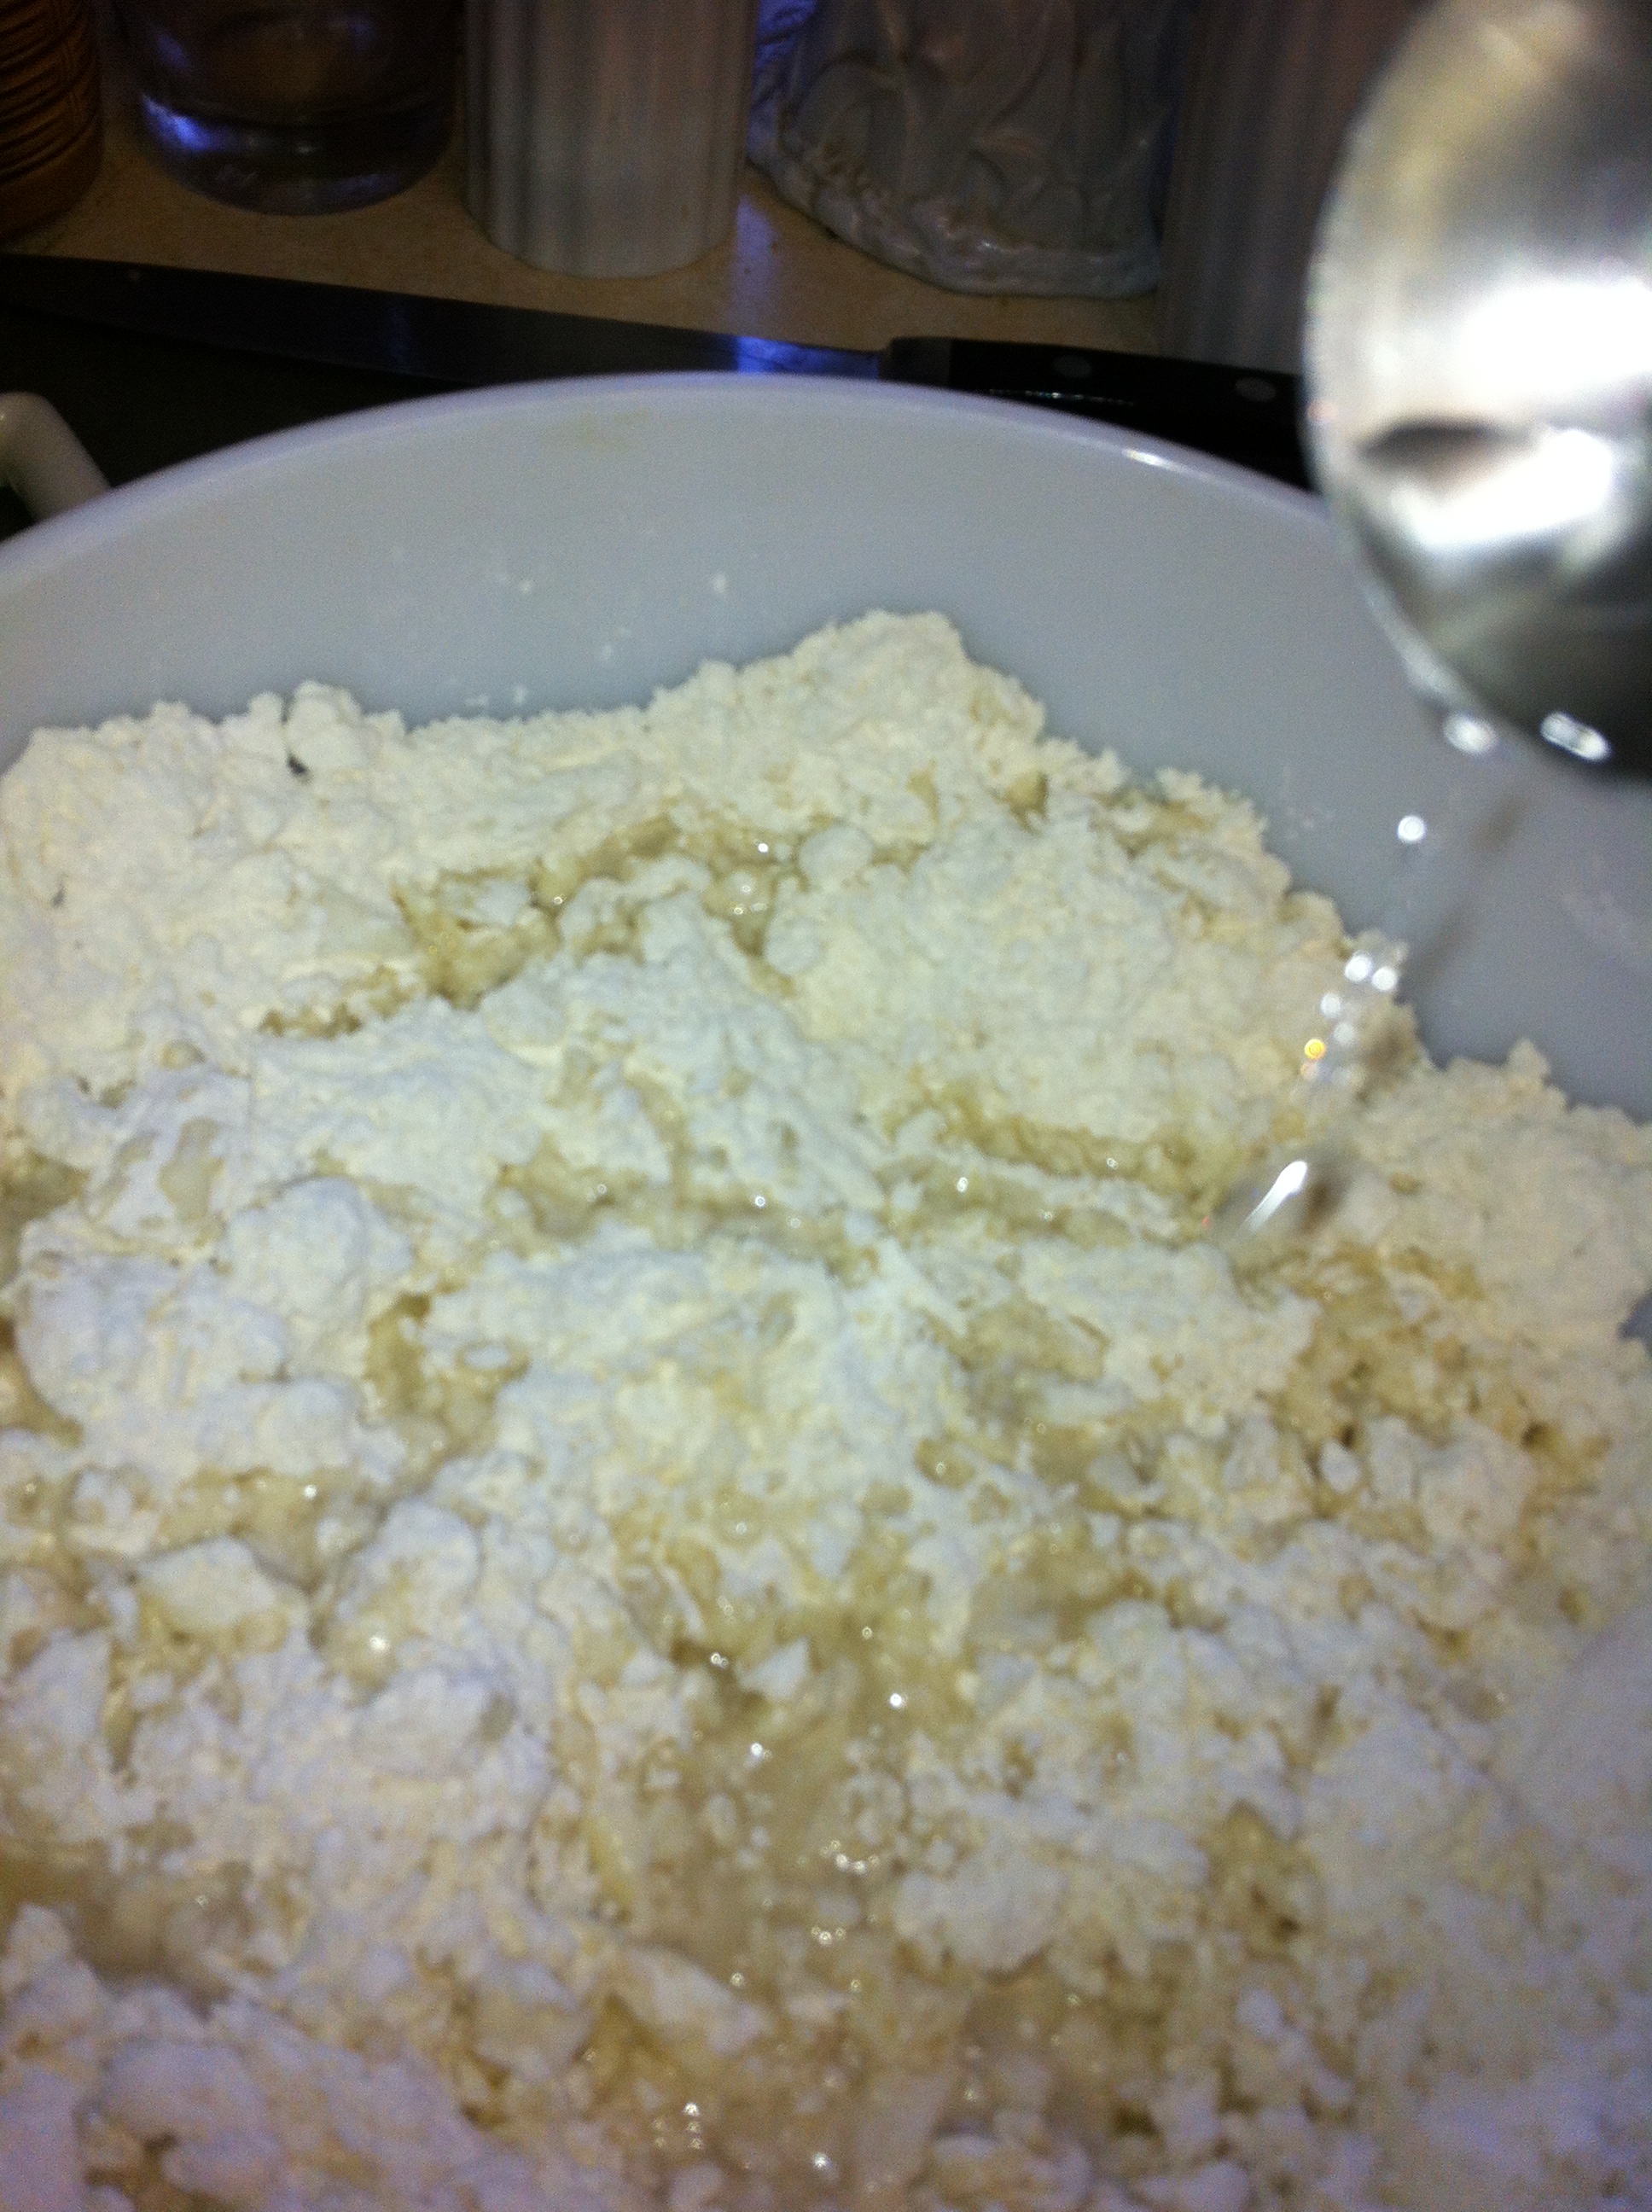
*Sprinkle in the ice cold water.
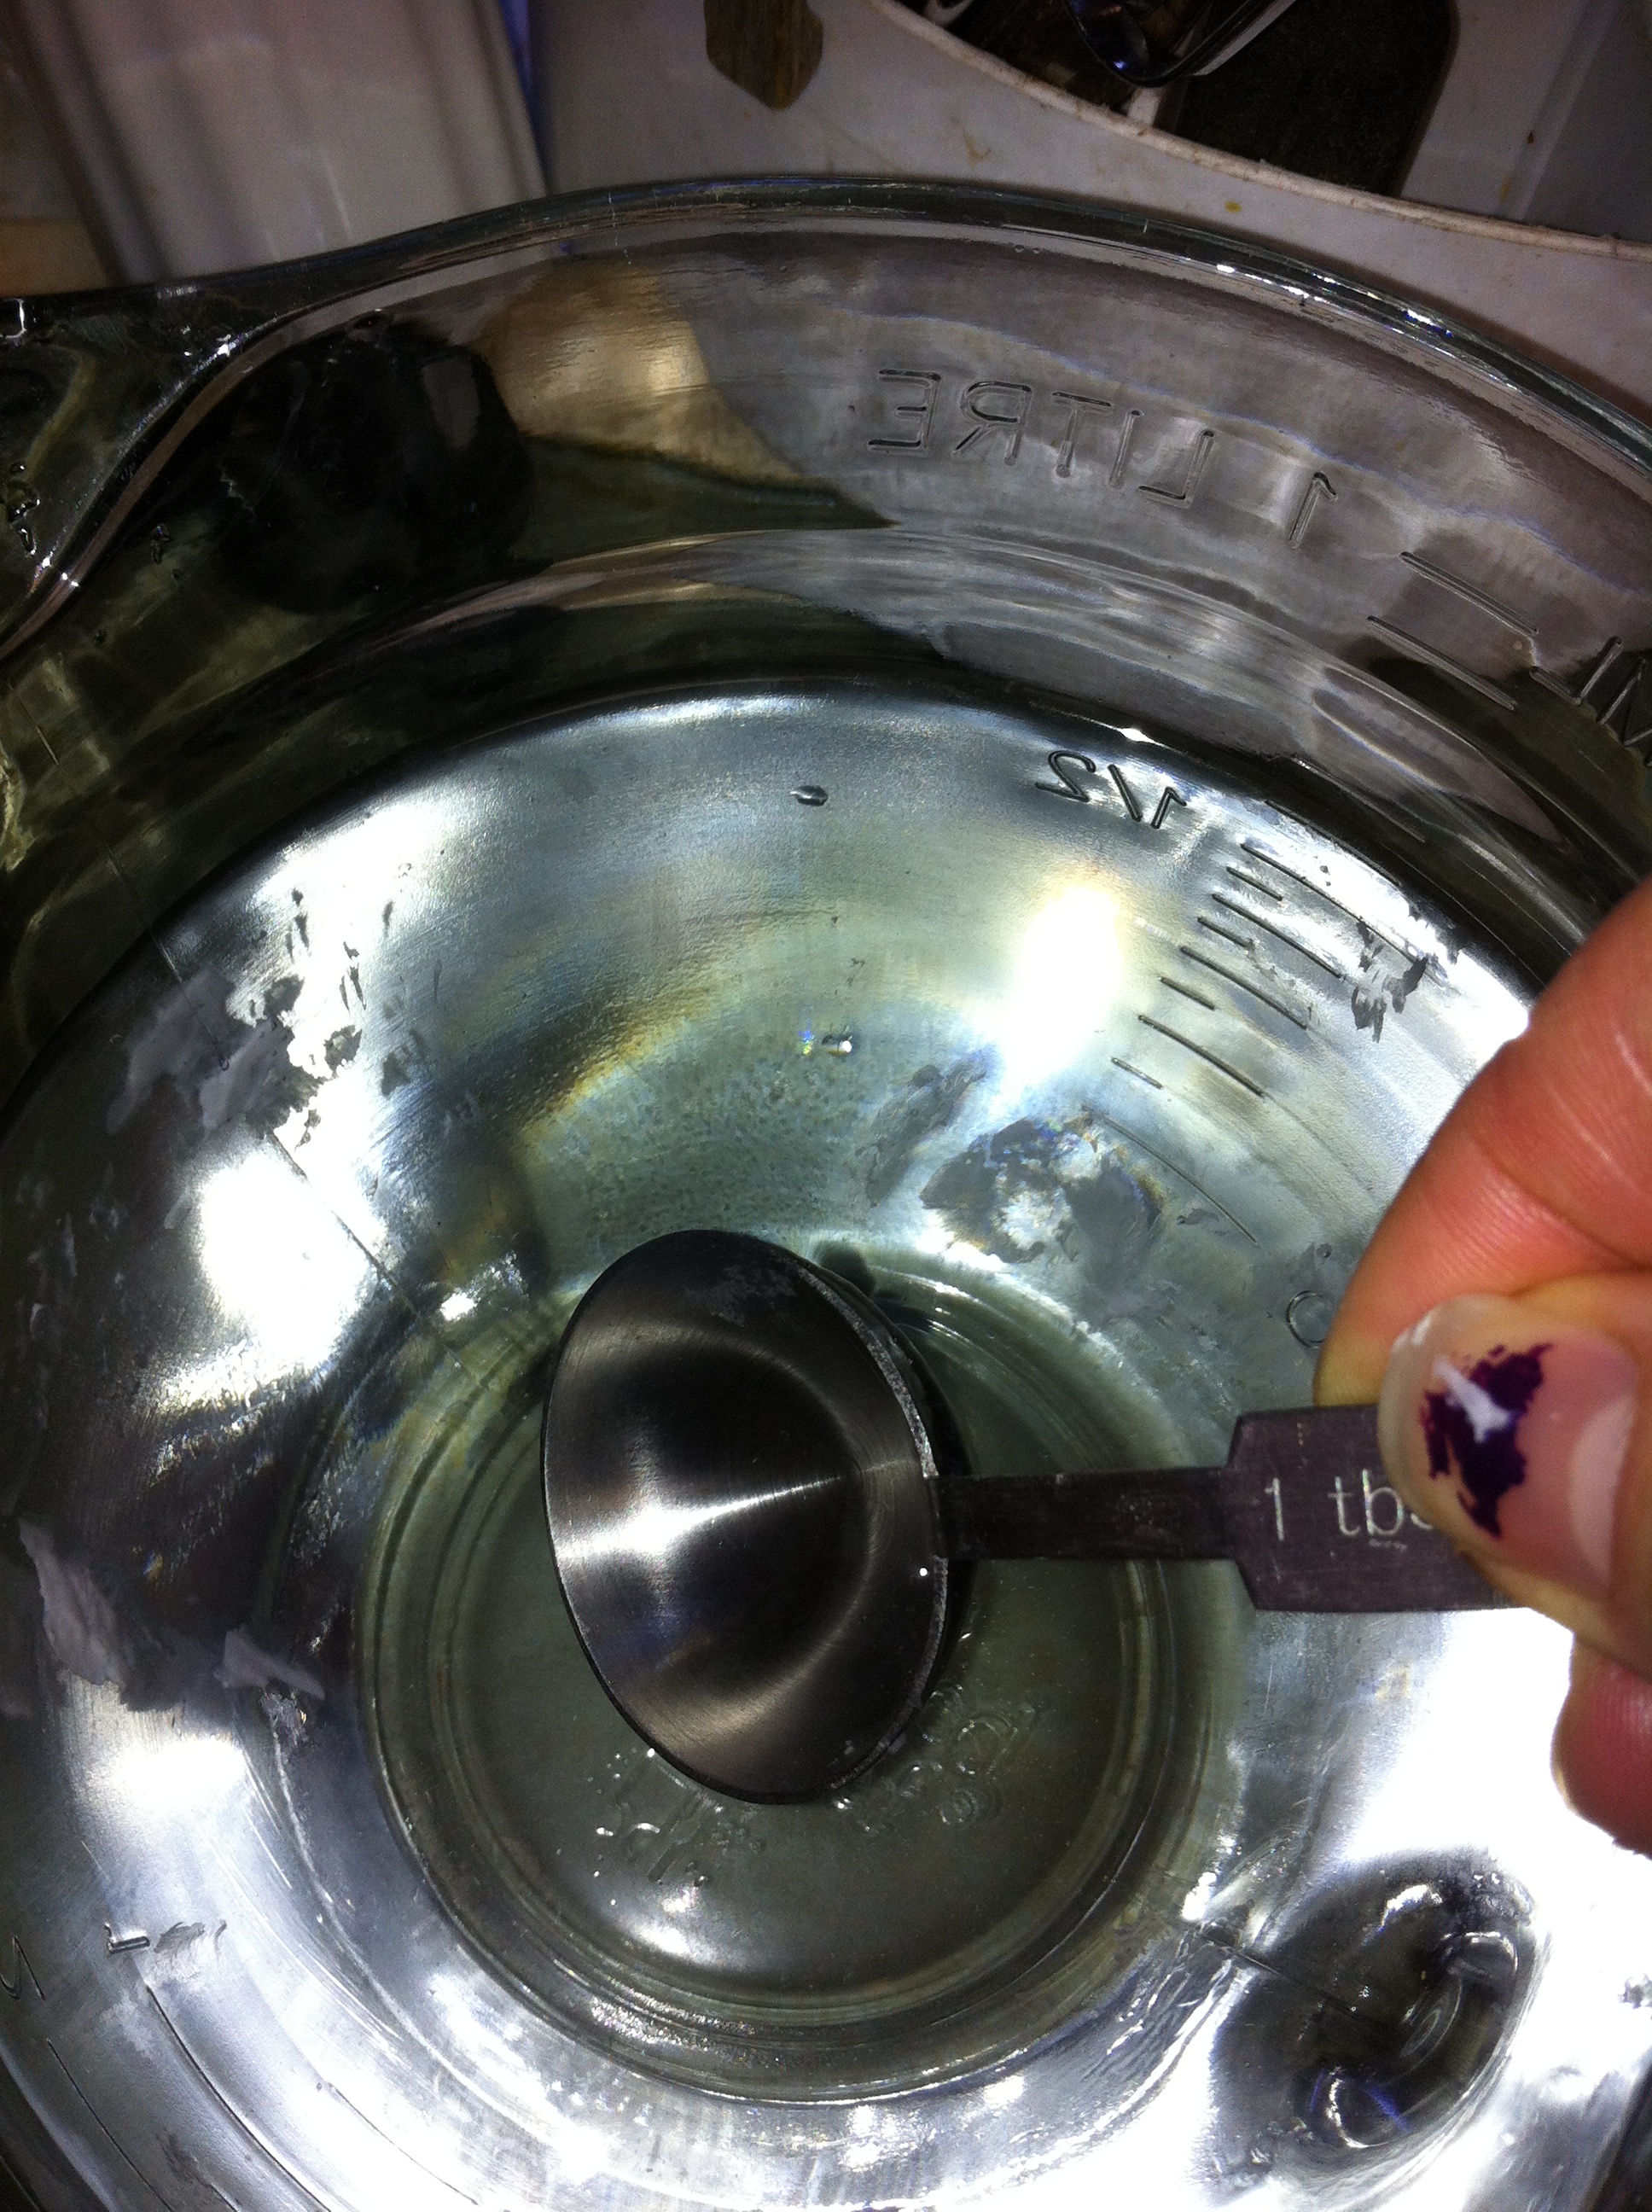
I just used the same cold water that I measured the shortening with.
*Sprinkle in 1 T at a time, tossing lightly with a fork in between, until the dough starts to come together and there isn’t a lot of dry flour left at the bottom of your bowl.
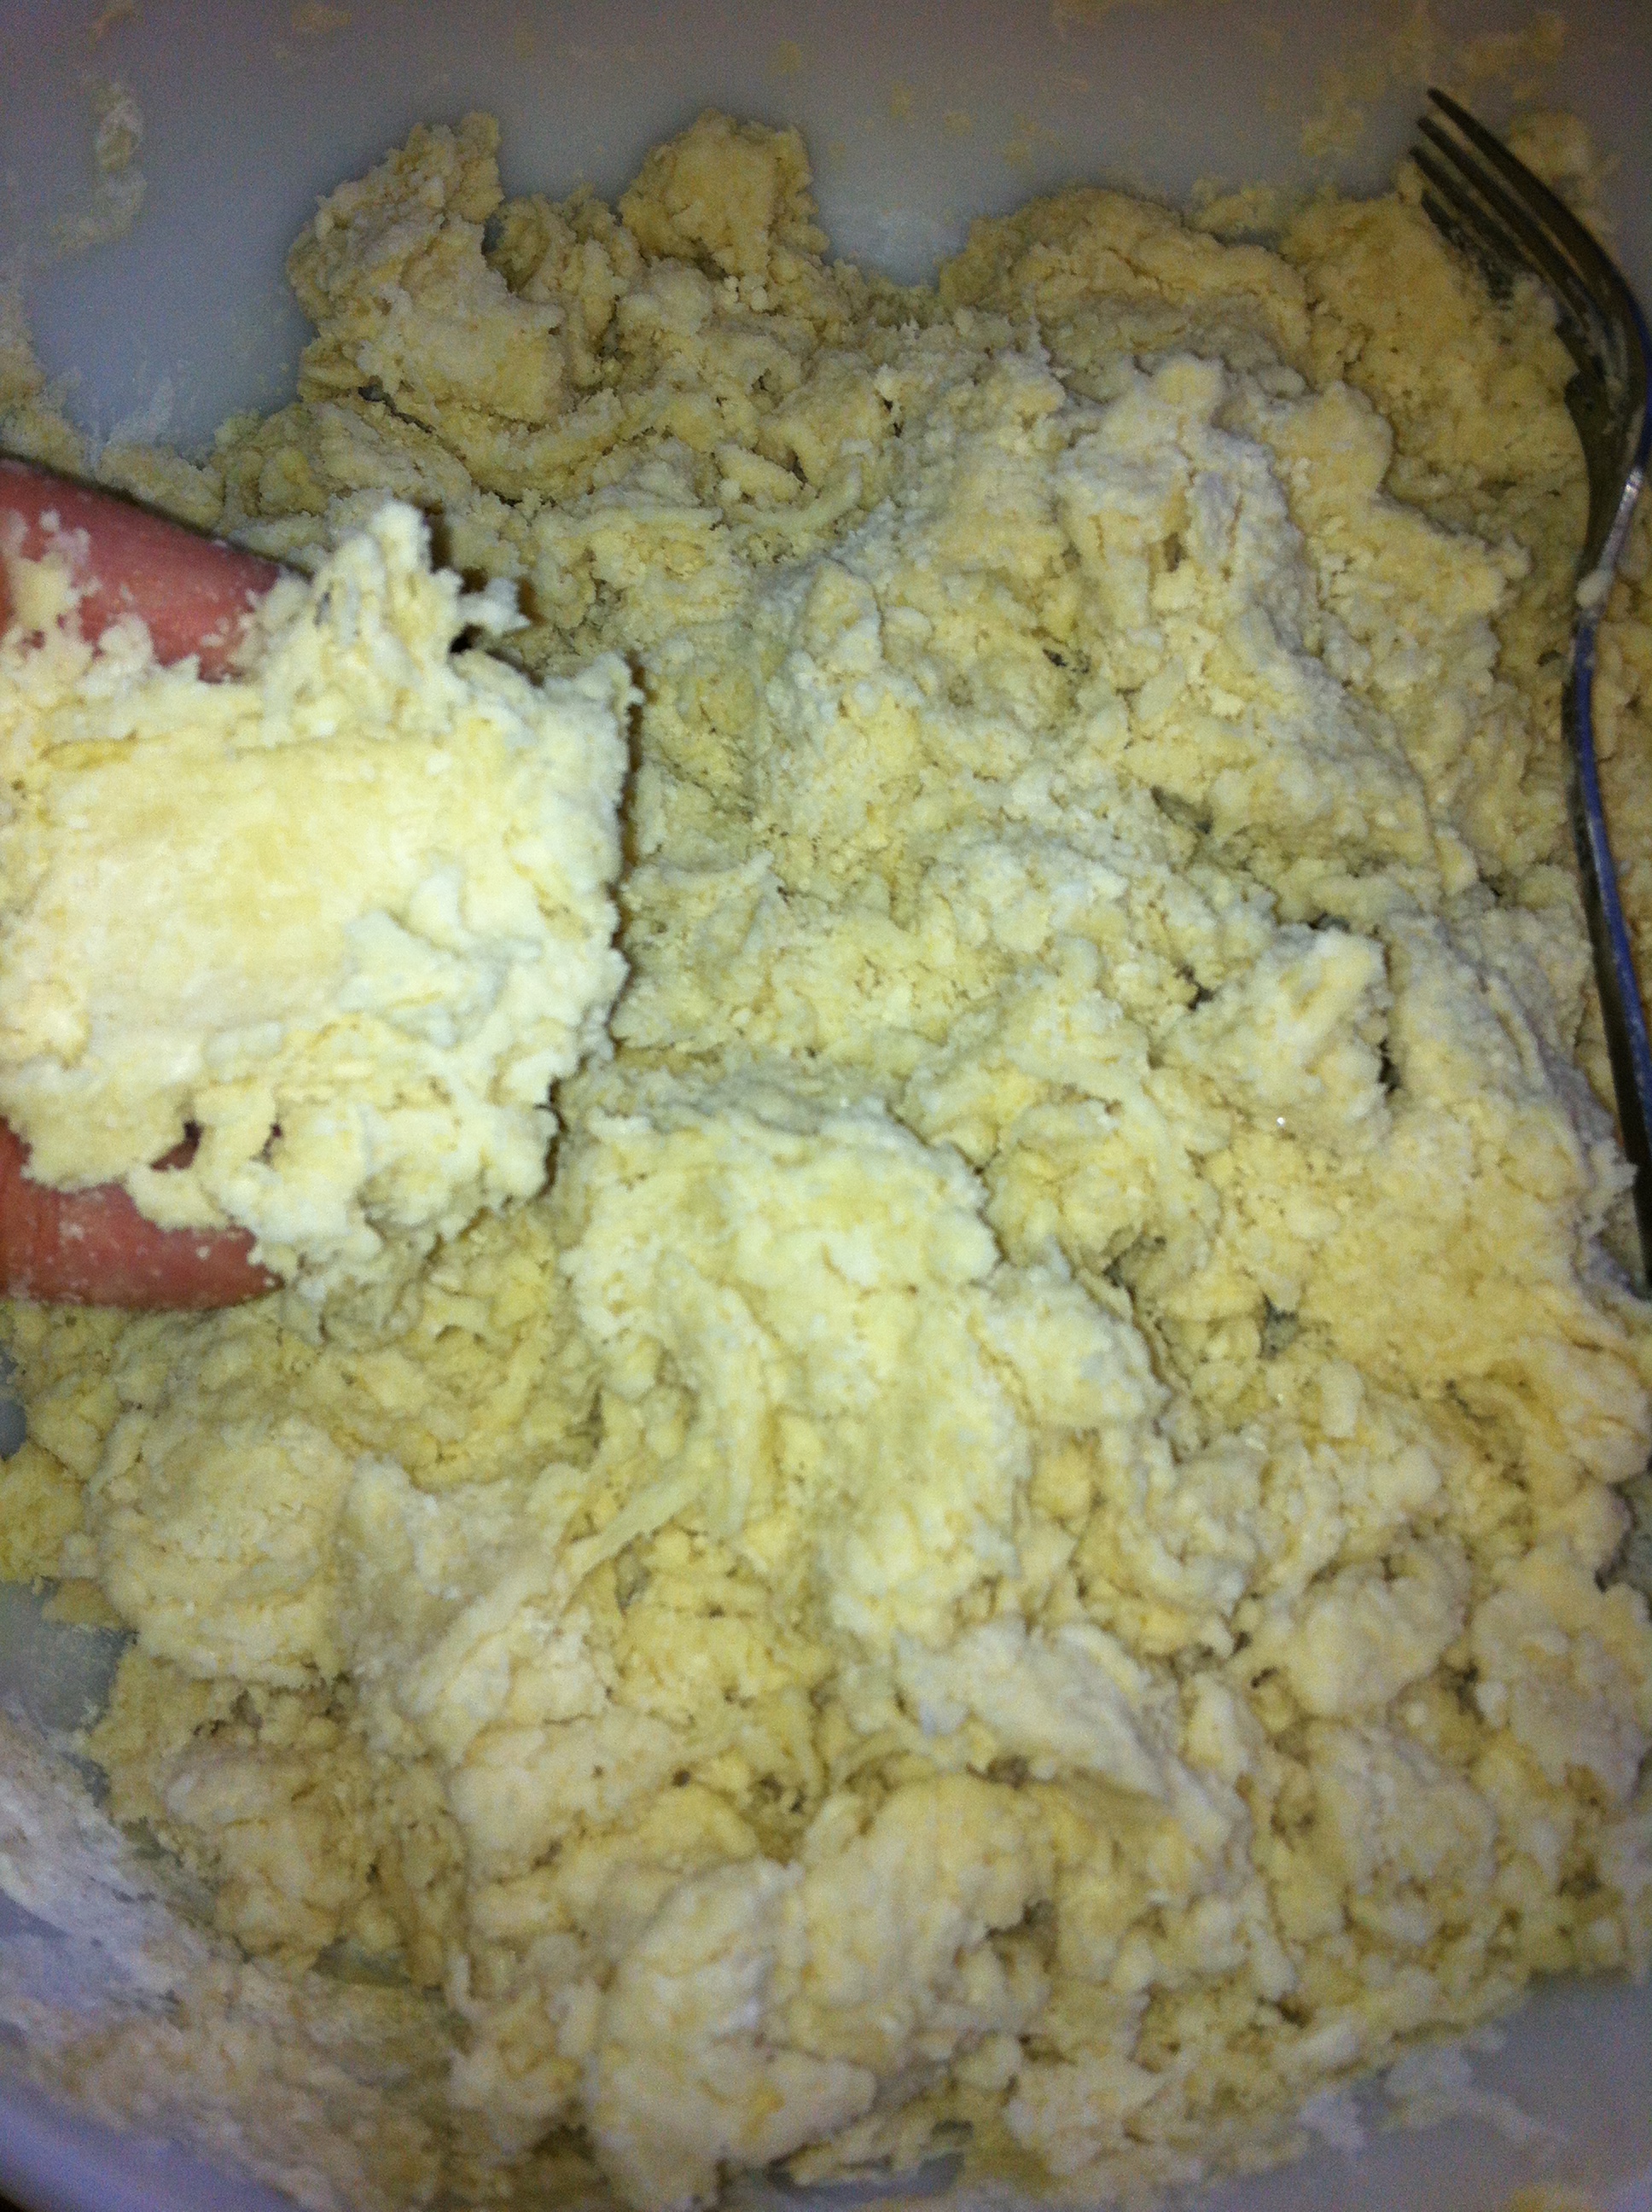
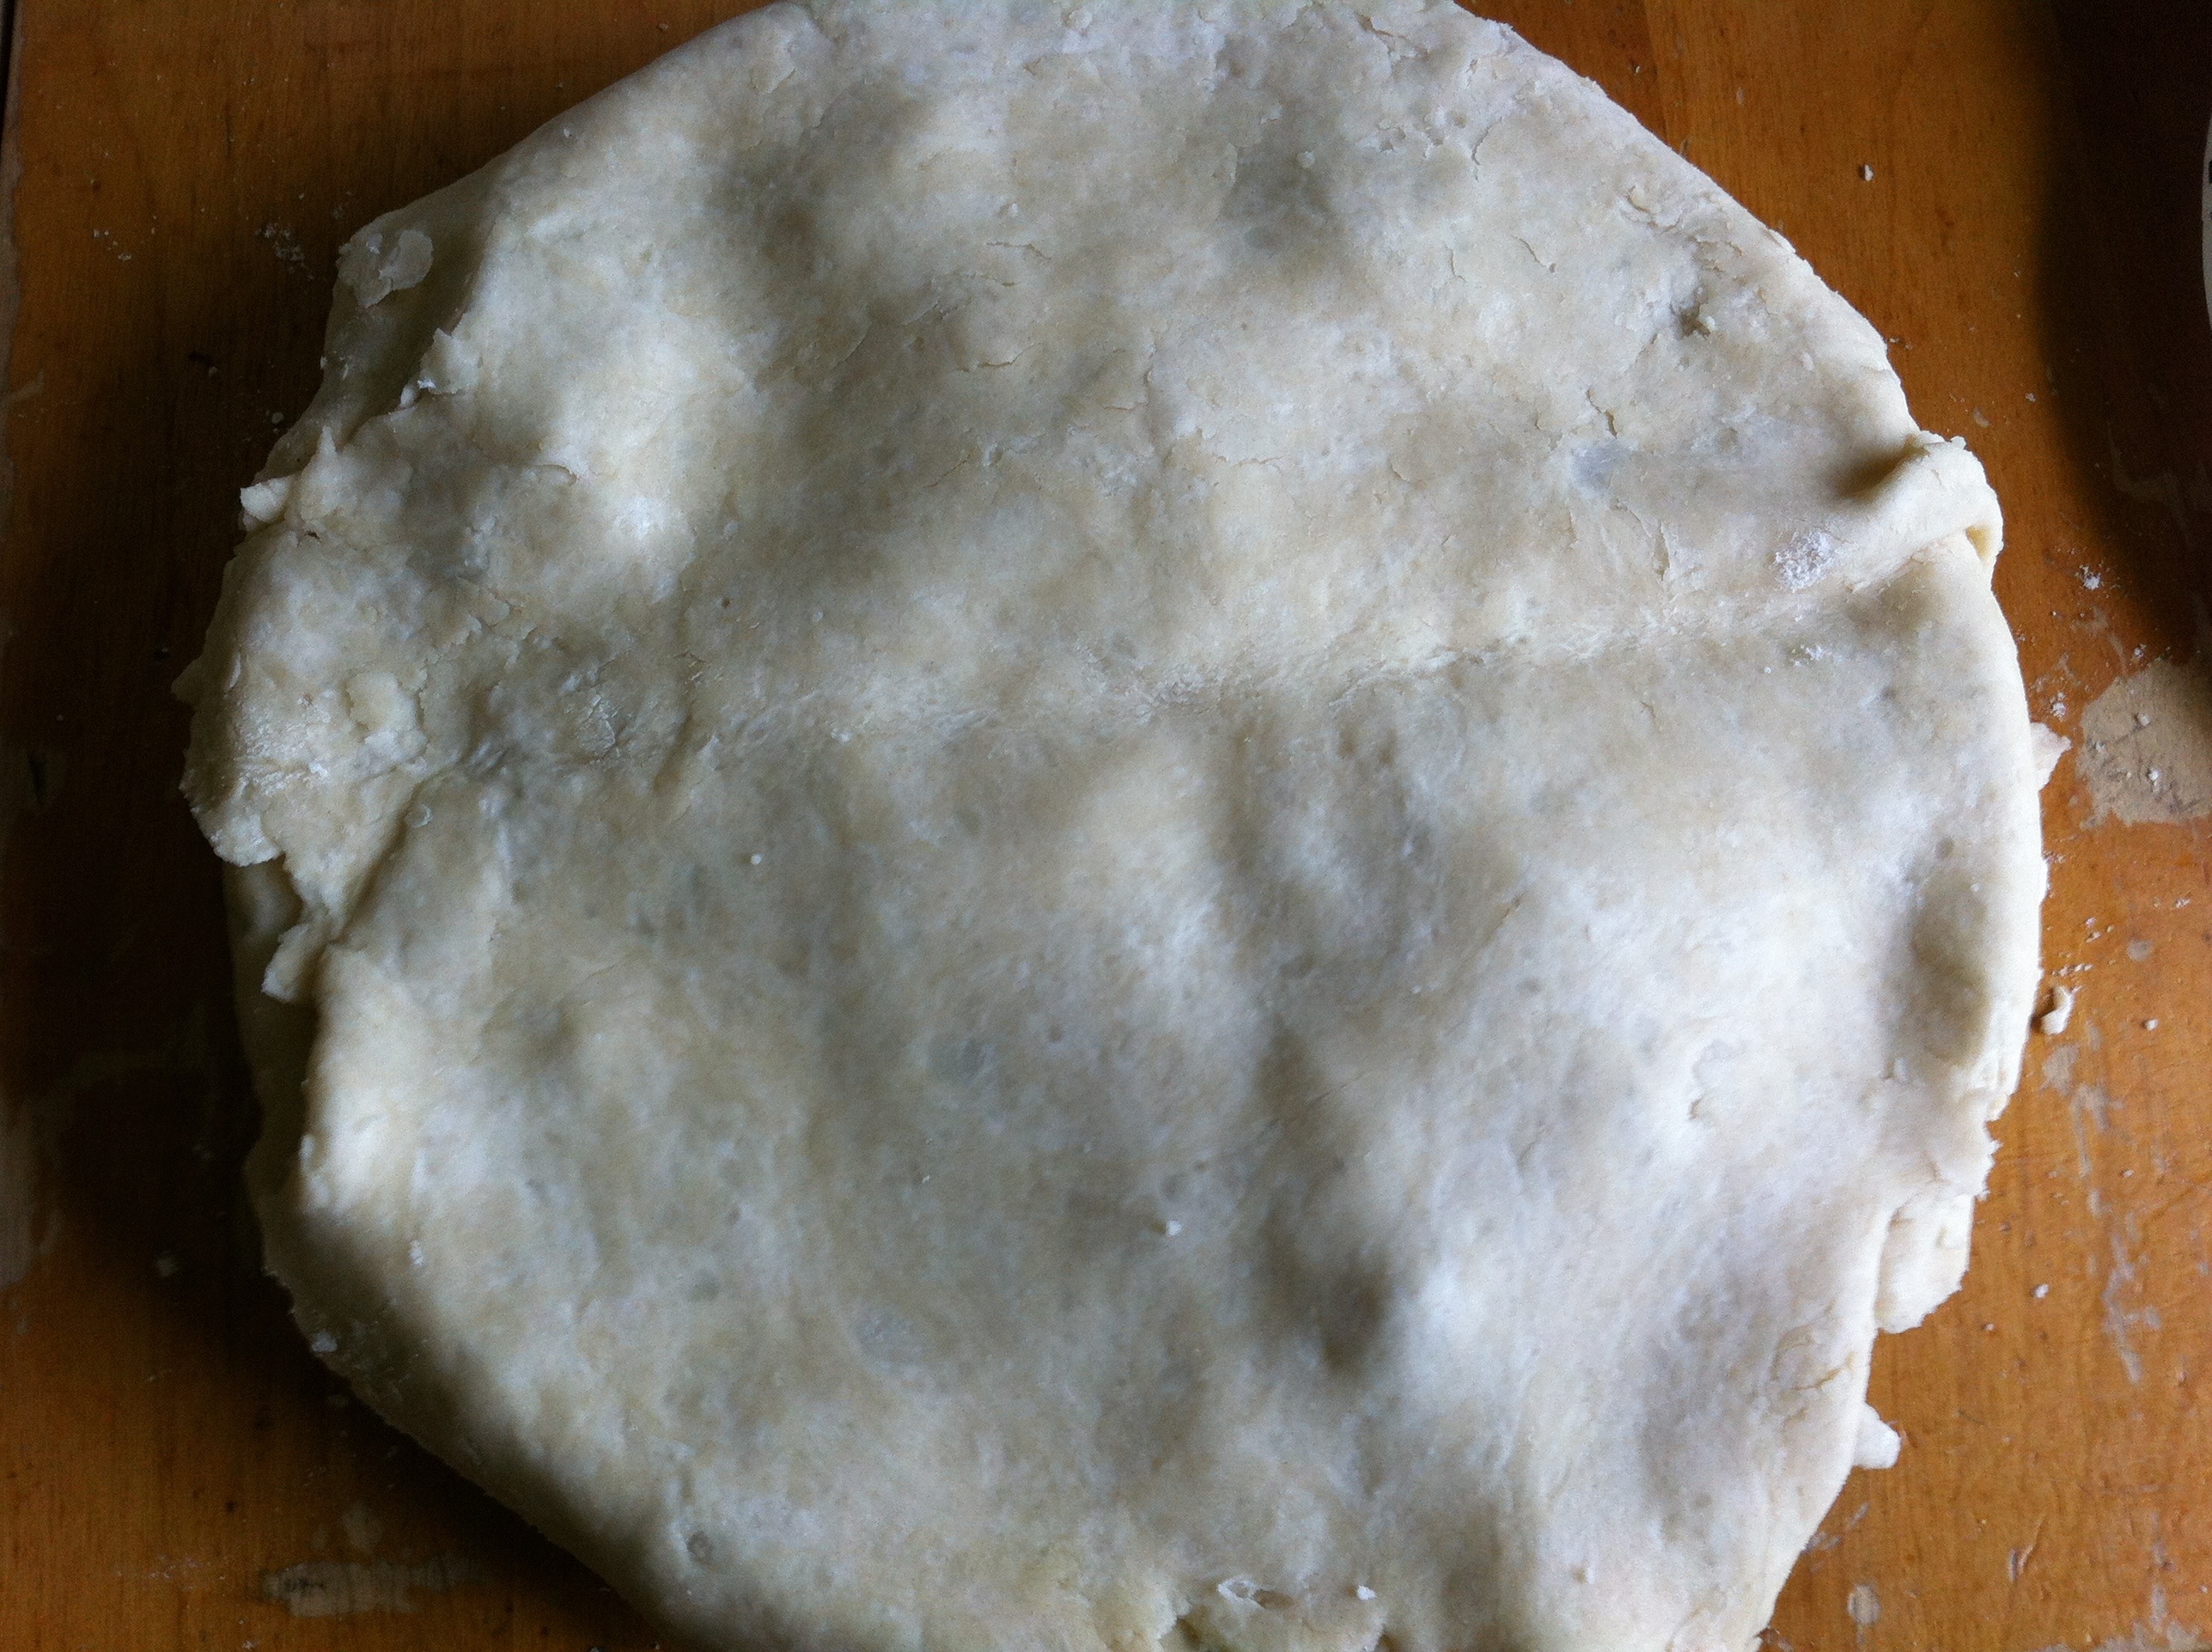
When the dough starts to come together you should be able to pick up a piece and pinch it and it should hold together.
*Toss out onto waxed paper {I don’t think I did this when taking this picture, but it does help handle it a little better} and lightly form into a ball.
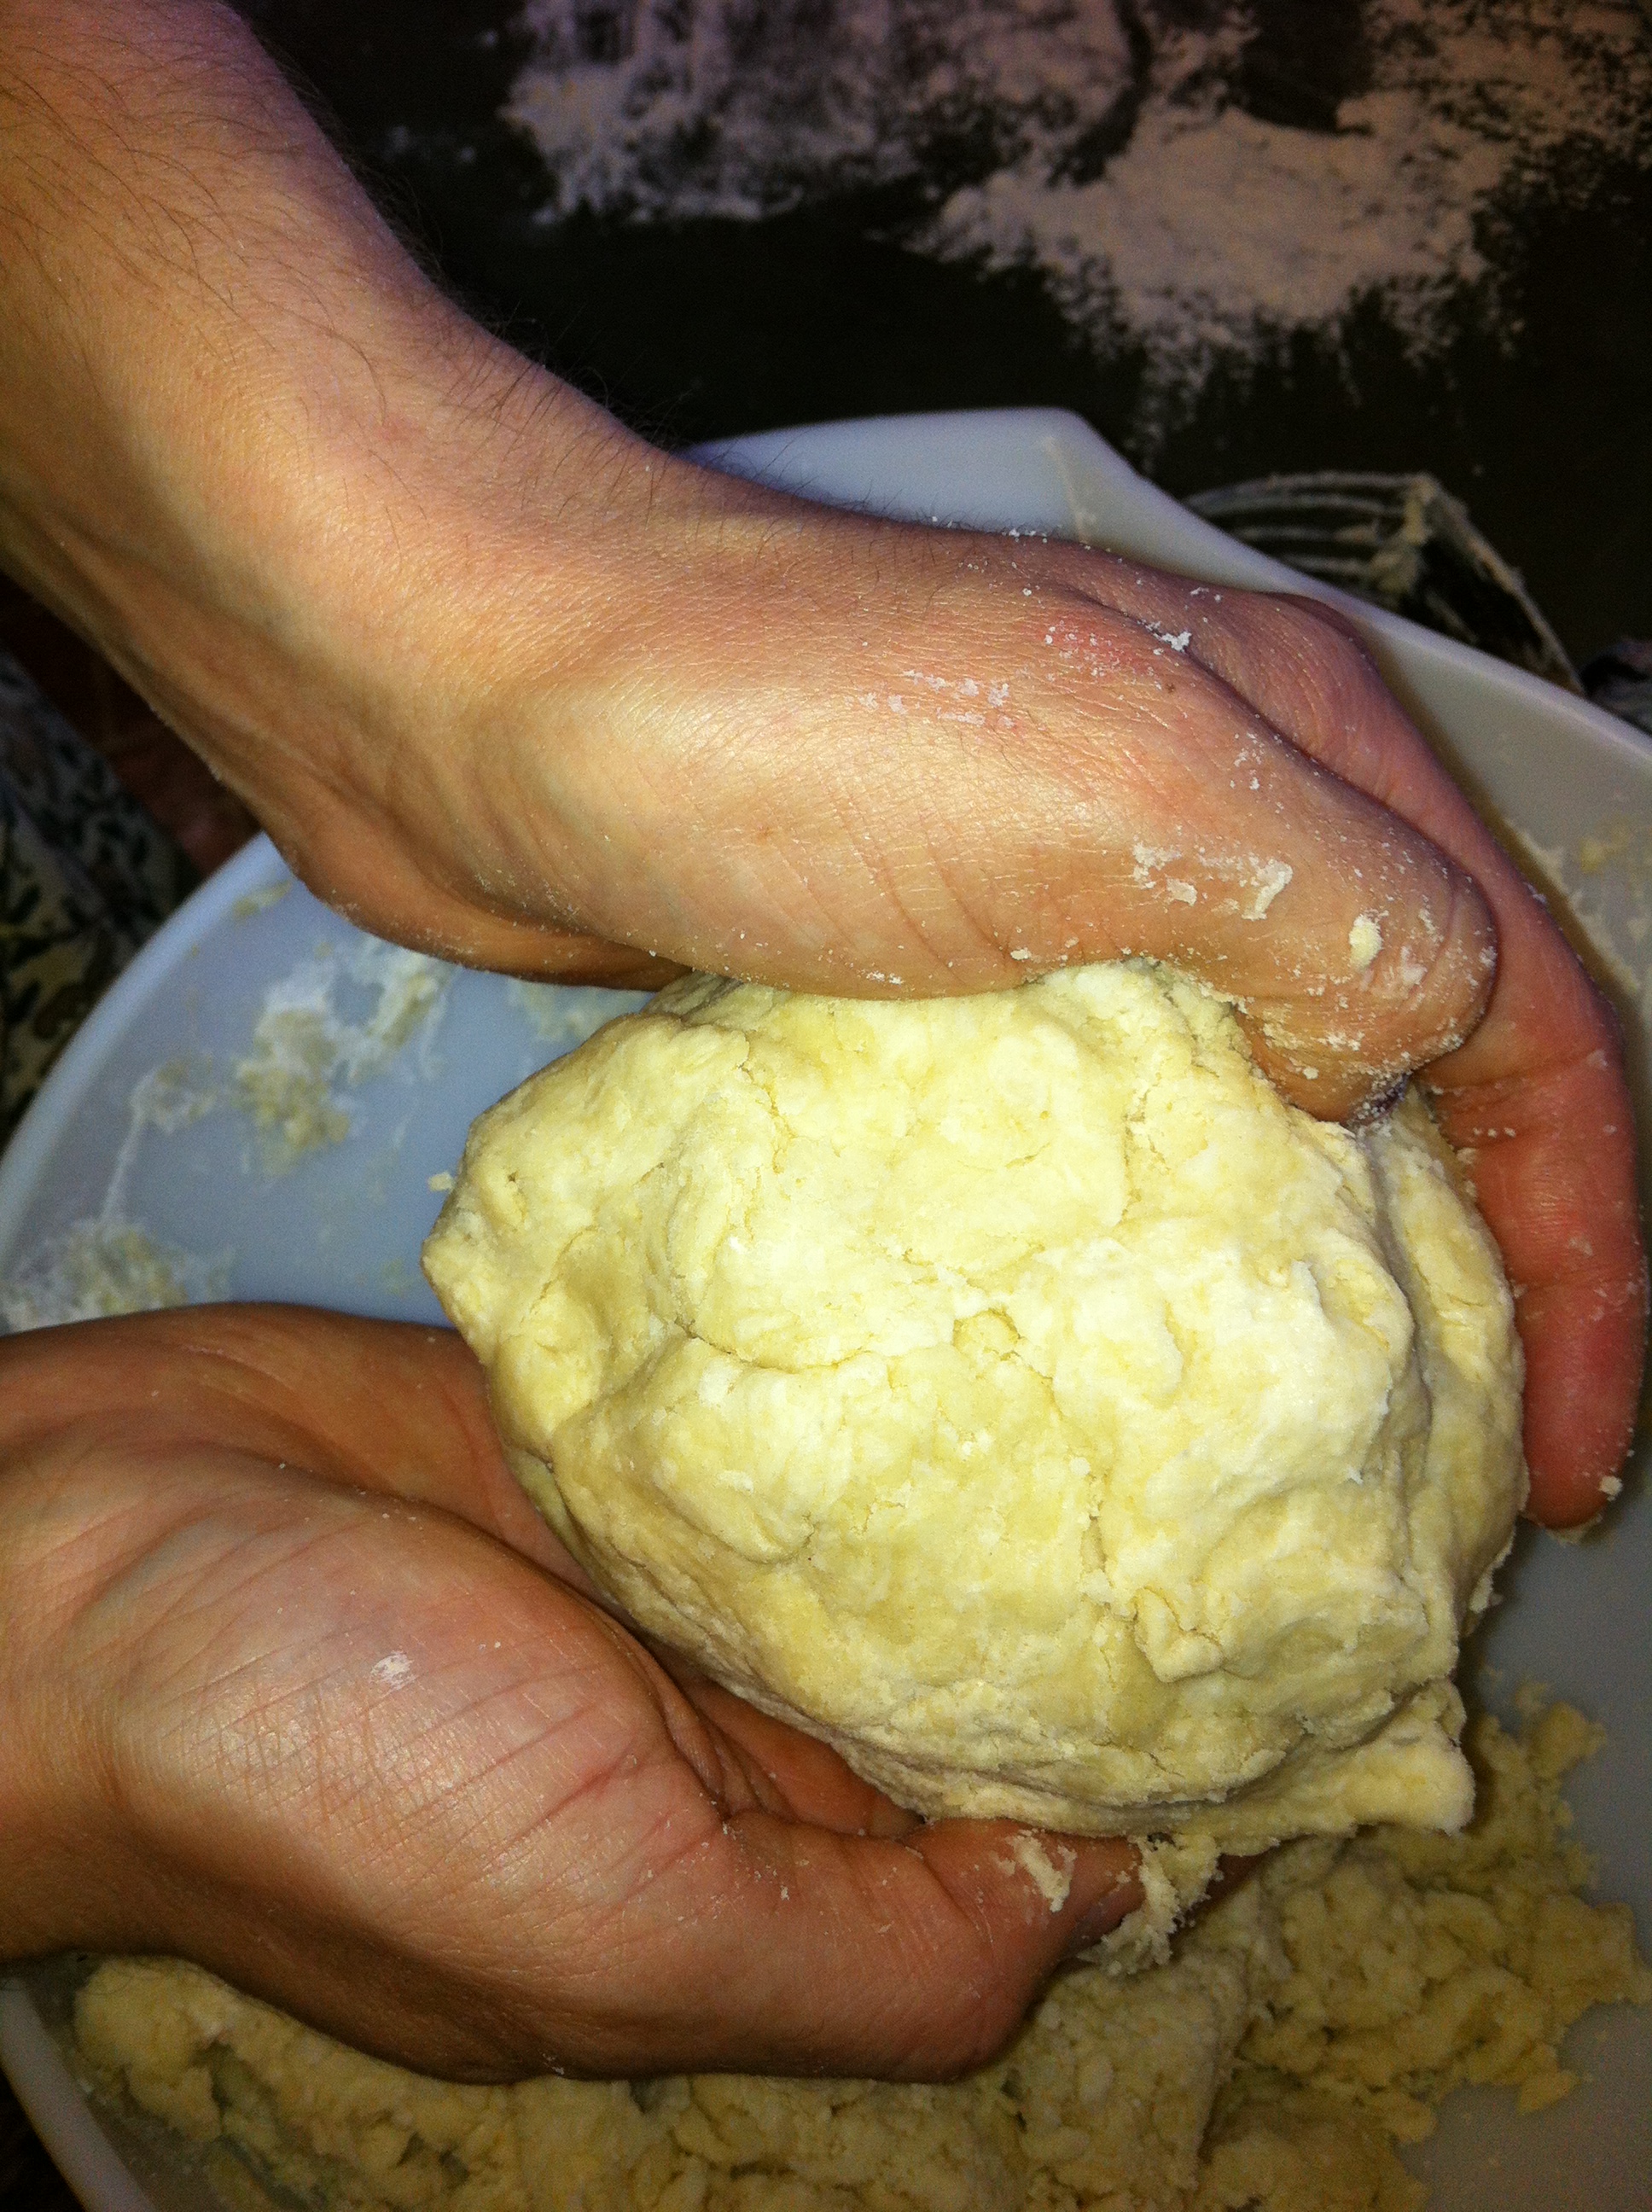
*Separate into 2 balls {1 slightly larger for the bottom of the pie}.
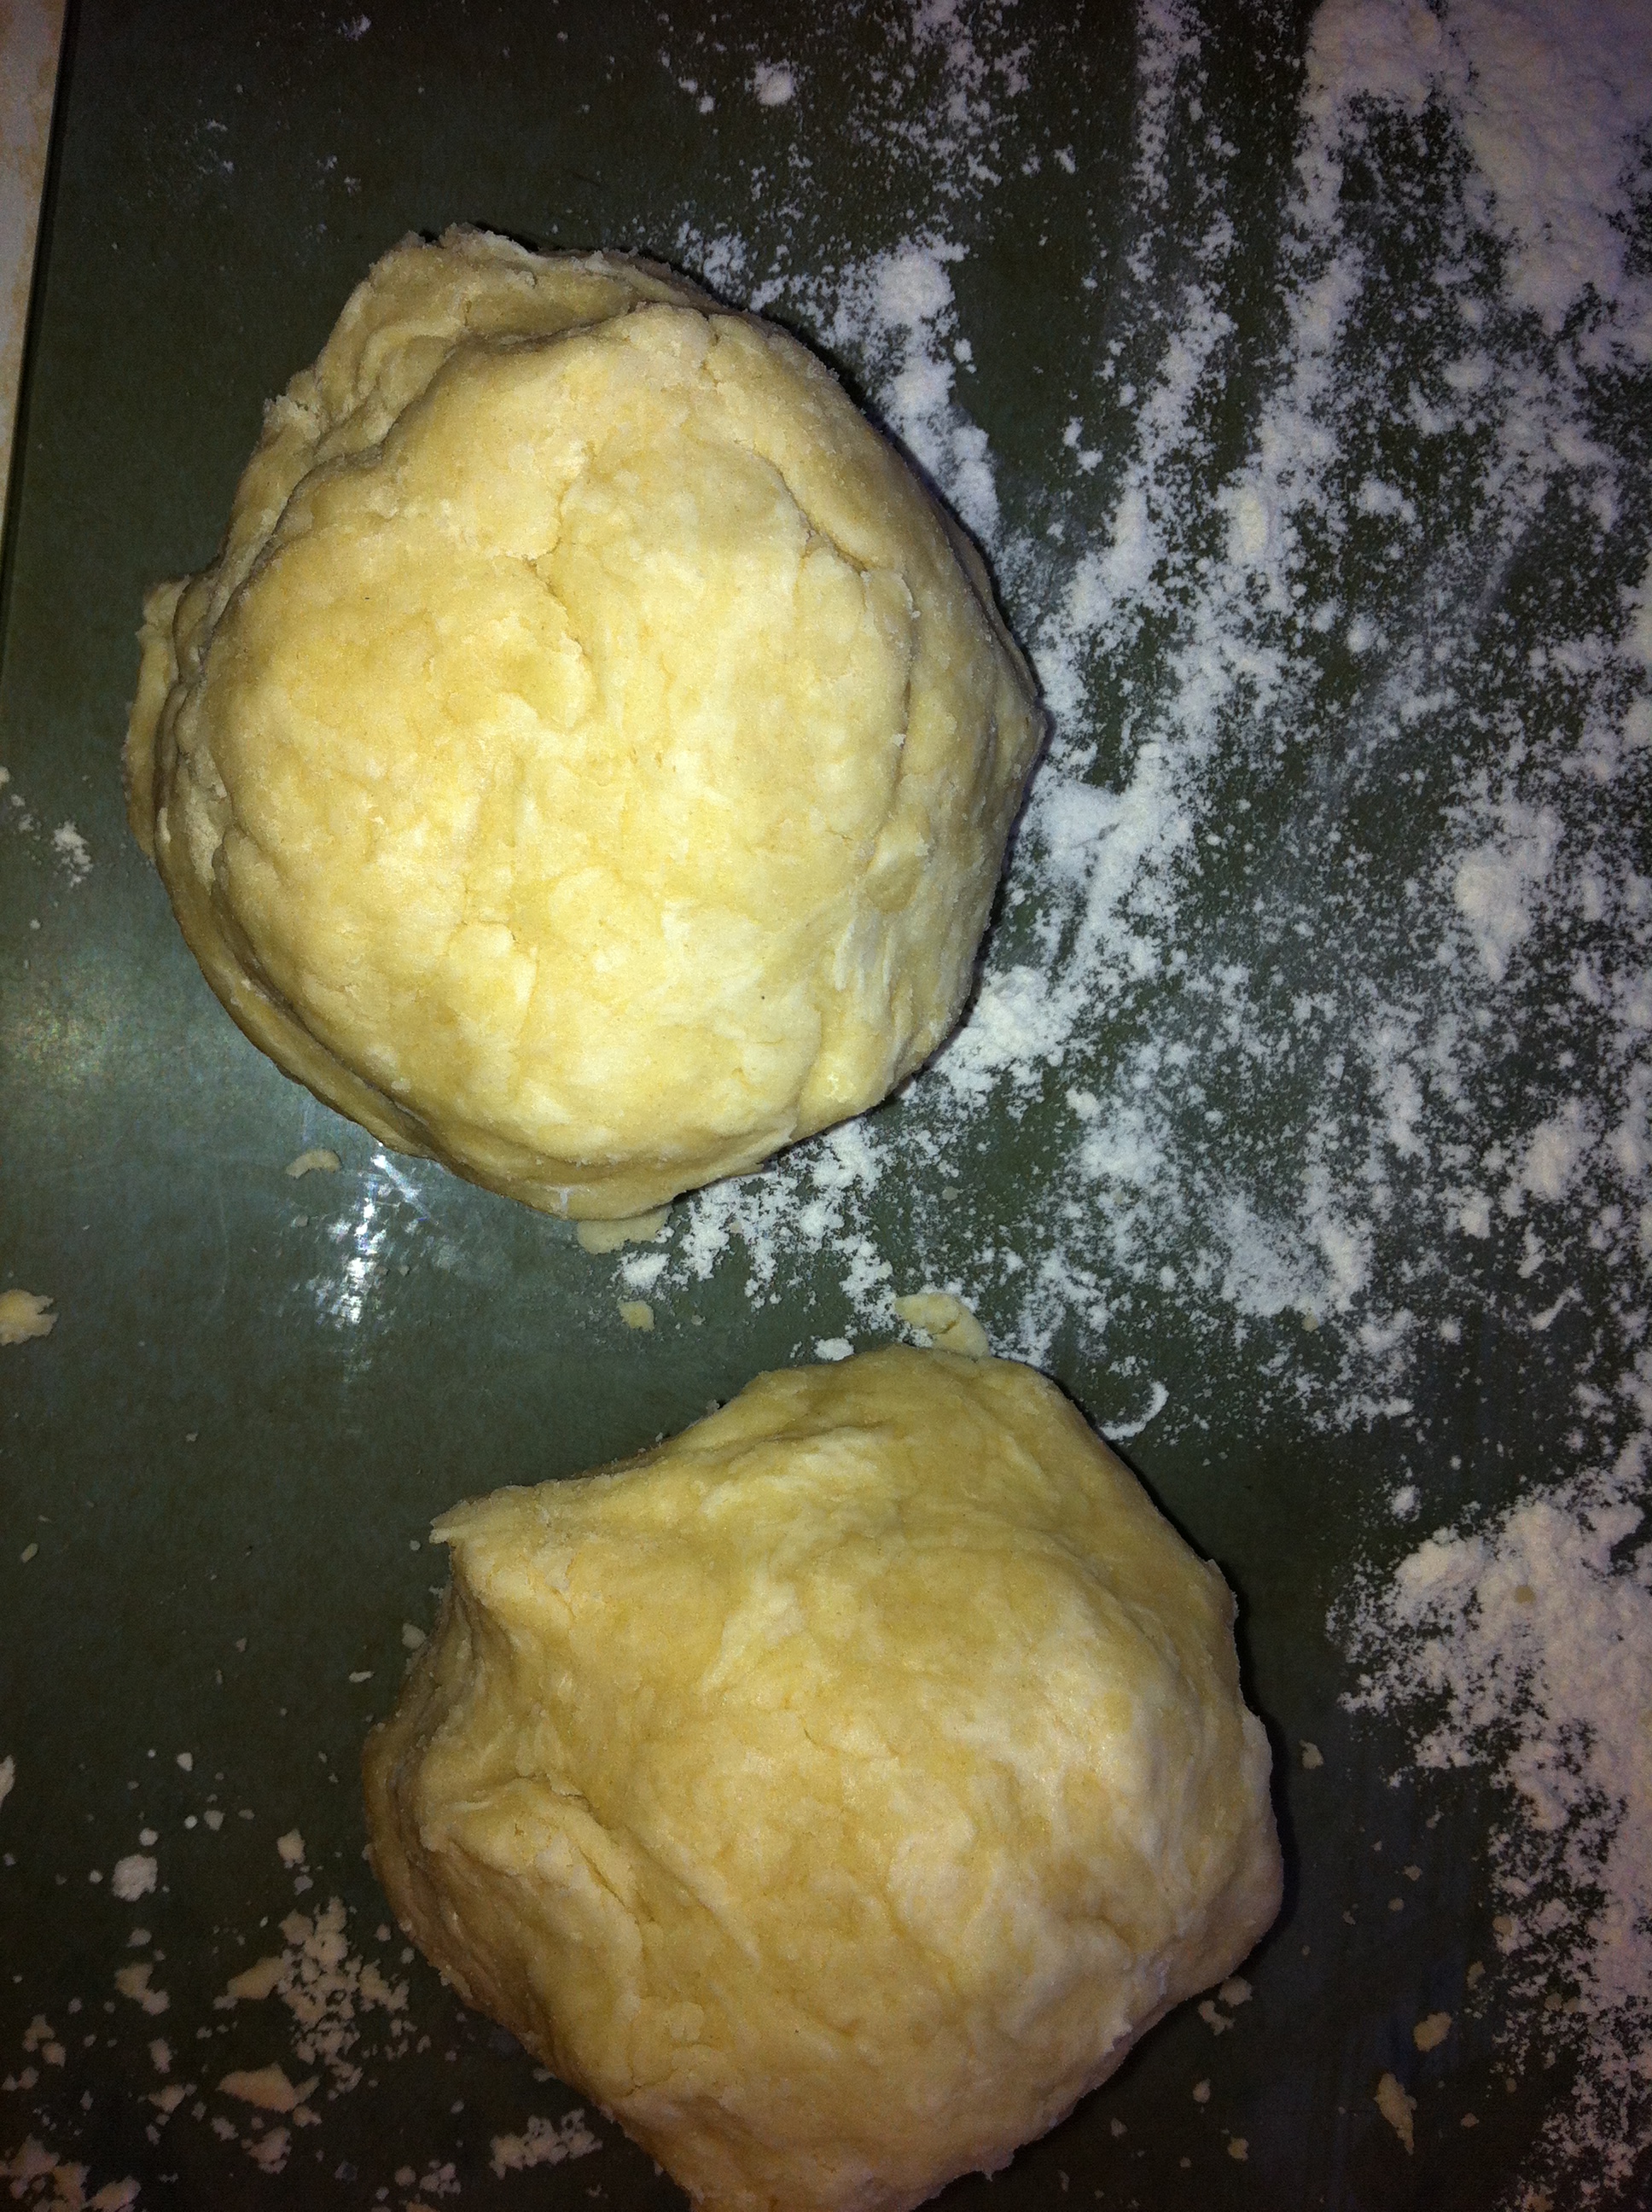
*Because I doubled my recipe, I divided the remaining dough into 2 balls and wrapped well with plastic wrap and placed in the fridge to use later. I would use within a few days. I don’t really know how long they are “good” for.

*Now it is time to roll out these guys out! Don’t start sweating now, you’ll be okay! Start by grabbing your rolling pin and flouring {a clean} countertop.
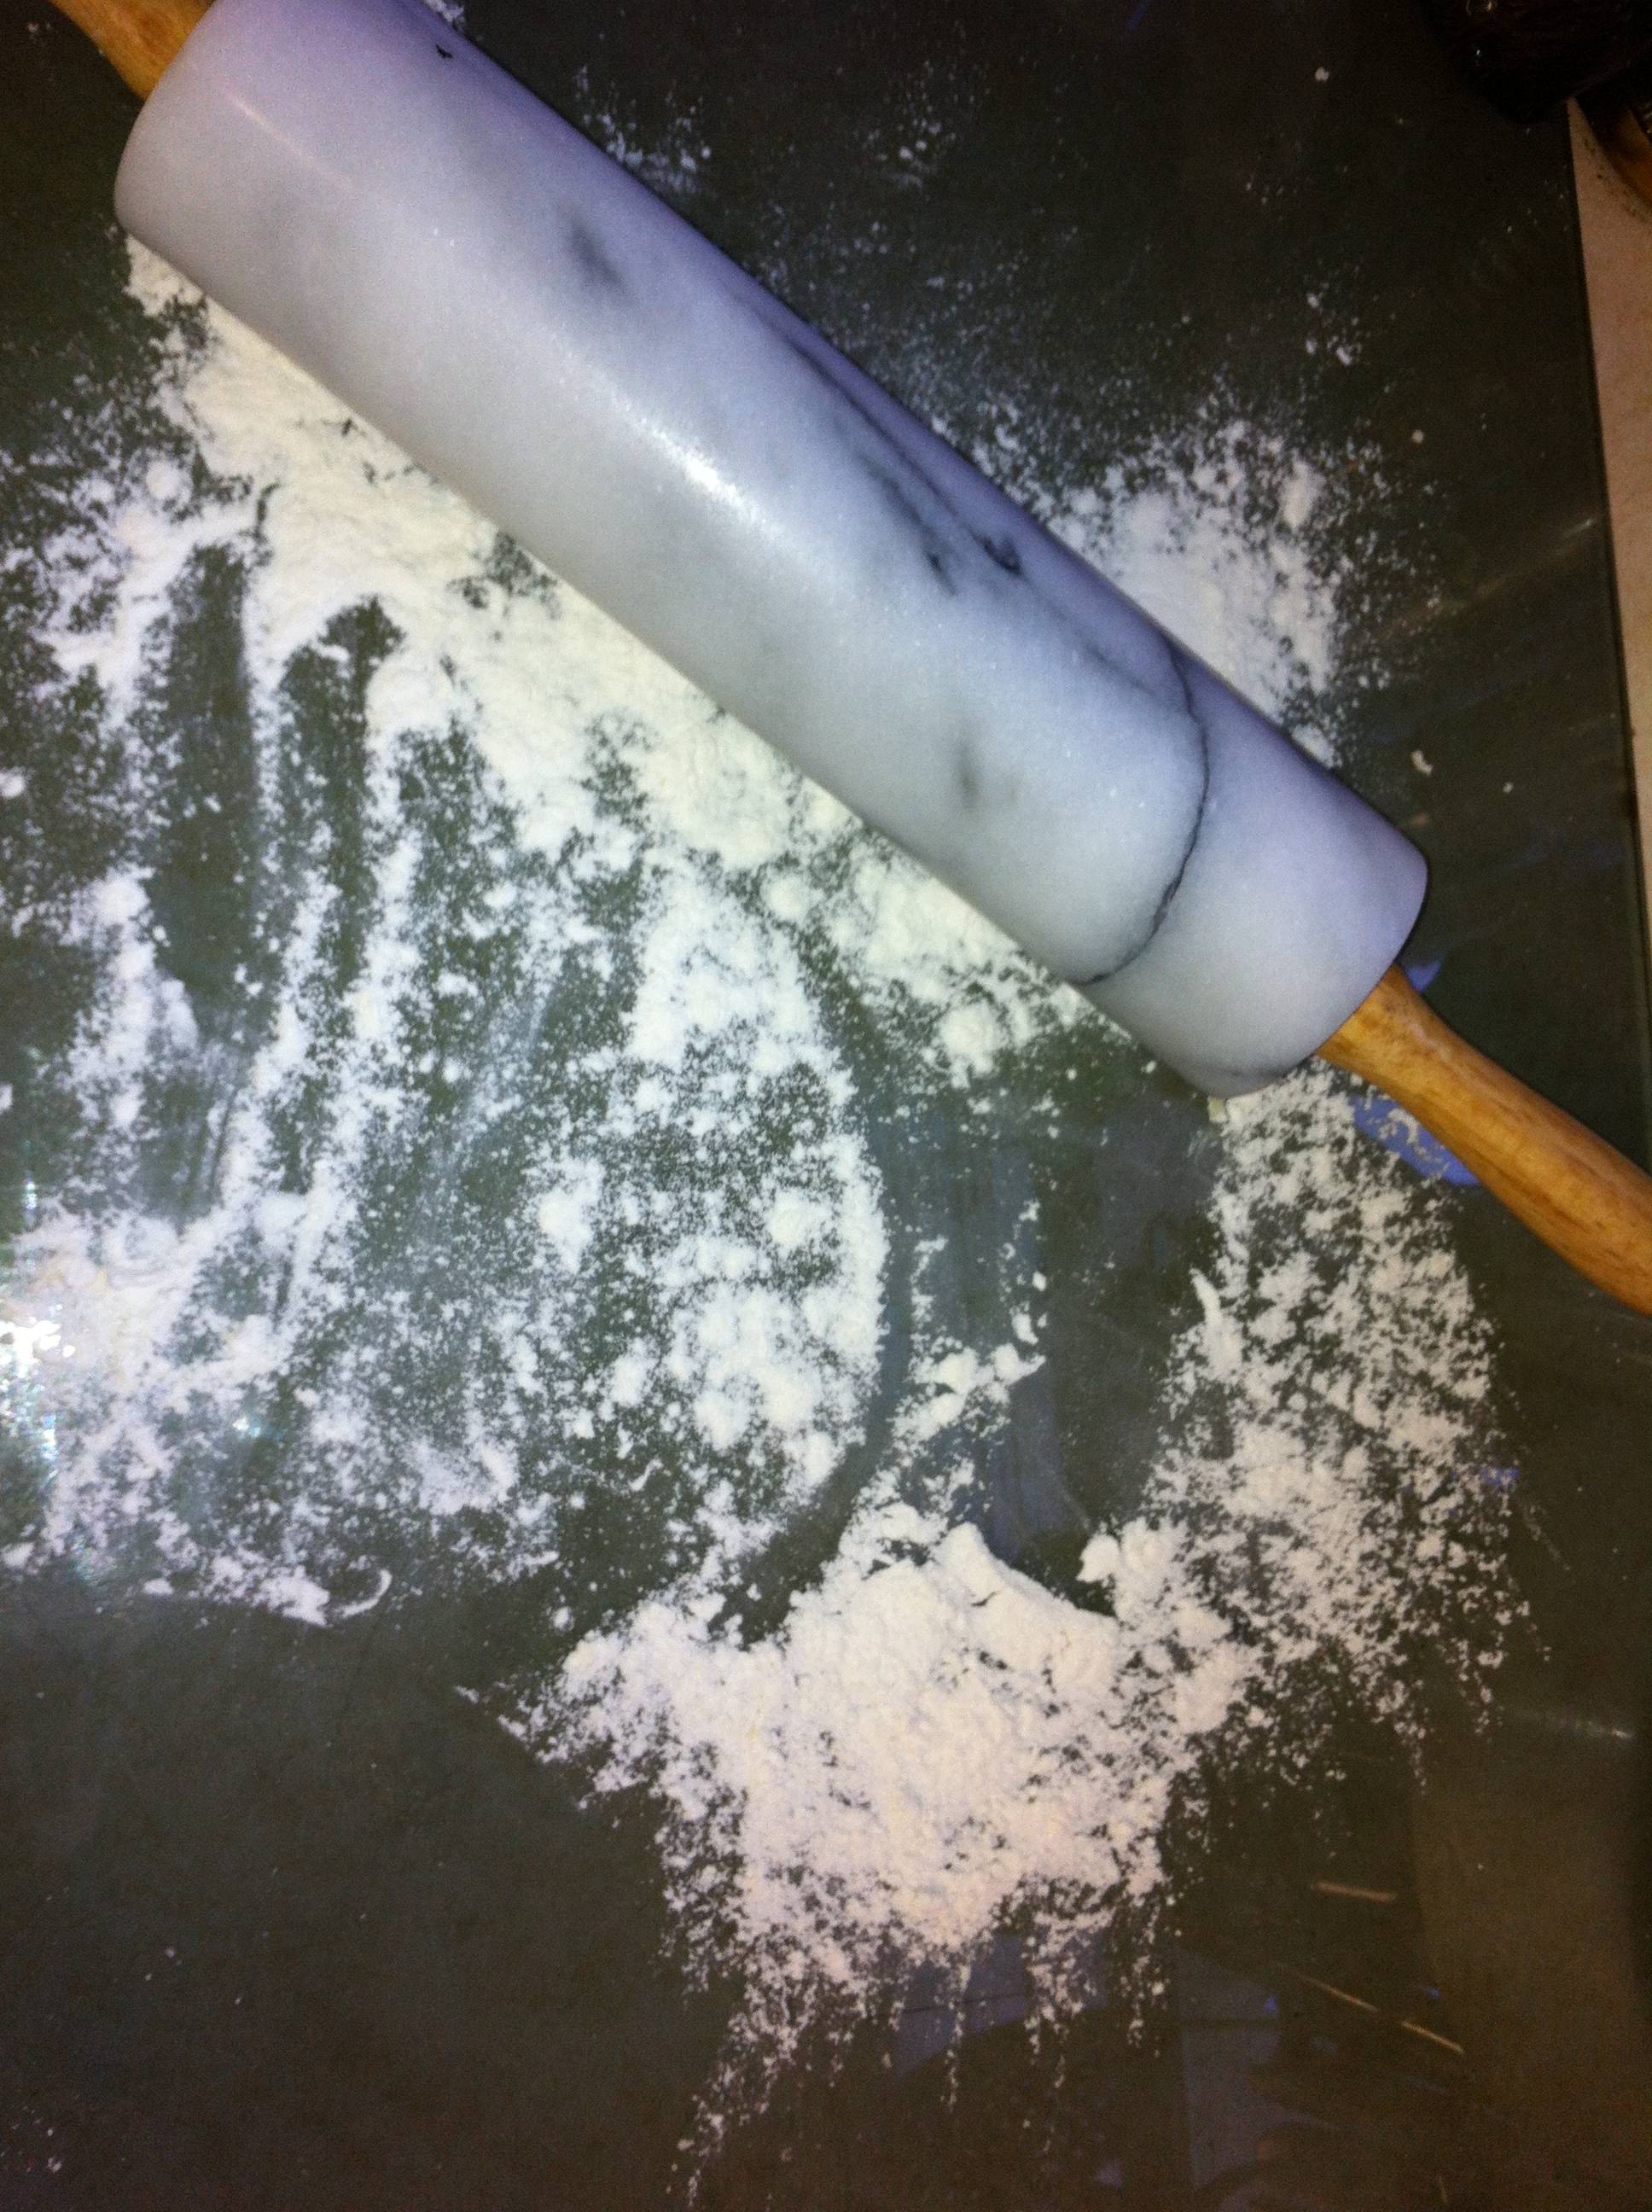
*I sort of push my ball down to flatten a little bit before I start rolling it out. It gives it a good start to keeping it’s round shape, I think.
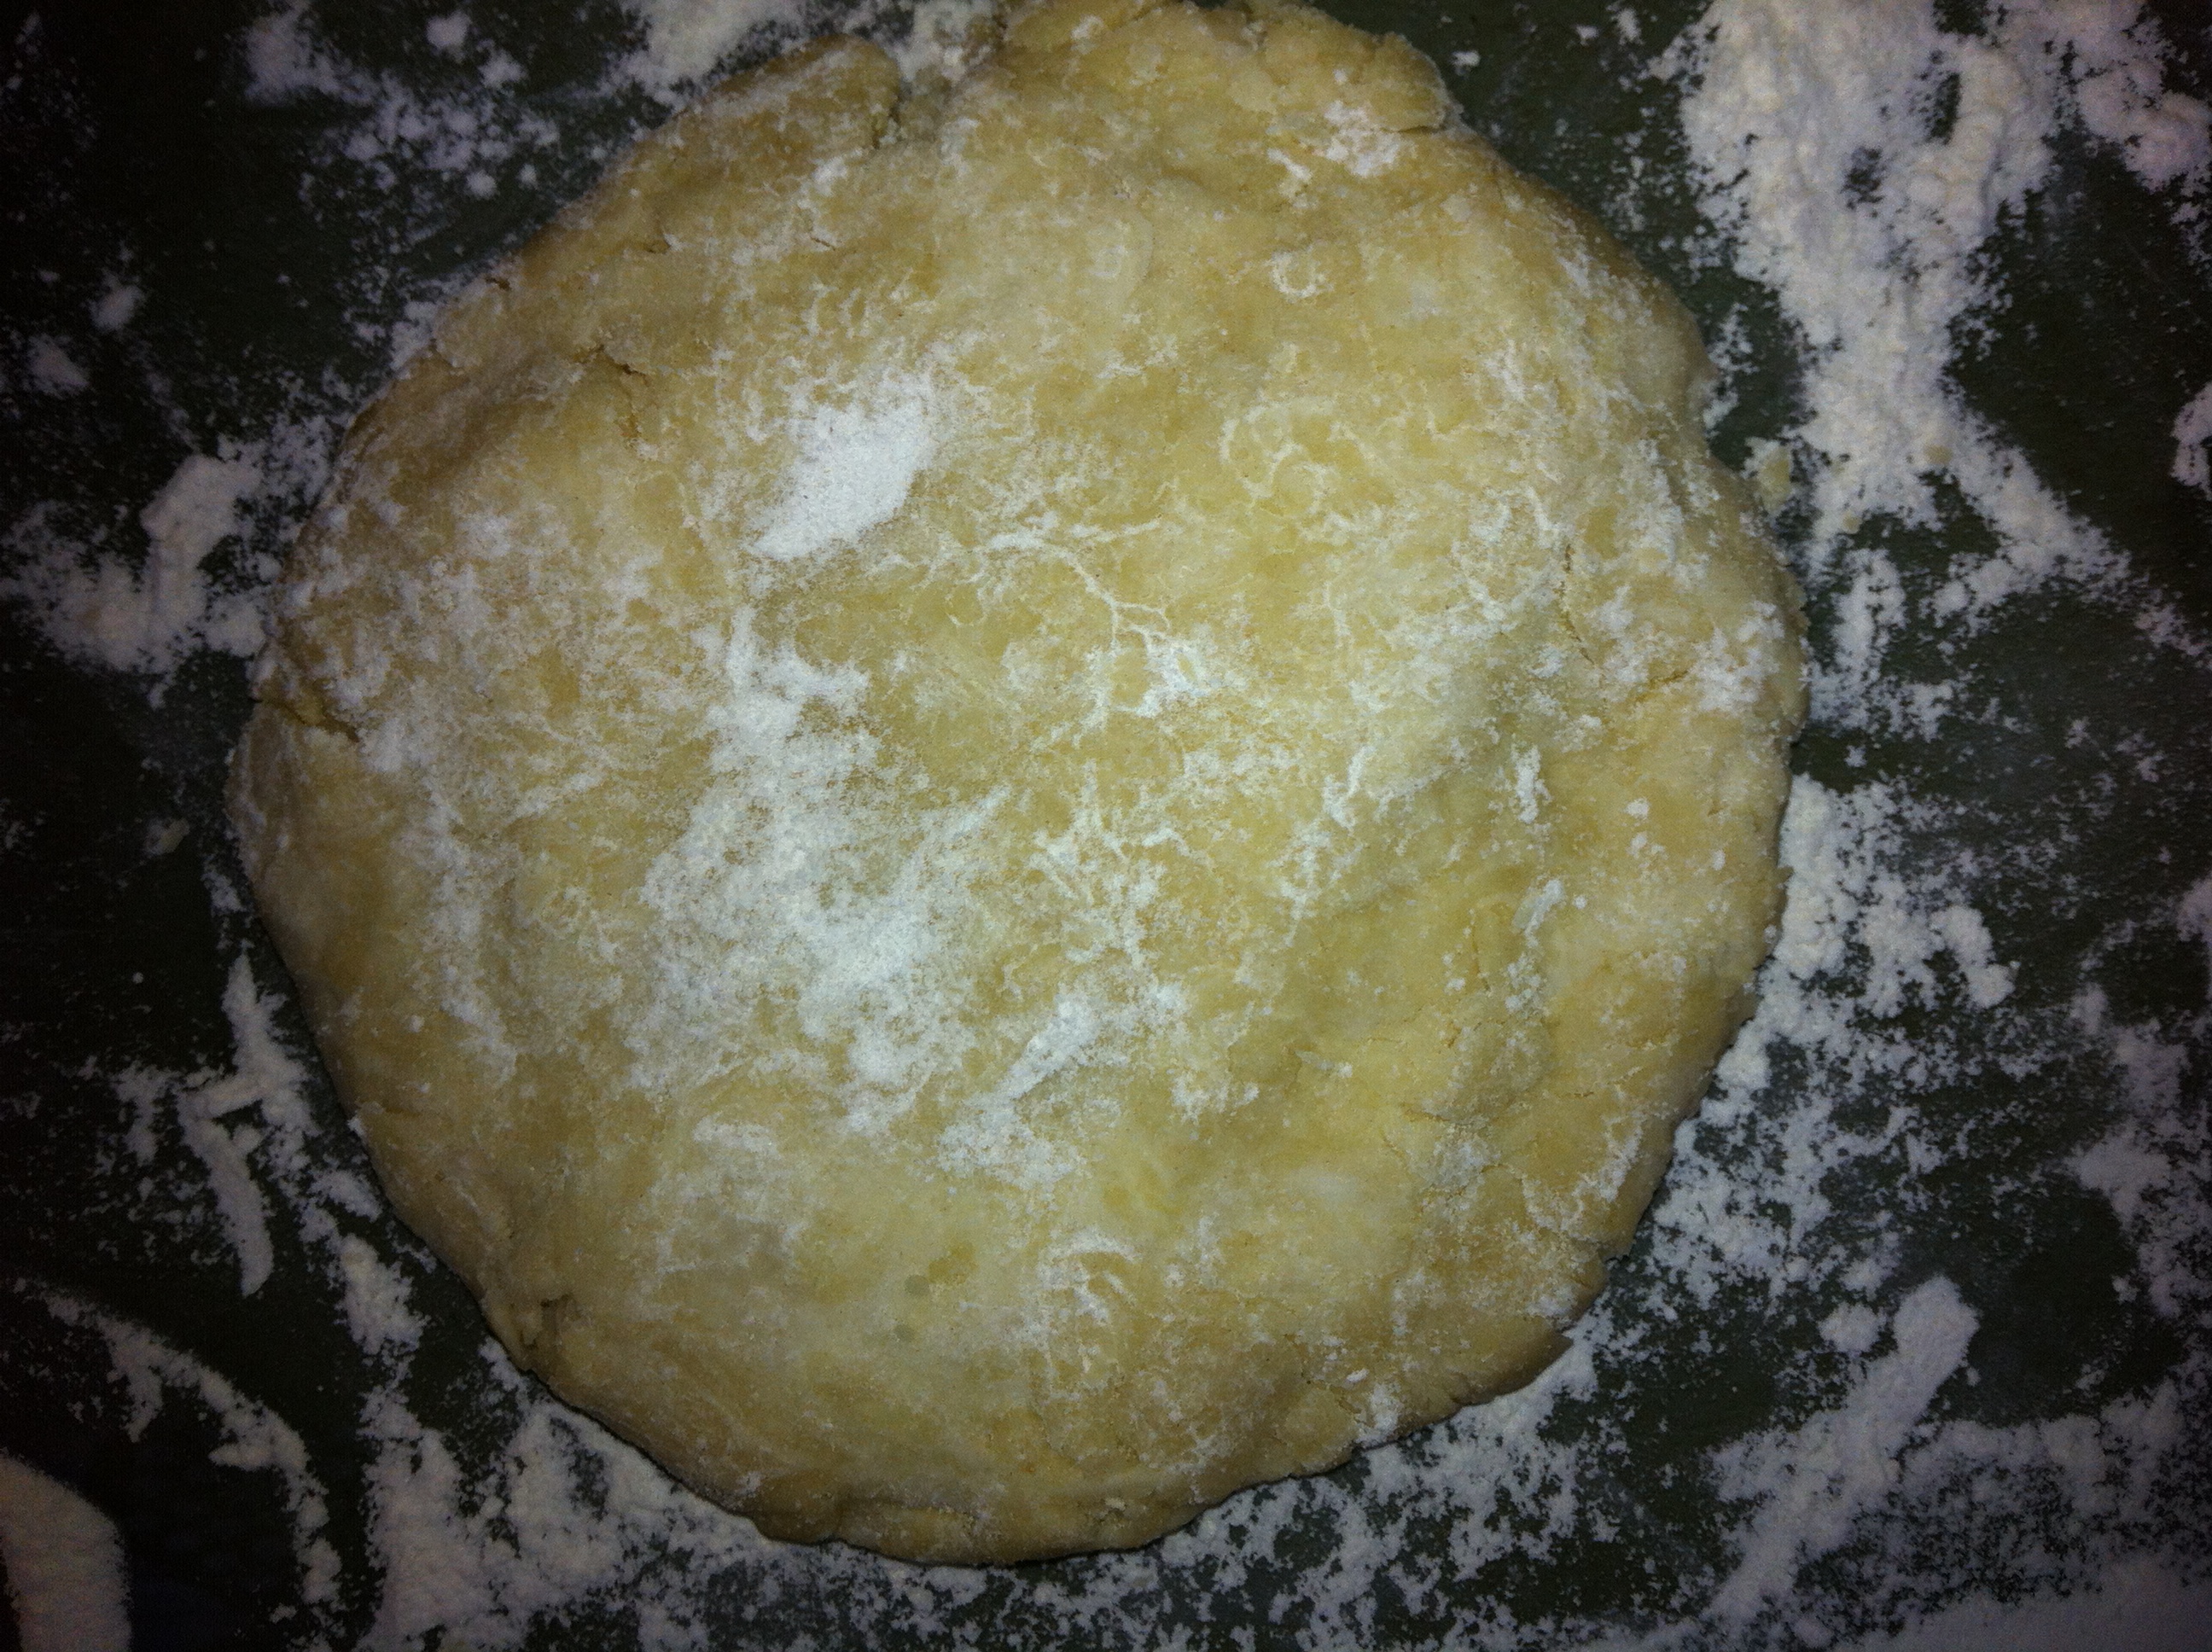
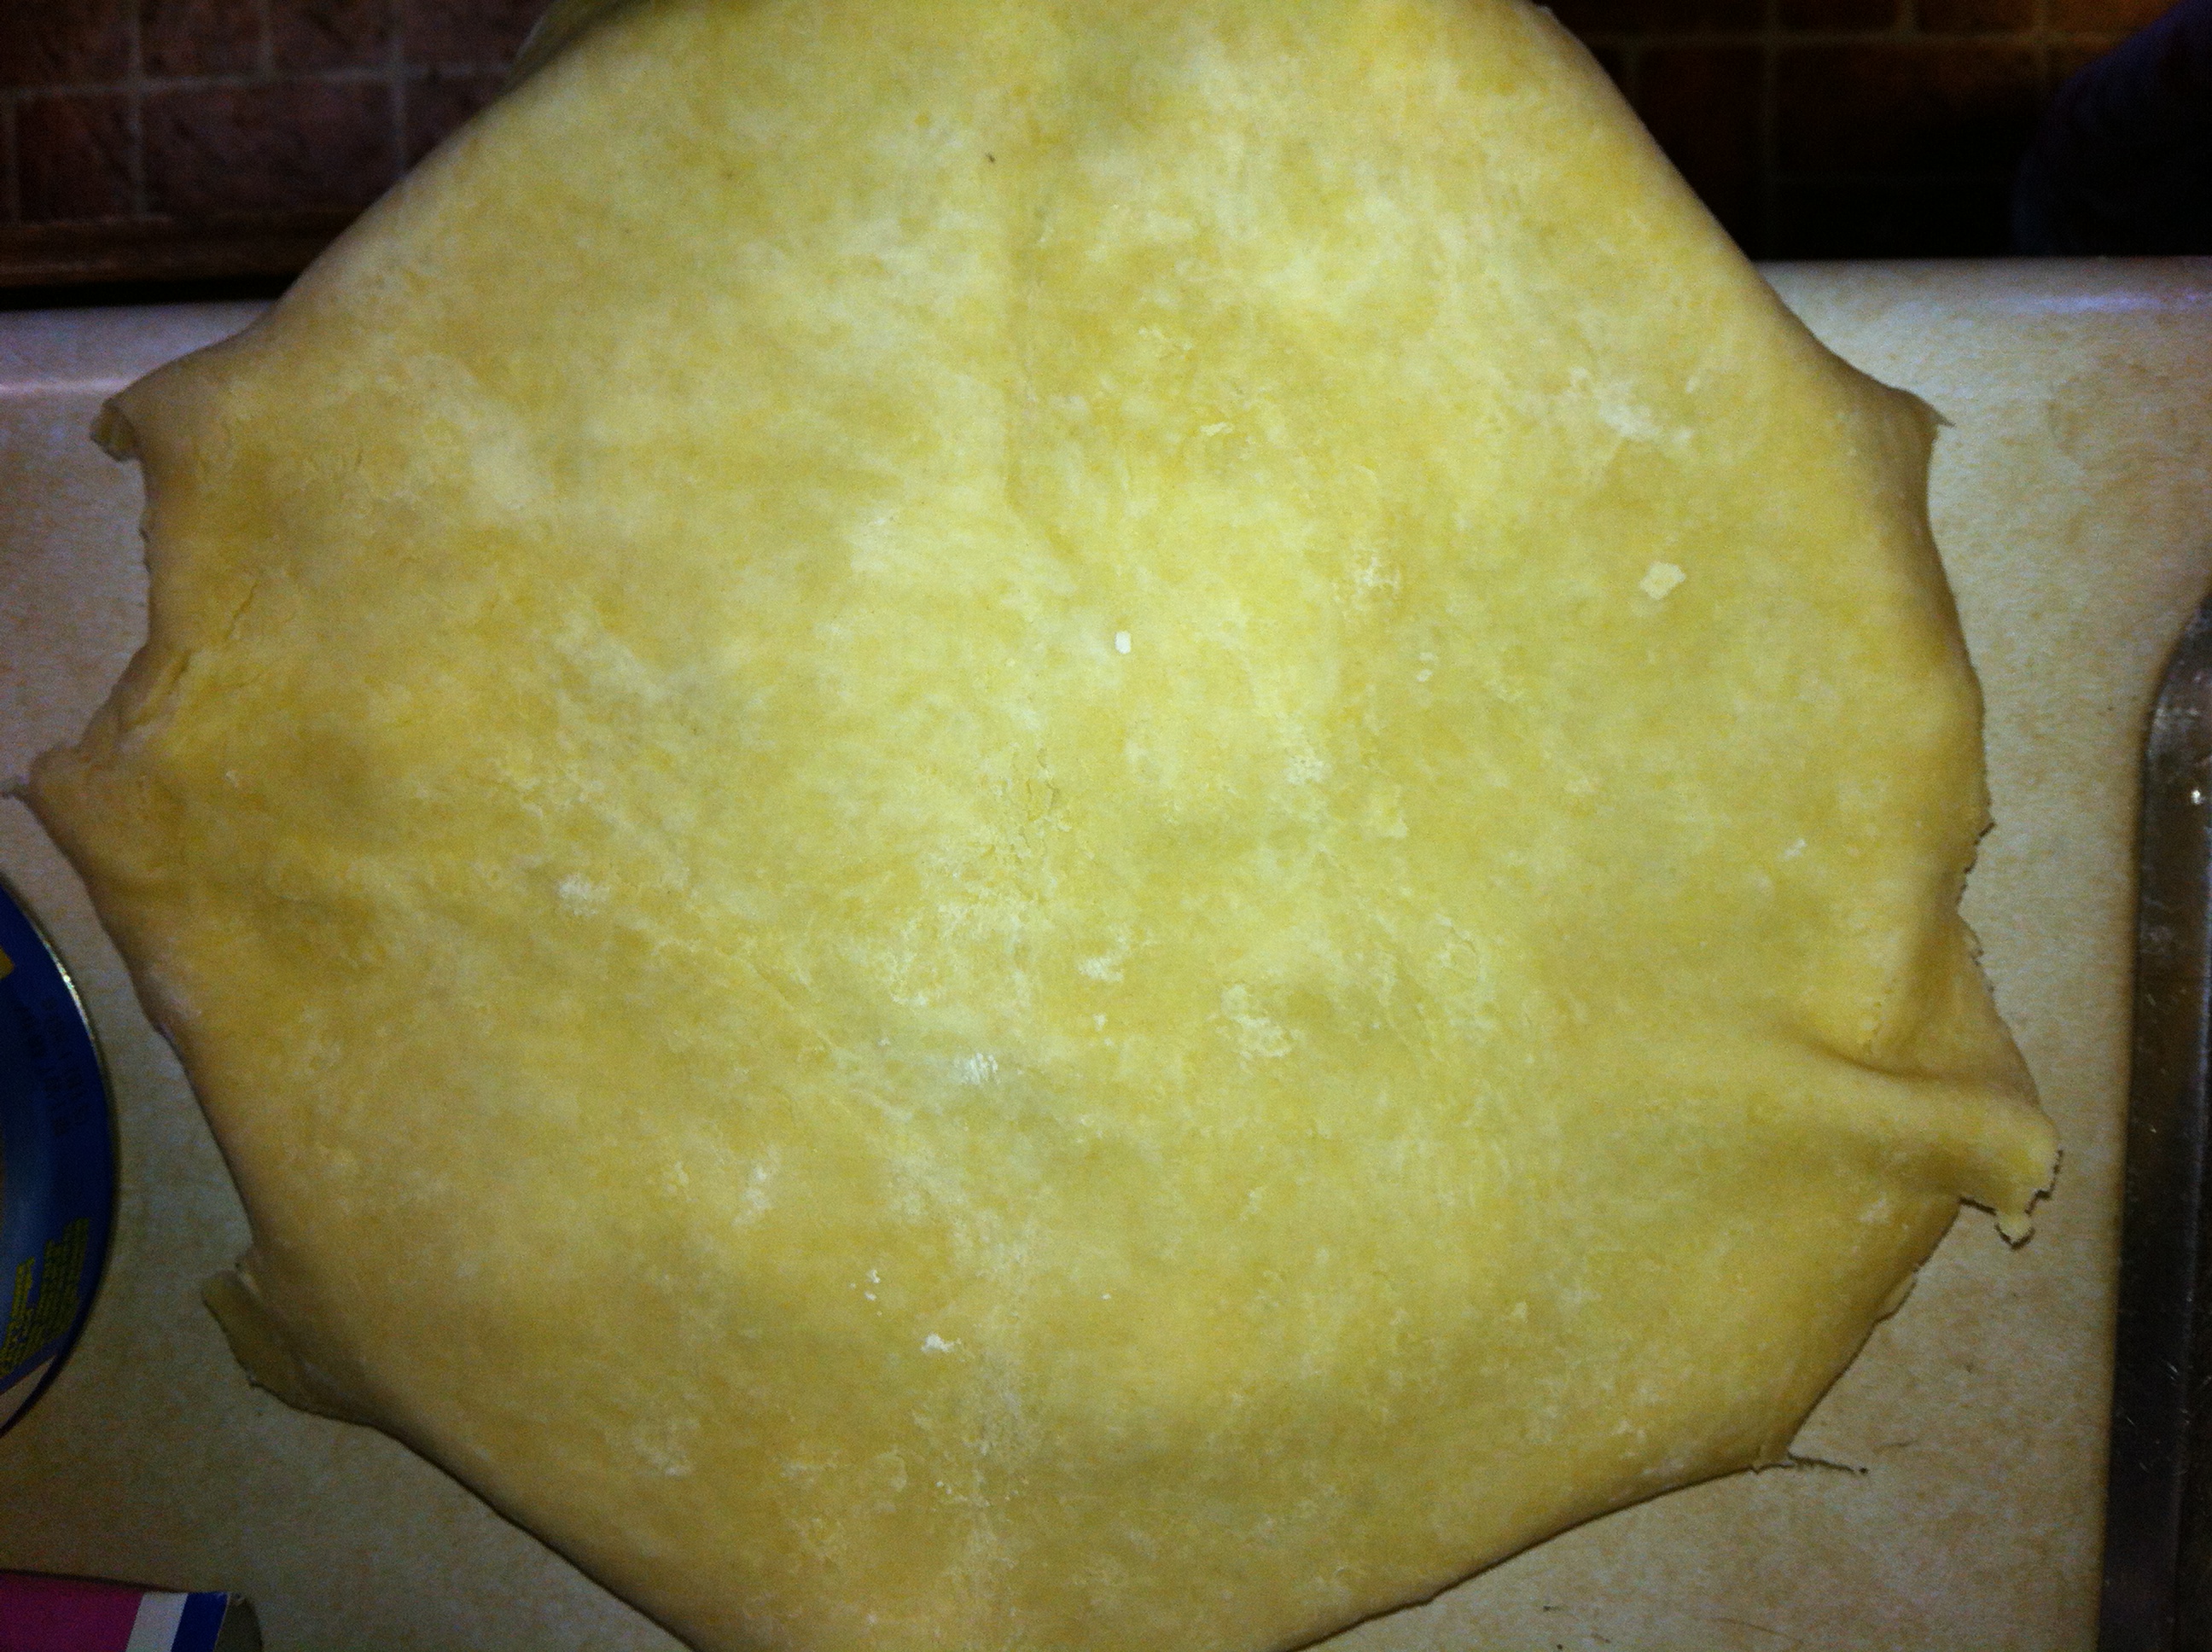
*Roll starting from the center out it each direction.

*Before it has a chance to really stick, pick up your dough disk and turn about a quarter of a turn, making sure it is still well floured underneath. Do this a couple of times throughout the rolling out process to keep from sticking. Roll out a bit, turn a quarter of a turn, roll out some more, etc.

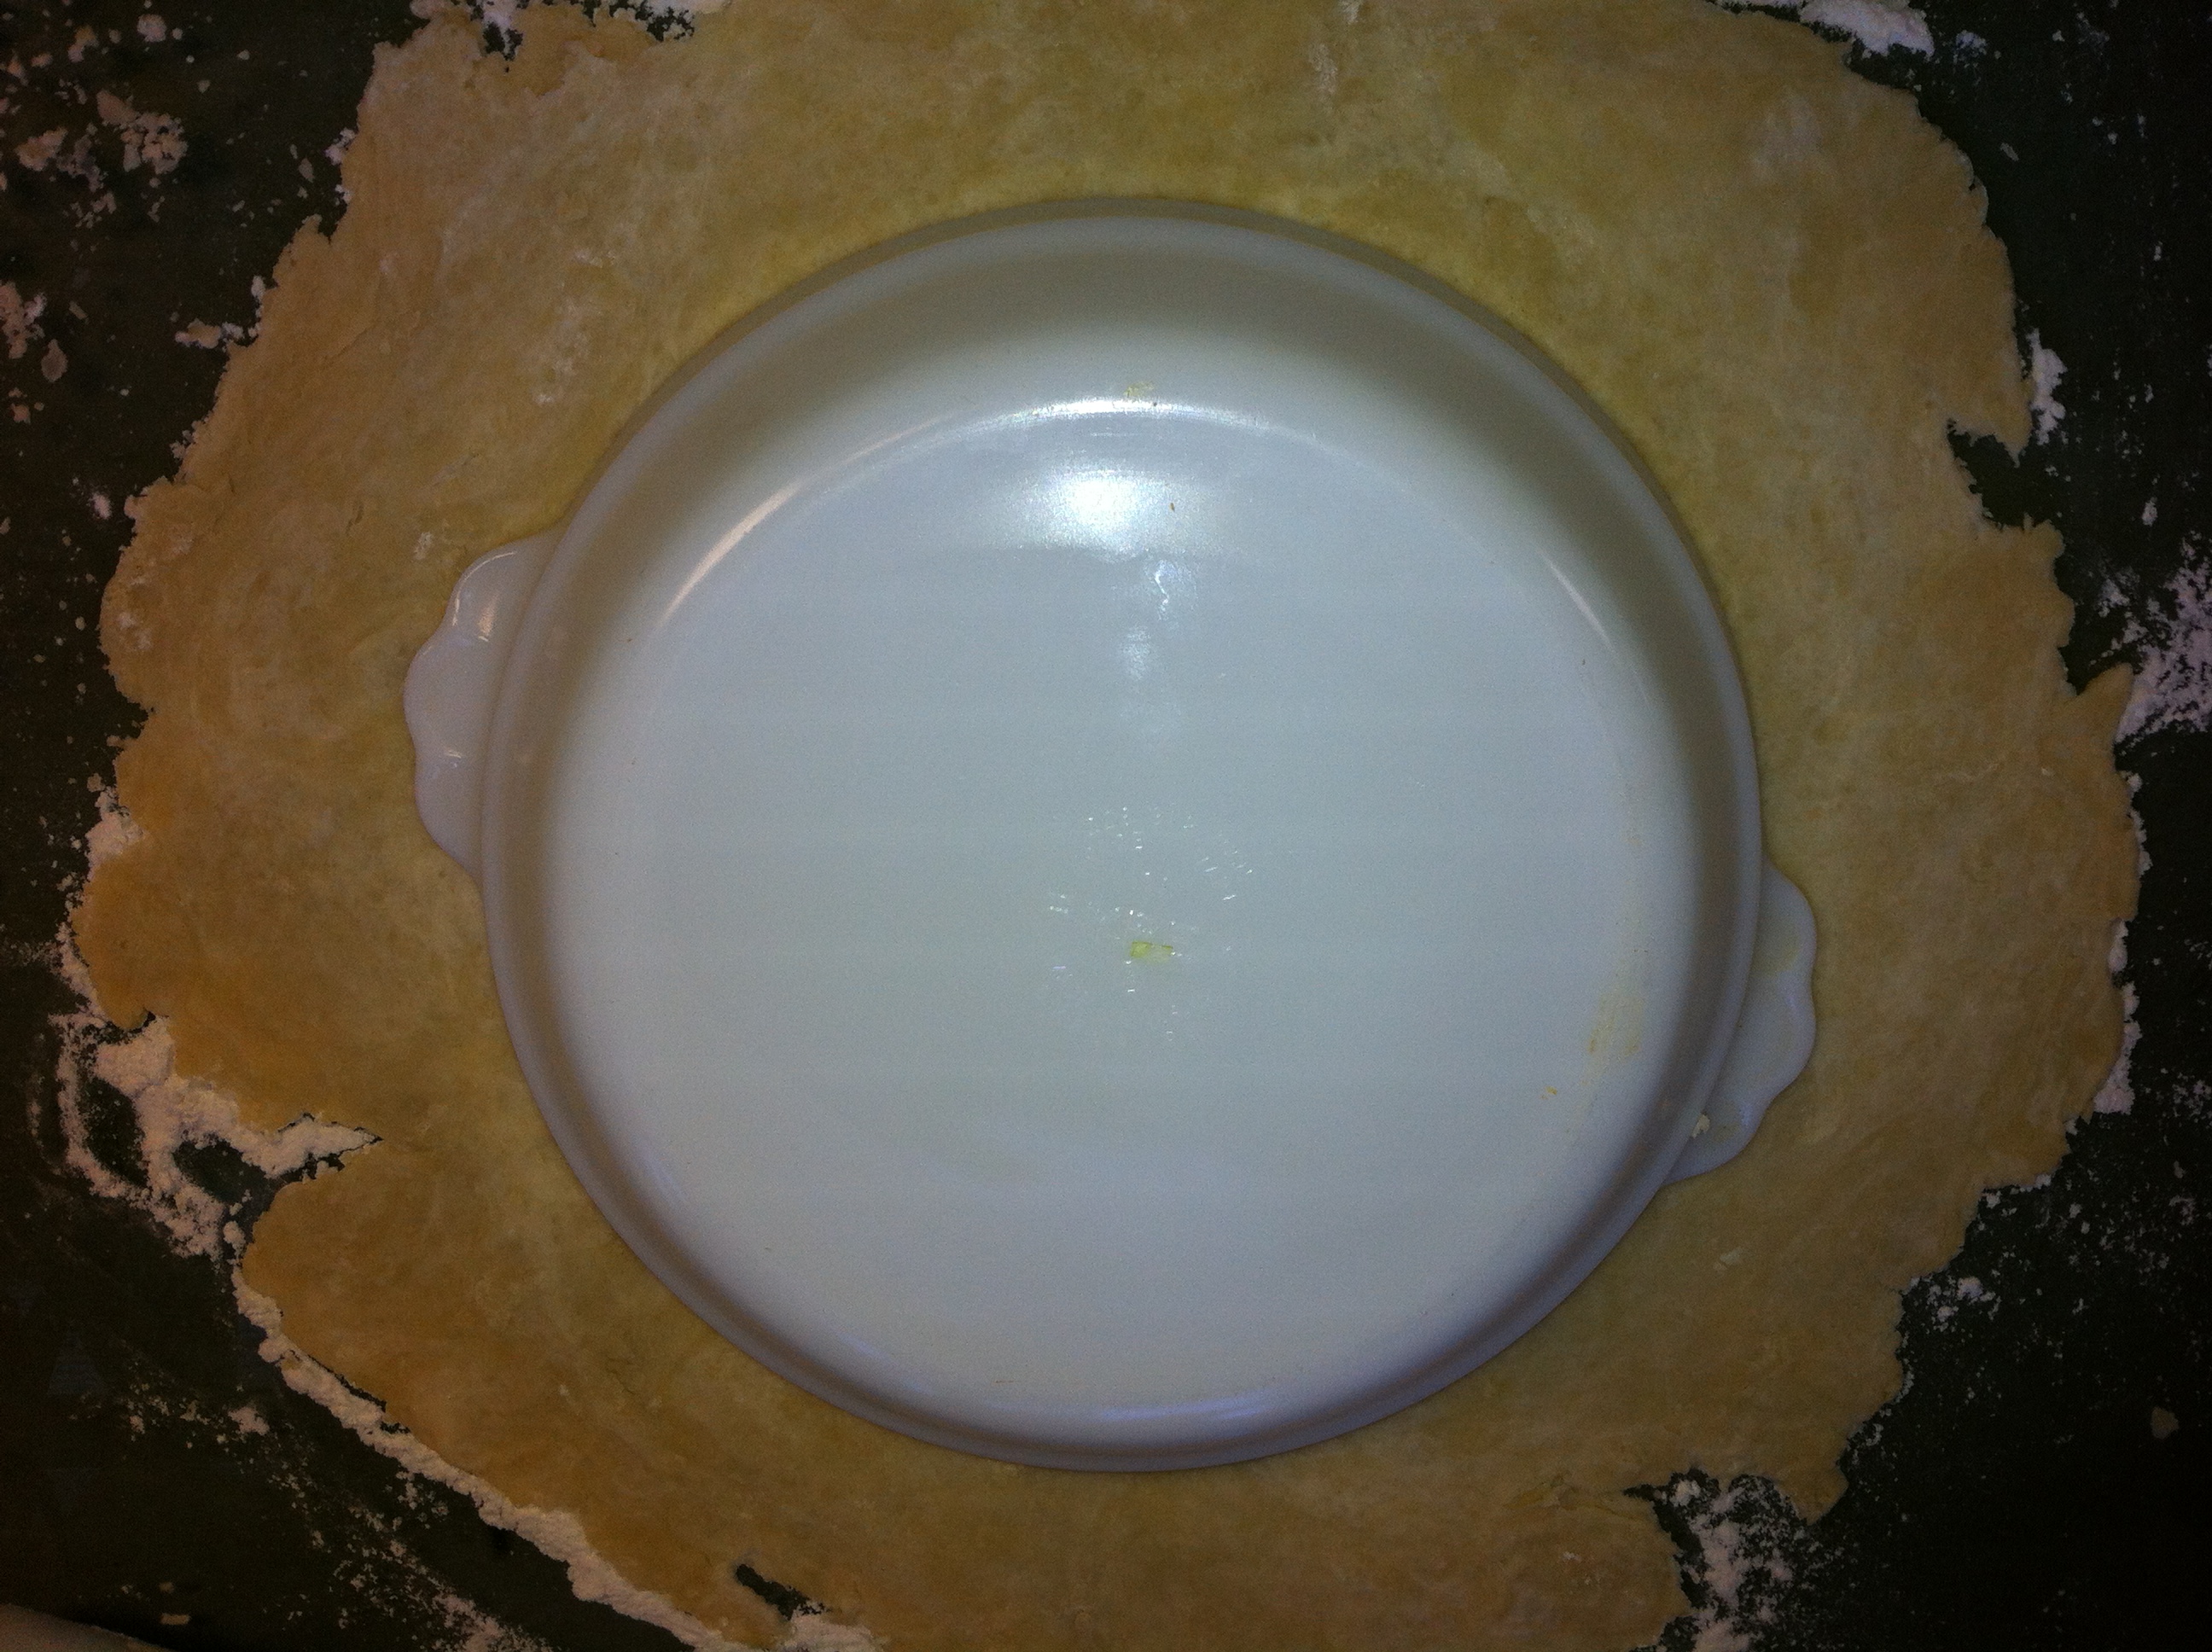
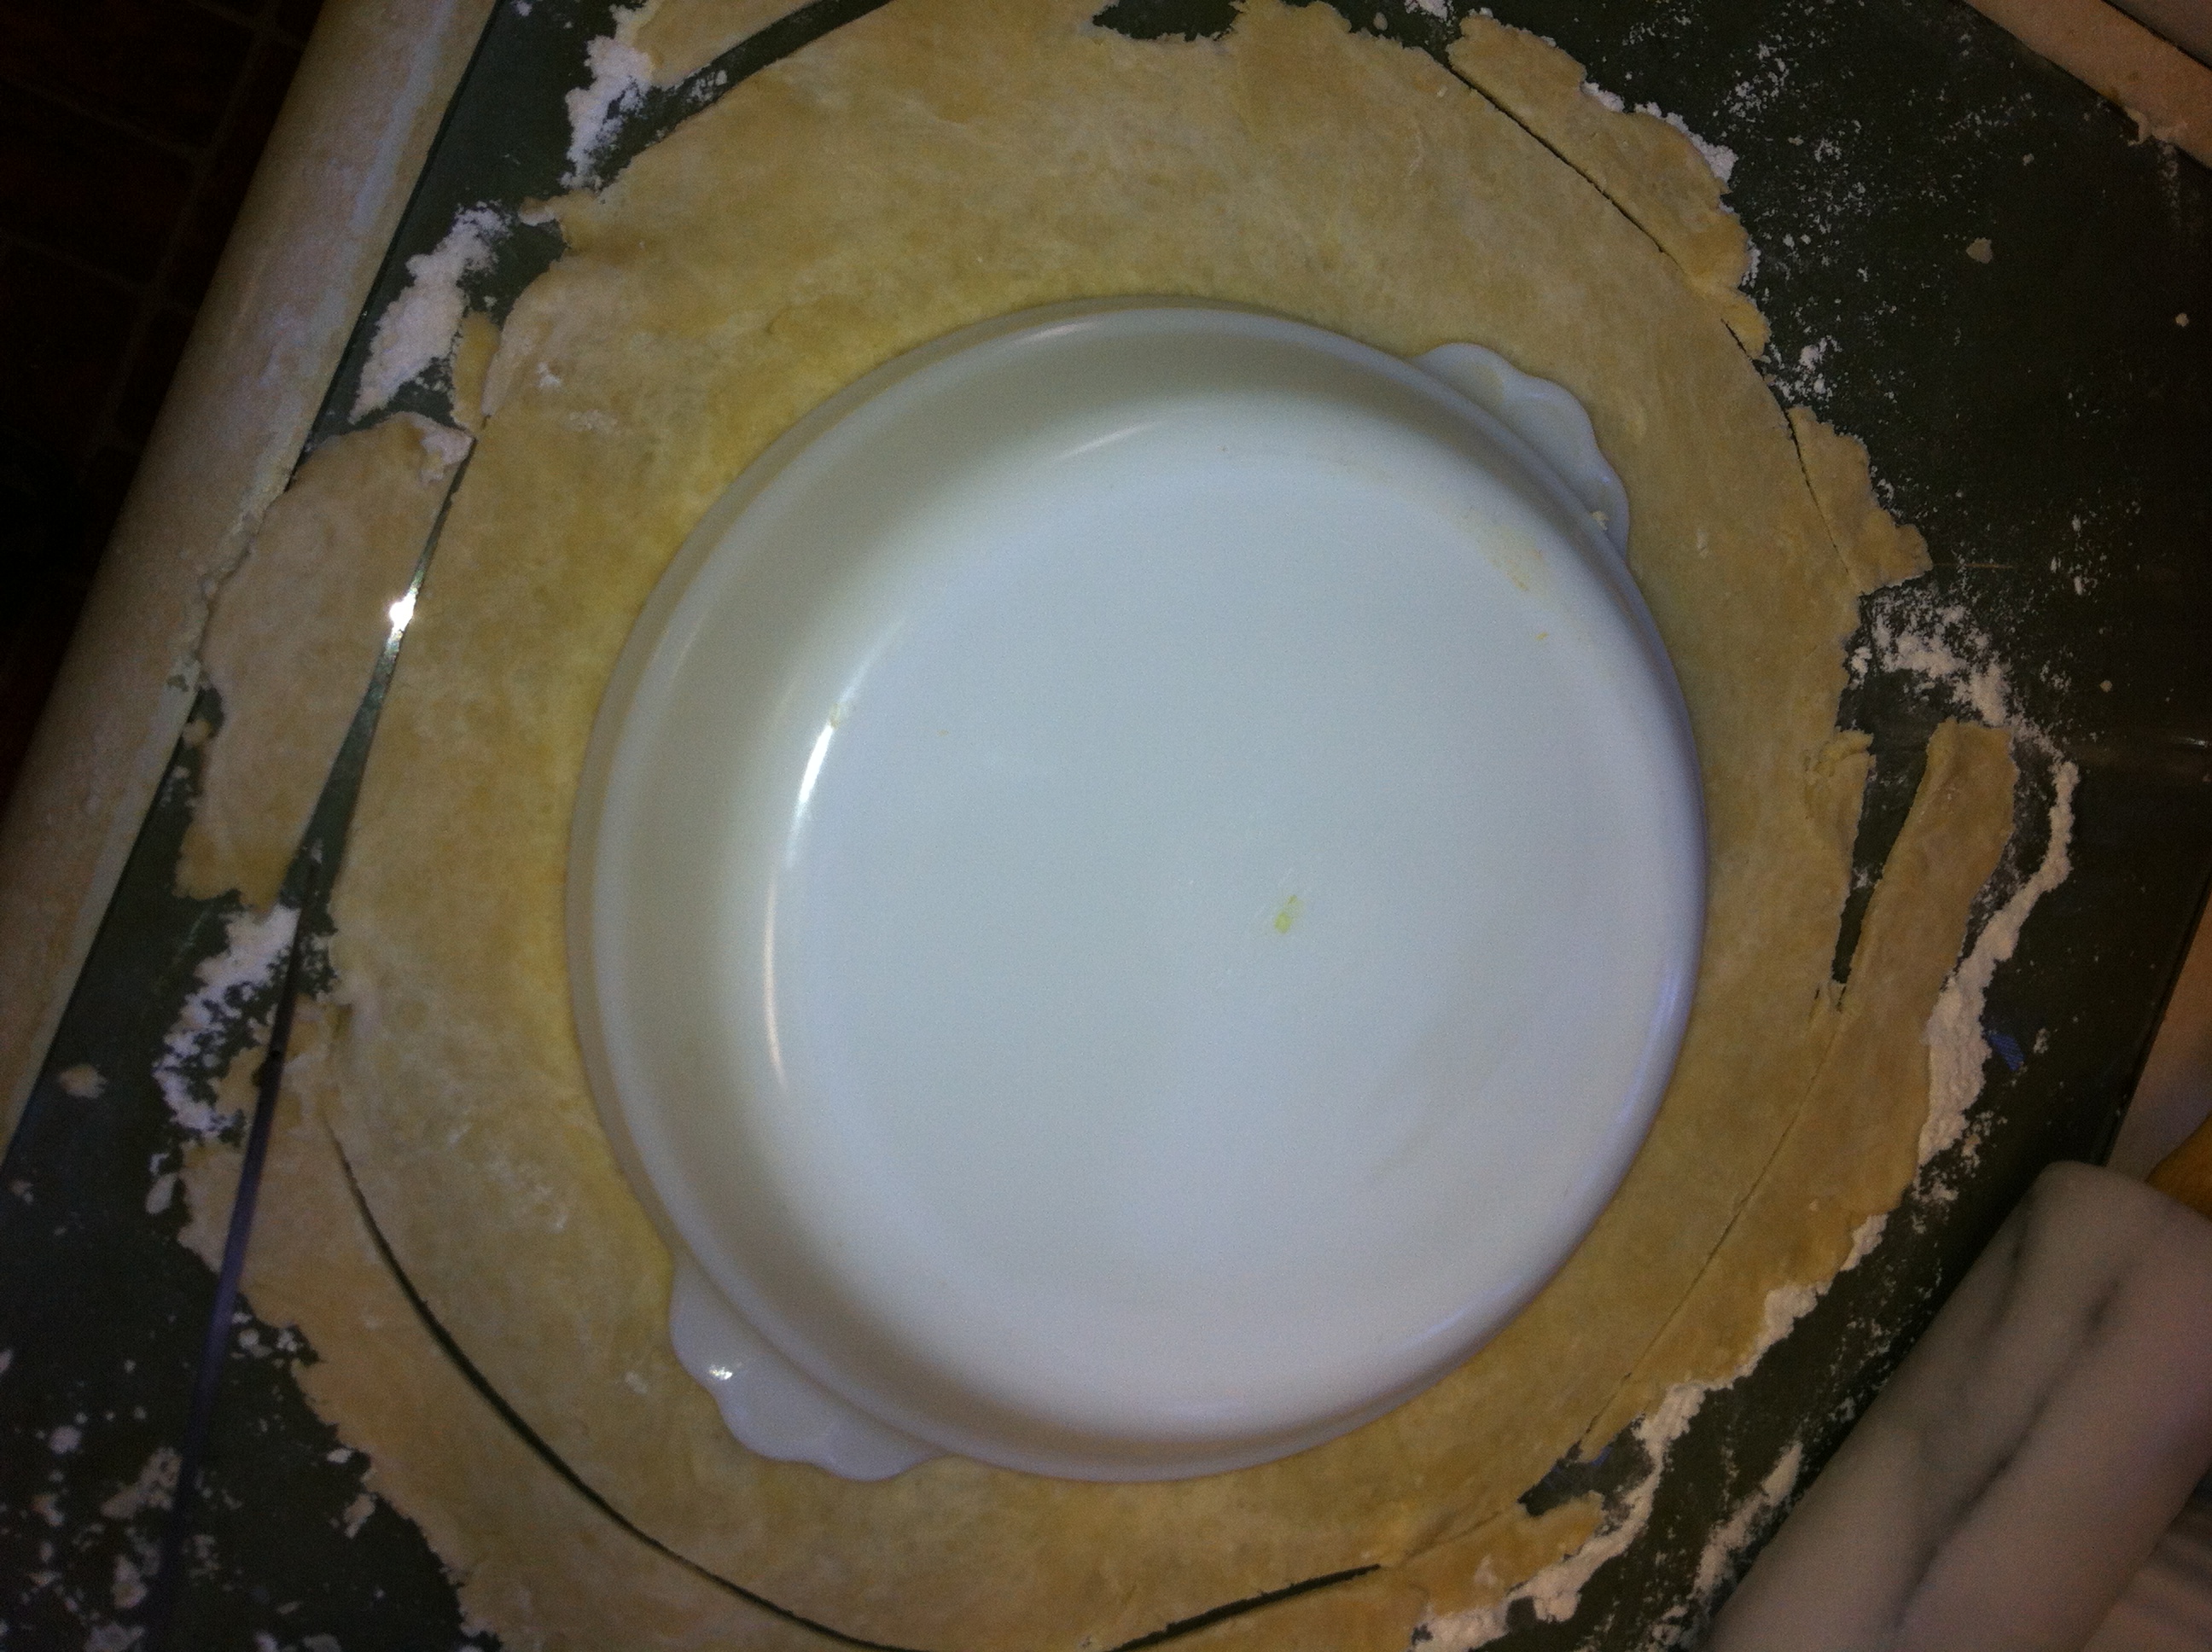
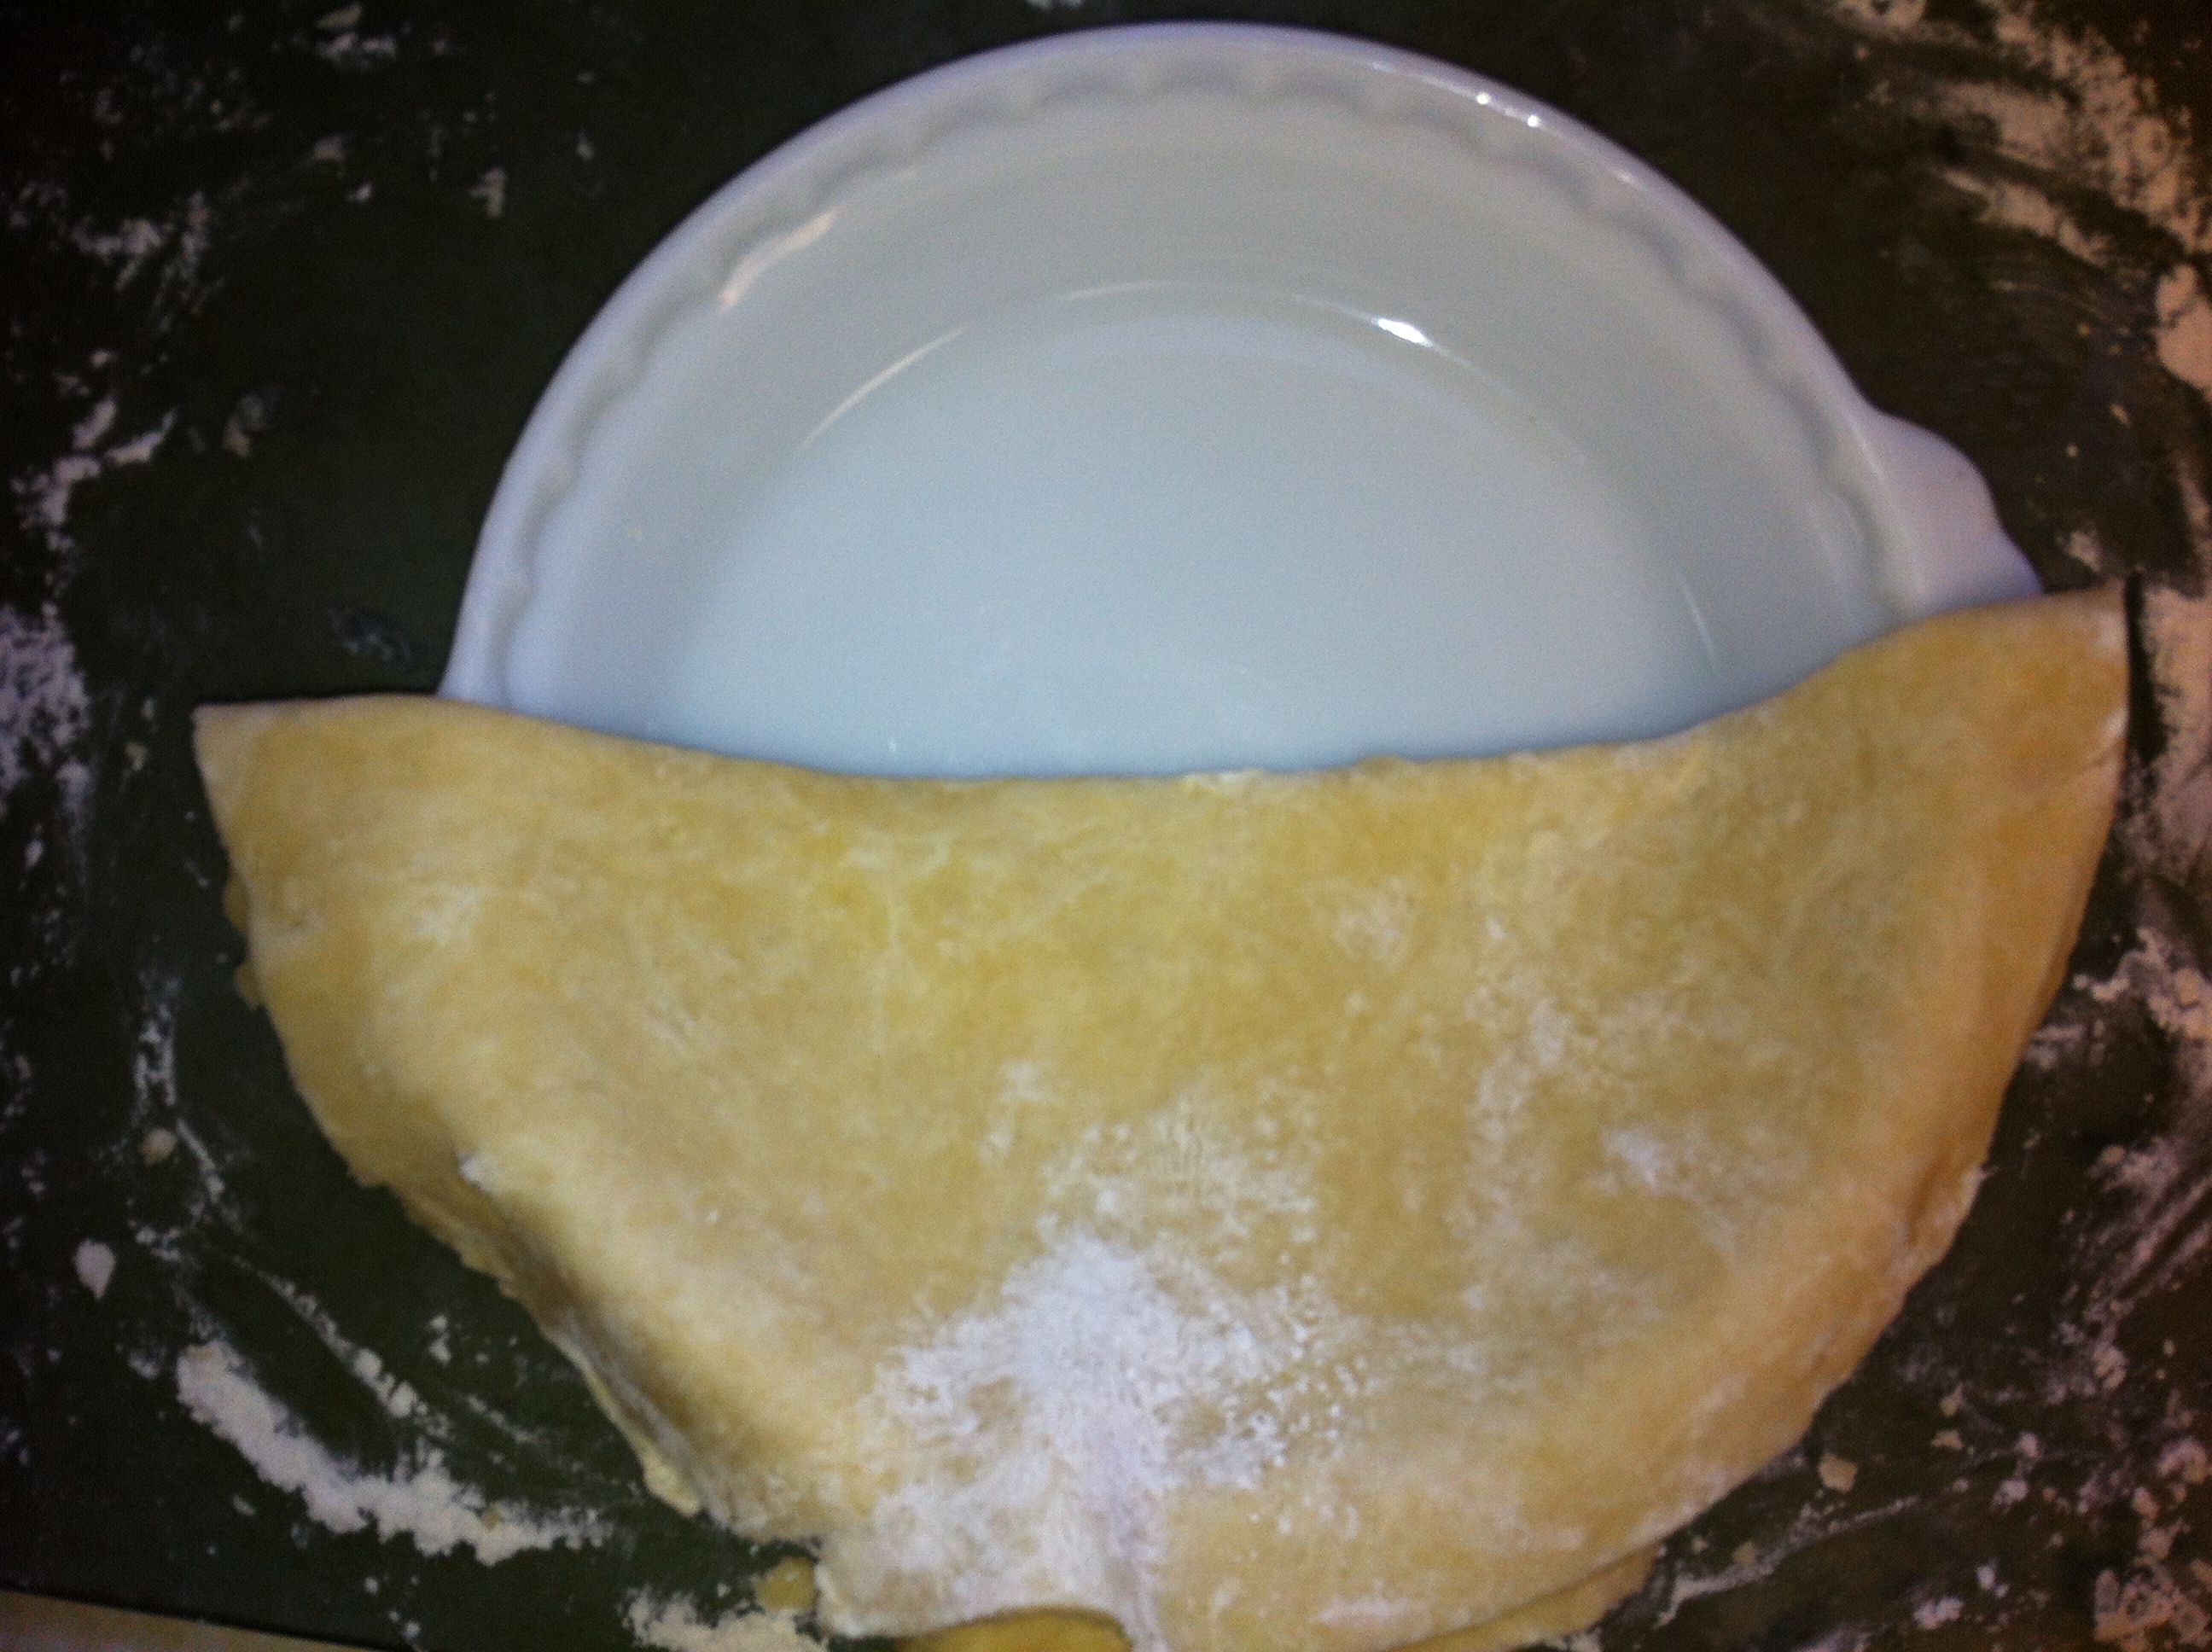
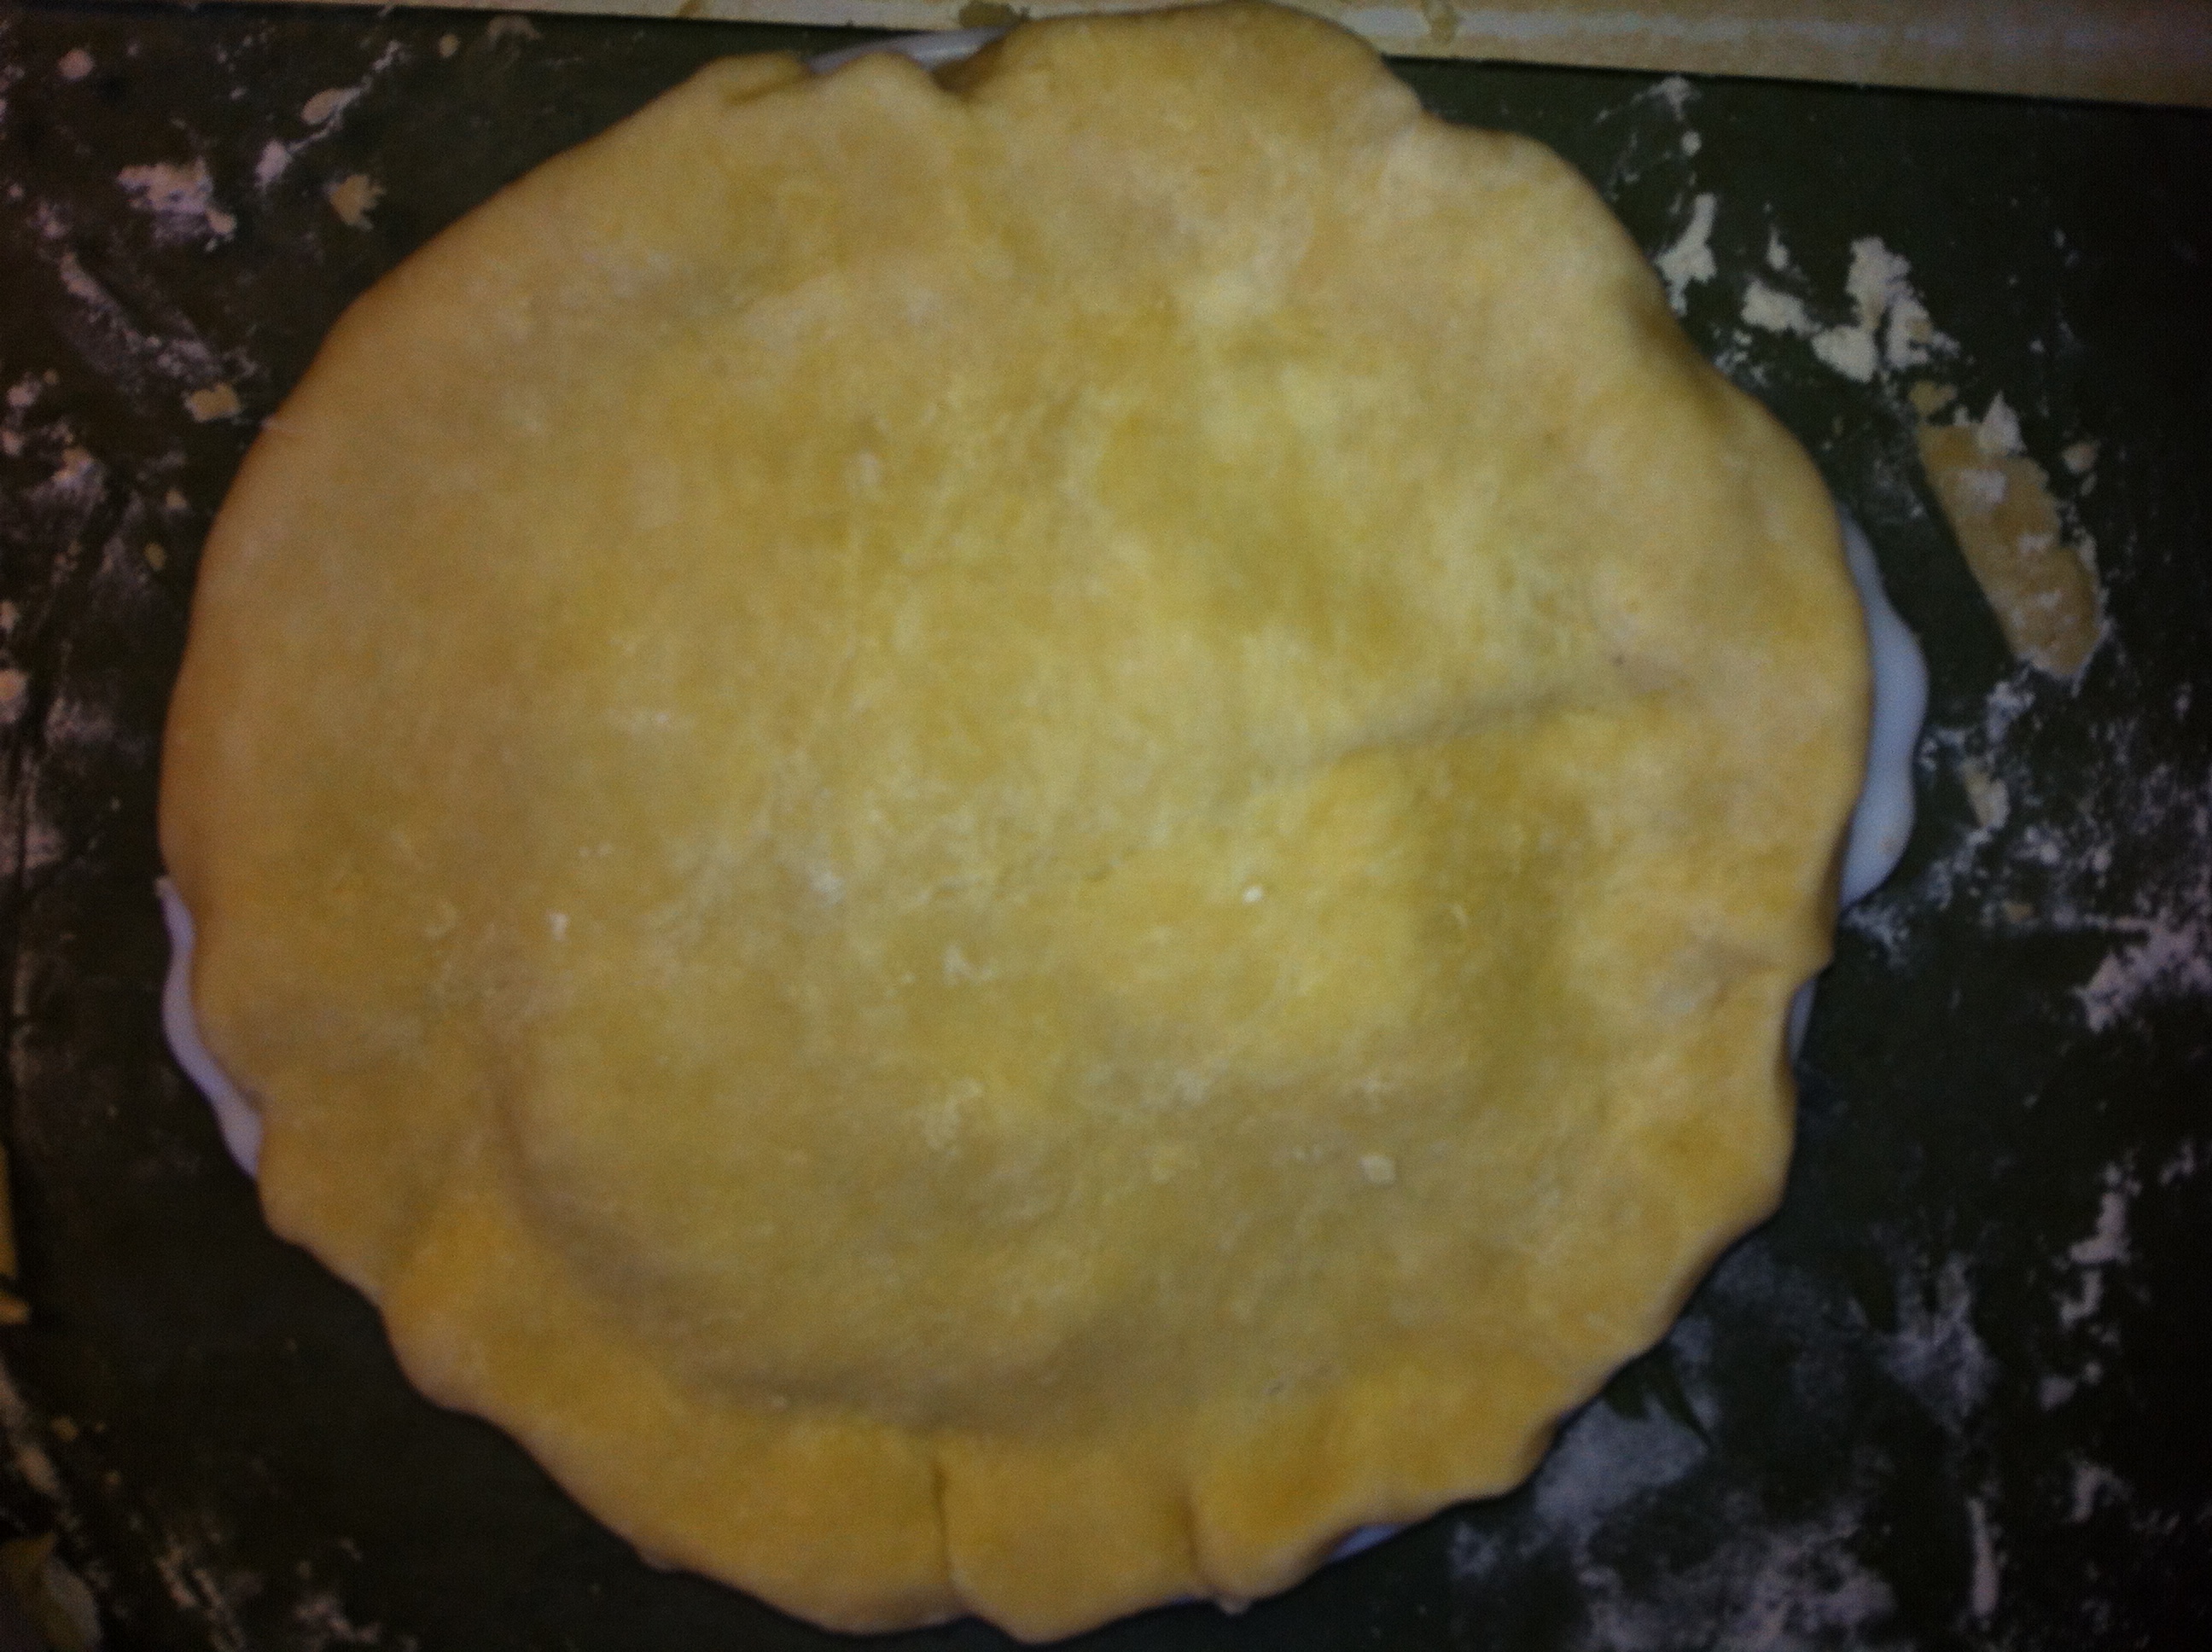
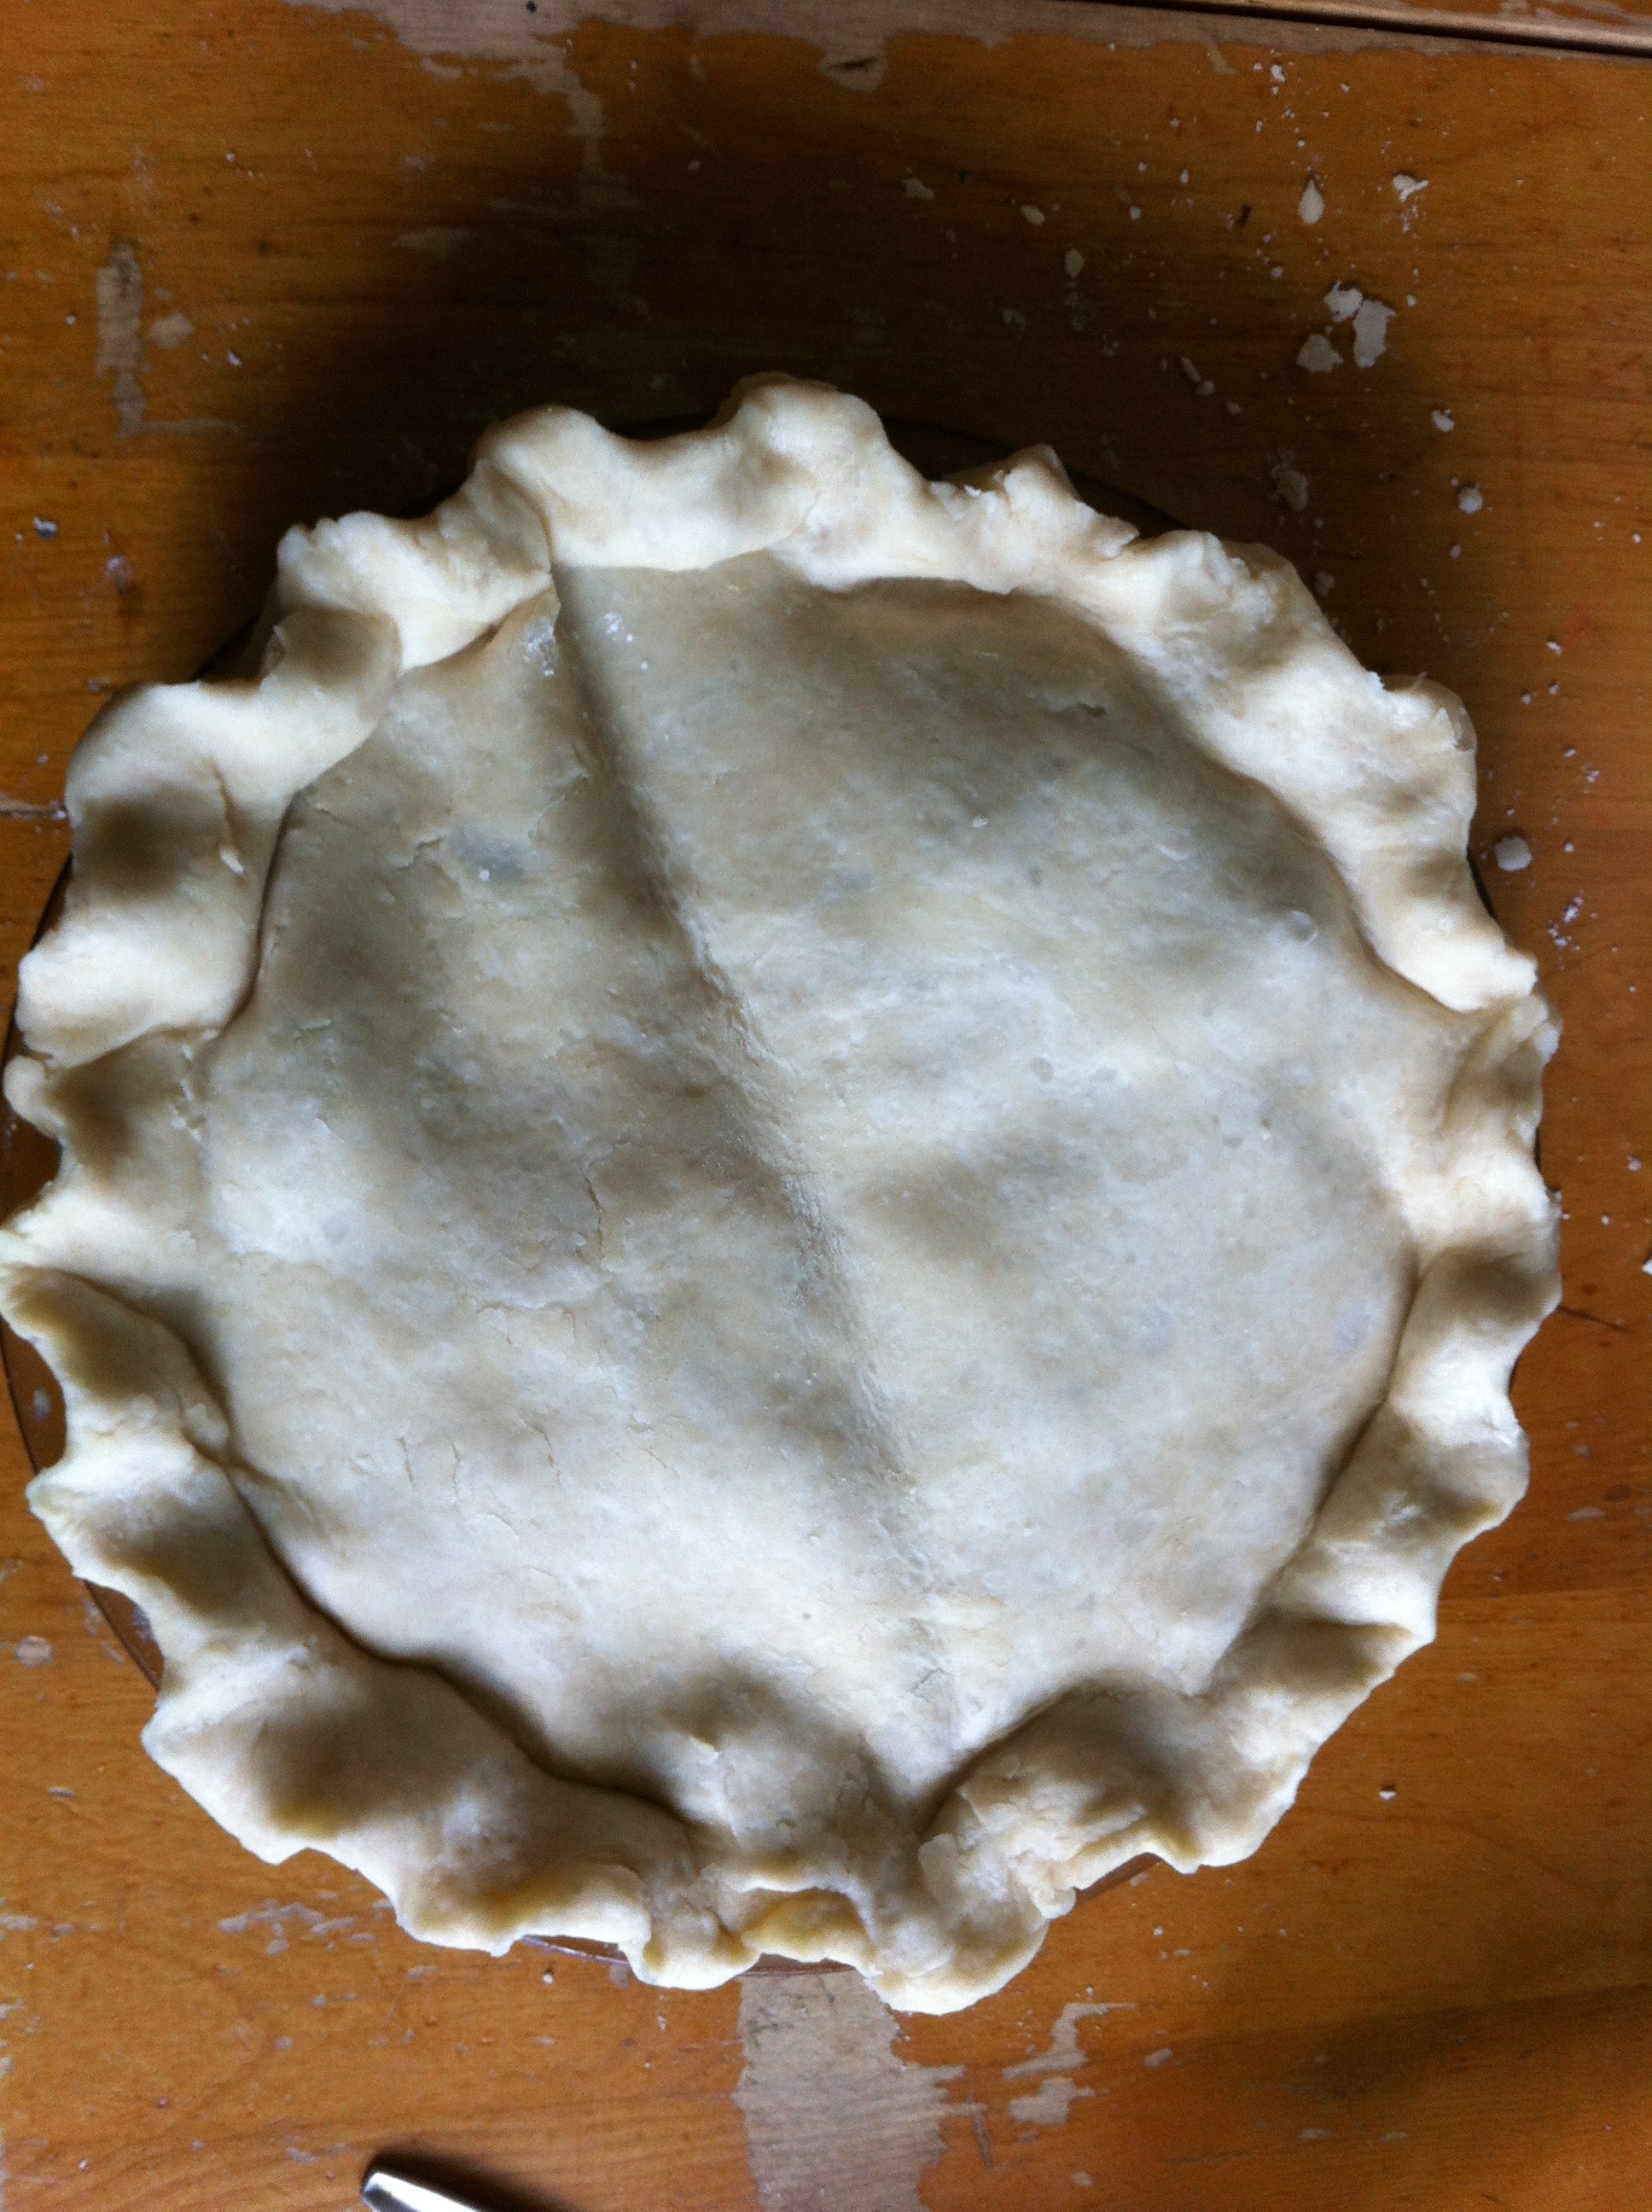
*Once you have the dough rolled out turn your pie plate over on top to make sure there is enough dough to cover the inside completely with enough of an edge to fold to make the outside crust.
*With a knife, trim the edges to make more of a clean edge.
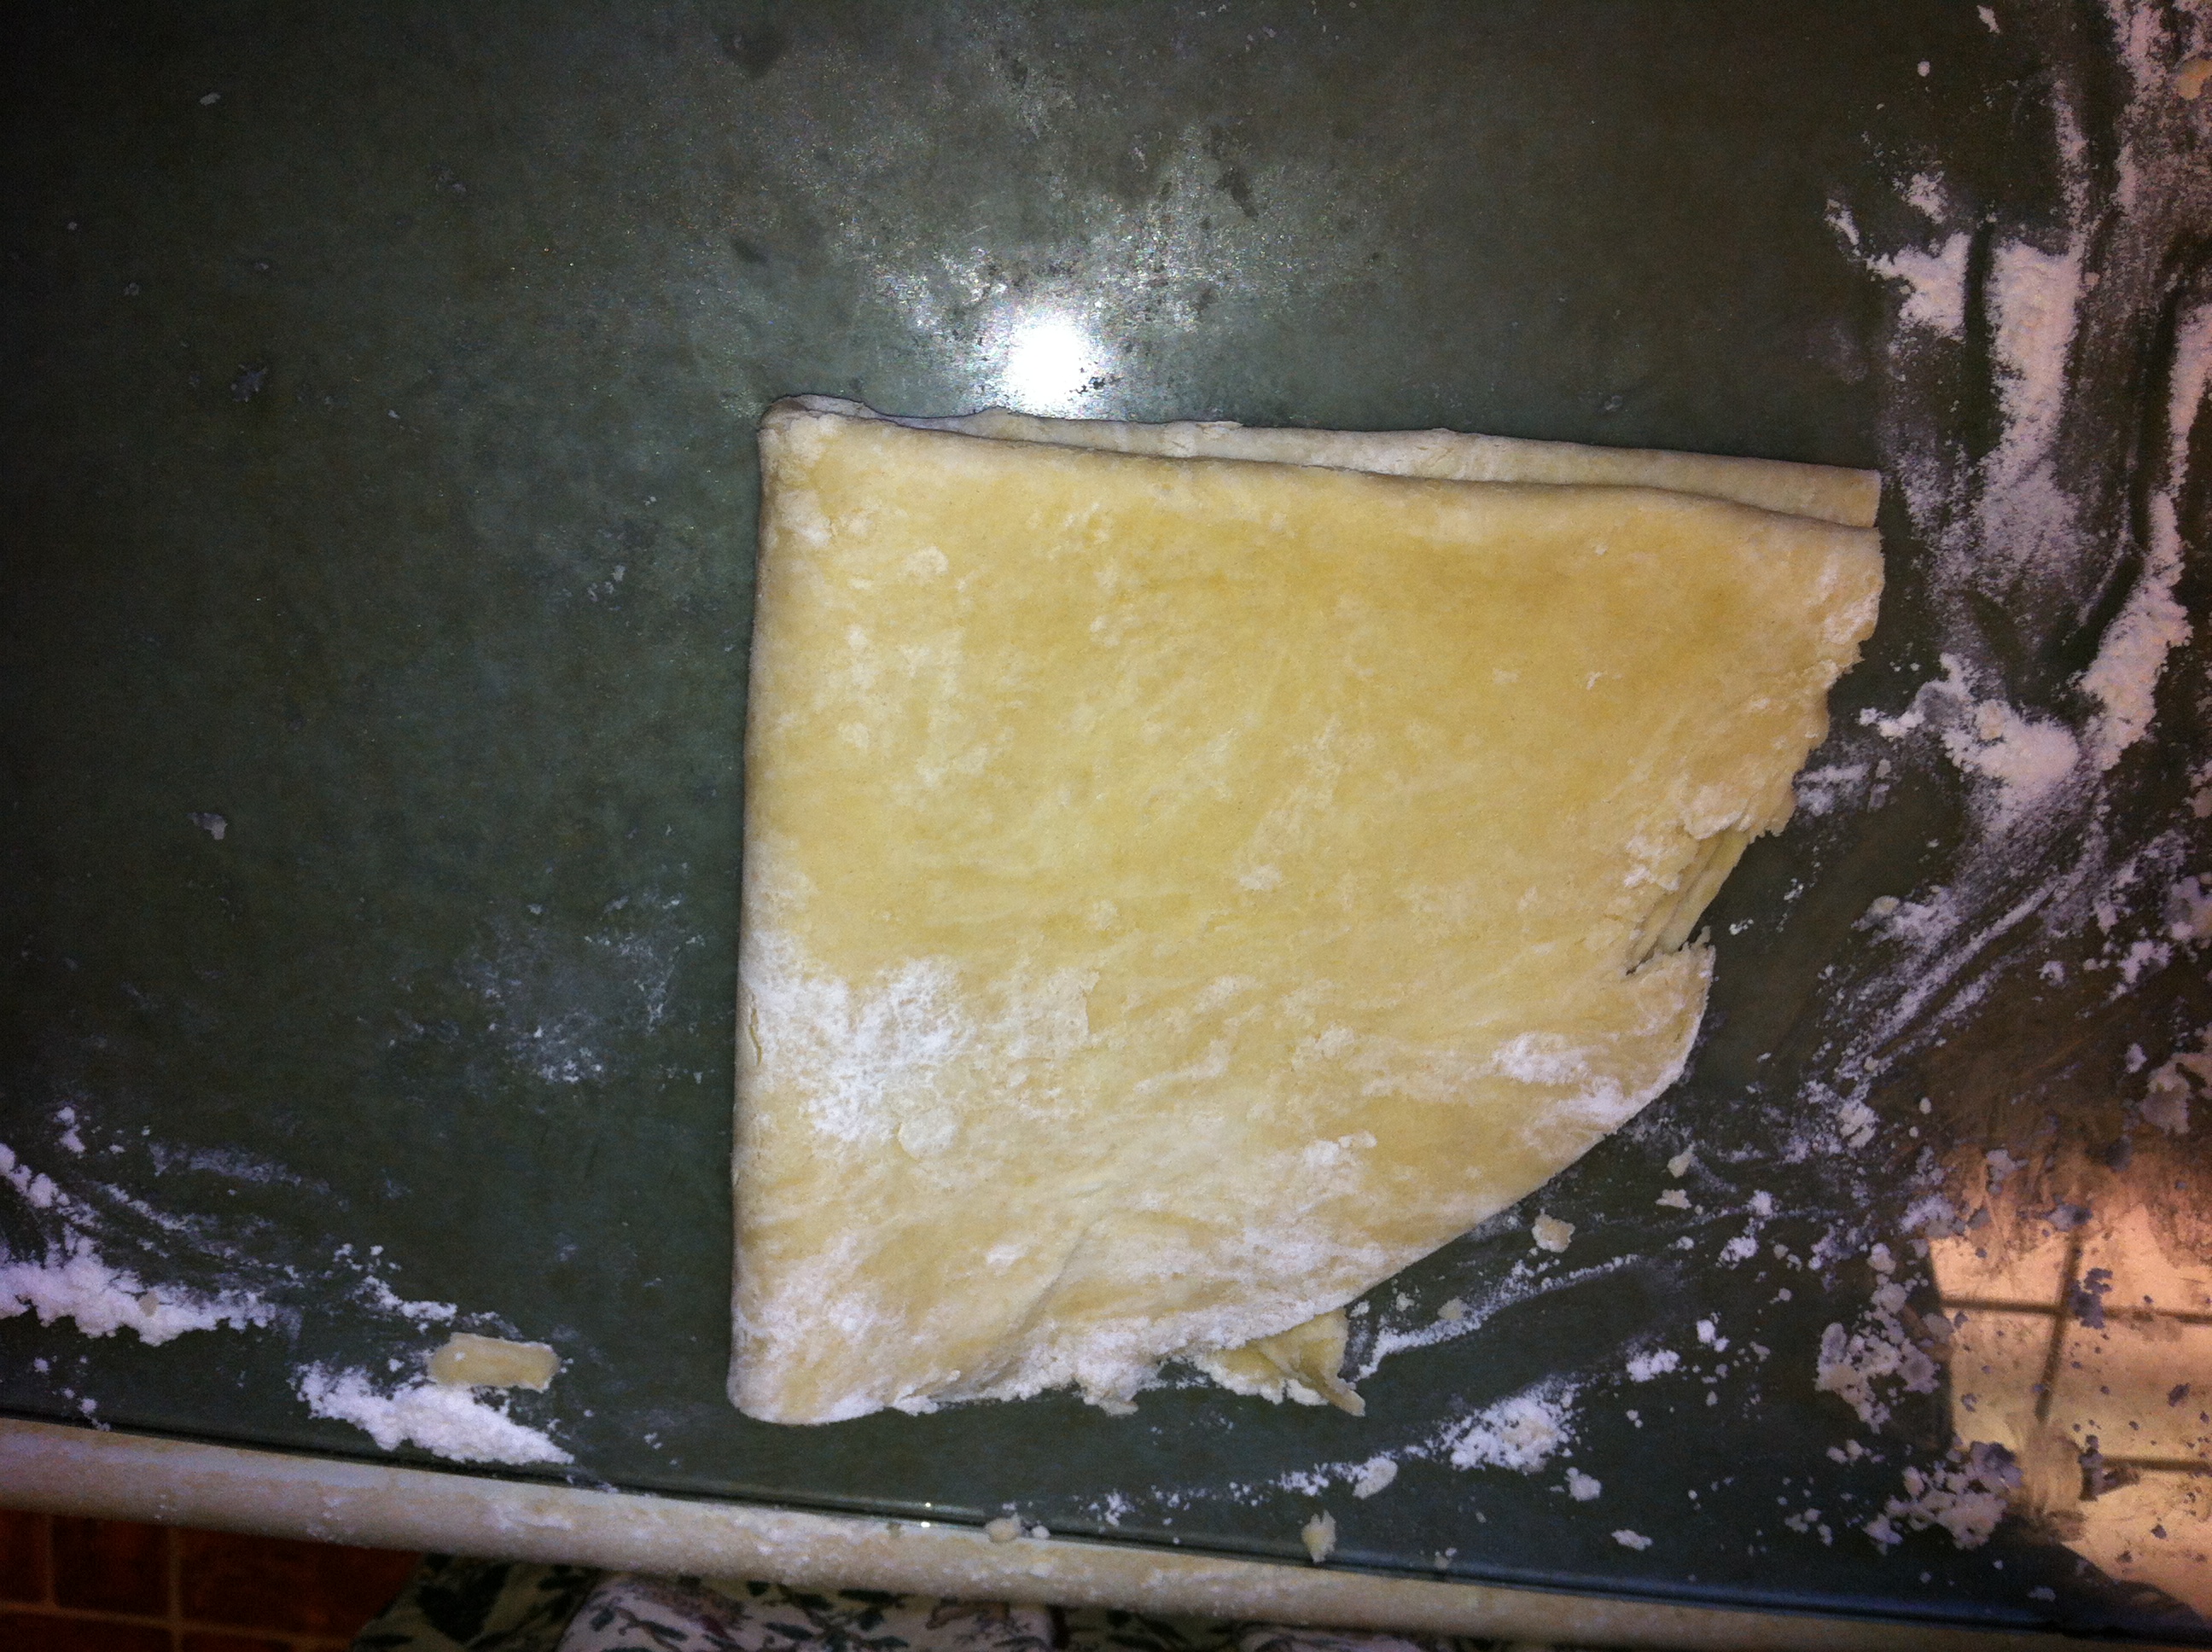
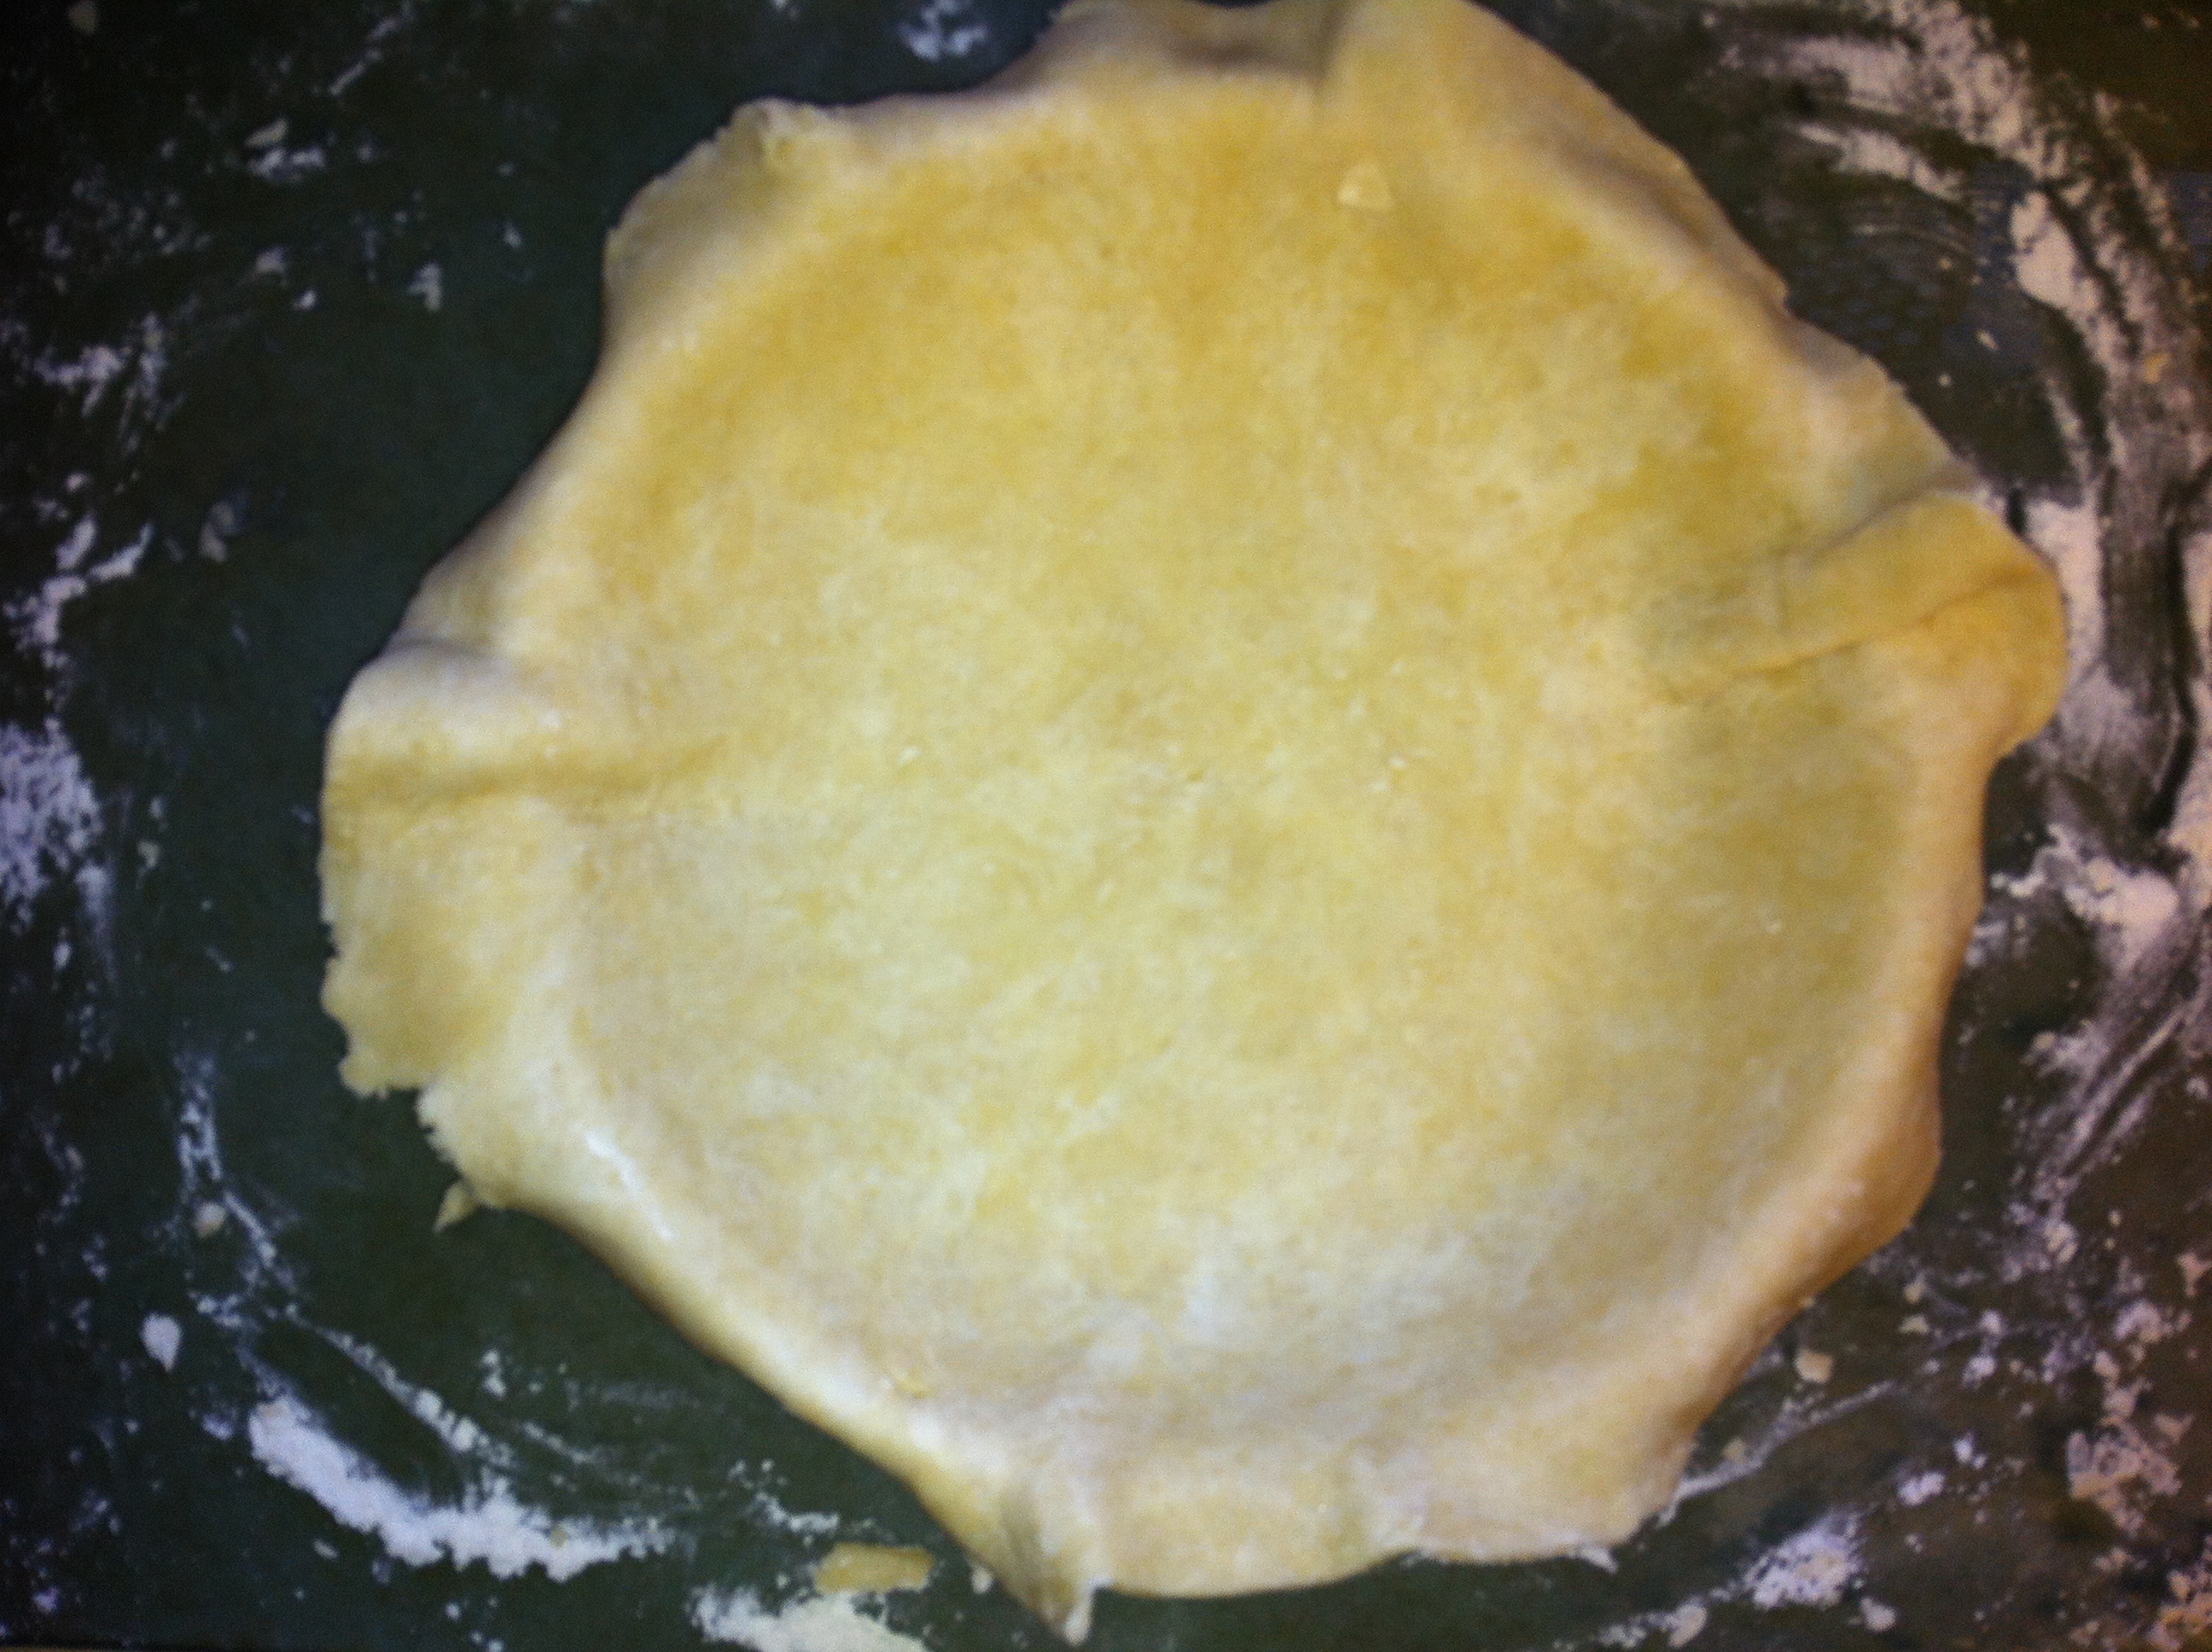
*Move pie plate off. Fold dough in half.
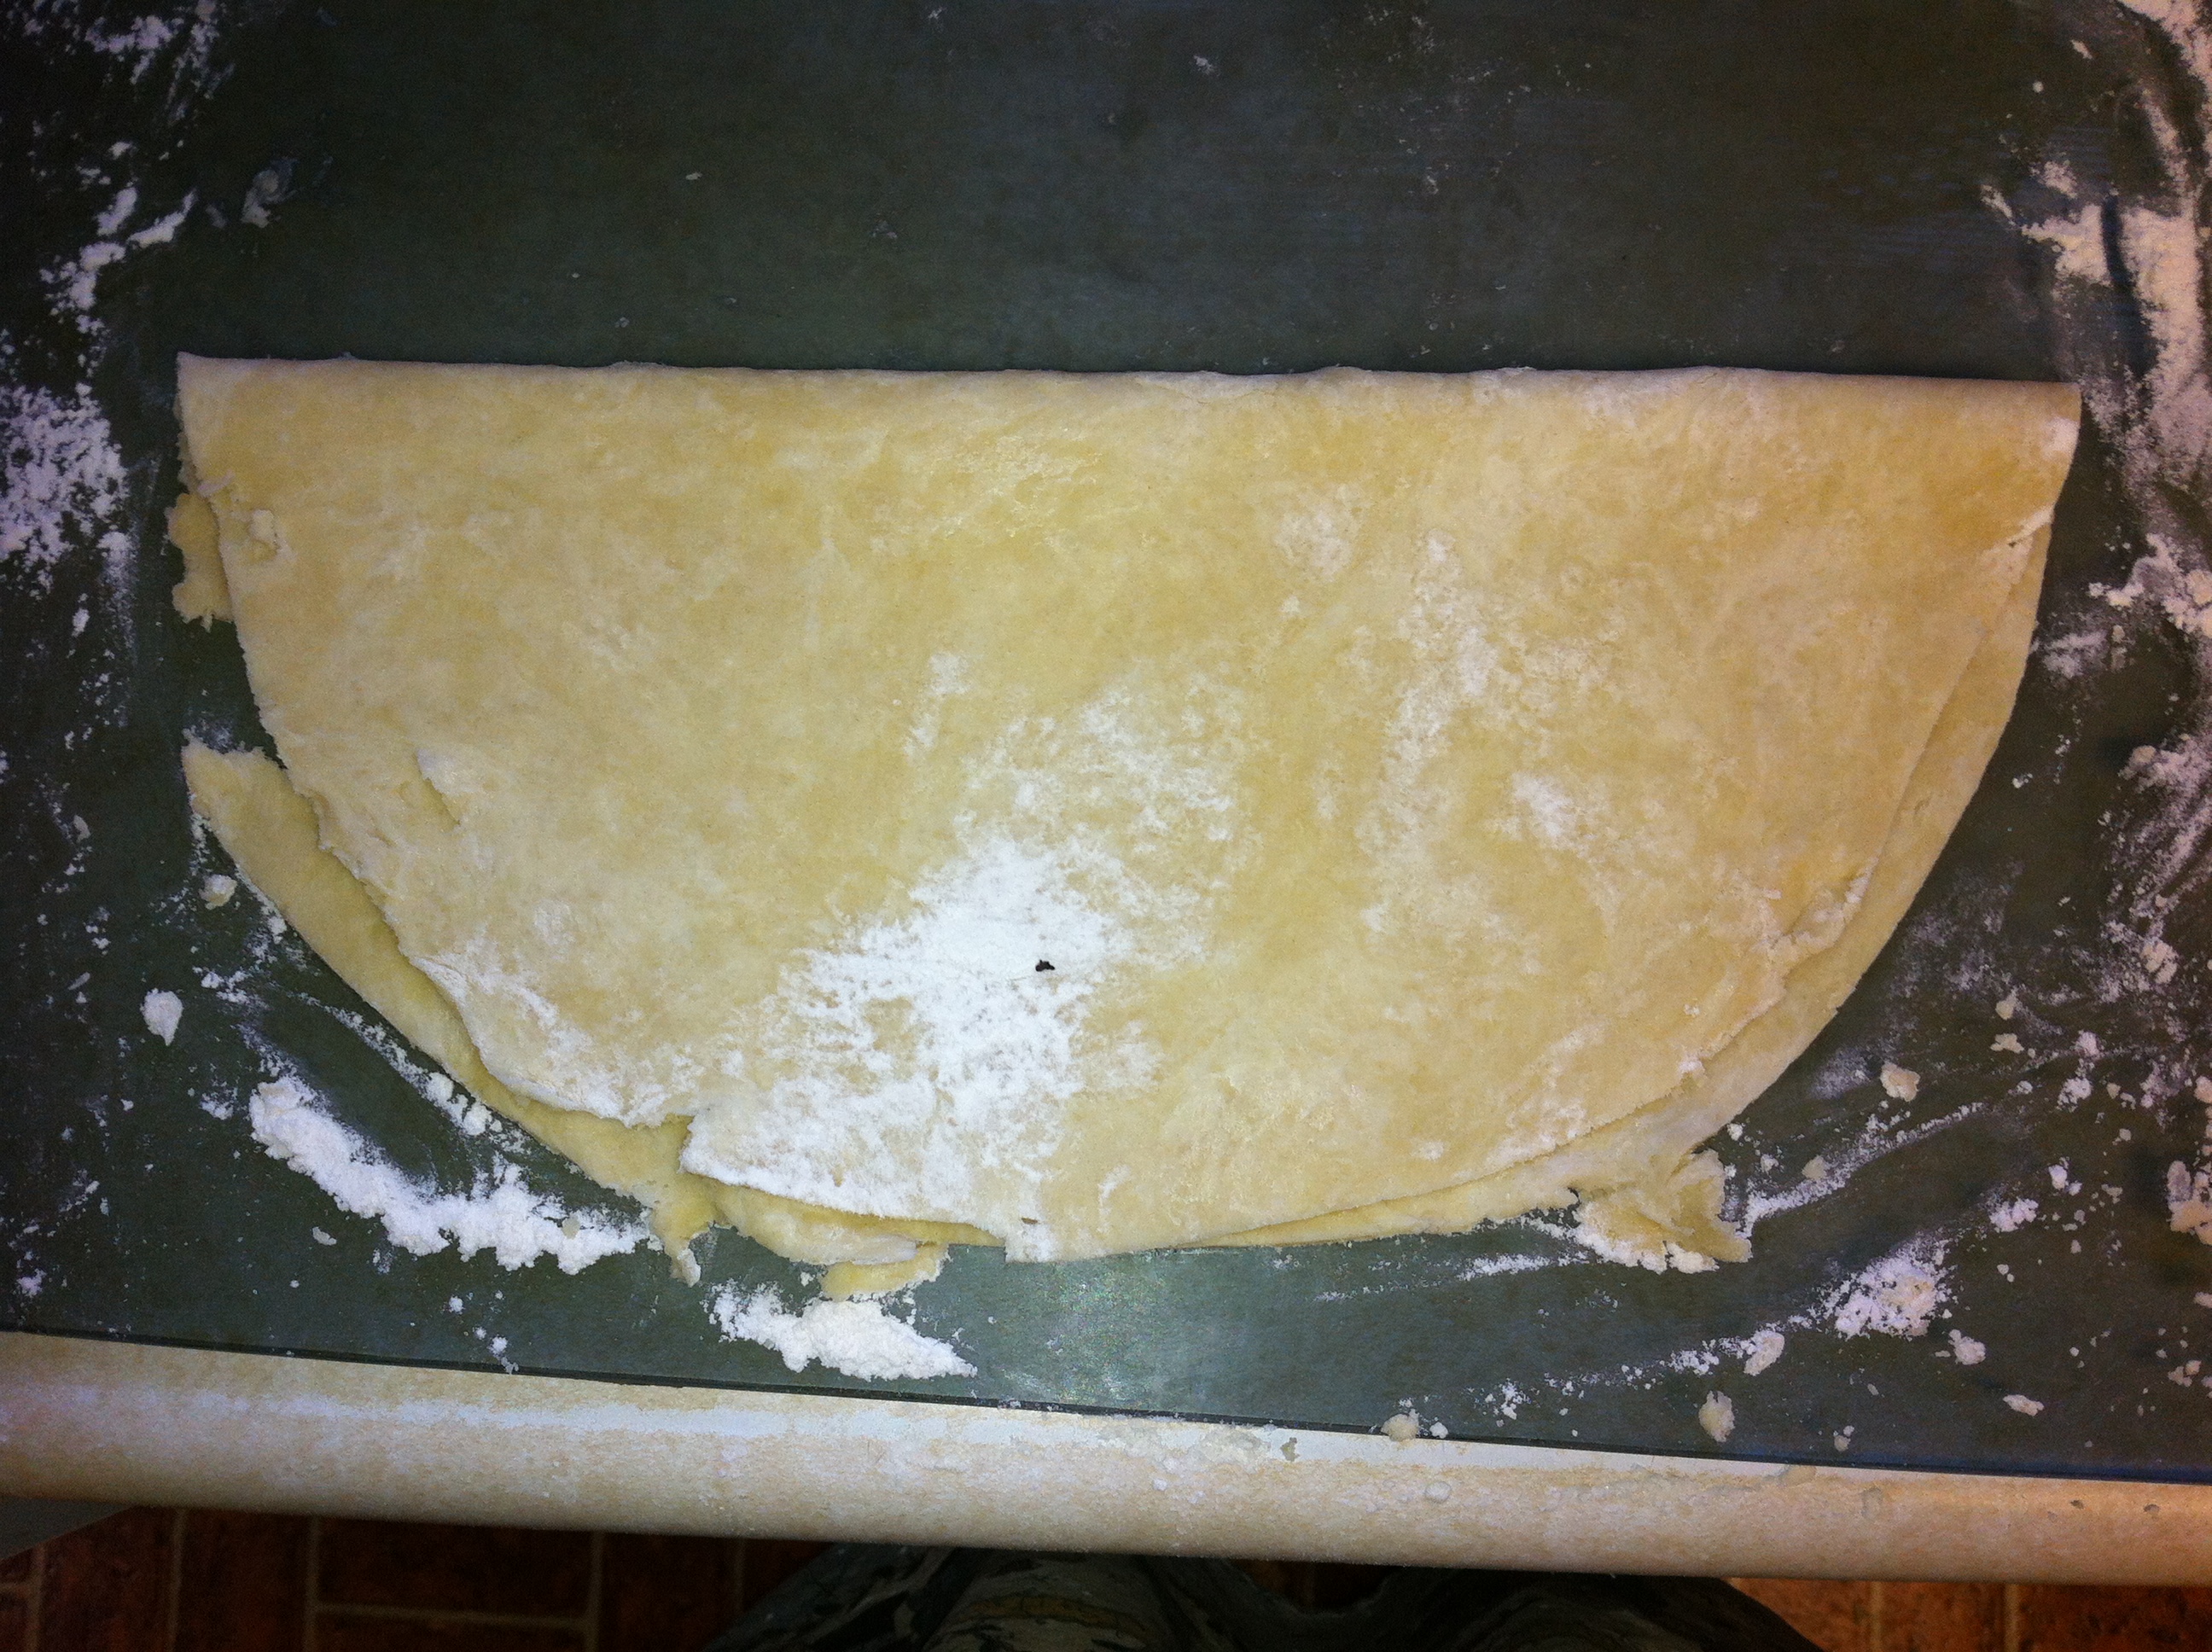
*Fold it in half again. This makes it easier to pick up and put in your pie plate.
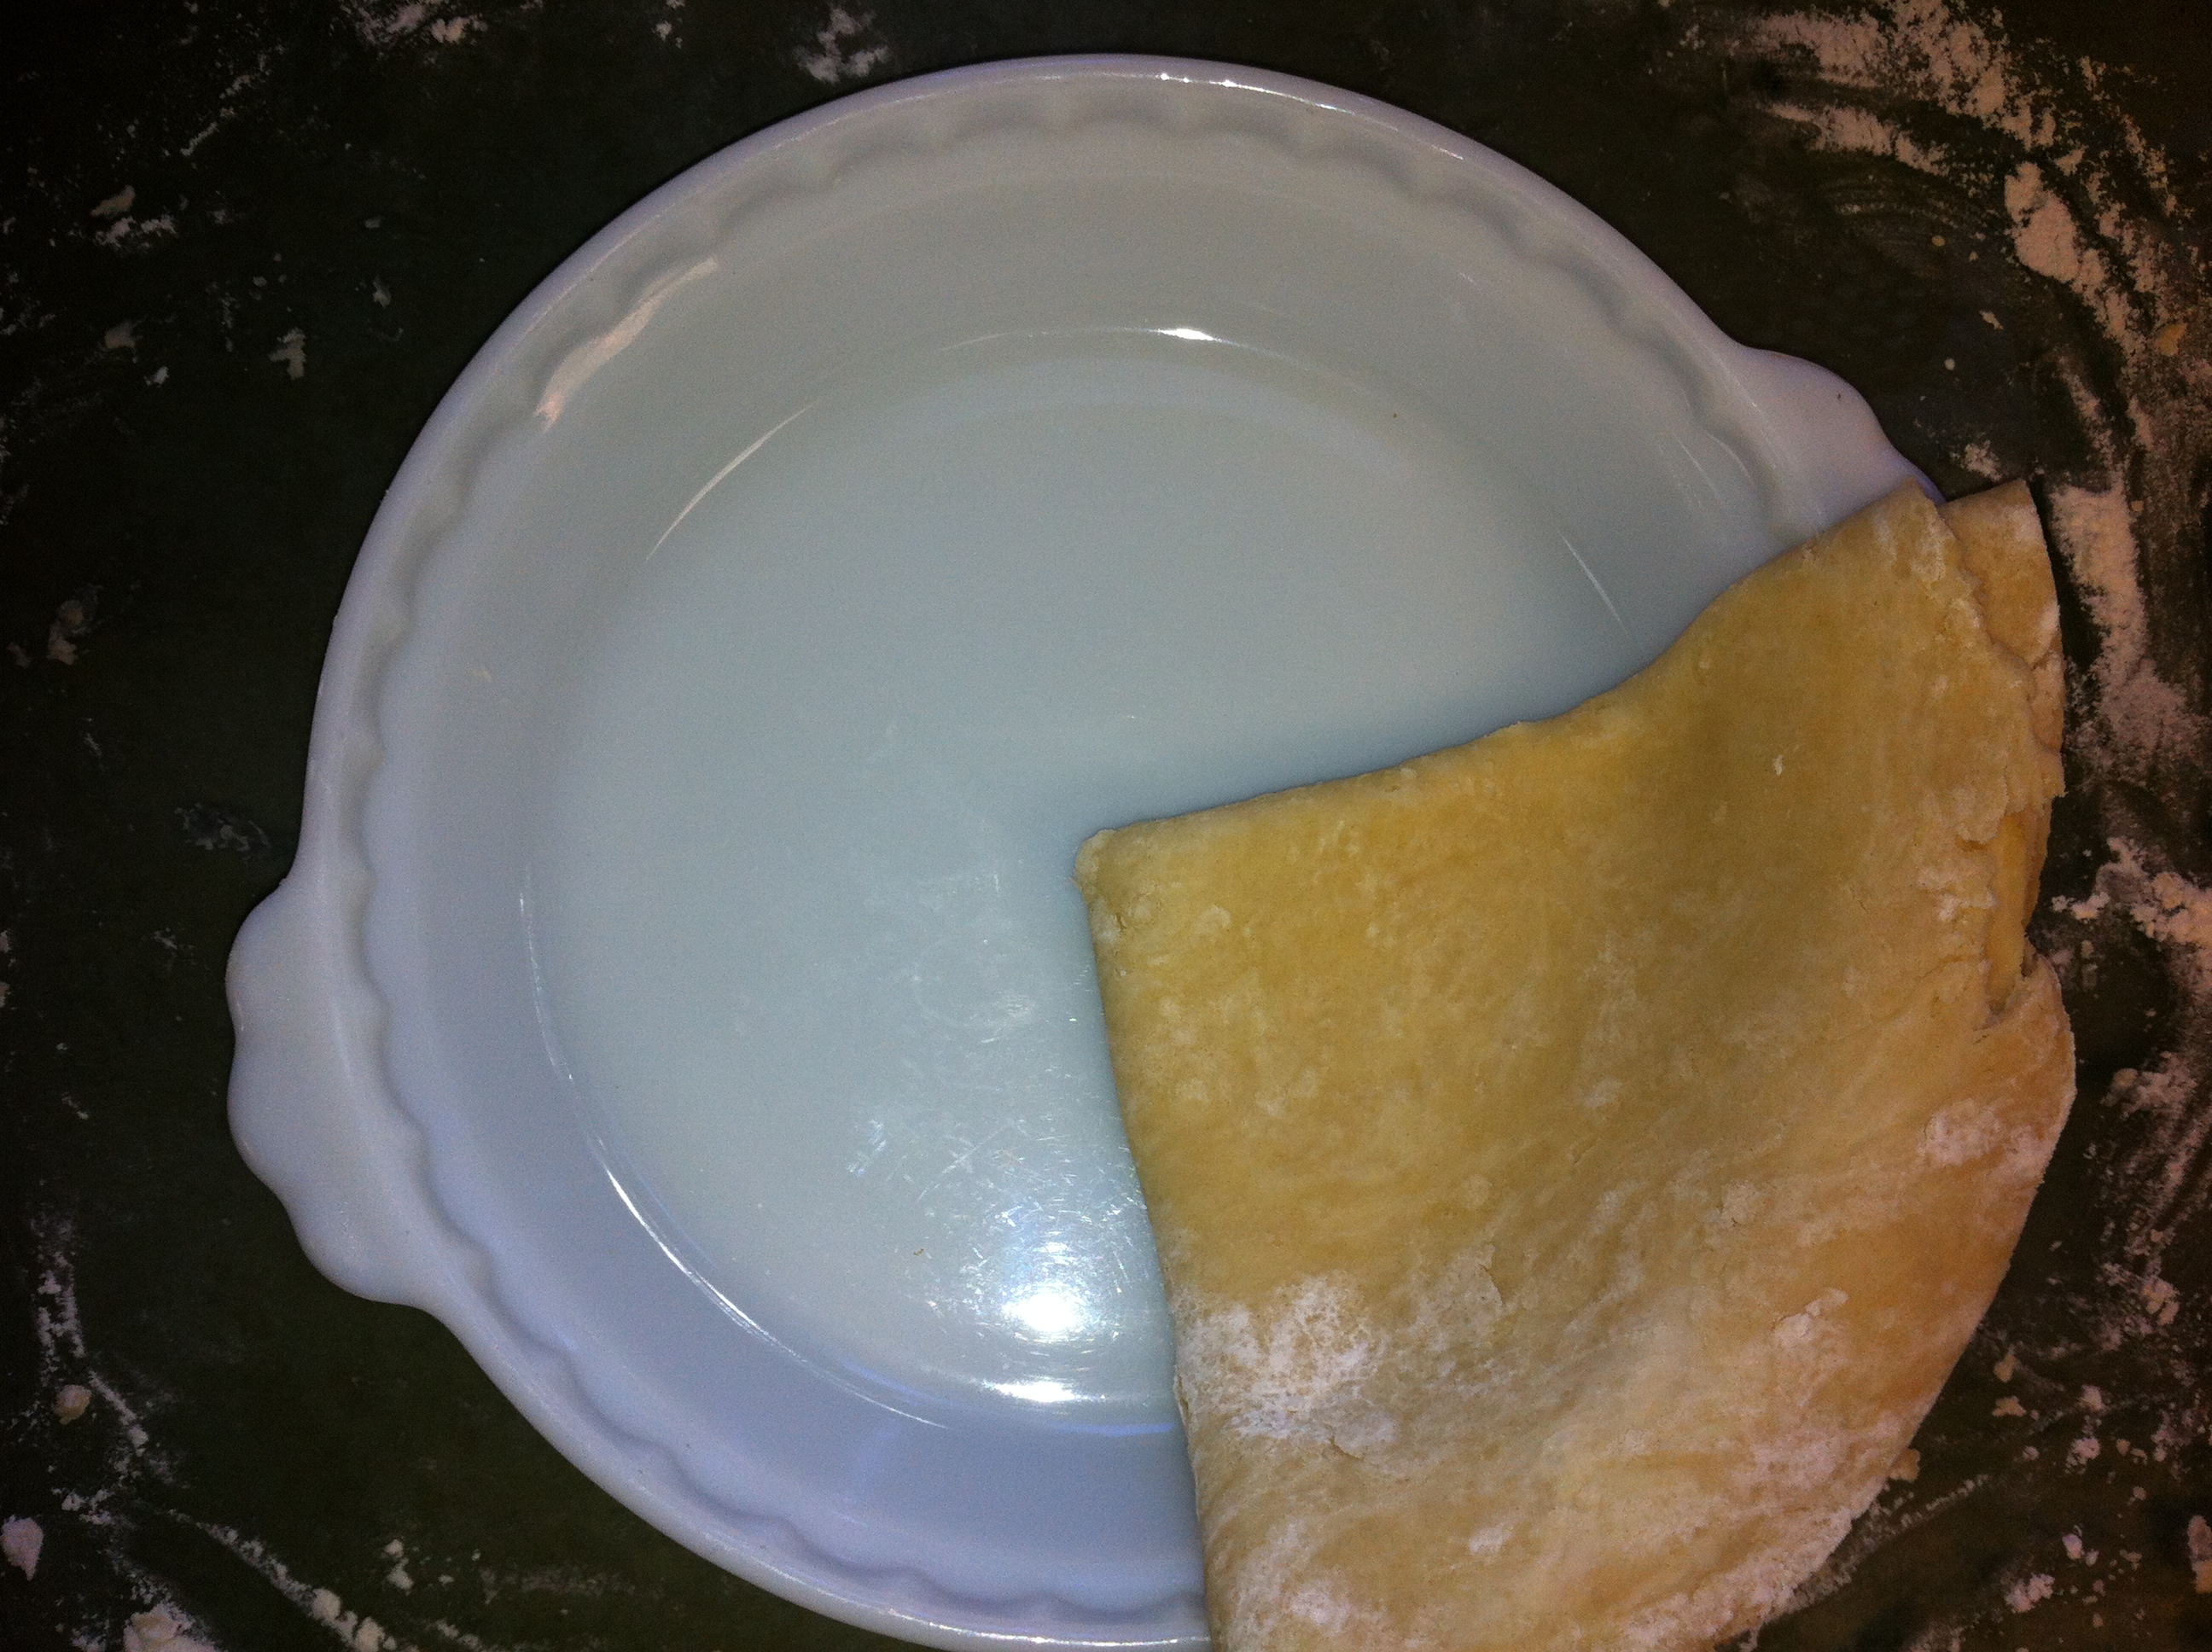
*Place quartered dough in one quarter section of the pie plate.
*Unfold one section…
*And then unfold the last half.
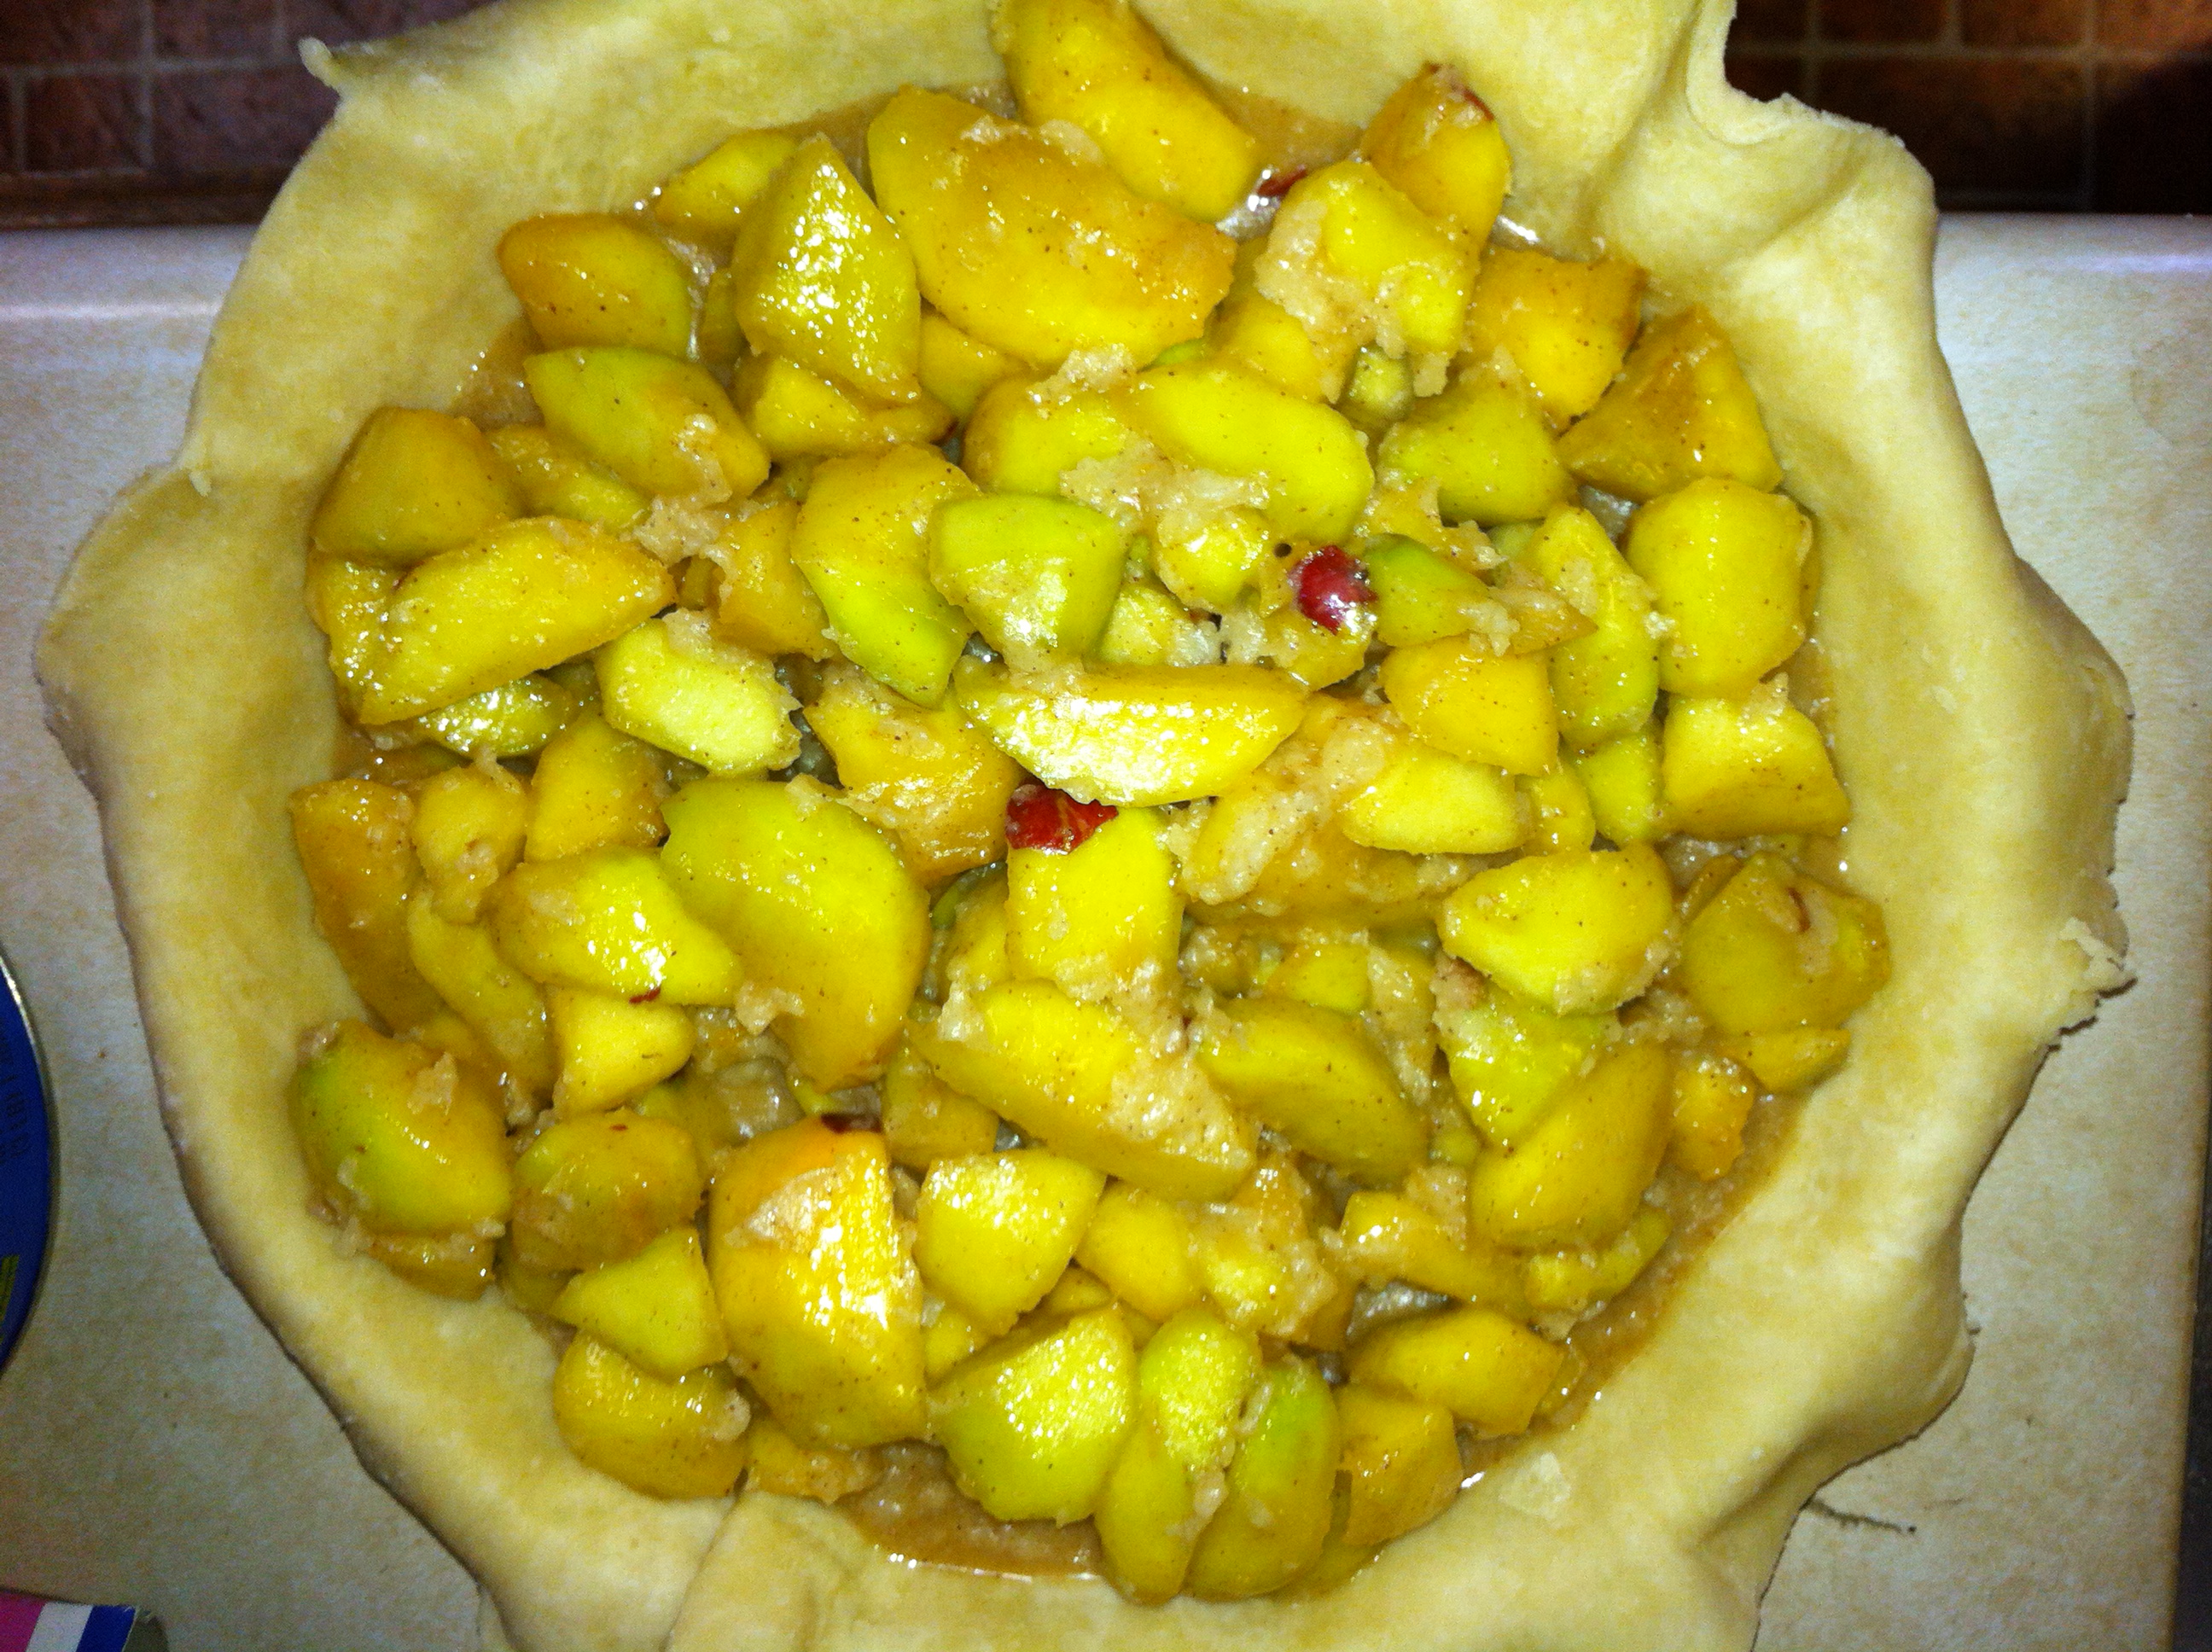
*Now, your pie plate is ready to fill with whatever yummy filling you wish! I will have to post a recipe for apple pie at a later date {this post already is getting long, I apologize!}
*Roll out your other ball of dough in the same way you rolled out the first. Fold up the same way and transfer to the top of the pie.

*Unfold first quarter….
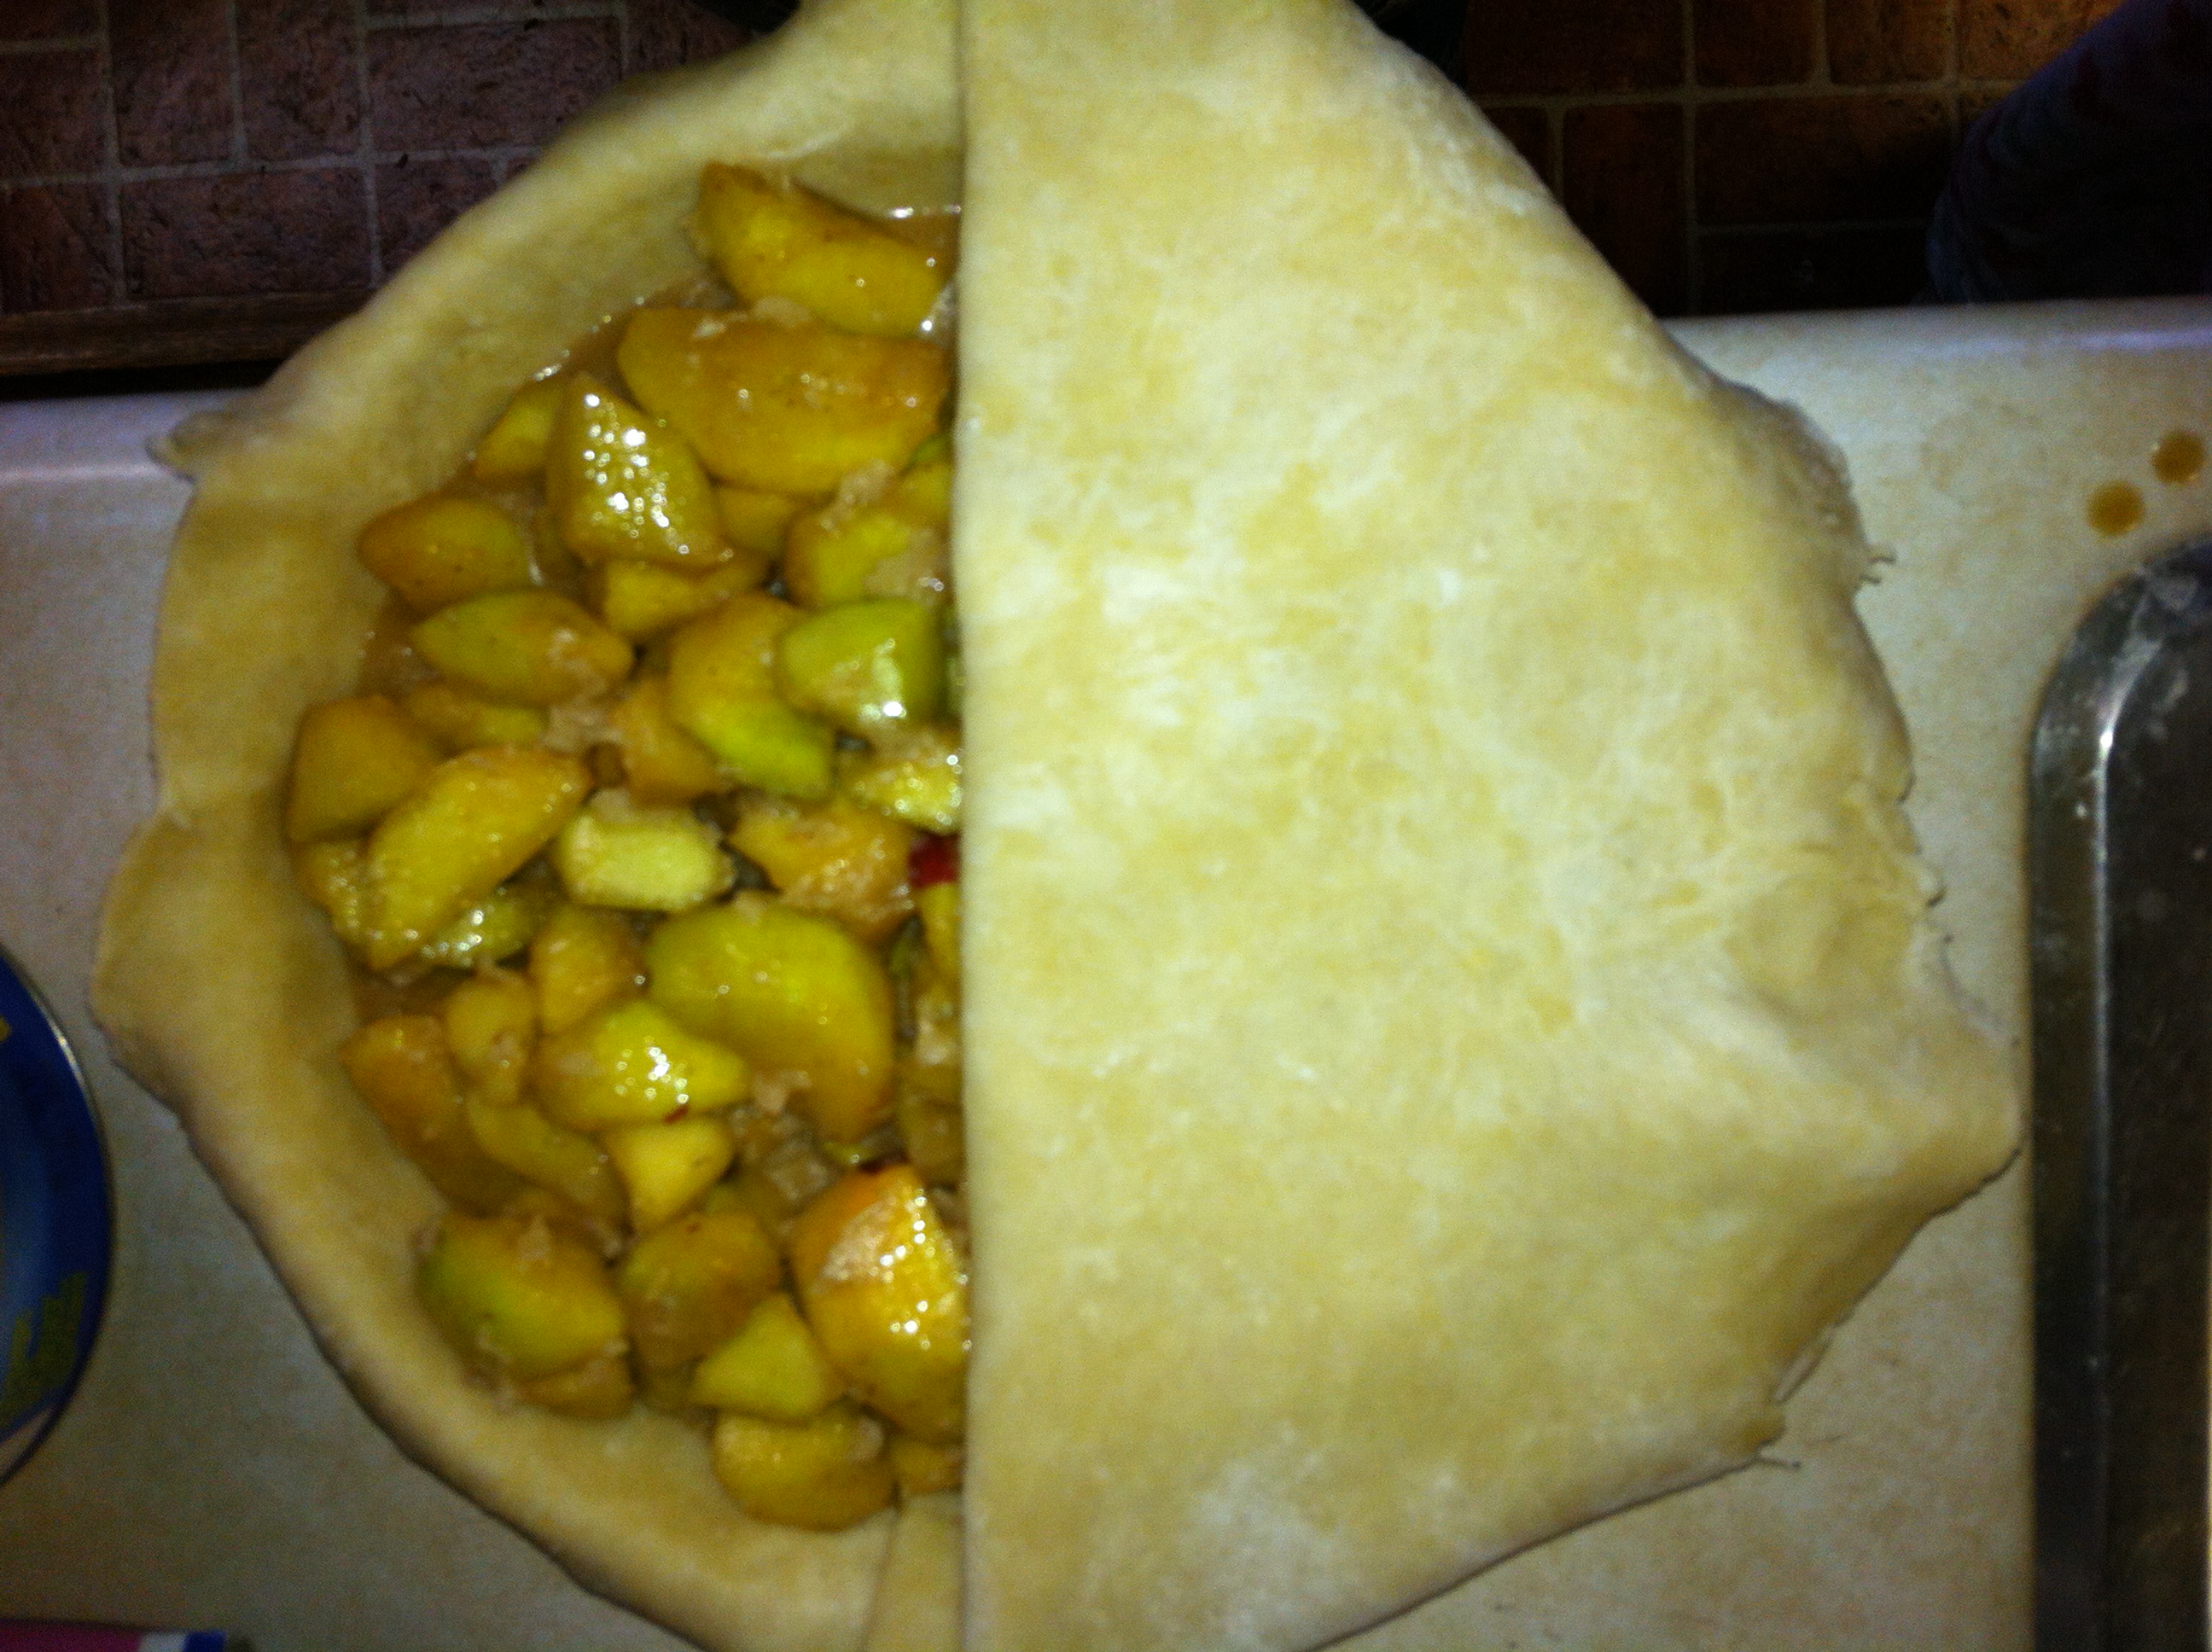
*And…unfold again….
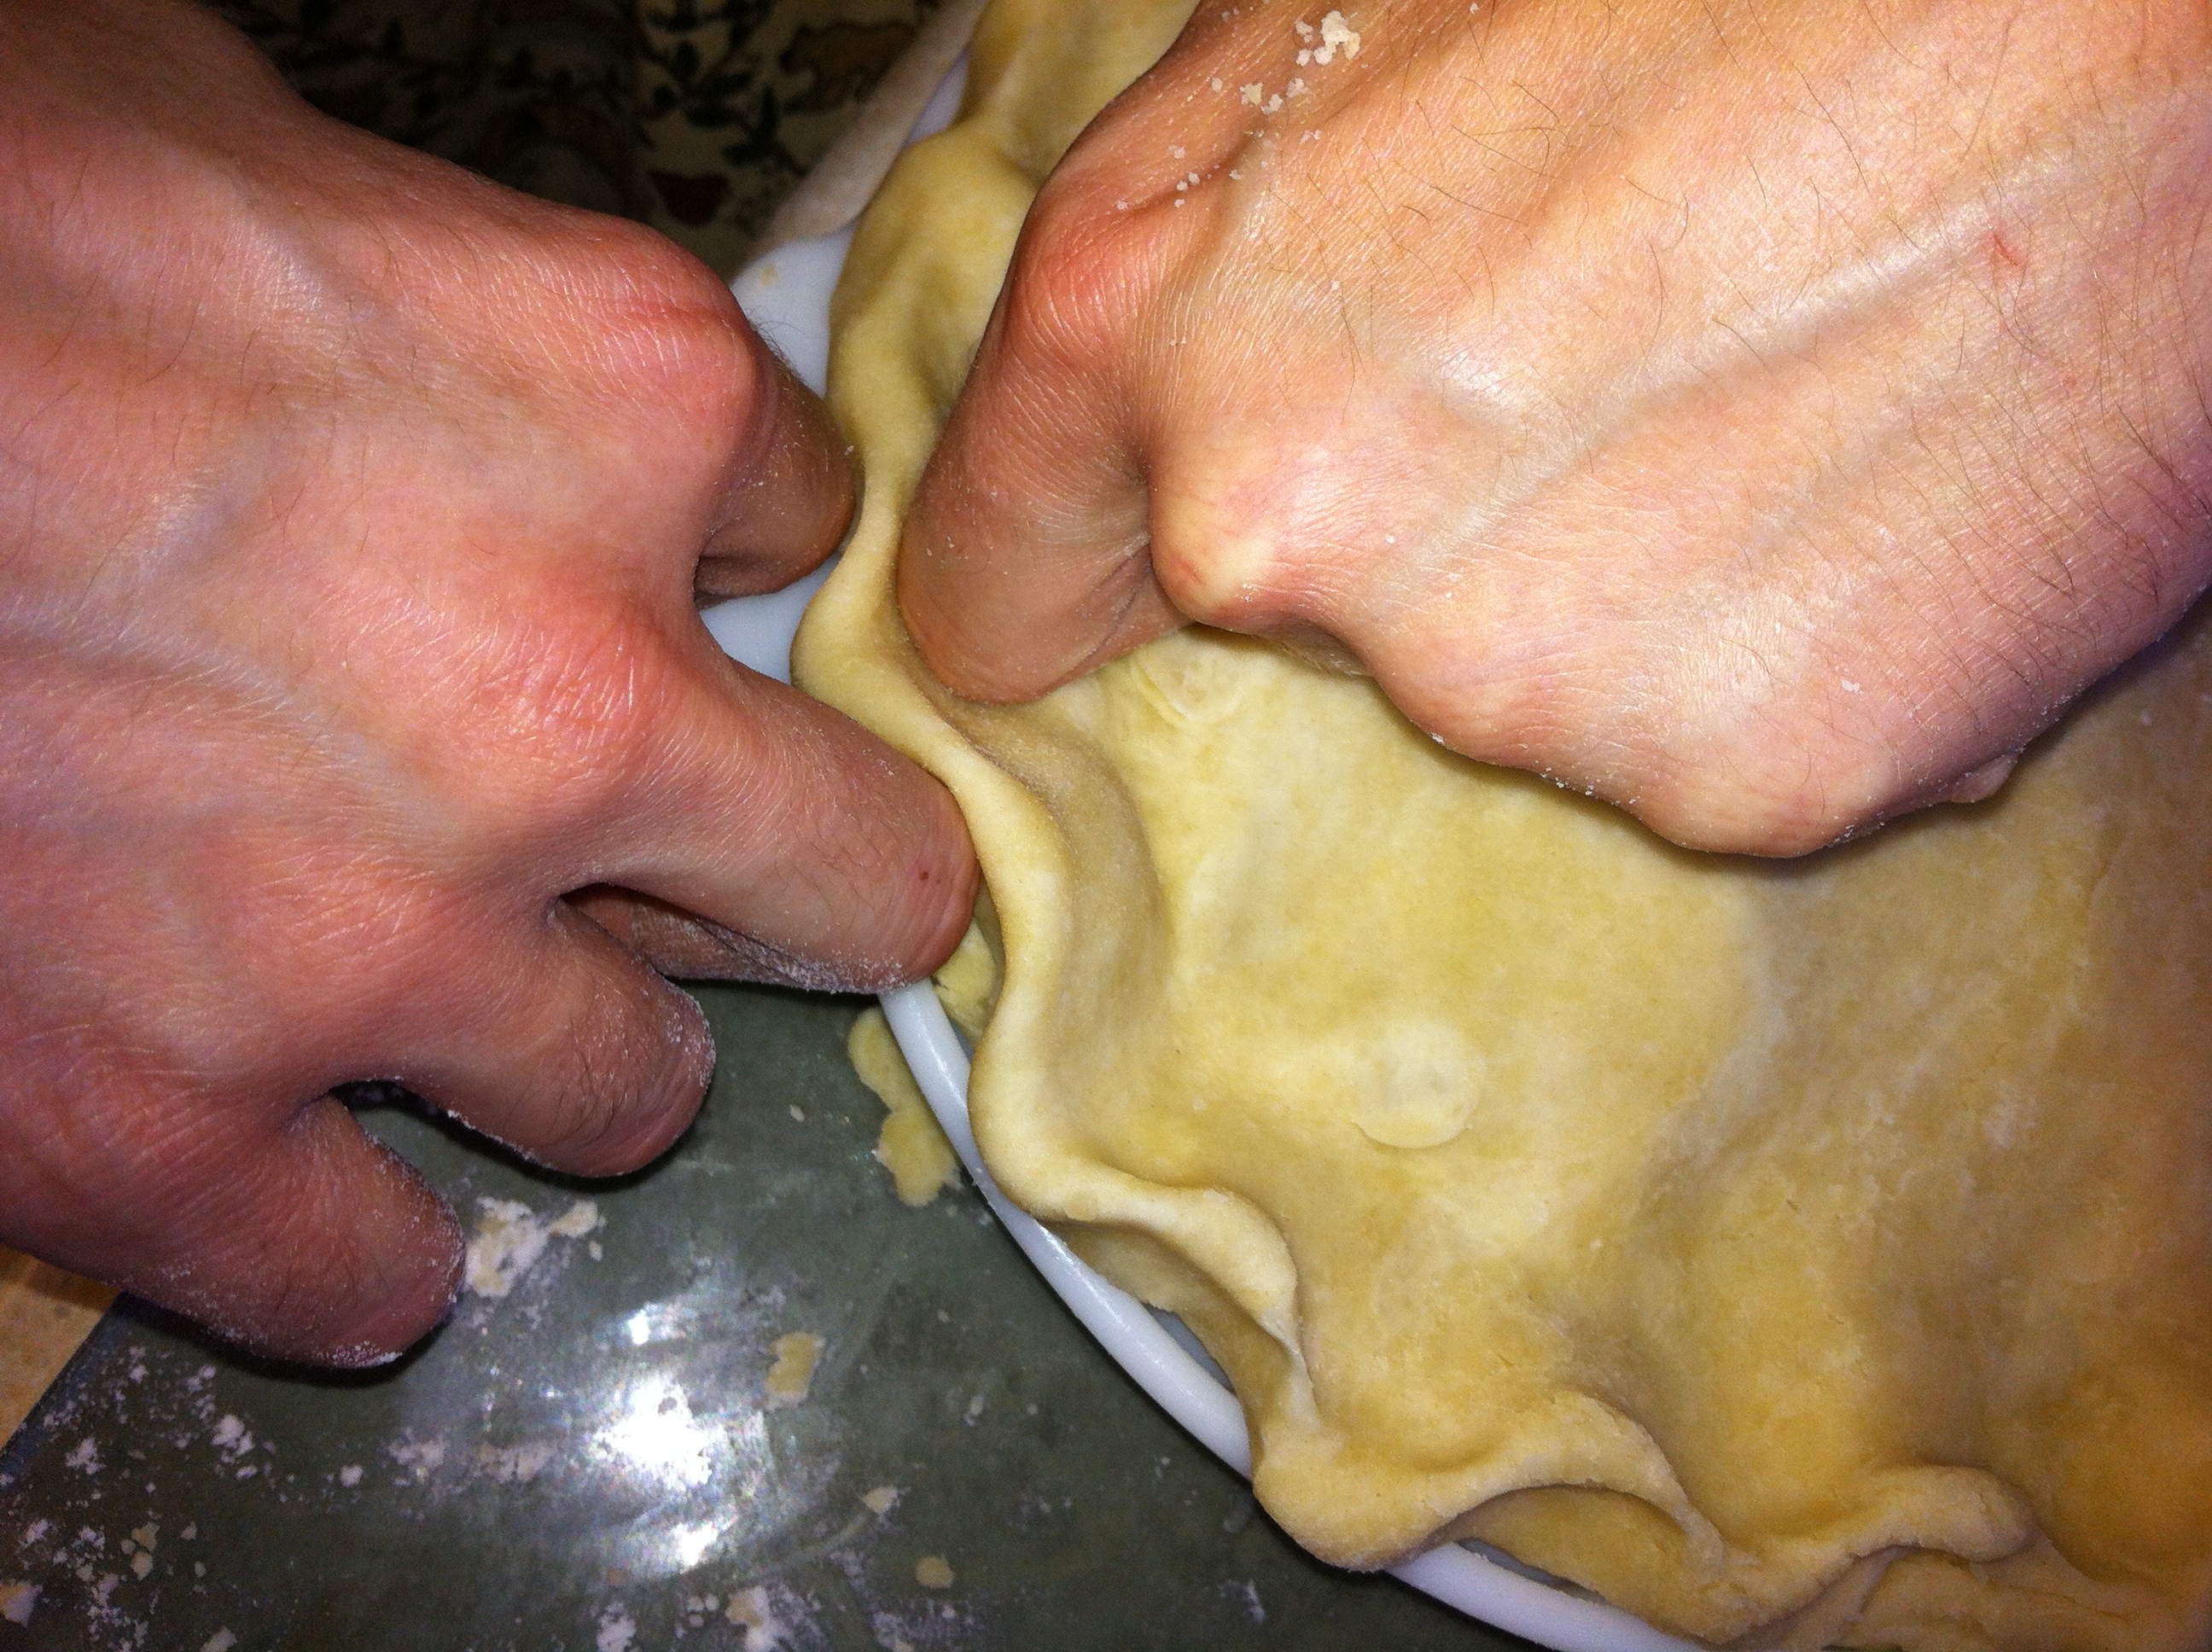
*Now take your two pieces of crust that are overlapping each other and fold under.
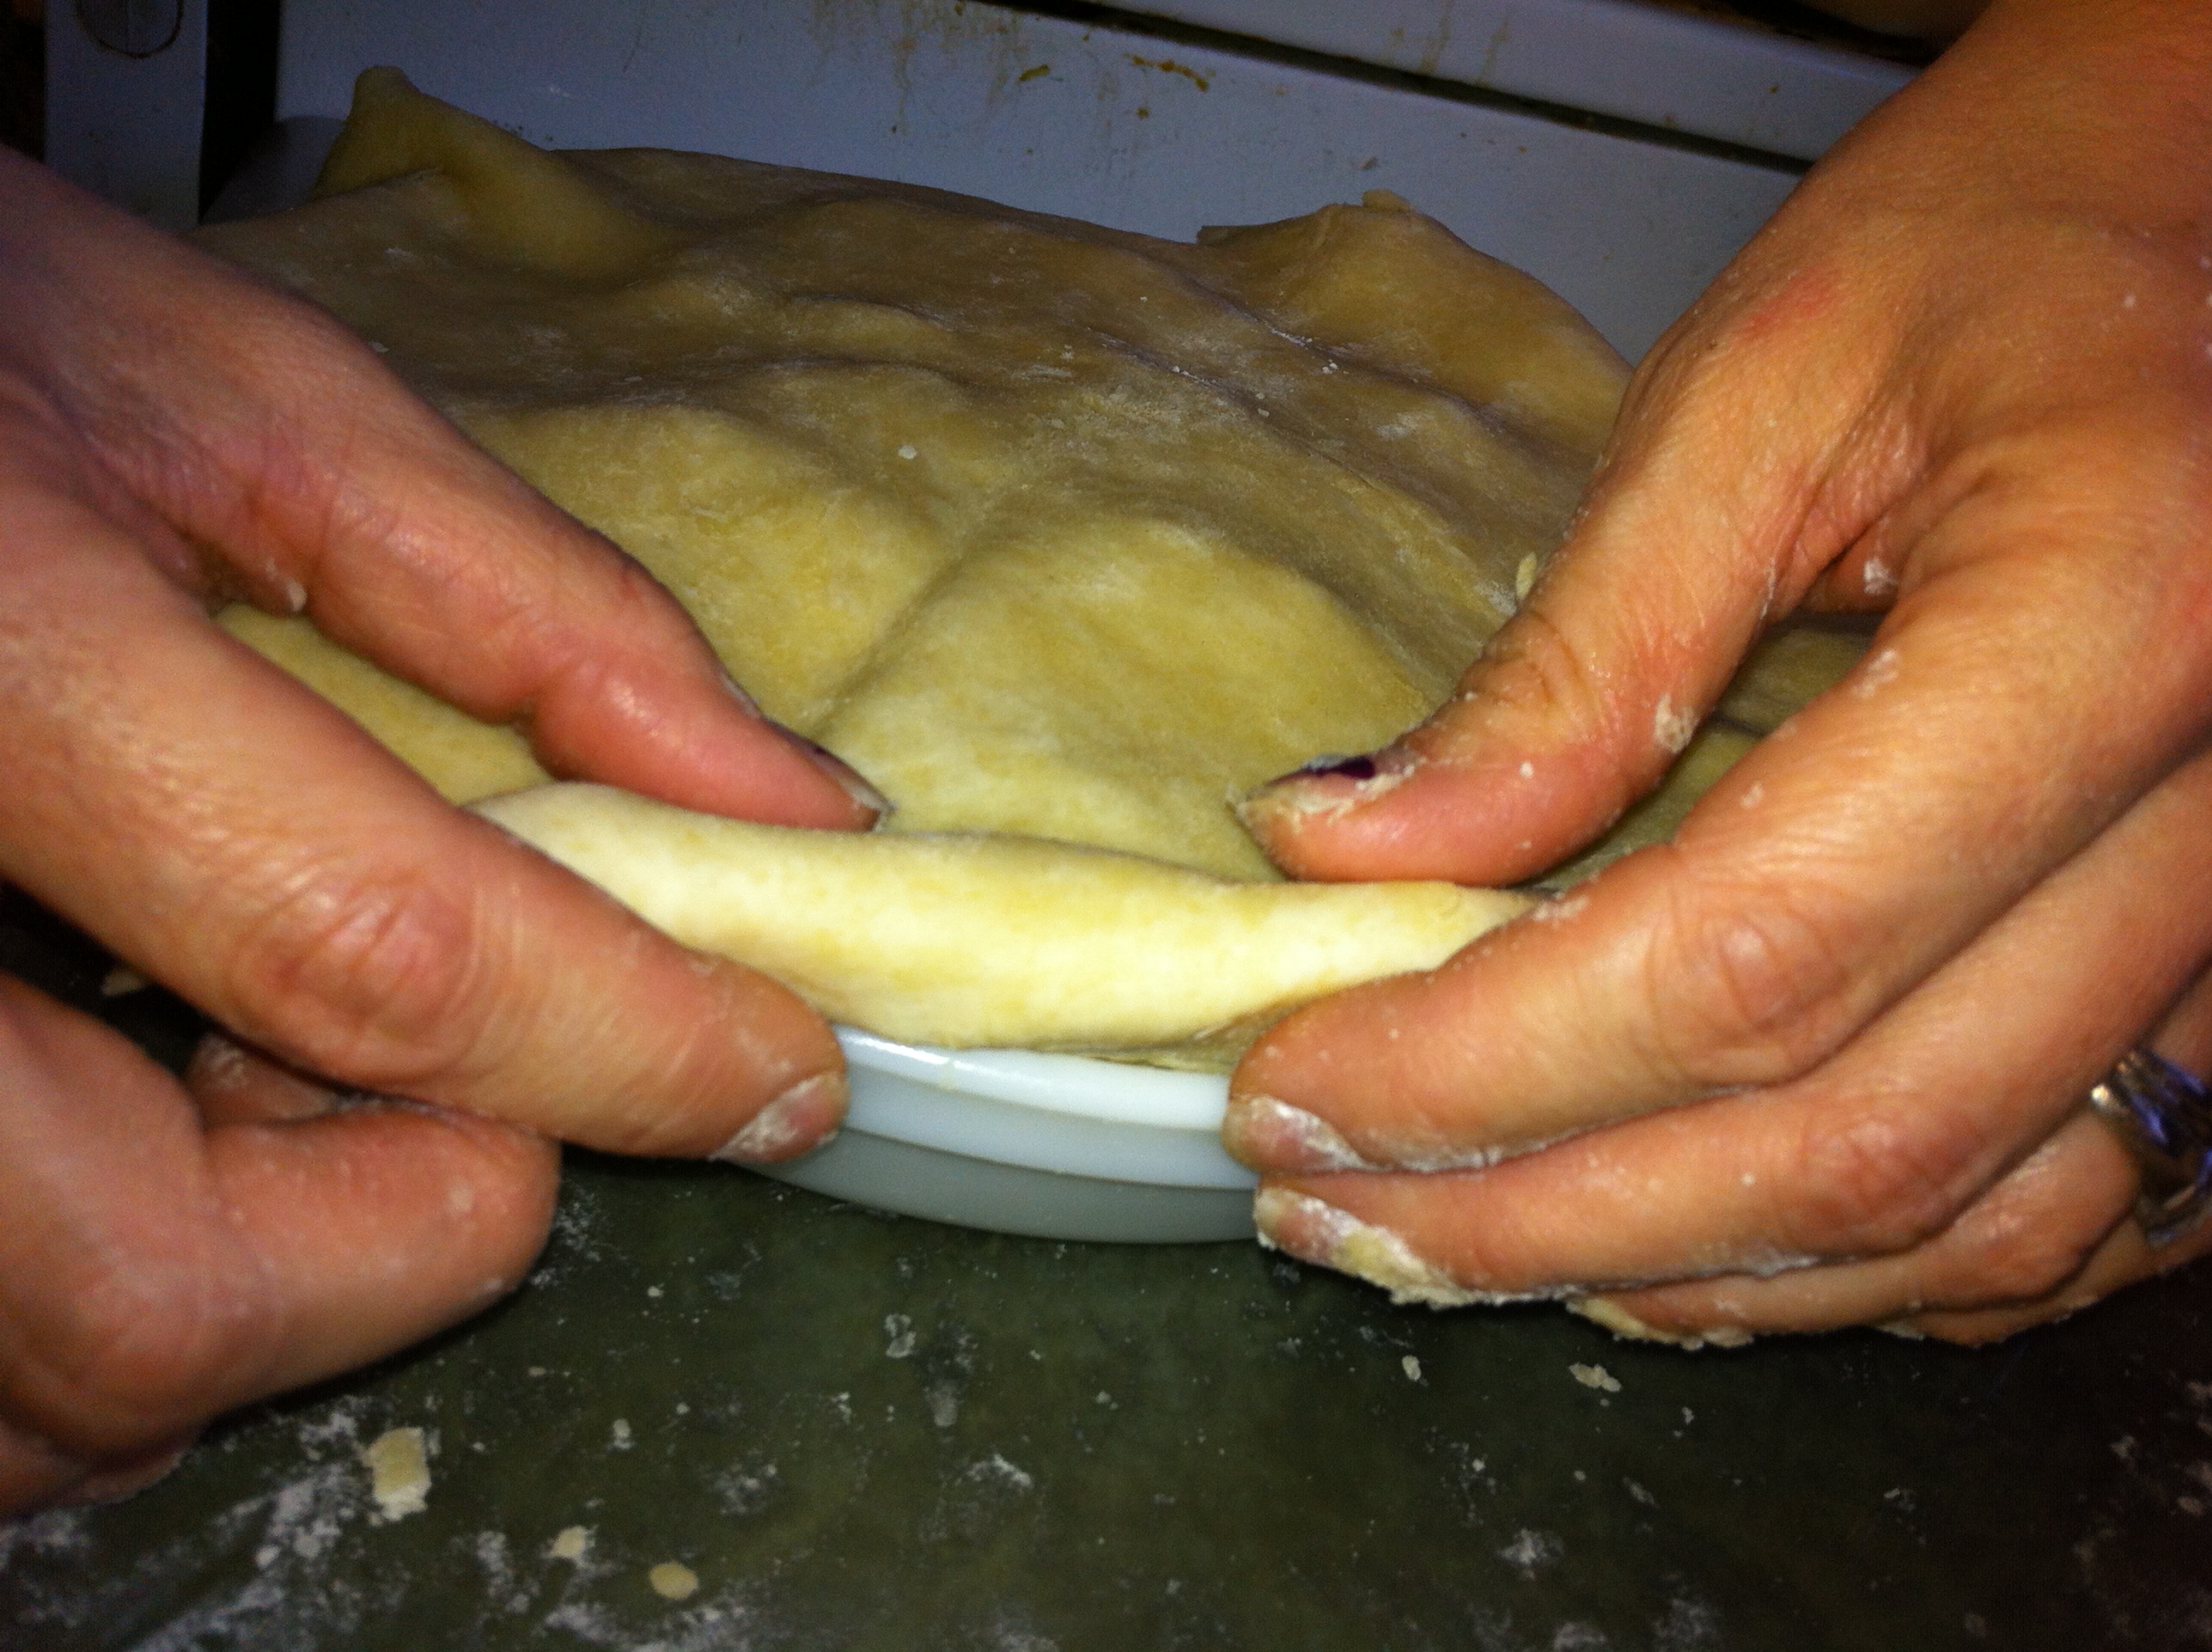
*Do this all of the way around. Don’t worry if it doesn’t look pretty yet. We’re getting to that!
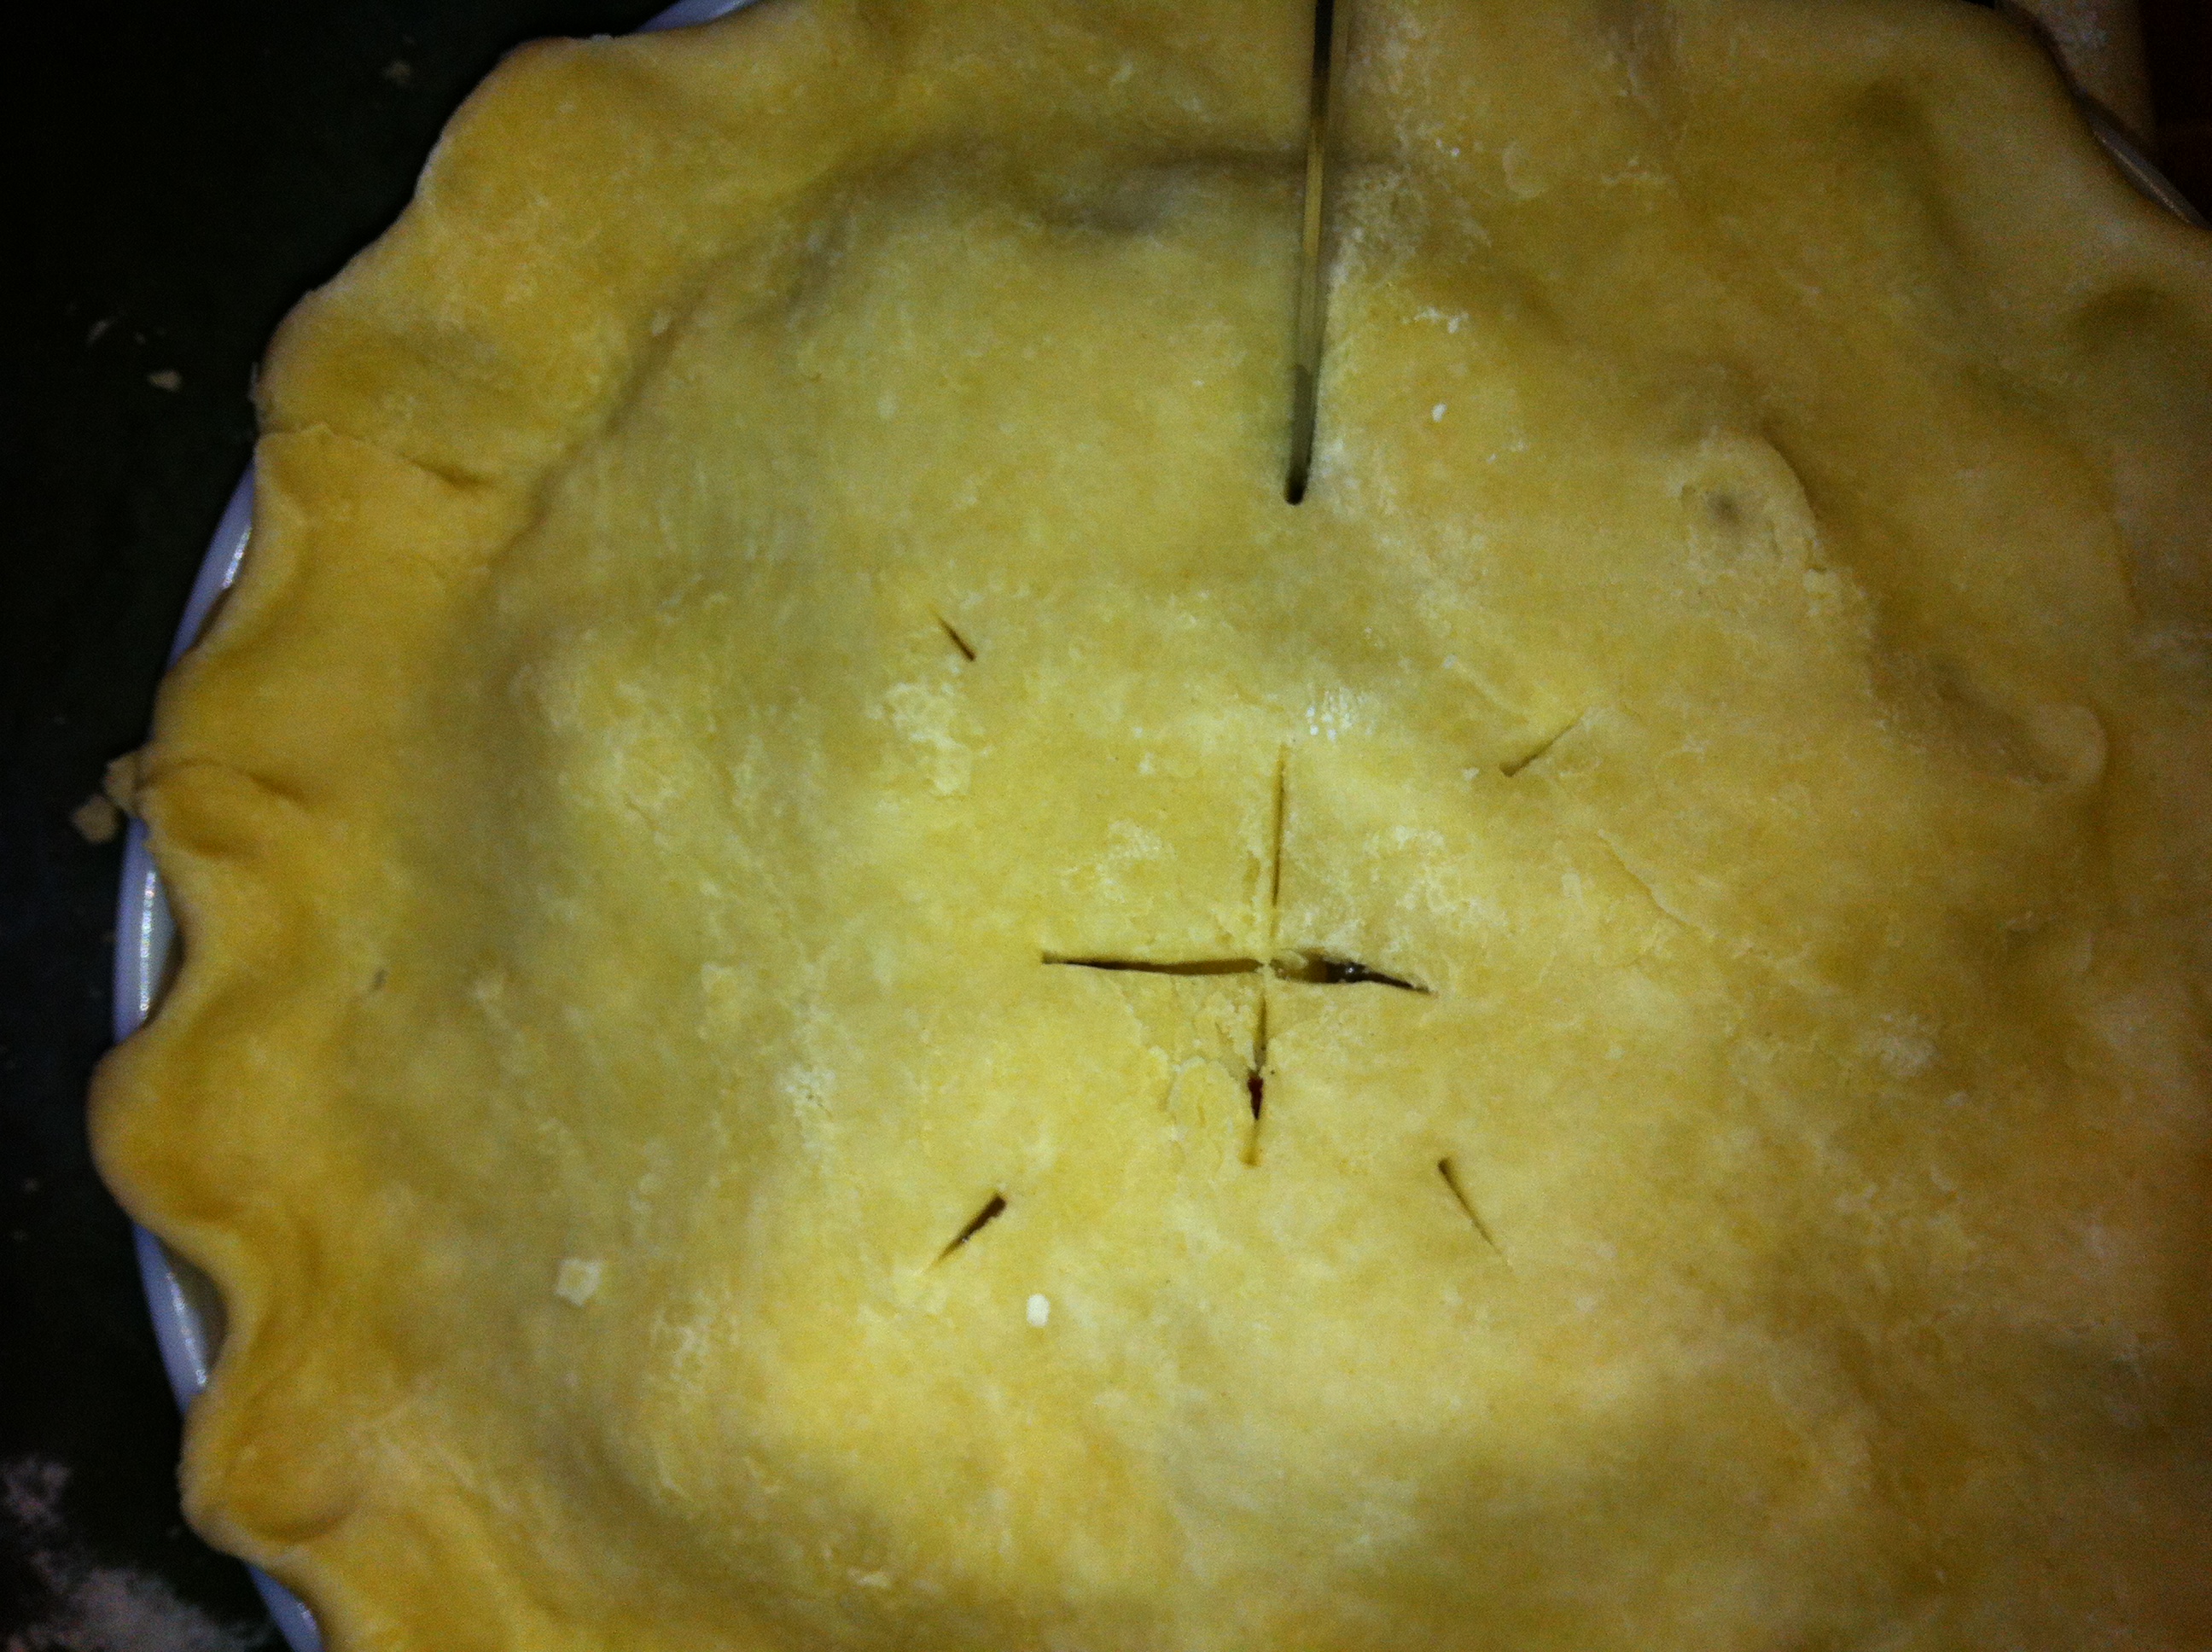
*Next, use your knuckles to go around the pie to make a pretty design. Or whatever trick you have. Even the prongs of a fork will work…you just don’t want your filling to escape!
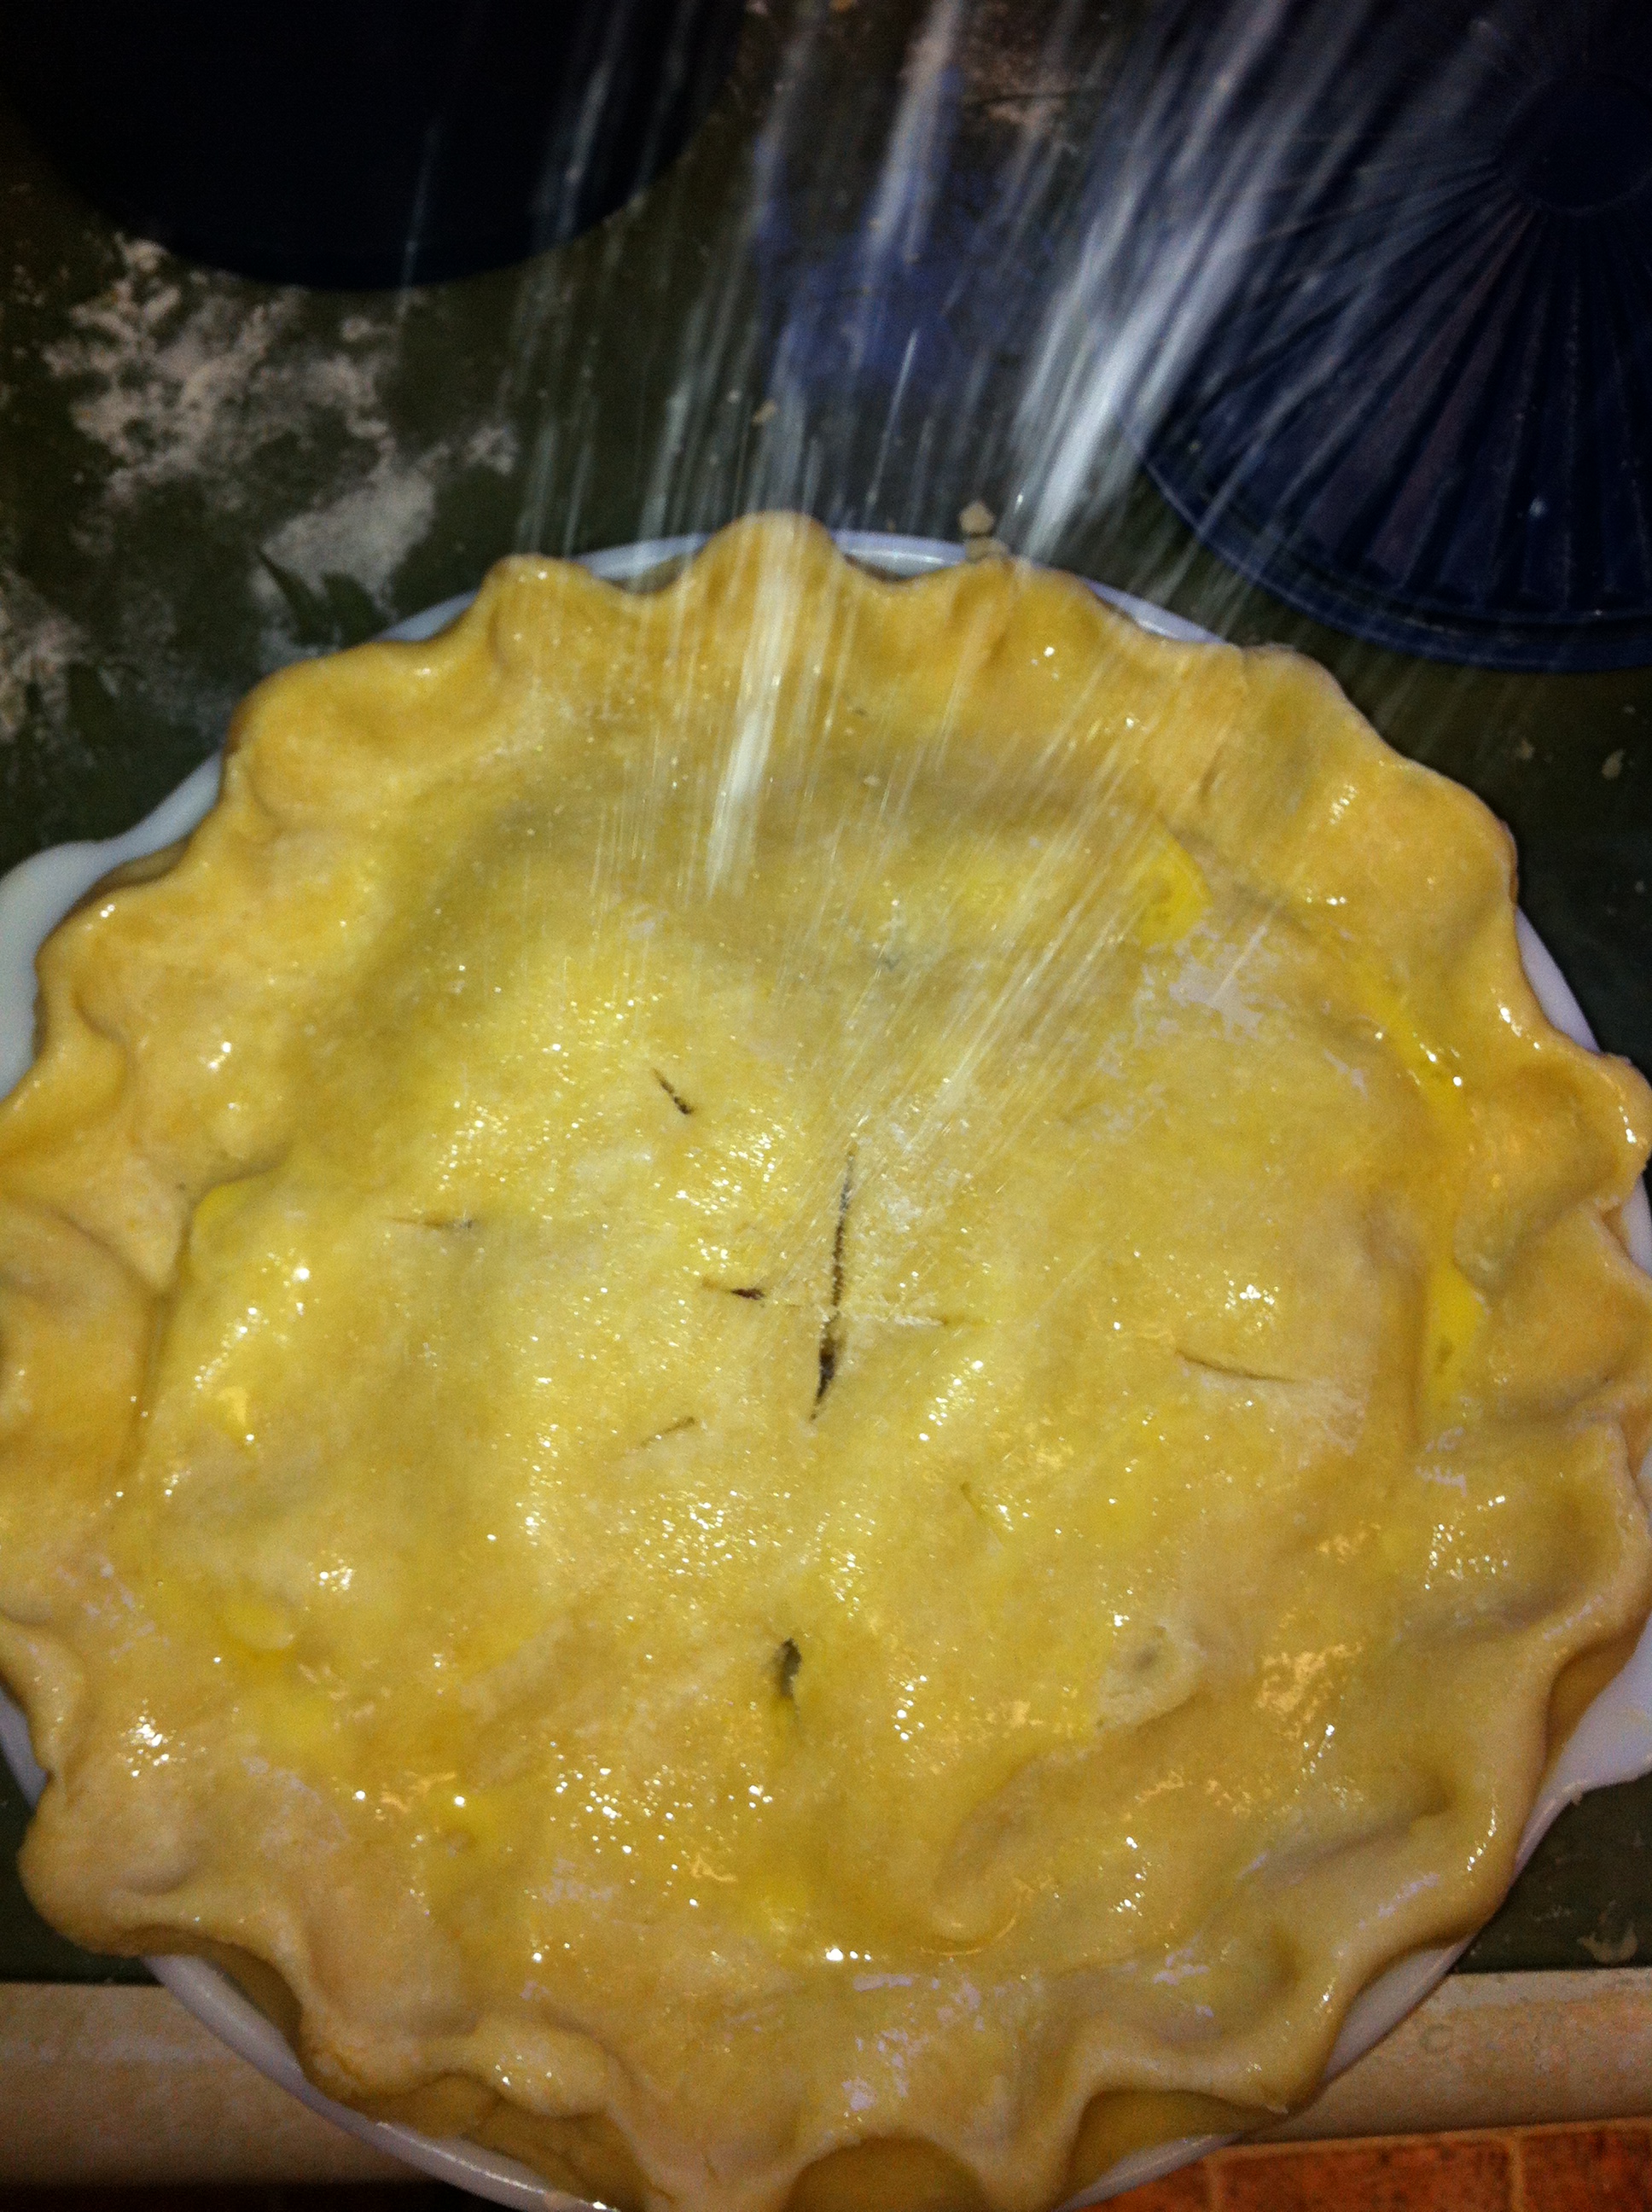
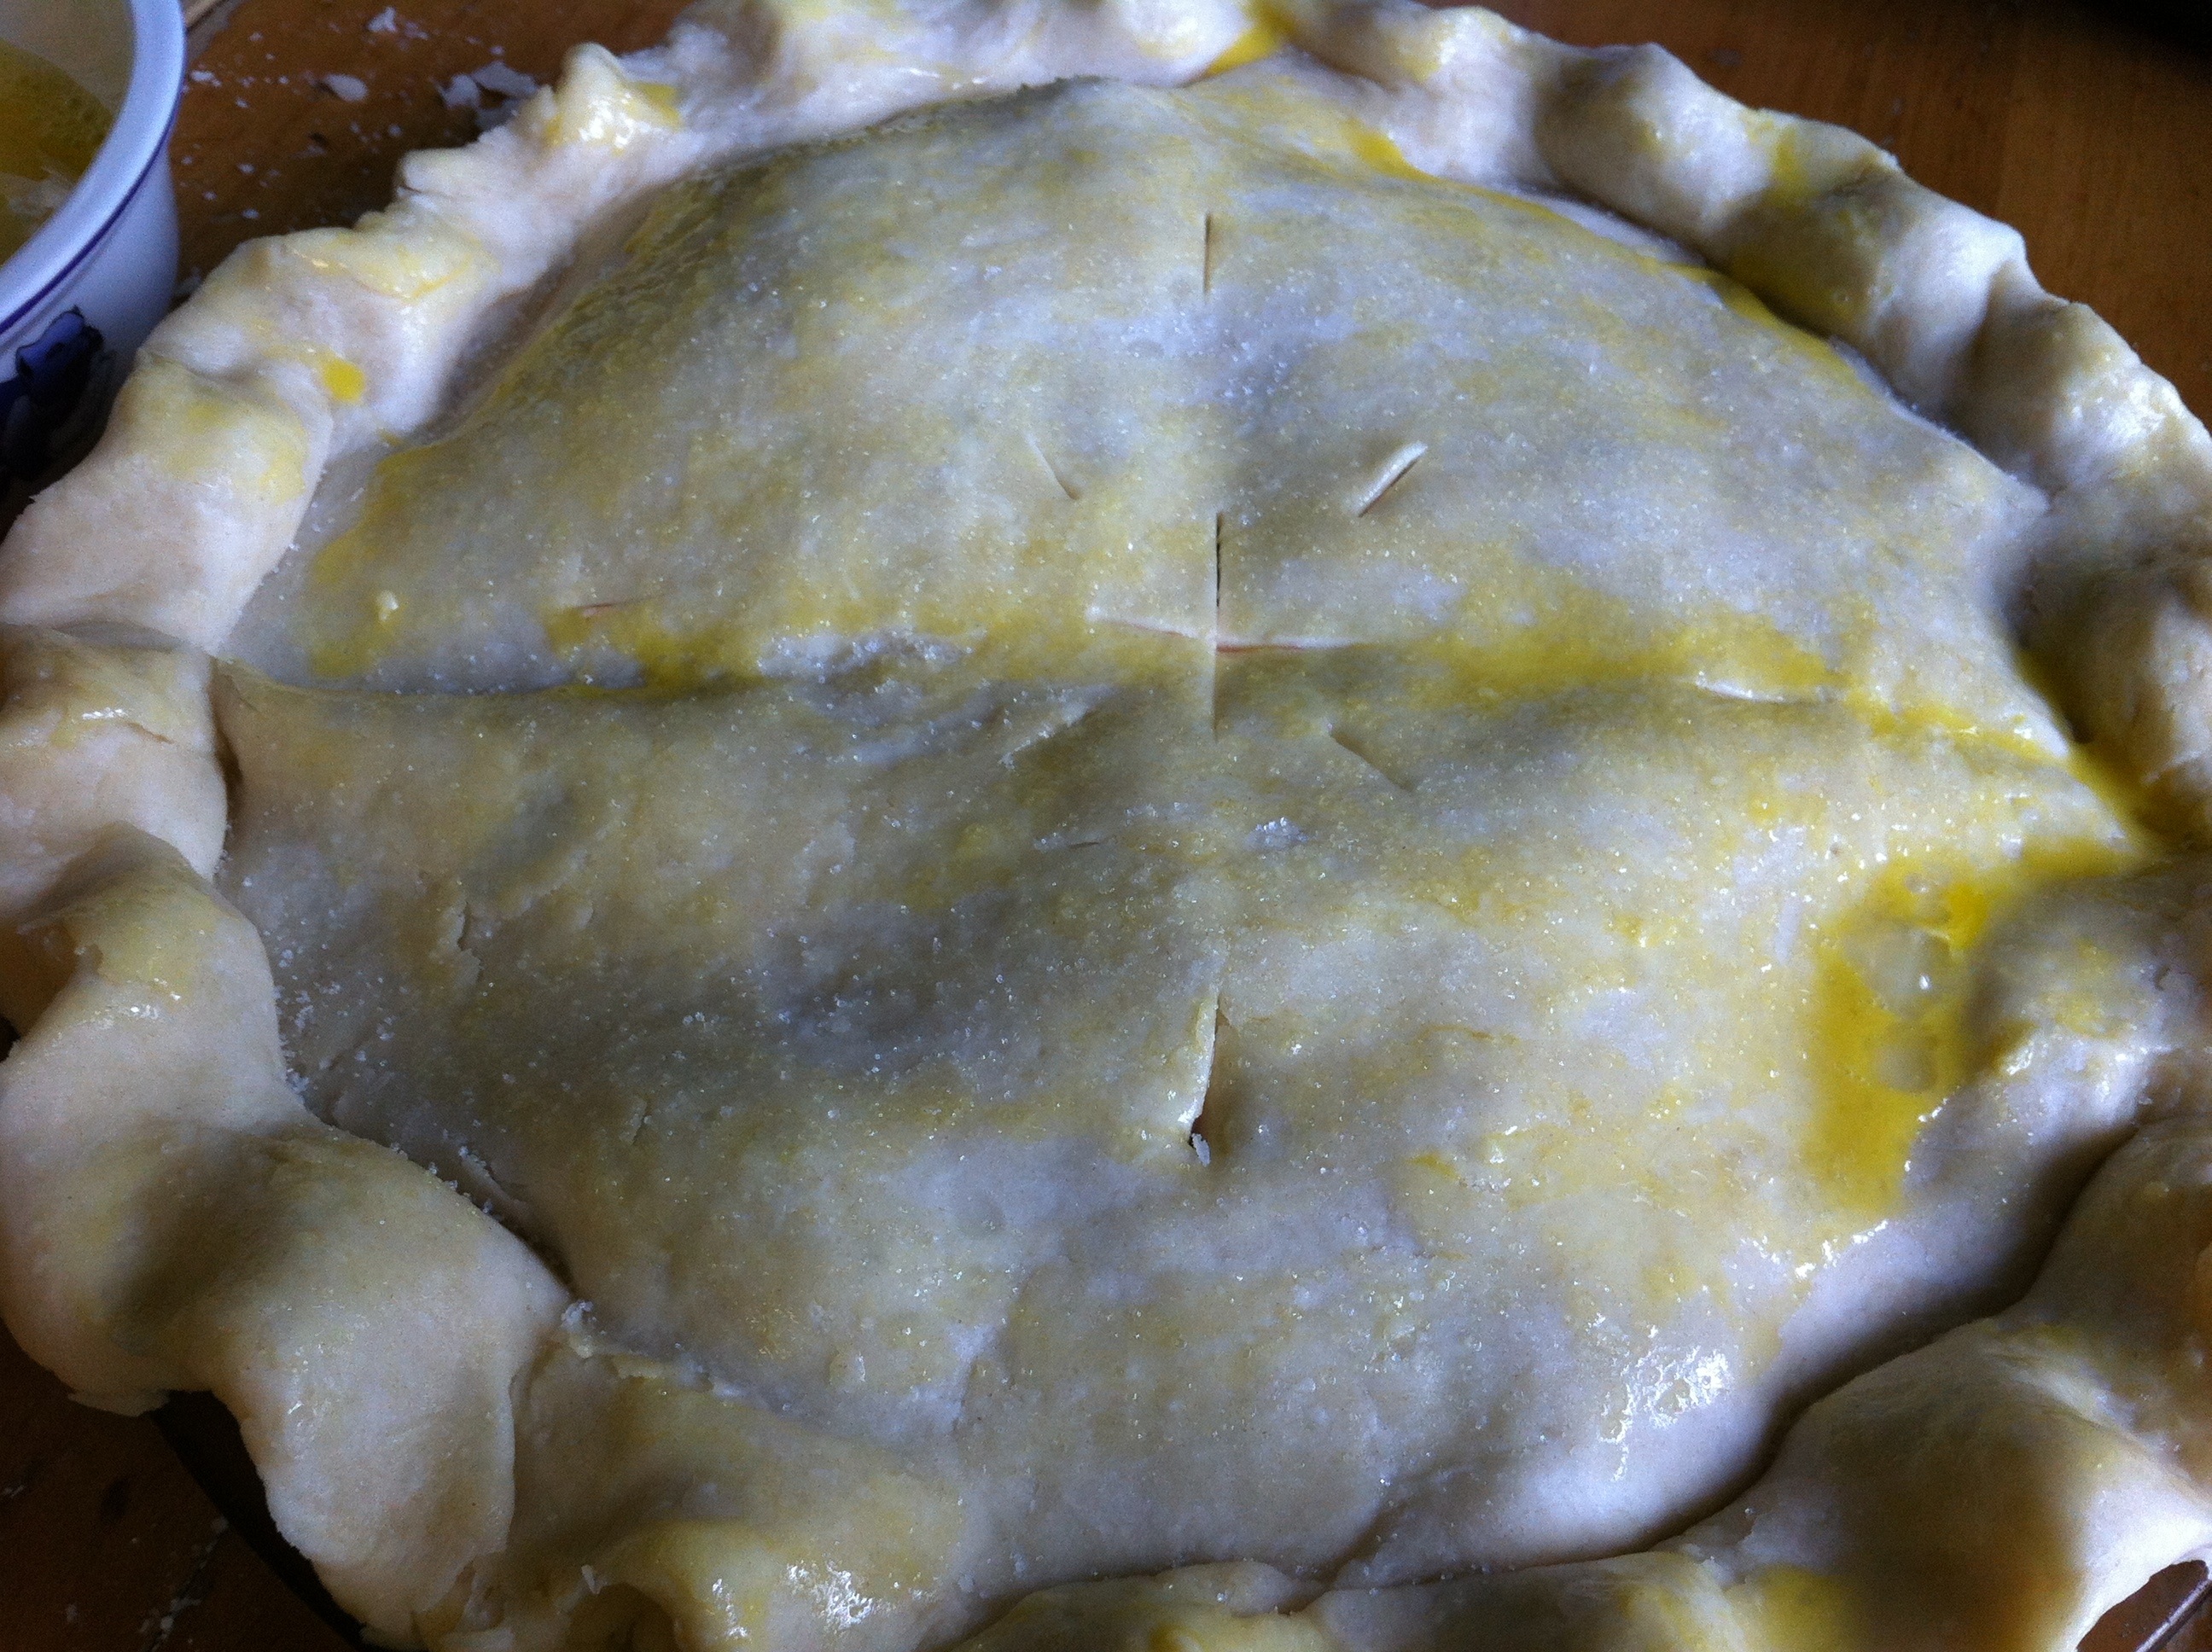
*Make a pretty design on the top to allow the steam to escape.
*If you so desire, make an egg wash with 1 egg and 1 t of water.
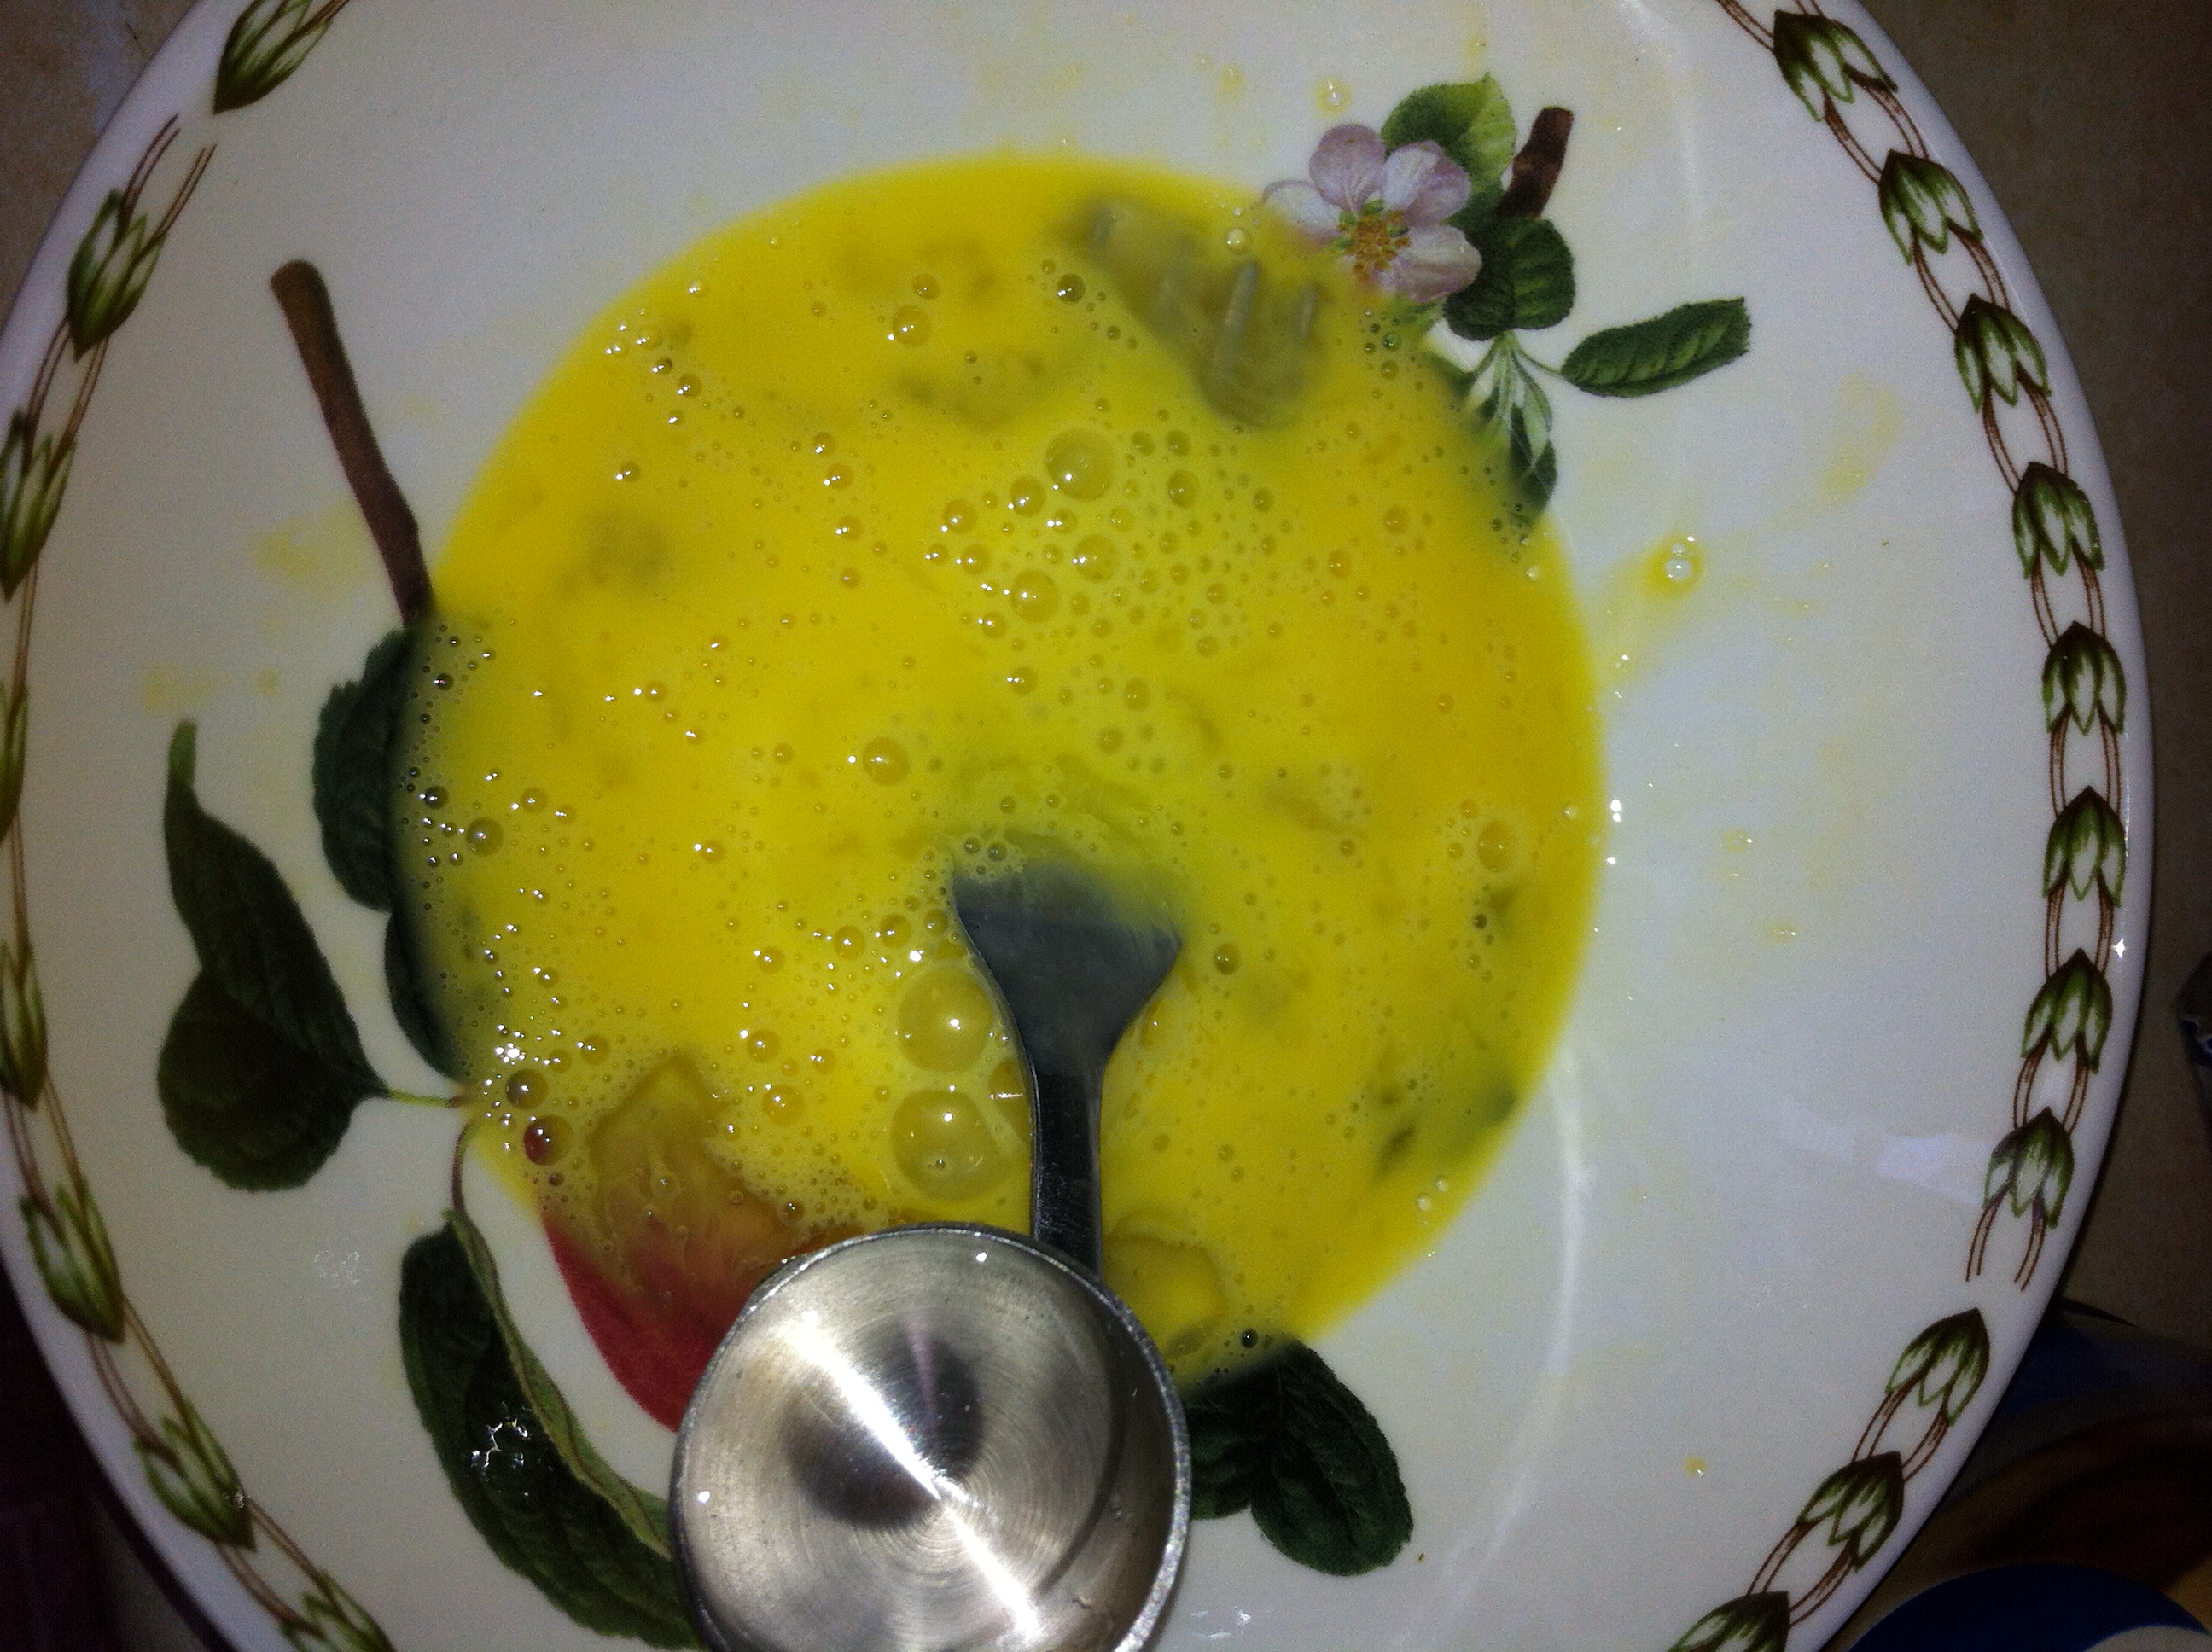
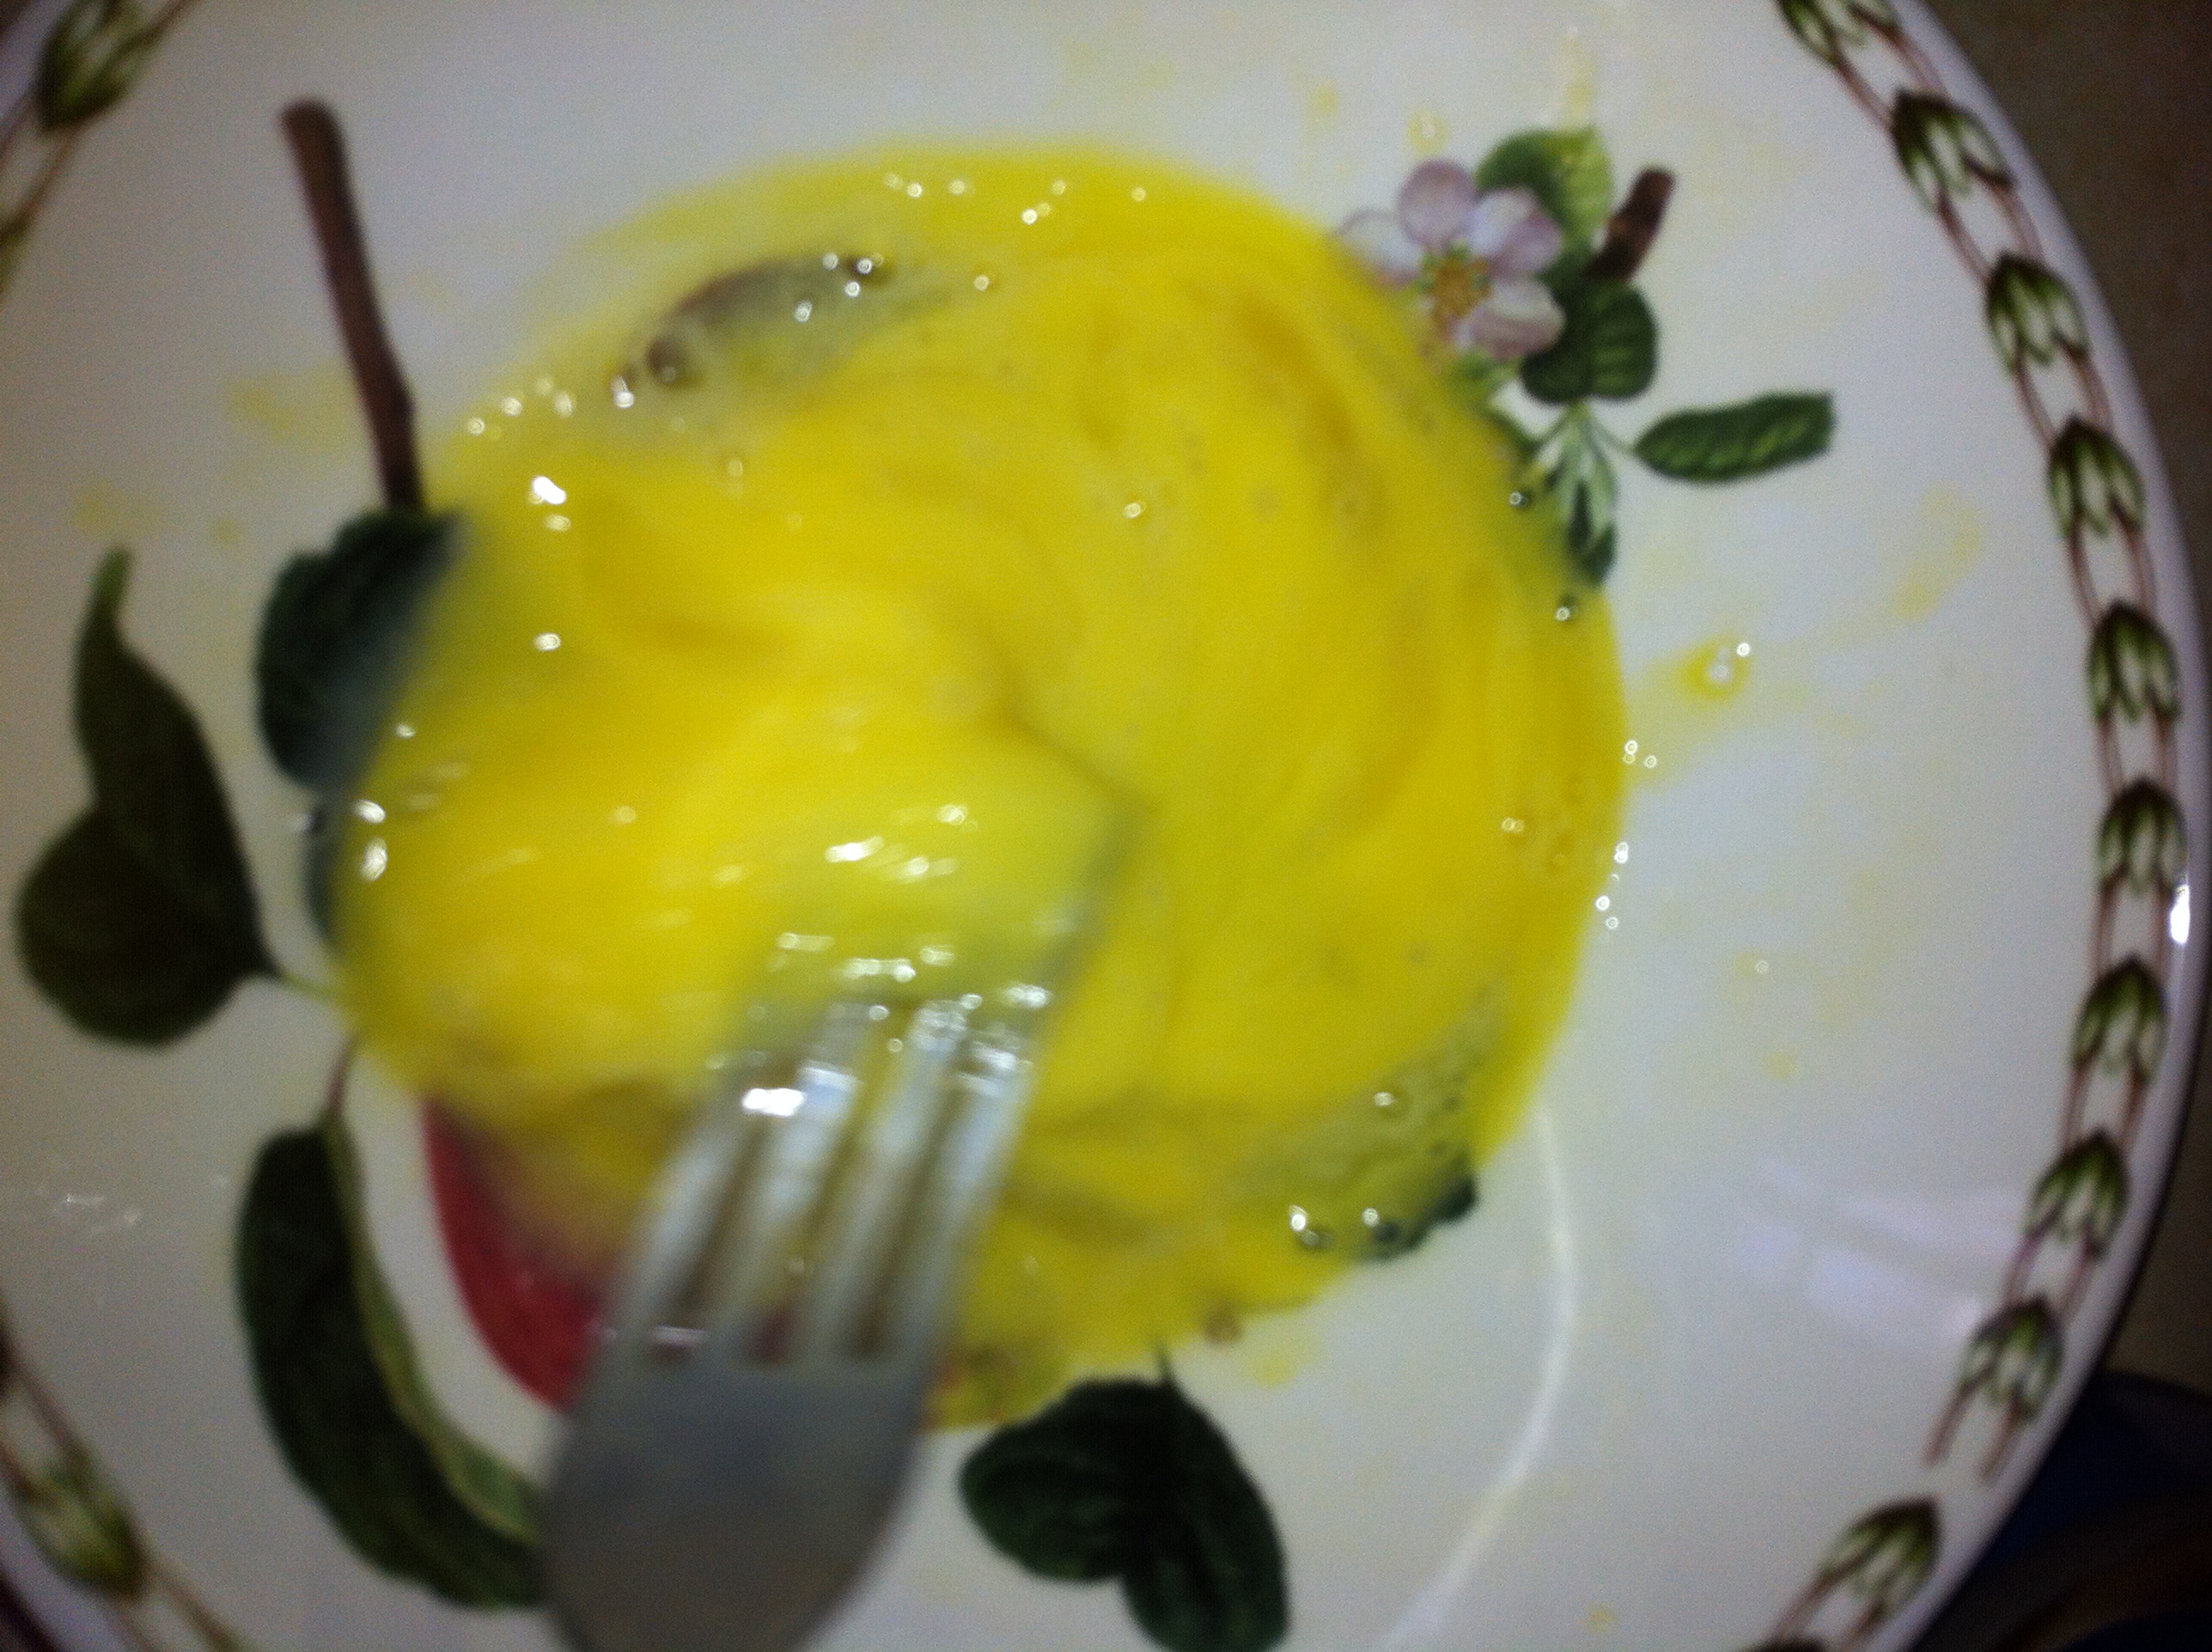
*Mix the egg and water together with a whisk or a fork.
*Using a pastry brush, brush on the egg wash lightly and evenly over the top of the pie.
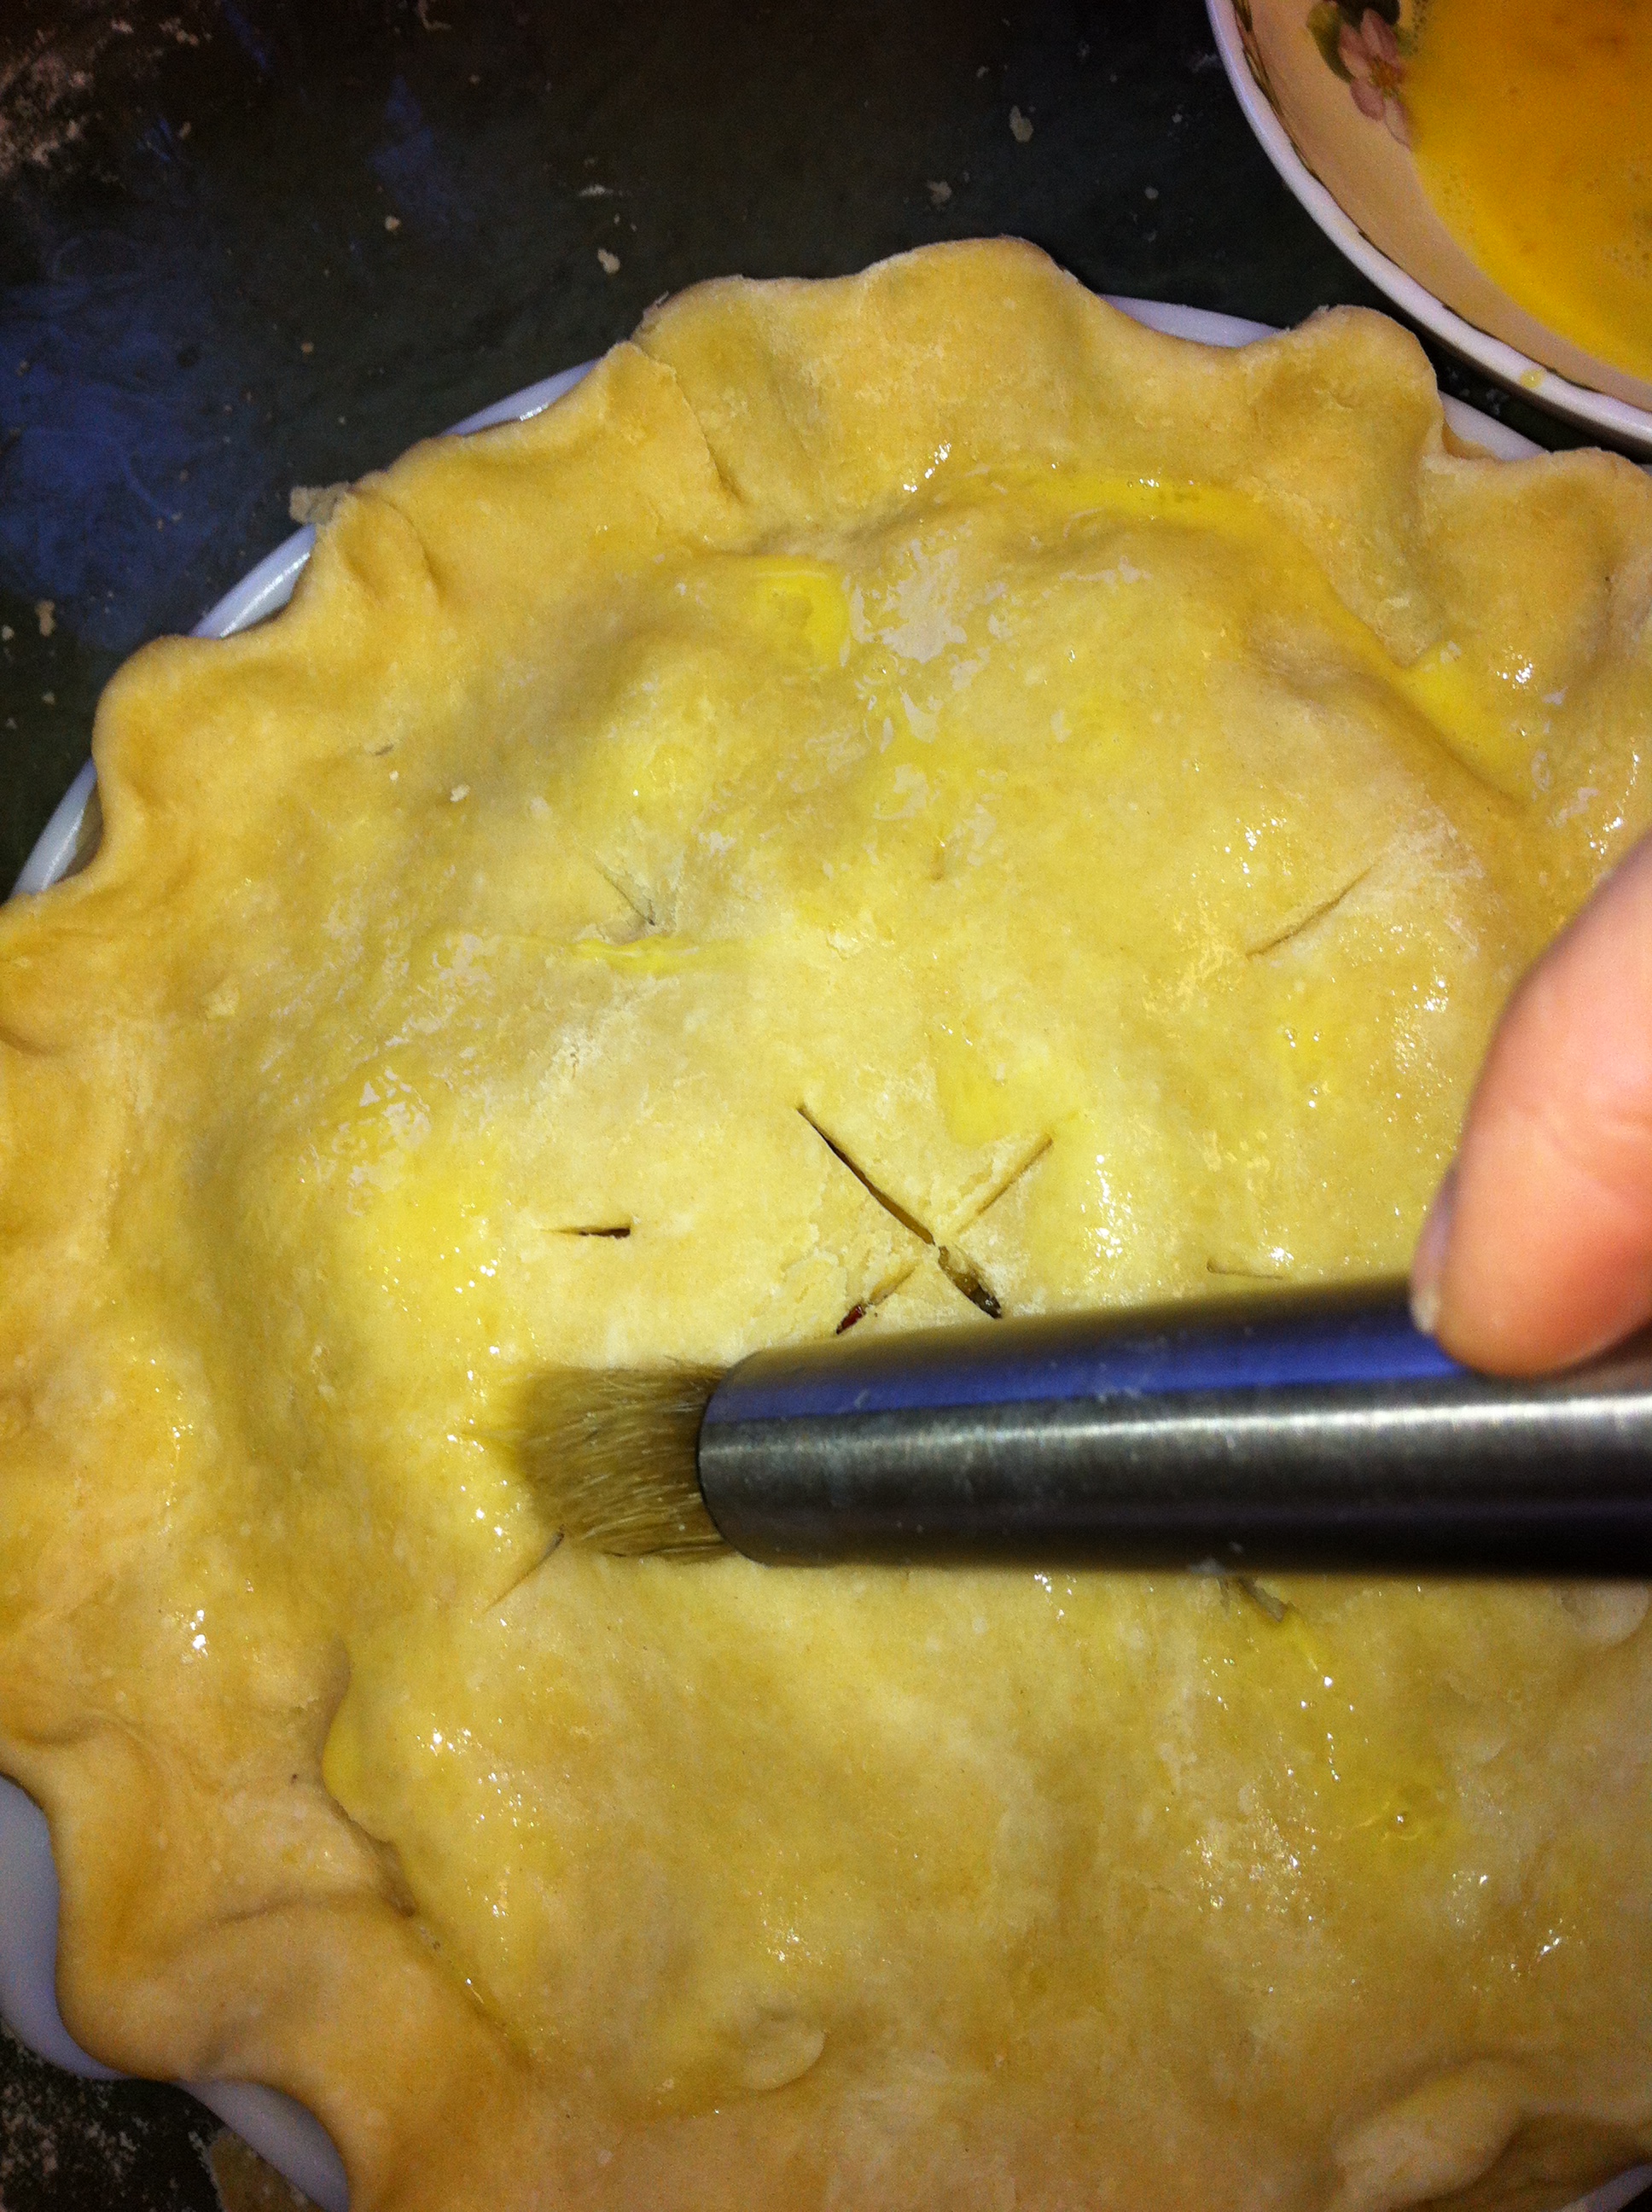
*If you so desire, sprinkle lightly with sugar. {The picture looks cool, doesn’t it?!}
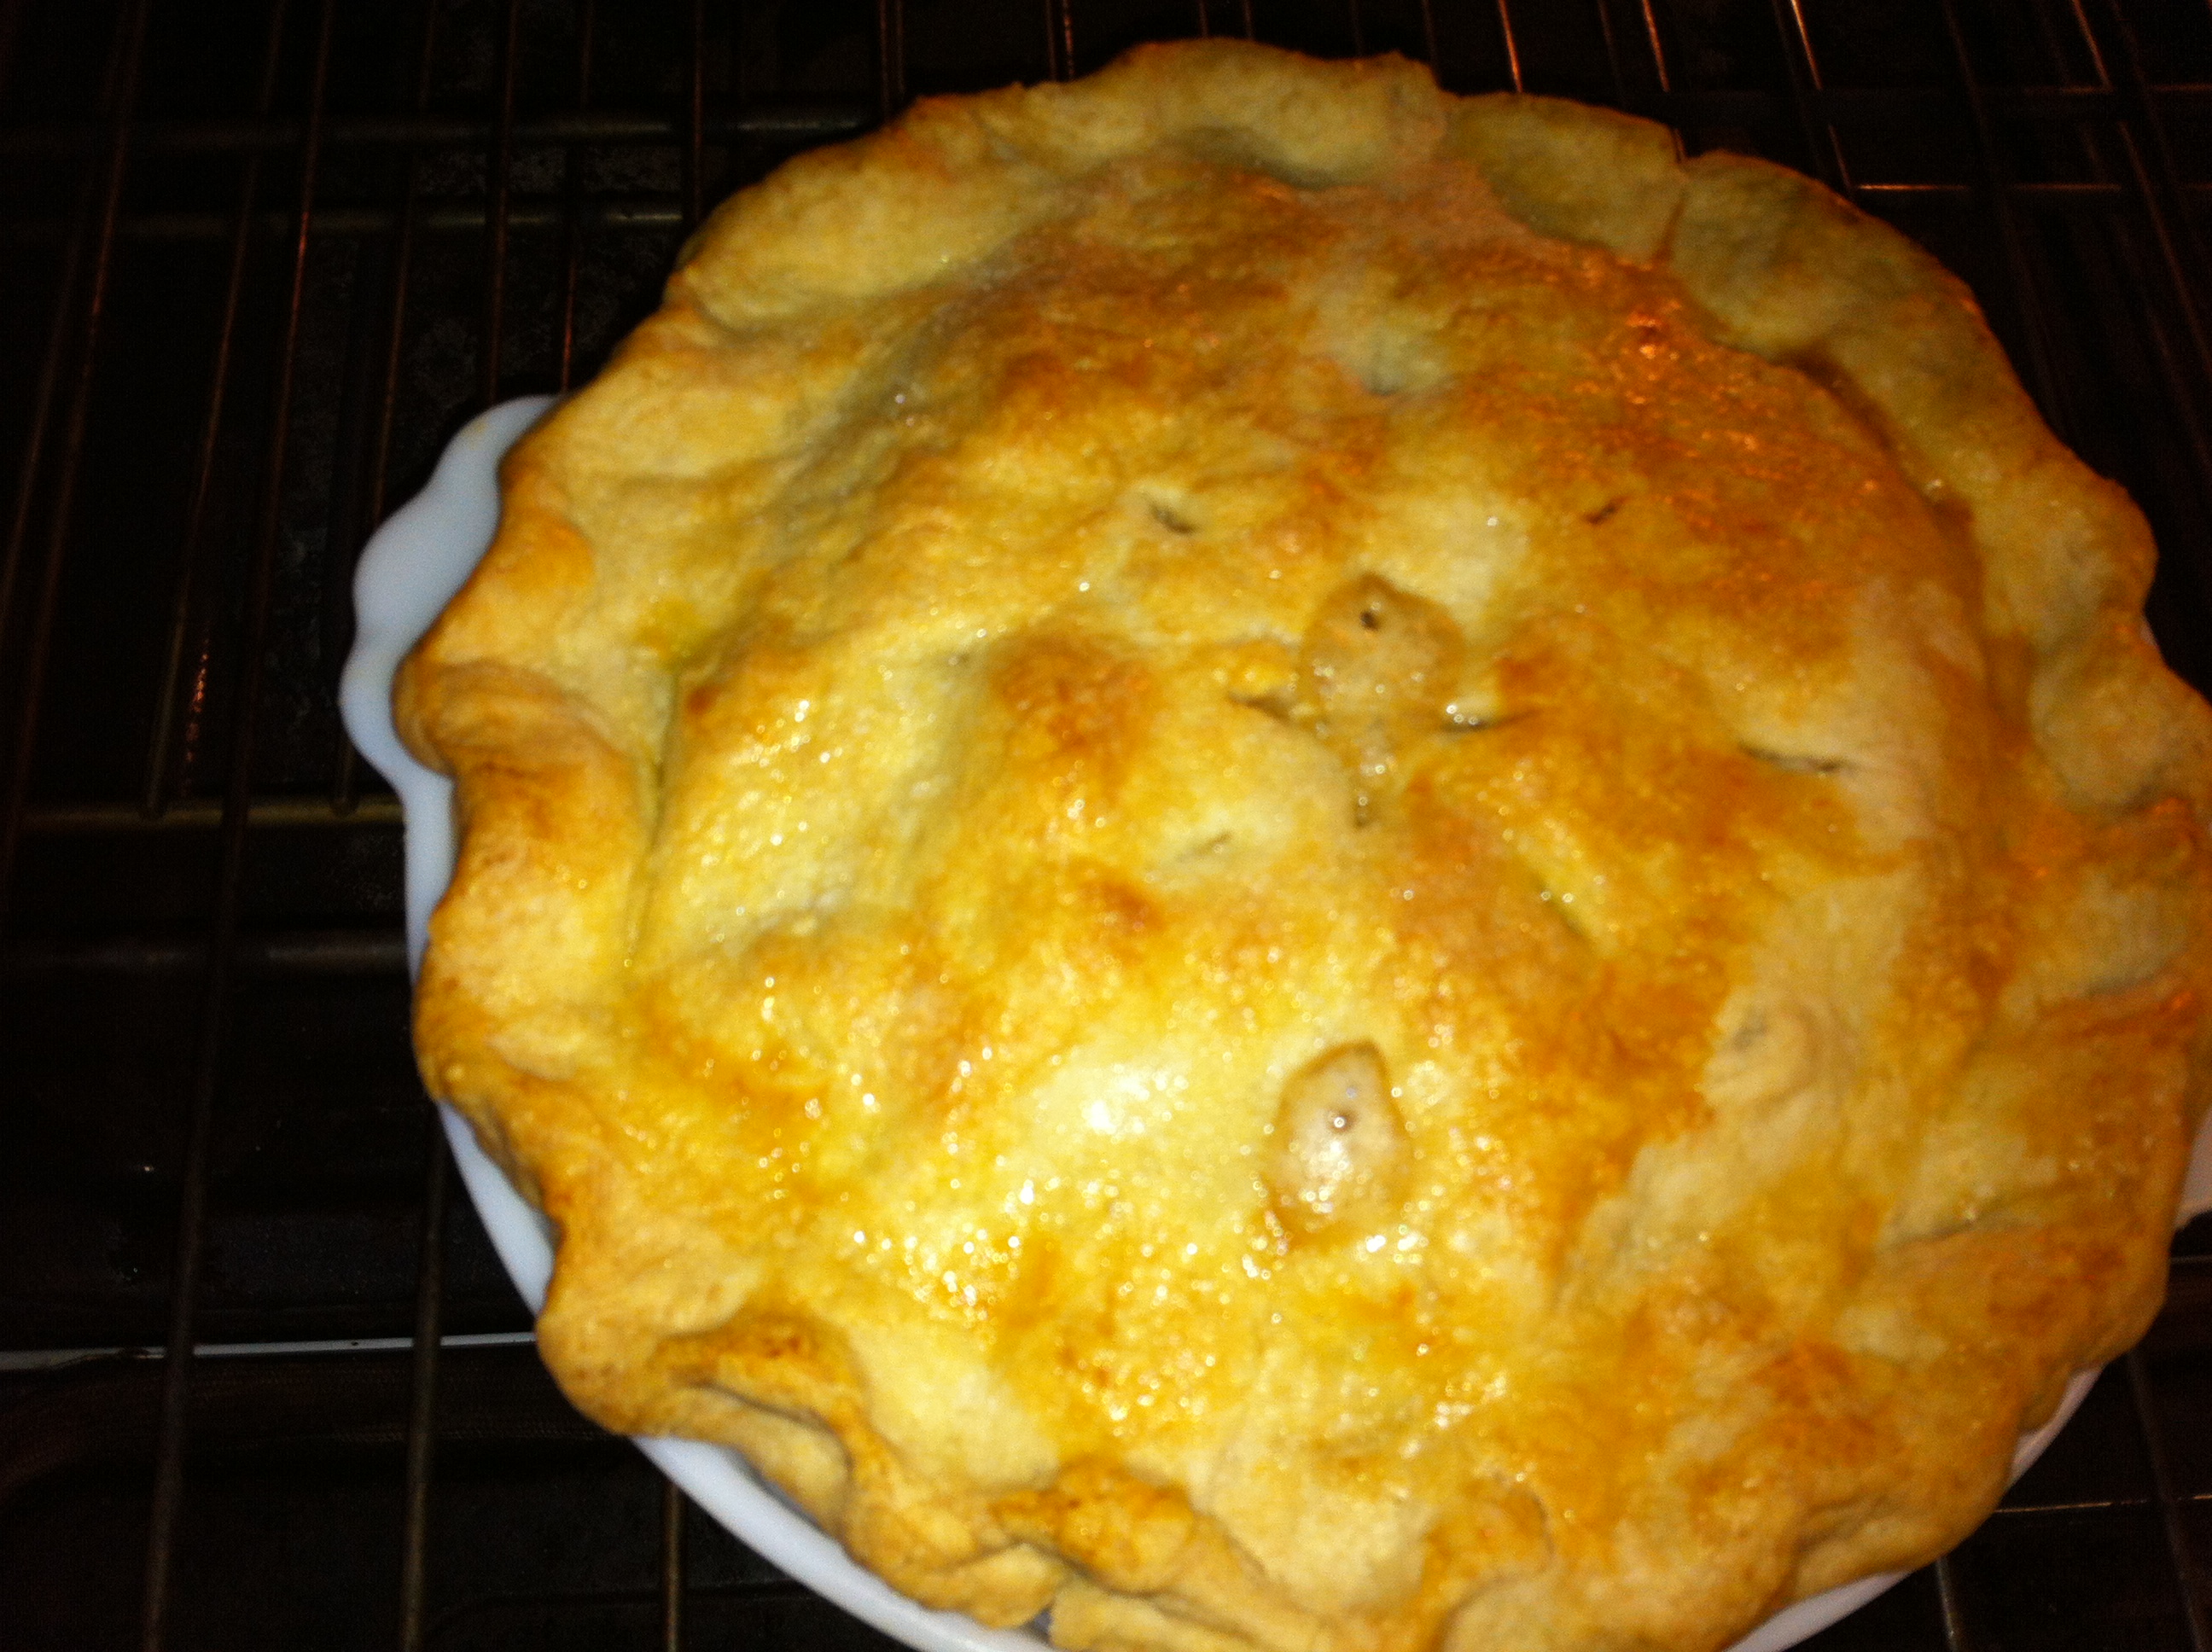
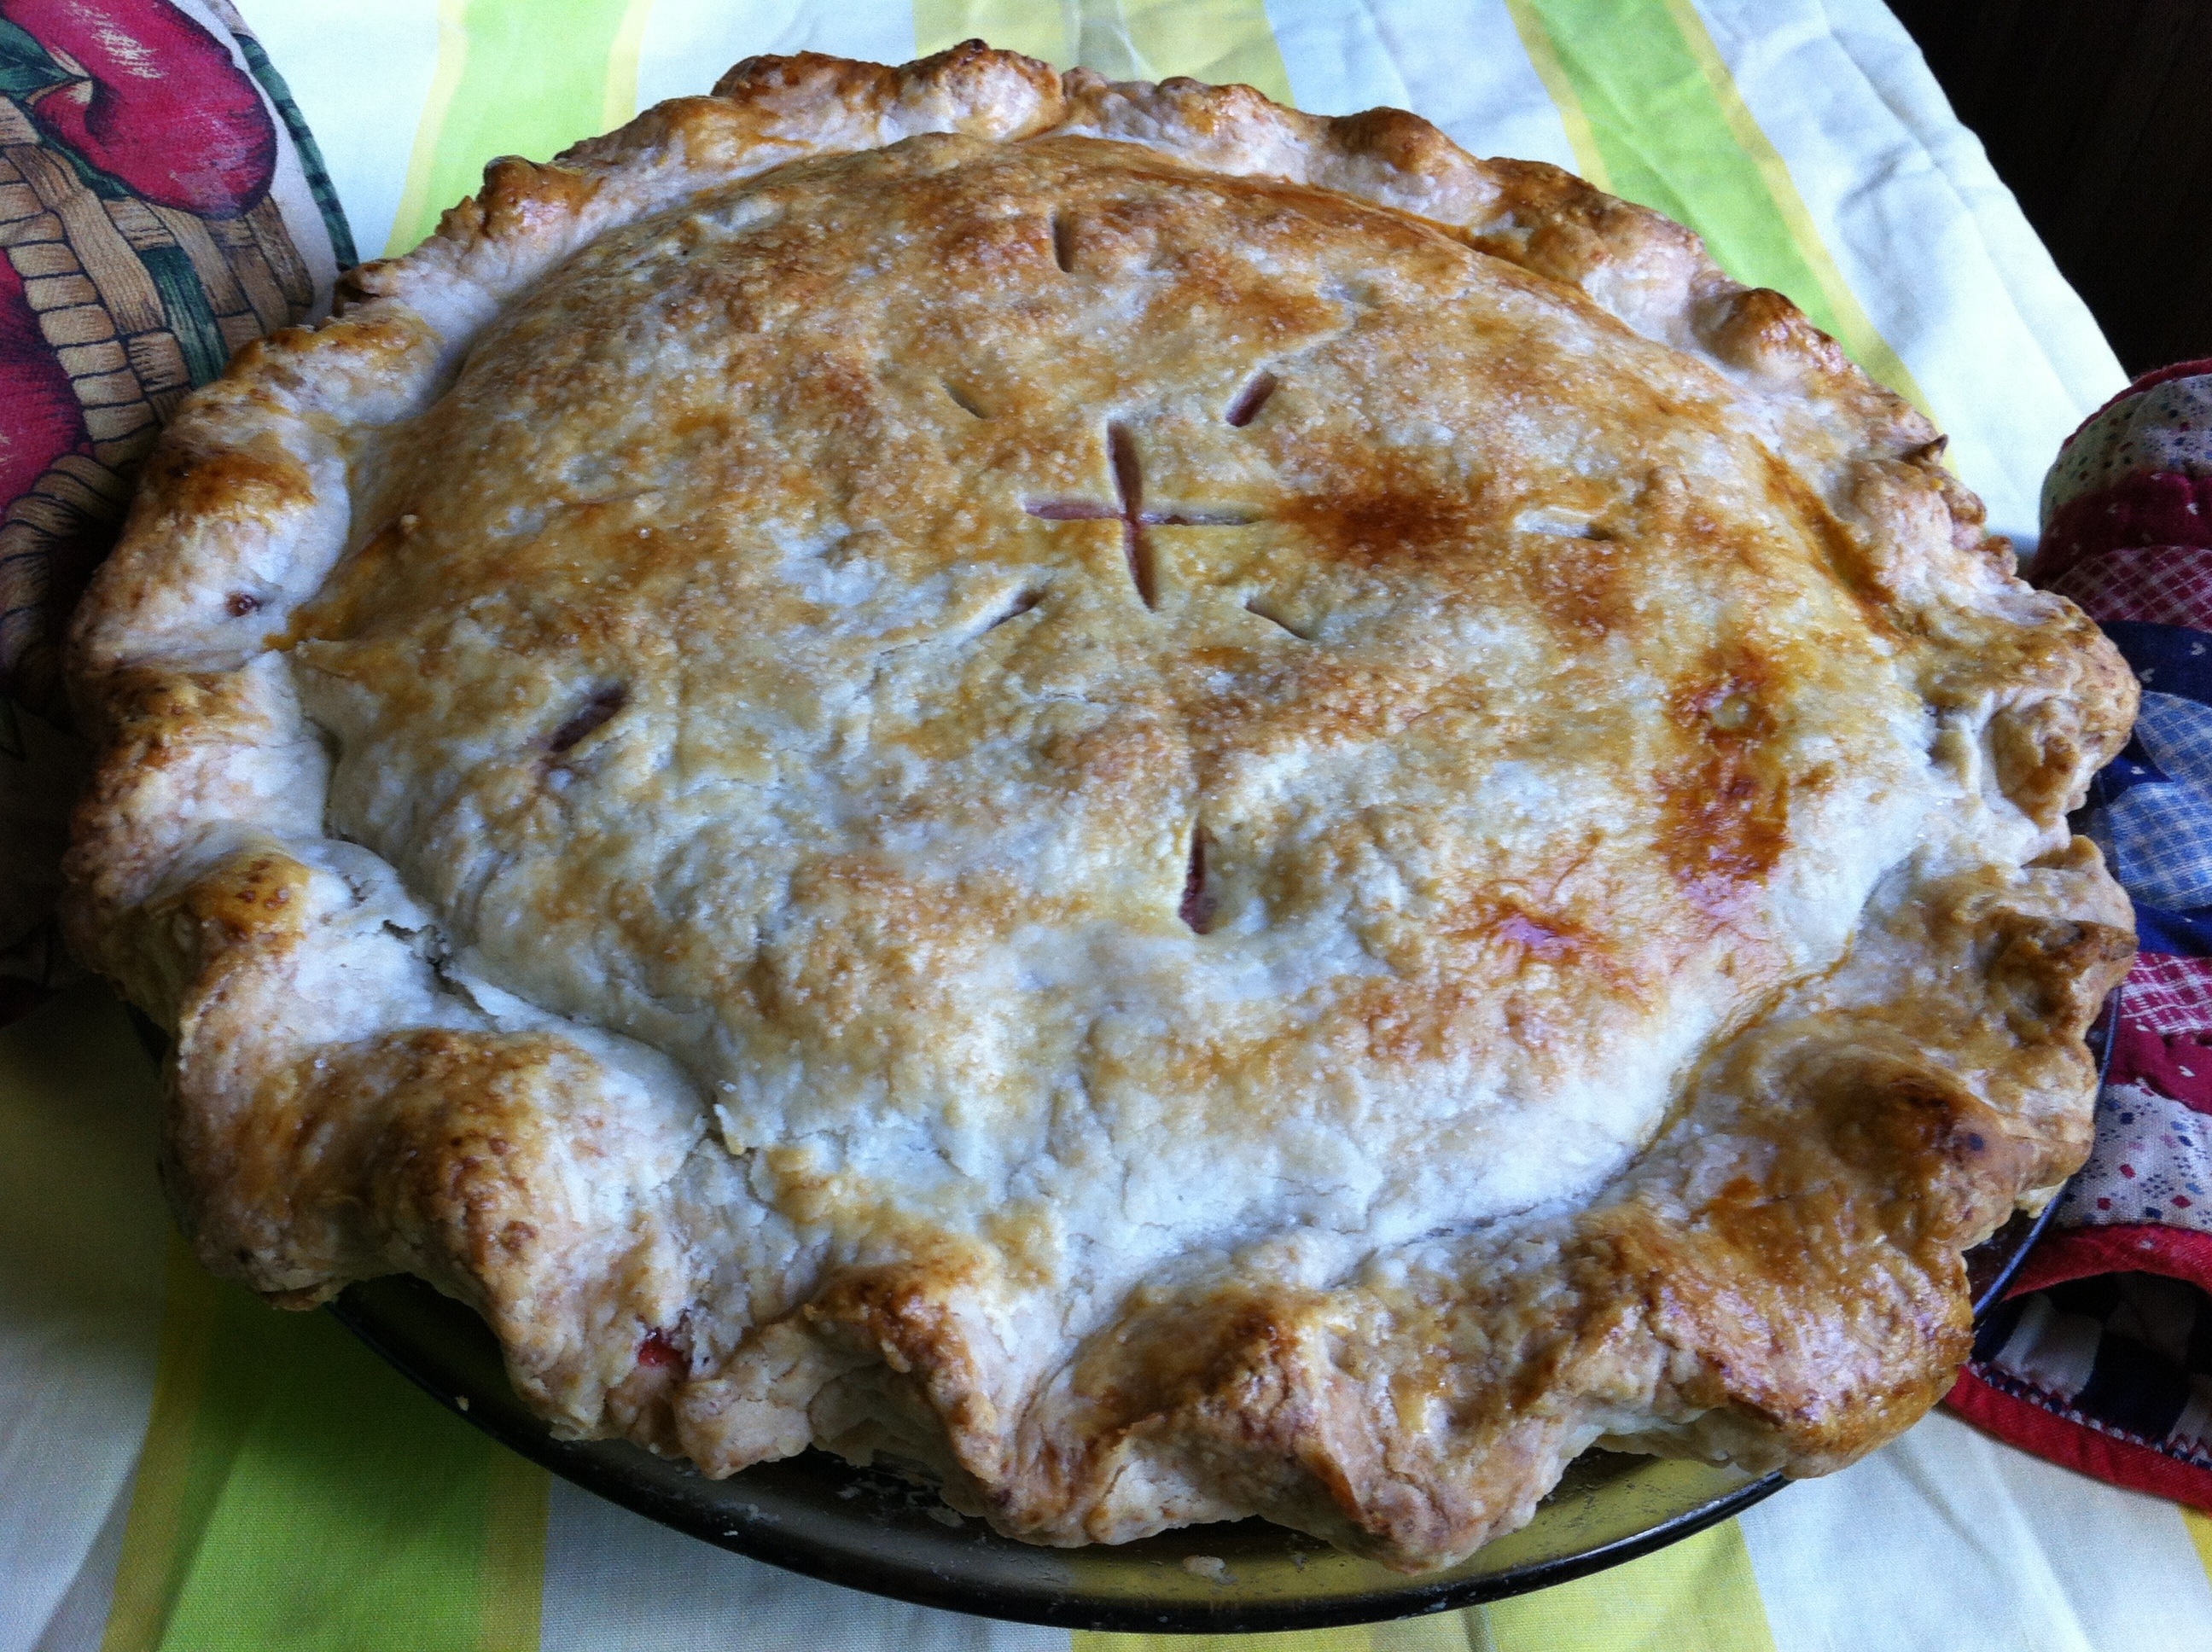
*Now she’s ready to bake! I baked her in a 365 degree oven for about 45 minutes.
*Then I checked her. I placed a sheet of foil on the top to keep the crust from browning or burning and baked another 15 minutes or so.
*Mmmm….here she is! {Is it a bit disturbing at all that I am referring to this pie as a her? Oh well, she was good!}
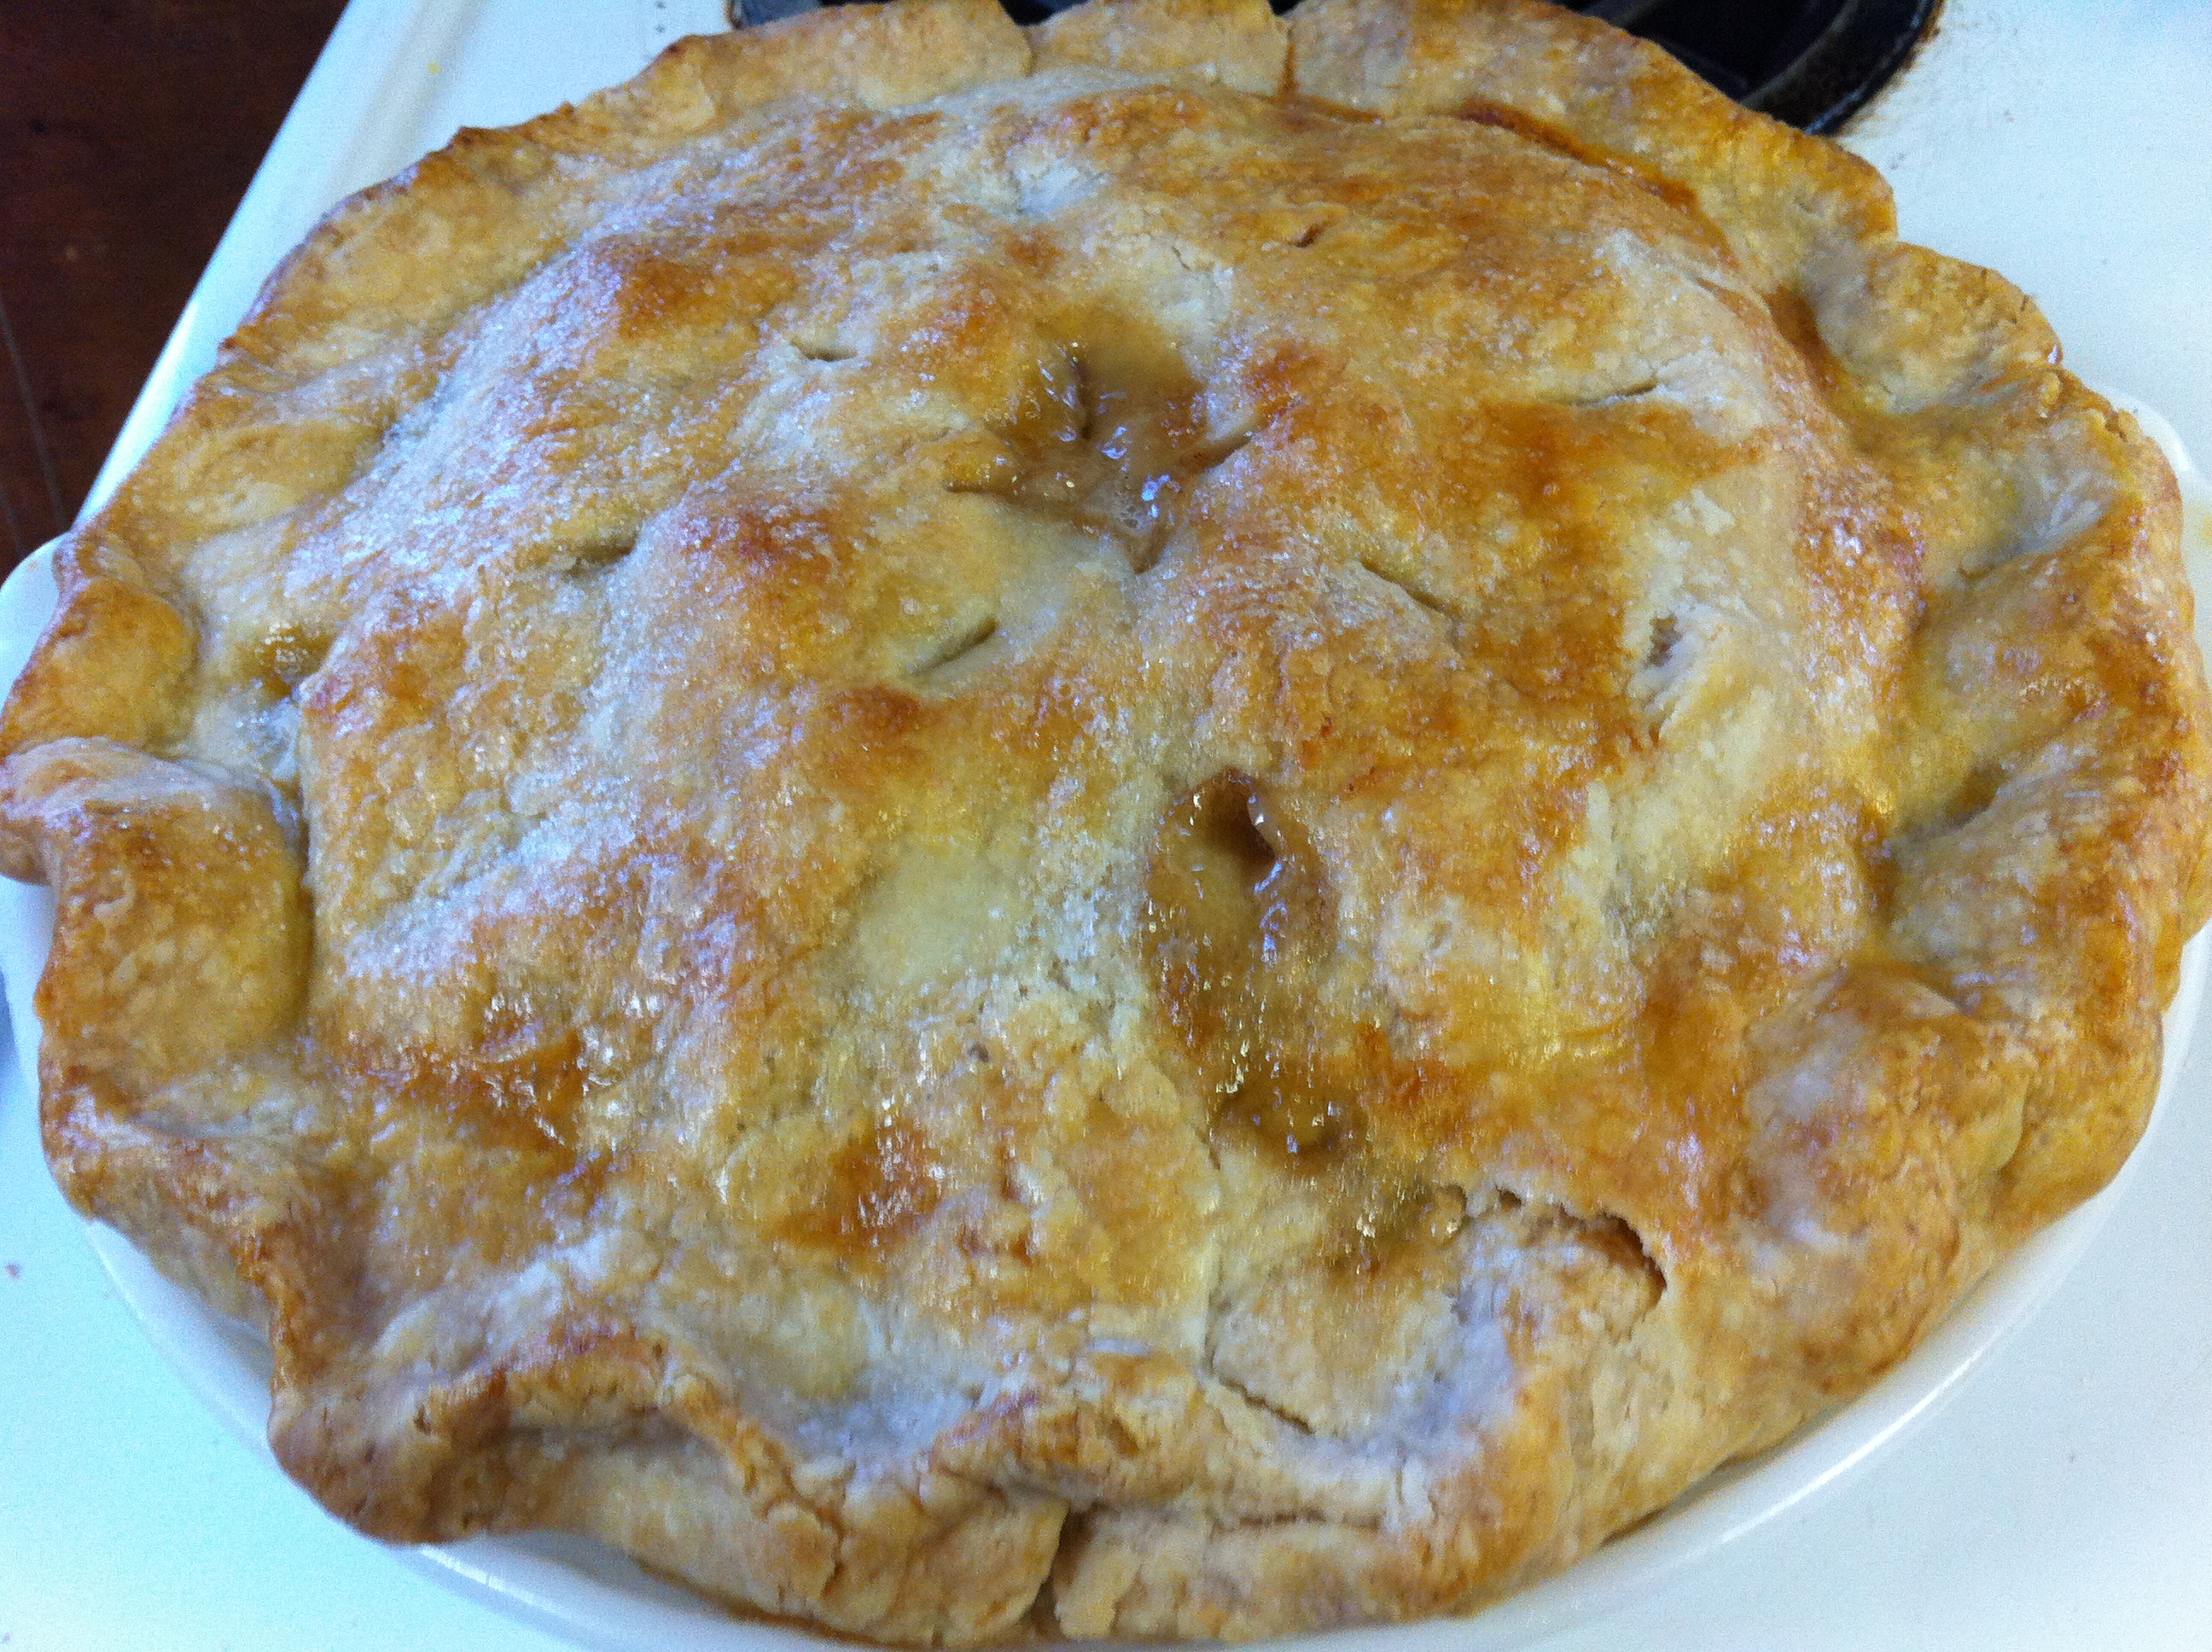
*Enjoy!
Update: Since originally writing this post I have used this basic recipe and adapted it to make it a bit healthier. To see my post on my Whole Wheat Pie Crust made with Coconut Oil click here.
The other day I used this recipe to make a pie, but instead substituted semi-chilled coconut oil for the shortening and it rolled out marvelously! I am trying to incorporate using the healthier fats into my cooking regimen, instead of using so many hydrogenated oils. The even healthier option would be to add some whole wheat into the mix, but workability of this combination did work well and so I thought I would highlight my new addition in this post.


Really like how you explained and showed pictures. I’m going to try this ( someday. LOL ).
LikeLike
Loretta, I think having pictures does help as well, hopefully someone will get some good use out of them!
LikeLike
It looks perfectly amazing!
LikeLike
Thanks Jeannie, this one did turn out great!
LikeLike
Pingback: Custard Pie {Can be made dairy free!} |
Pingback: Whole Wheat Pie Crust {made with coconut oil} |
Pingback: Strawberry Rhubarb Pie {and Grandma’s Rhubarb Pie} |
Pingback: Tart Cherry Pie Filling |