 I tried my hand tonight at canning carrots. I have canned salsa, spaghetti sauce, cucumbers and okra in the past…but never carrots! I suppose I have canned all of the others because you can get by canning those items with a water bath. When canning carrots though, a pressure canner is needed. Fortunately for me, my in-laws own a pressure cooker which I was able to use.
The hardest and most time-consuming part for me was the peeling and cutting of the carrots. If you are able to get a great deal on baby carrots sometime in the store, that might be a quicker option because it would cut the majority of the work time out! But, if you are going for preserving the summer garden I am afraid there is no out in this time-consuming aspect of canning. It is all worth it in the end. I know that I have a sense of satisfaction knowing that the jars we open up to eat are made because we took the effort to preserve them. {I think the food just tastes a little better, too!}
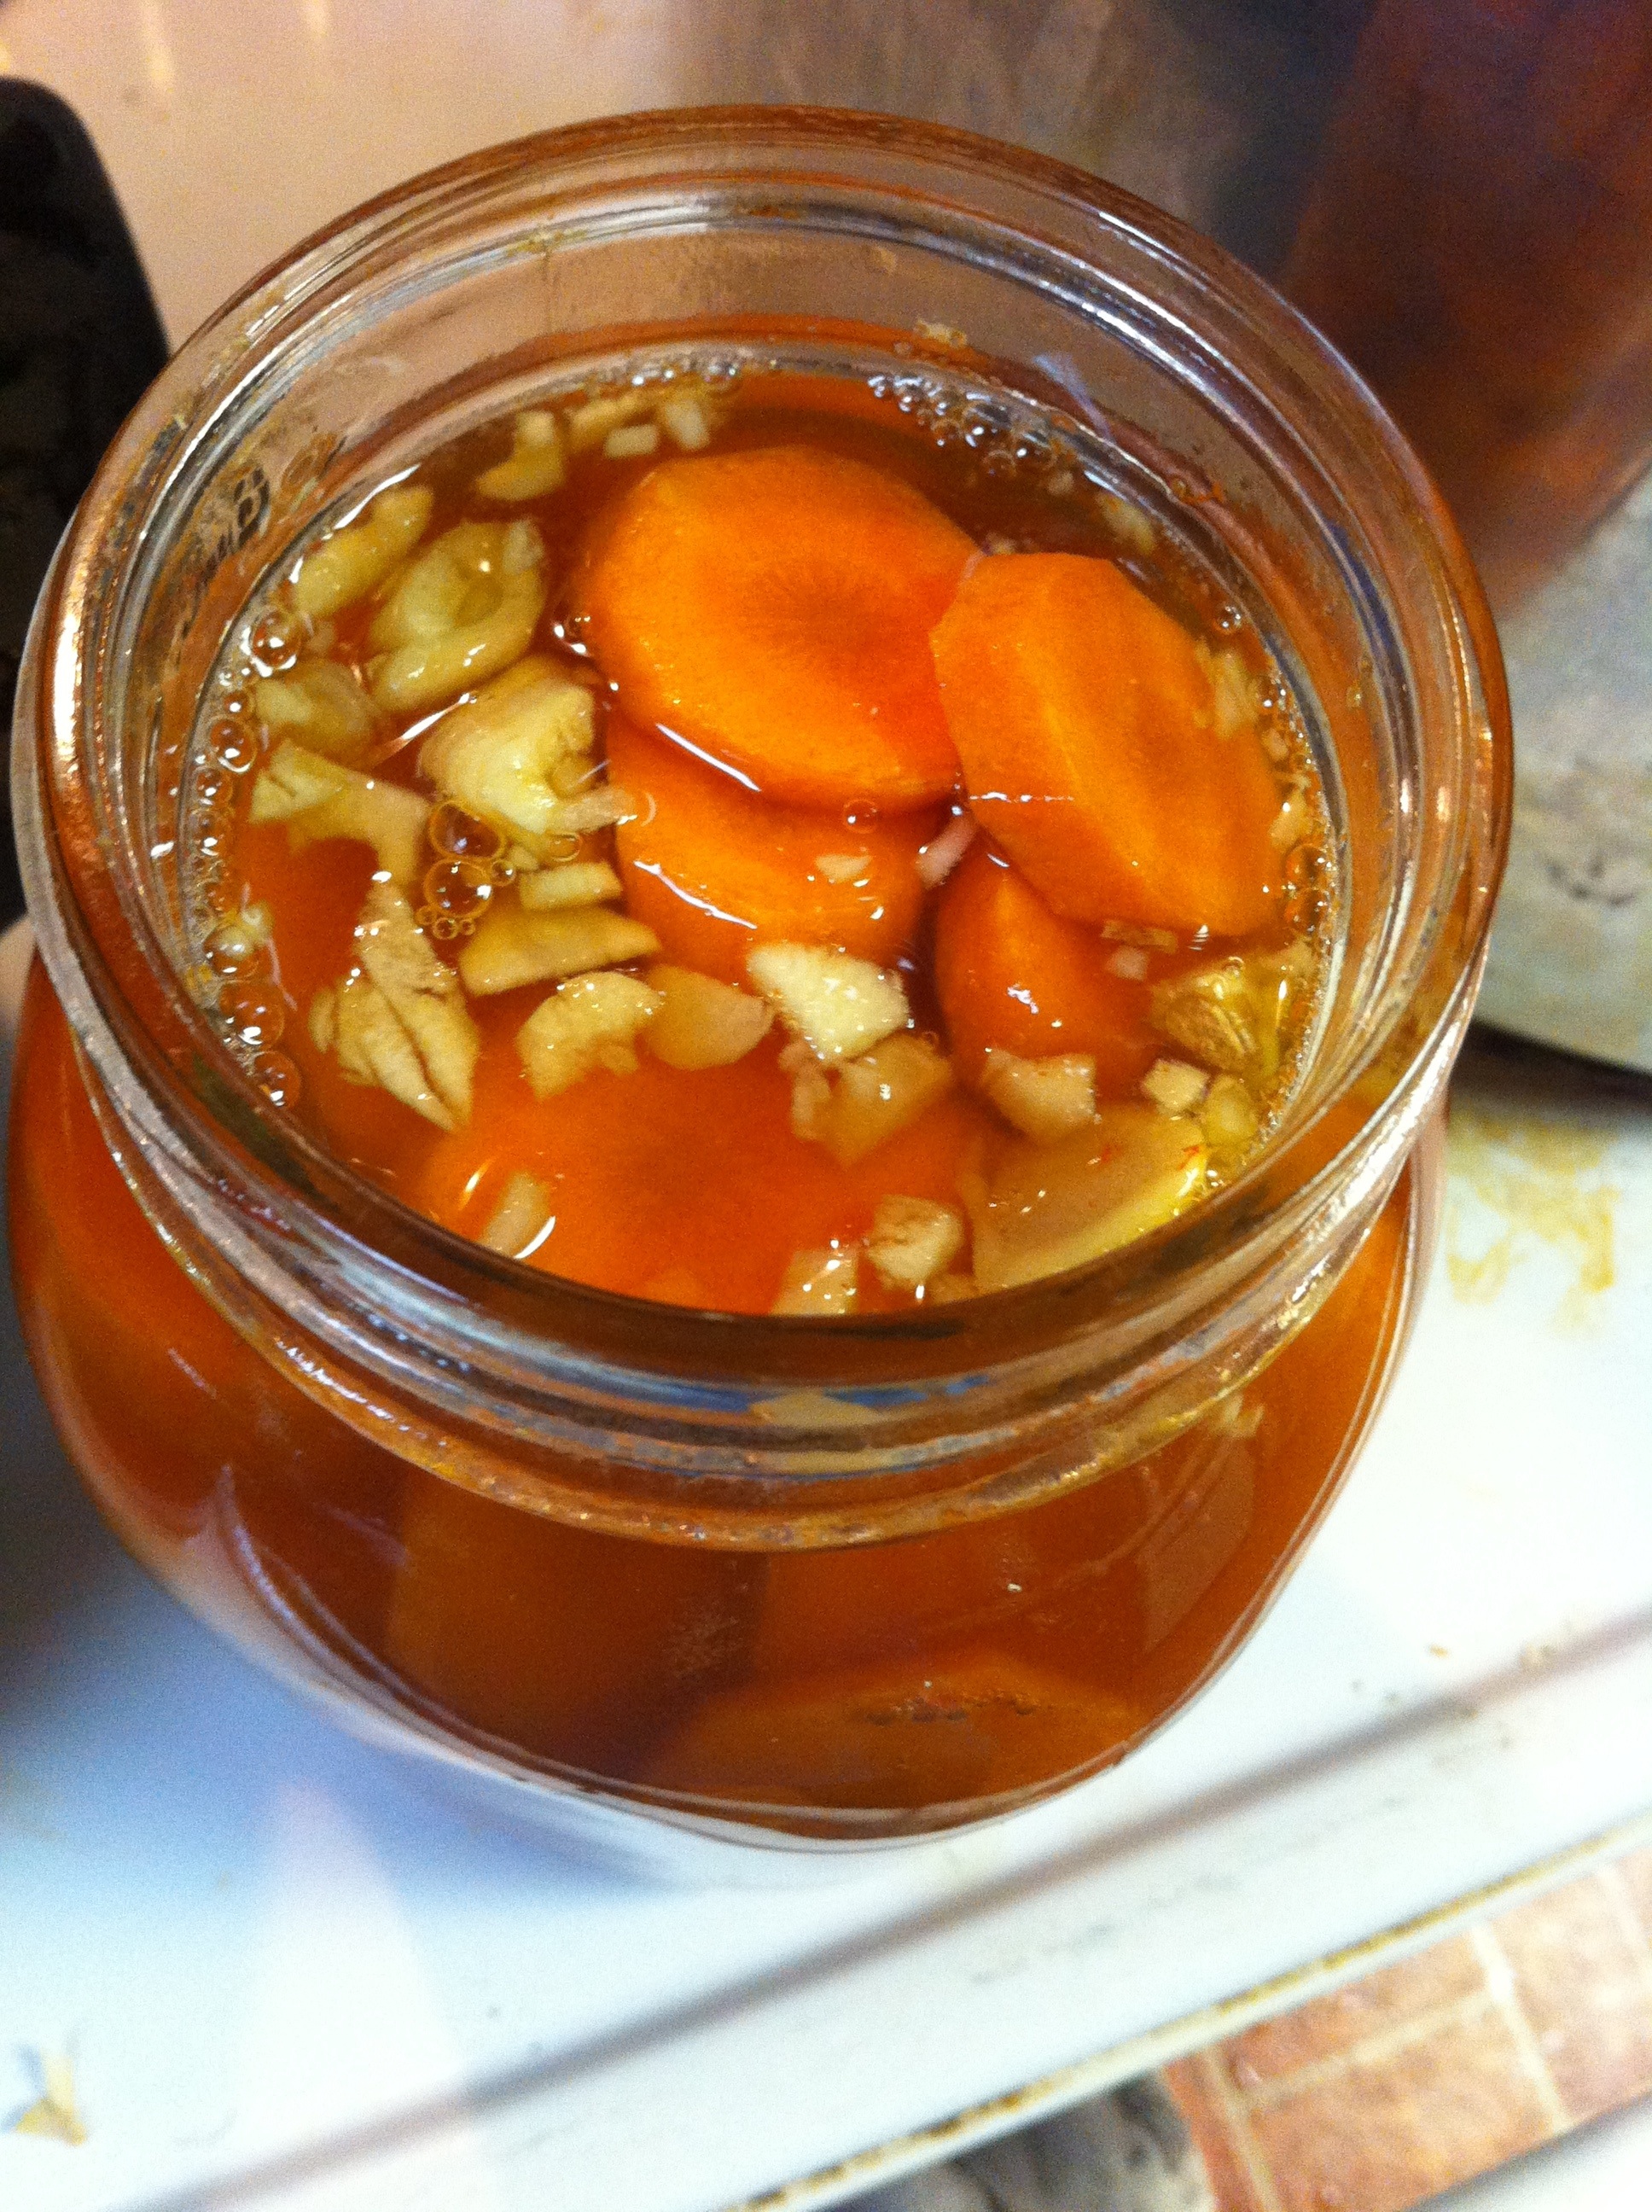
The glaze that I used whips up in no time. The main base of glaze I found at www.newlifeonahomestead.com and here is her recipe for Glazed Carrots Canning Recipe . The only thing that I did differently was to add fresh ginger and fresh minced garlic. The key is to just make sure it is hot. When canning, everything needs to be HOT! The jars, brine {or glaze or water…whatever liquid you fill in around the veggies}, lids and screw on lids…hot, hot, hot…
Now, I don’t have pictures of every single step of the process, but did snap a few shots to give an idea. Hopefully the pictures I do have will help a little in your canning process.
Ginger and Garlic Glazed Sweet Carrots
10 pounds peeled, sliced carrots
8 c brown sugar
8 c water
4 c orange juice
6 cloves minced garlic
1-2 t minced ginger
The first thing that you want to do is sterilize your jars for canning. I put mine to wash in the dishwasher on the sanitize setting. Once they are clean, I then place the hot jars in a 170 degree oven, until ready to use.

I then place the lids and screw on lids in a pot of hot water on the stove, set on low heat.

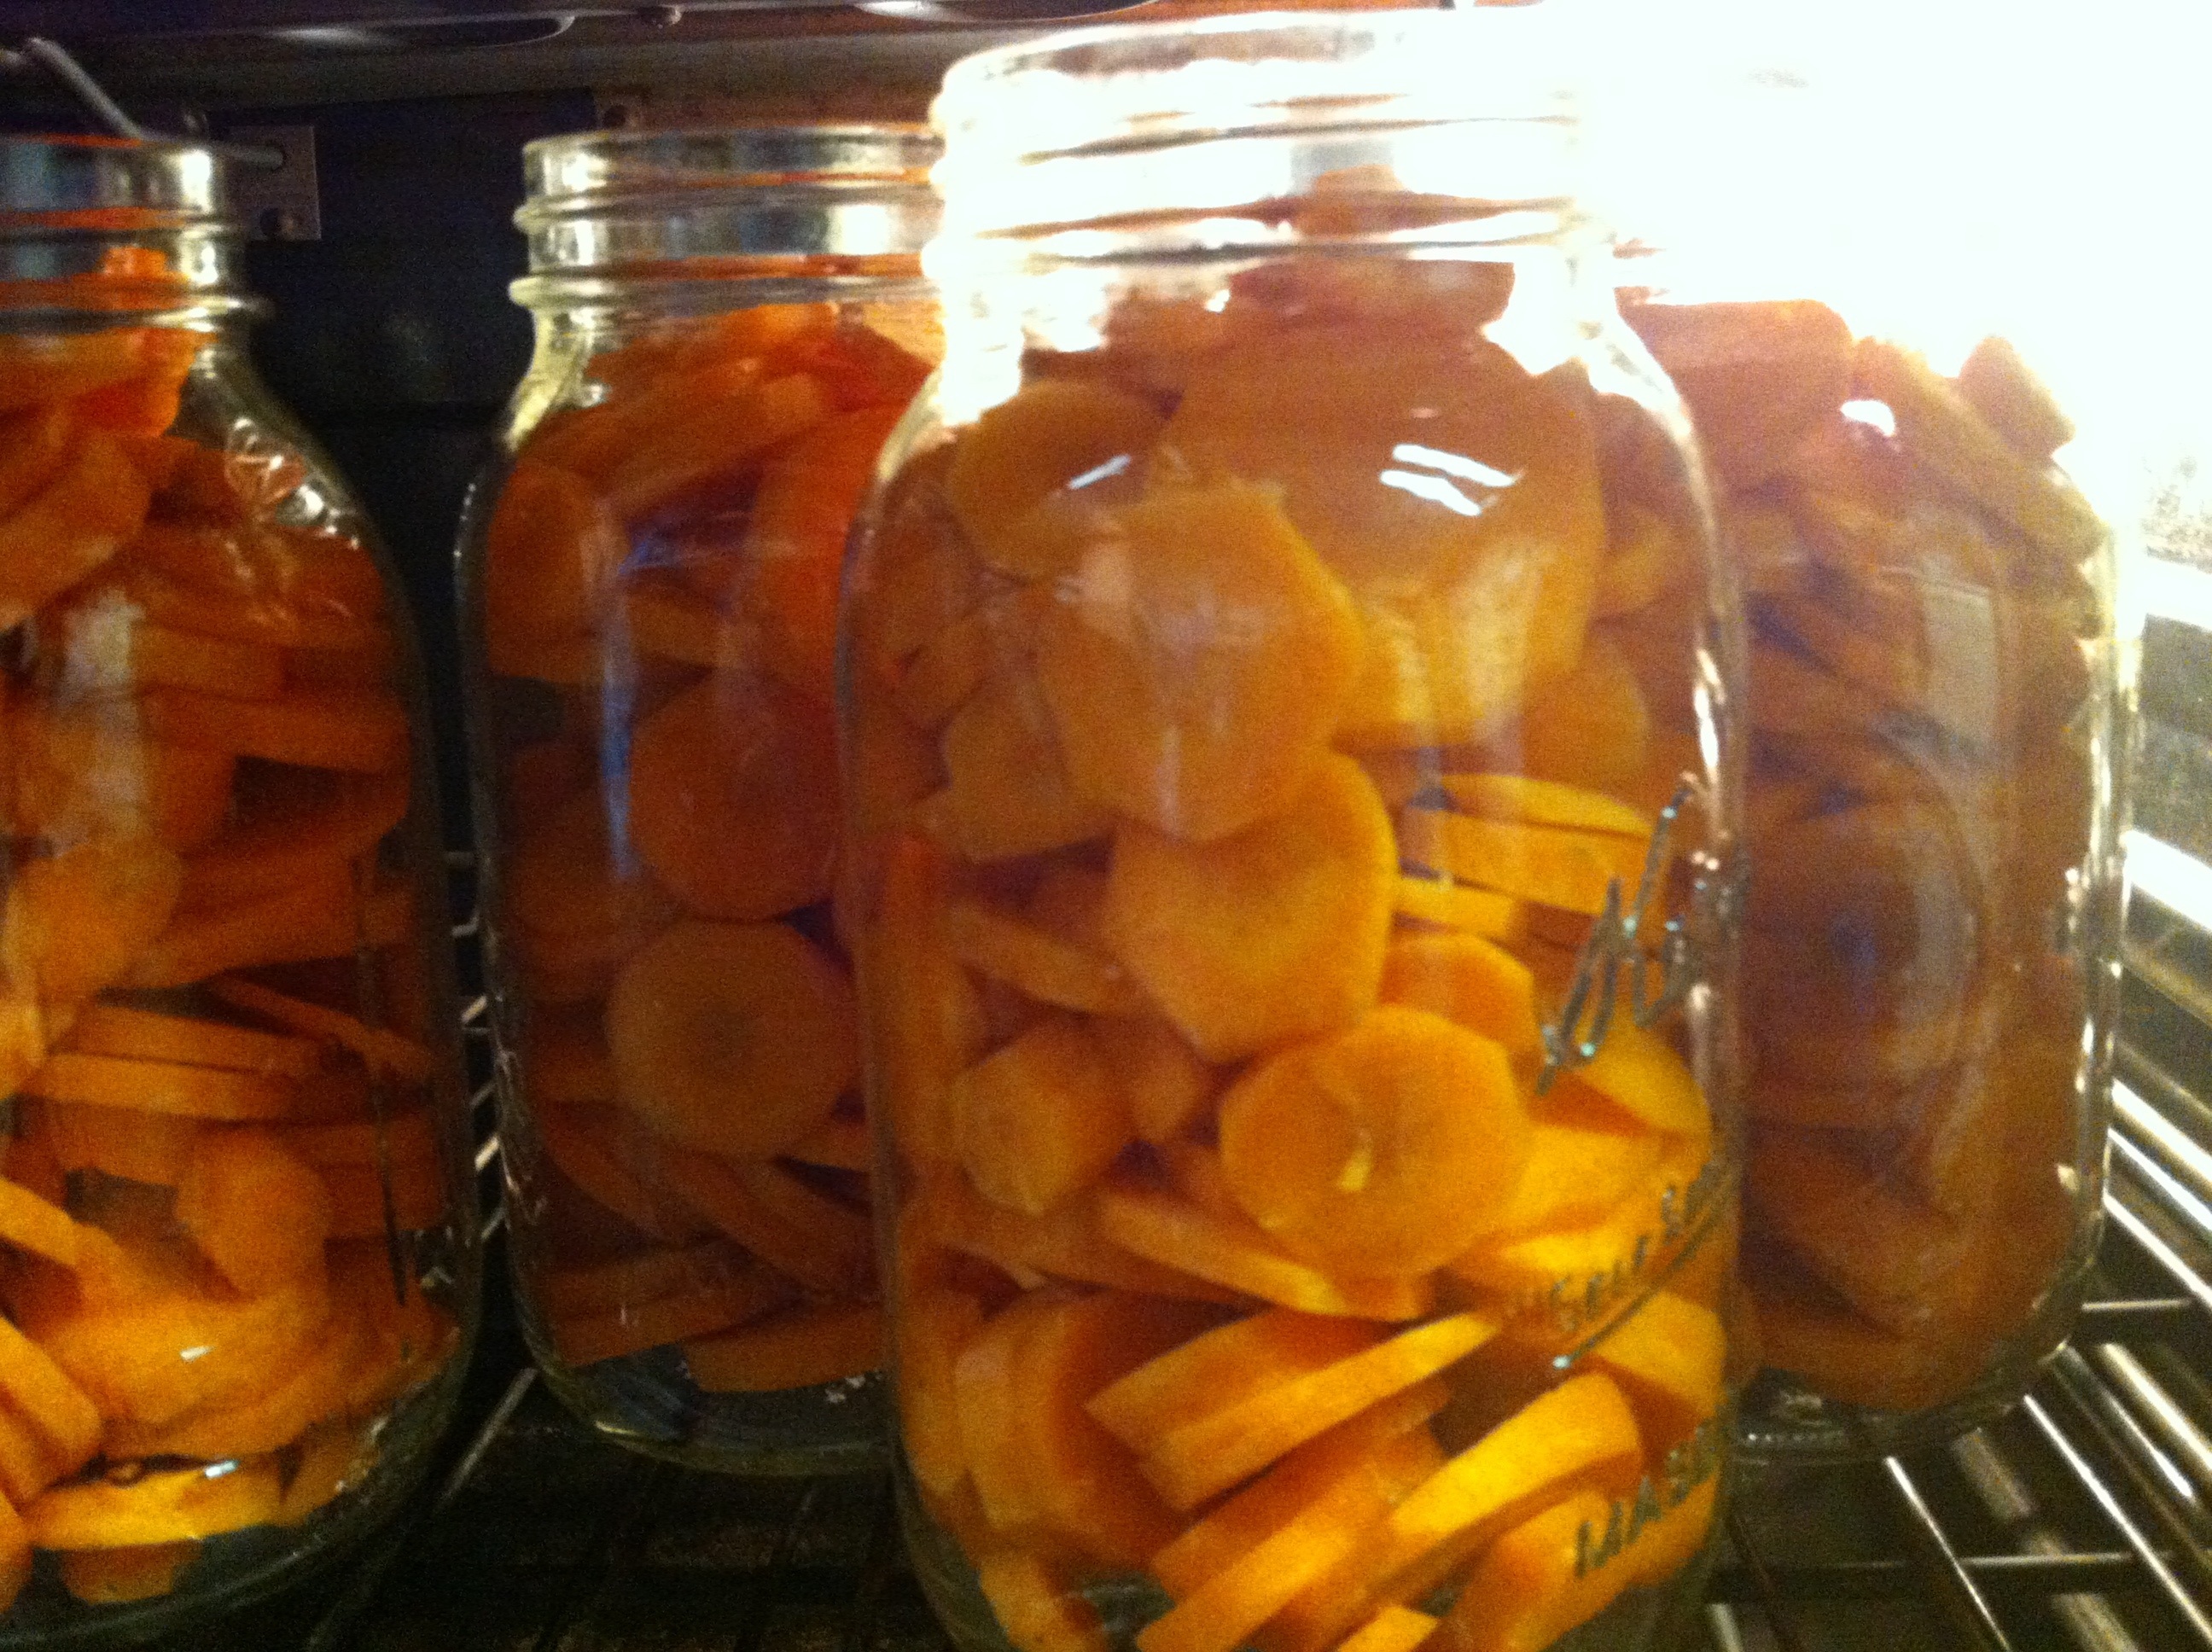
Once the carrots are prepped how you would like them {peeled, cut and washed…} fill the hot jars, leaving 1 inch of headspace at the top of each jar. I put the jars back into the oven until I was ready to fill with the glaze.
Combine all ingredients for glaze in a large pot on stove and stir until all brown sugar is dissolved and solution is hot. It doesn’t need to be at a boil, but it does need to stay hot.

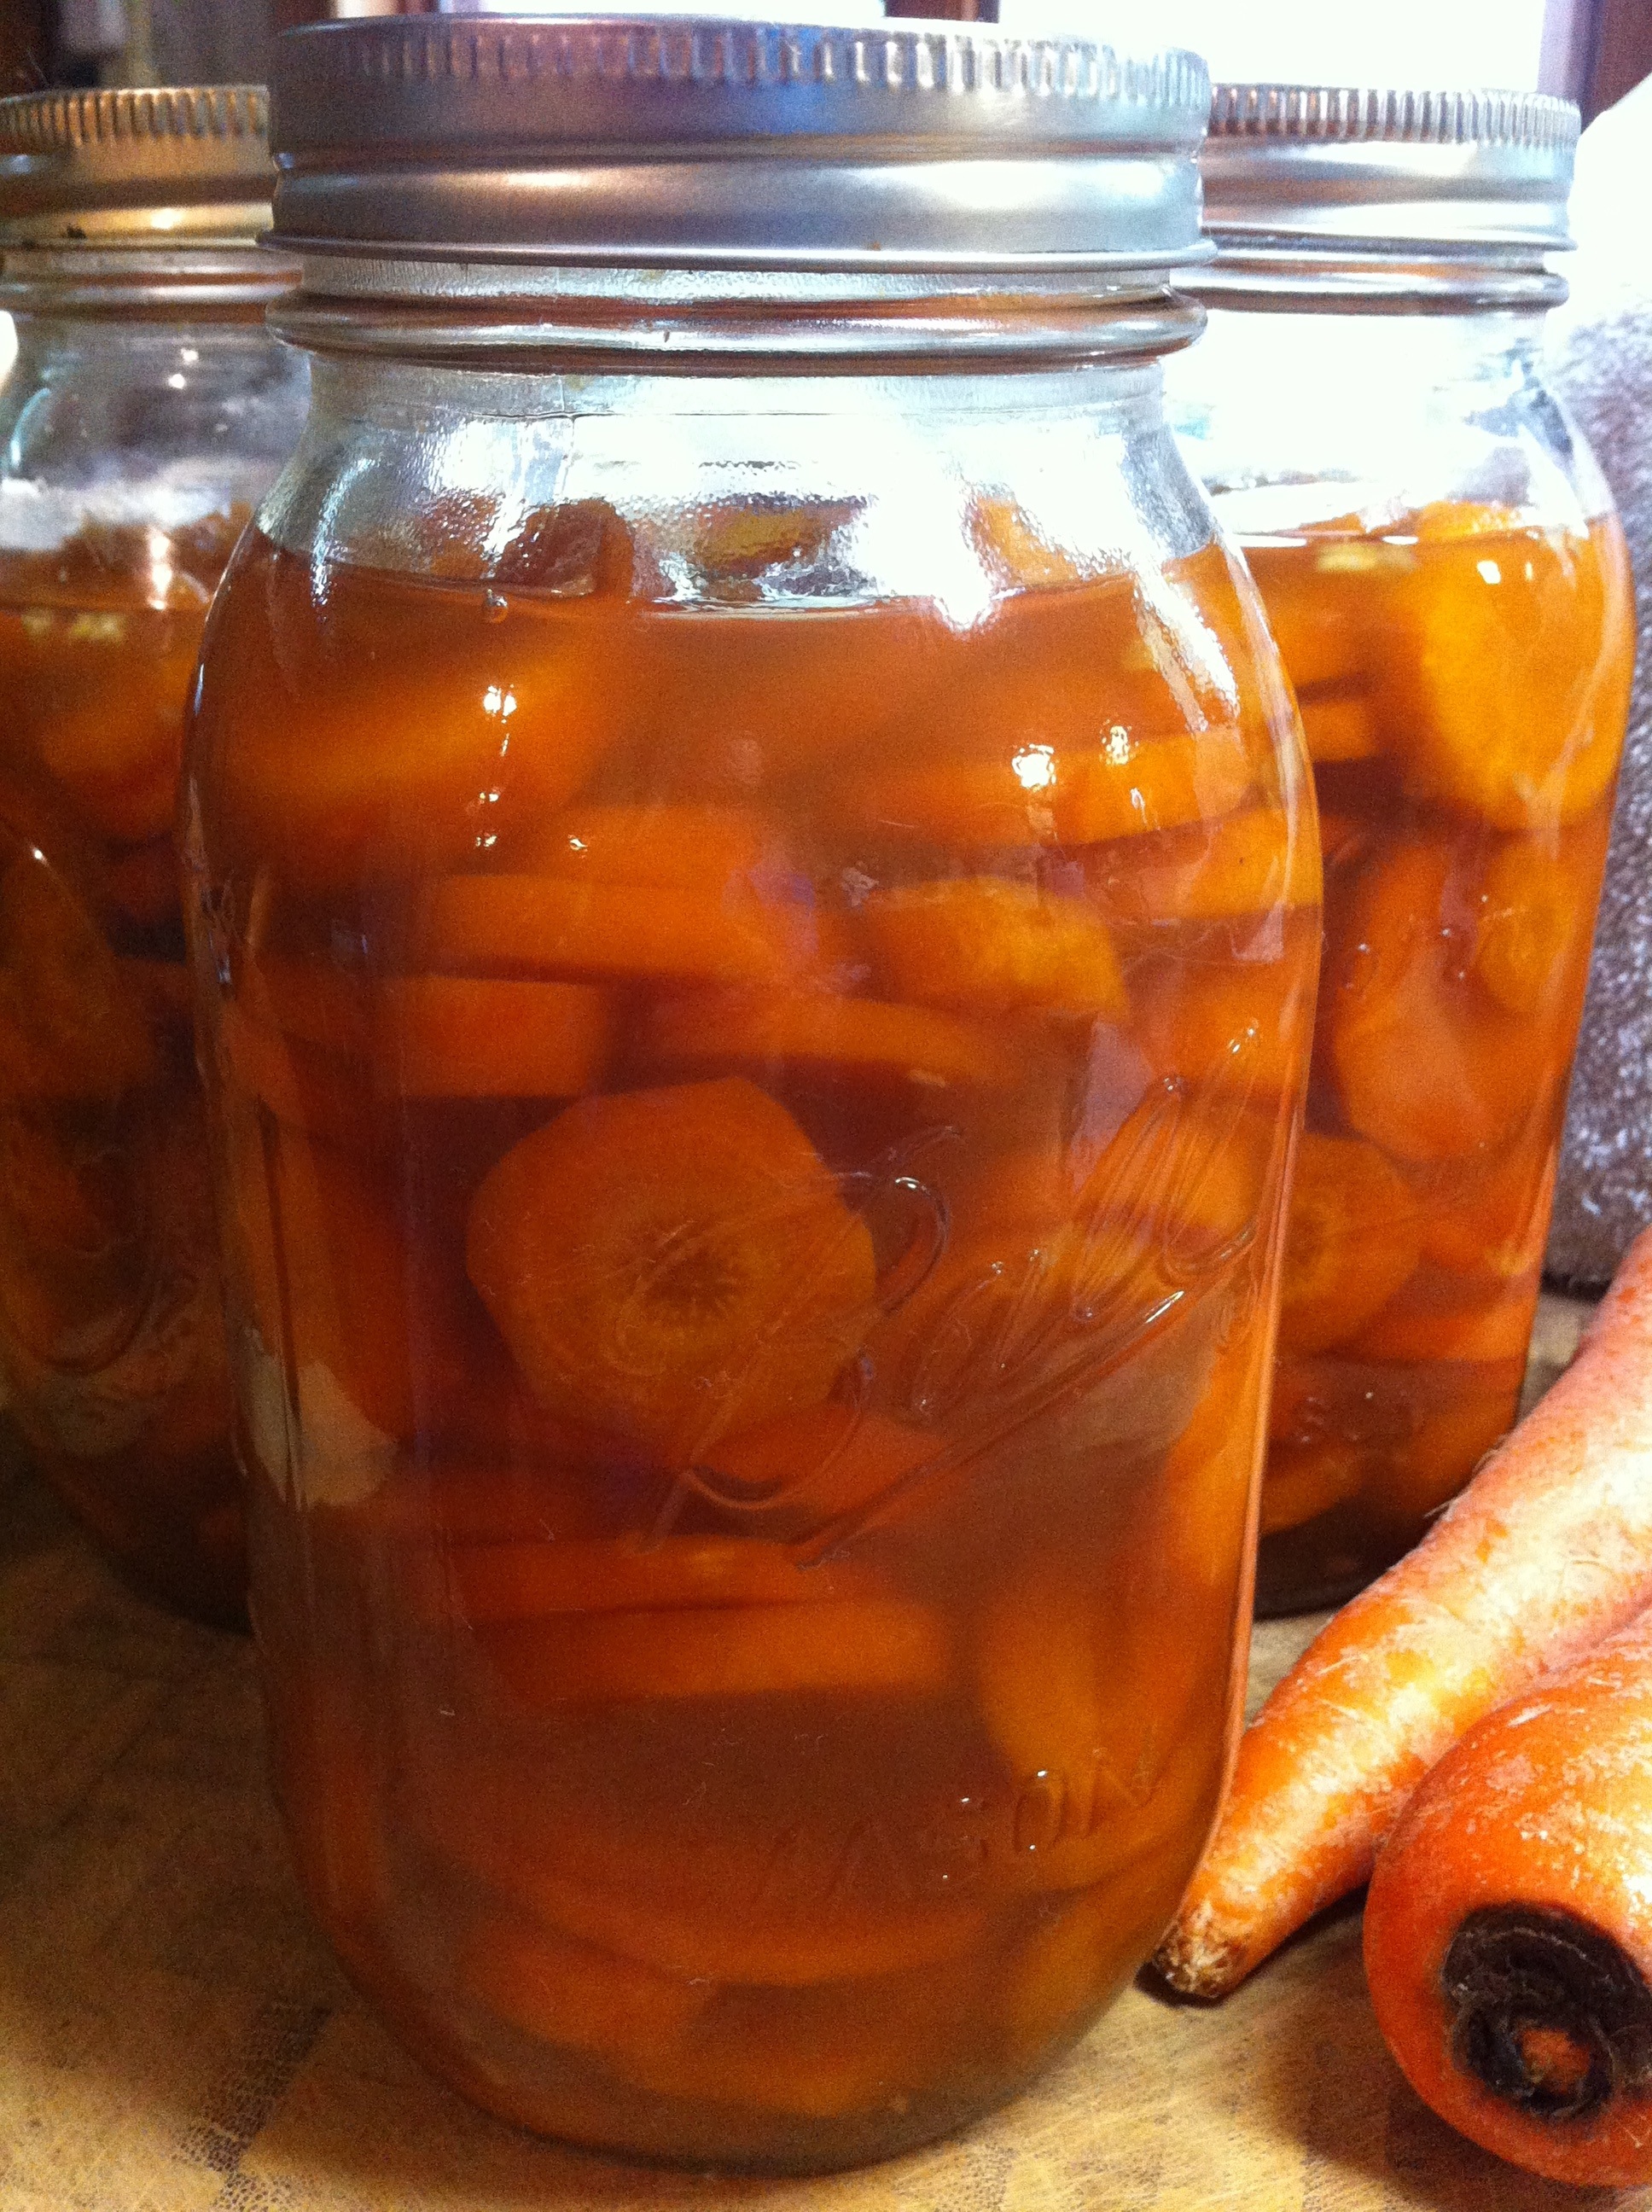
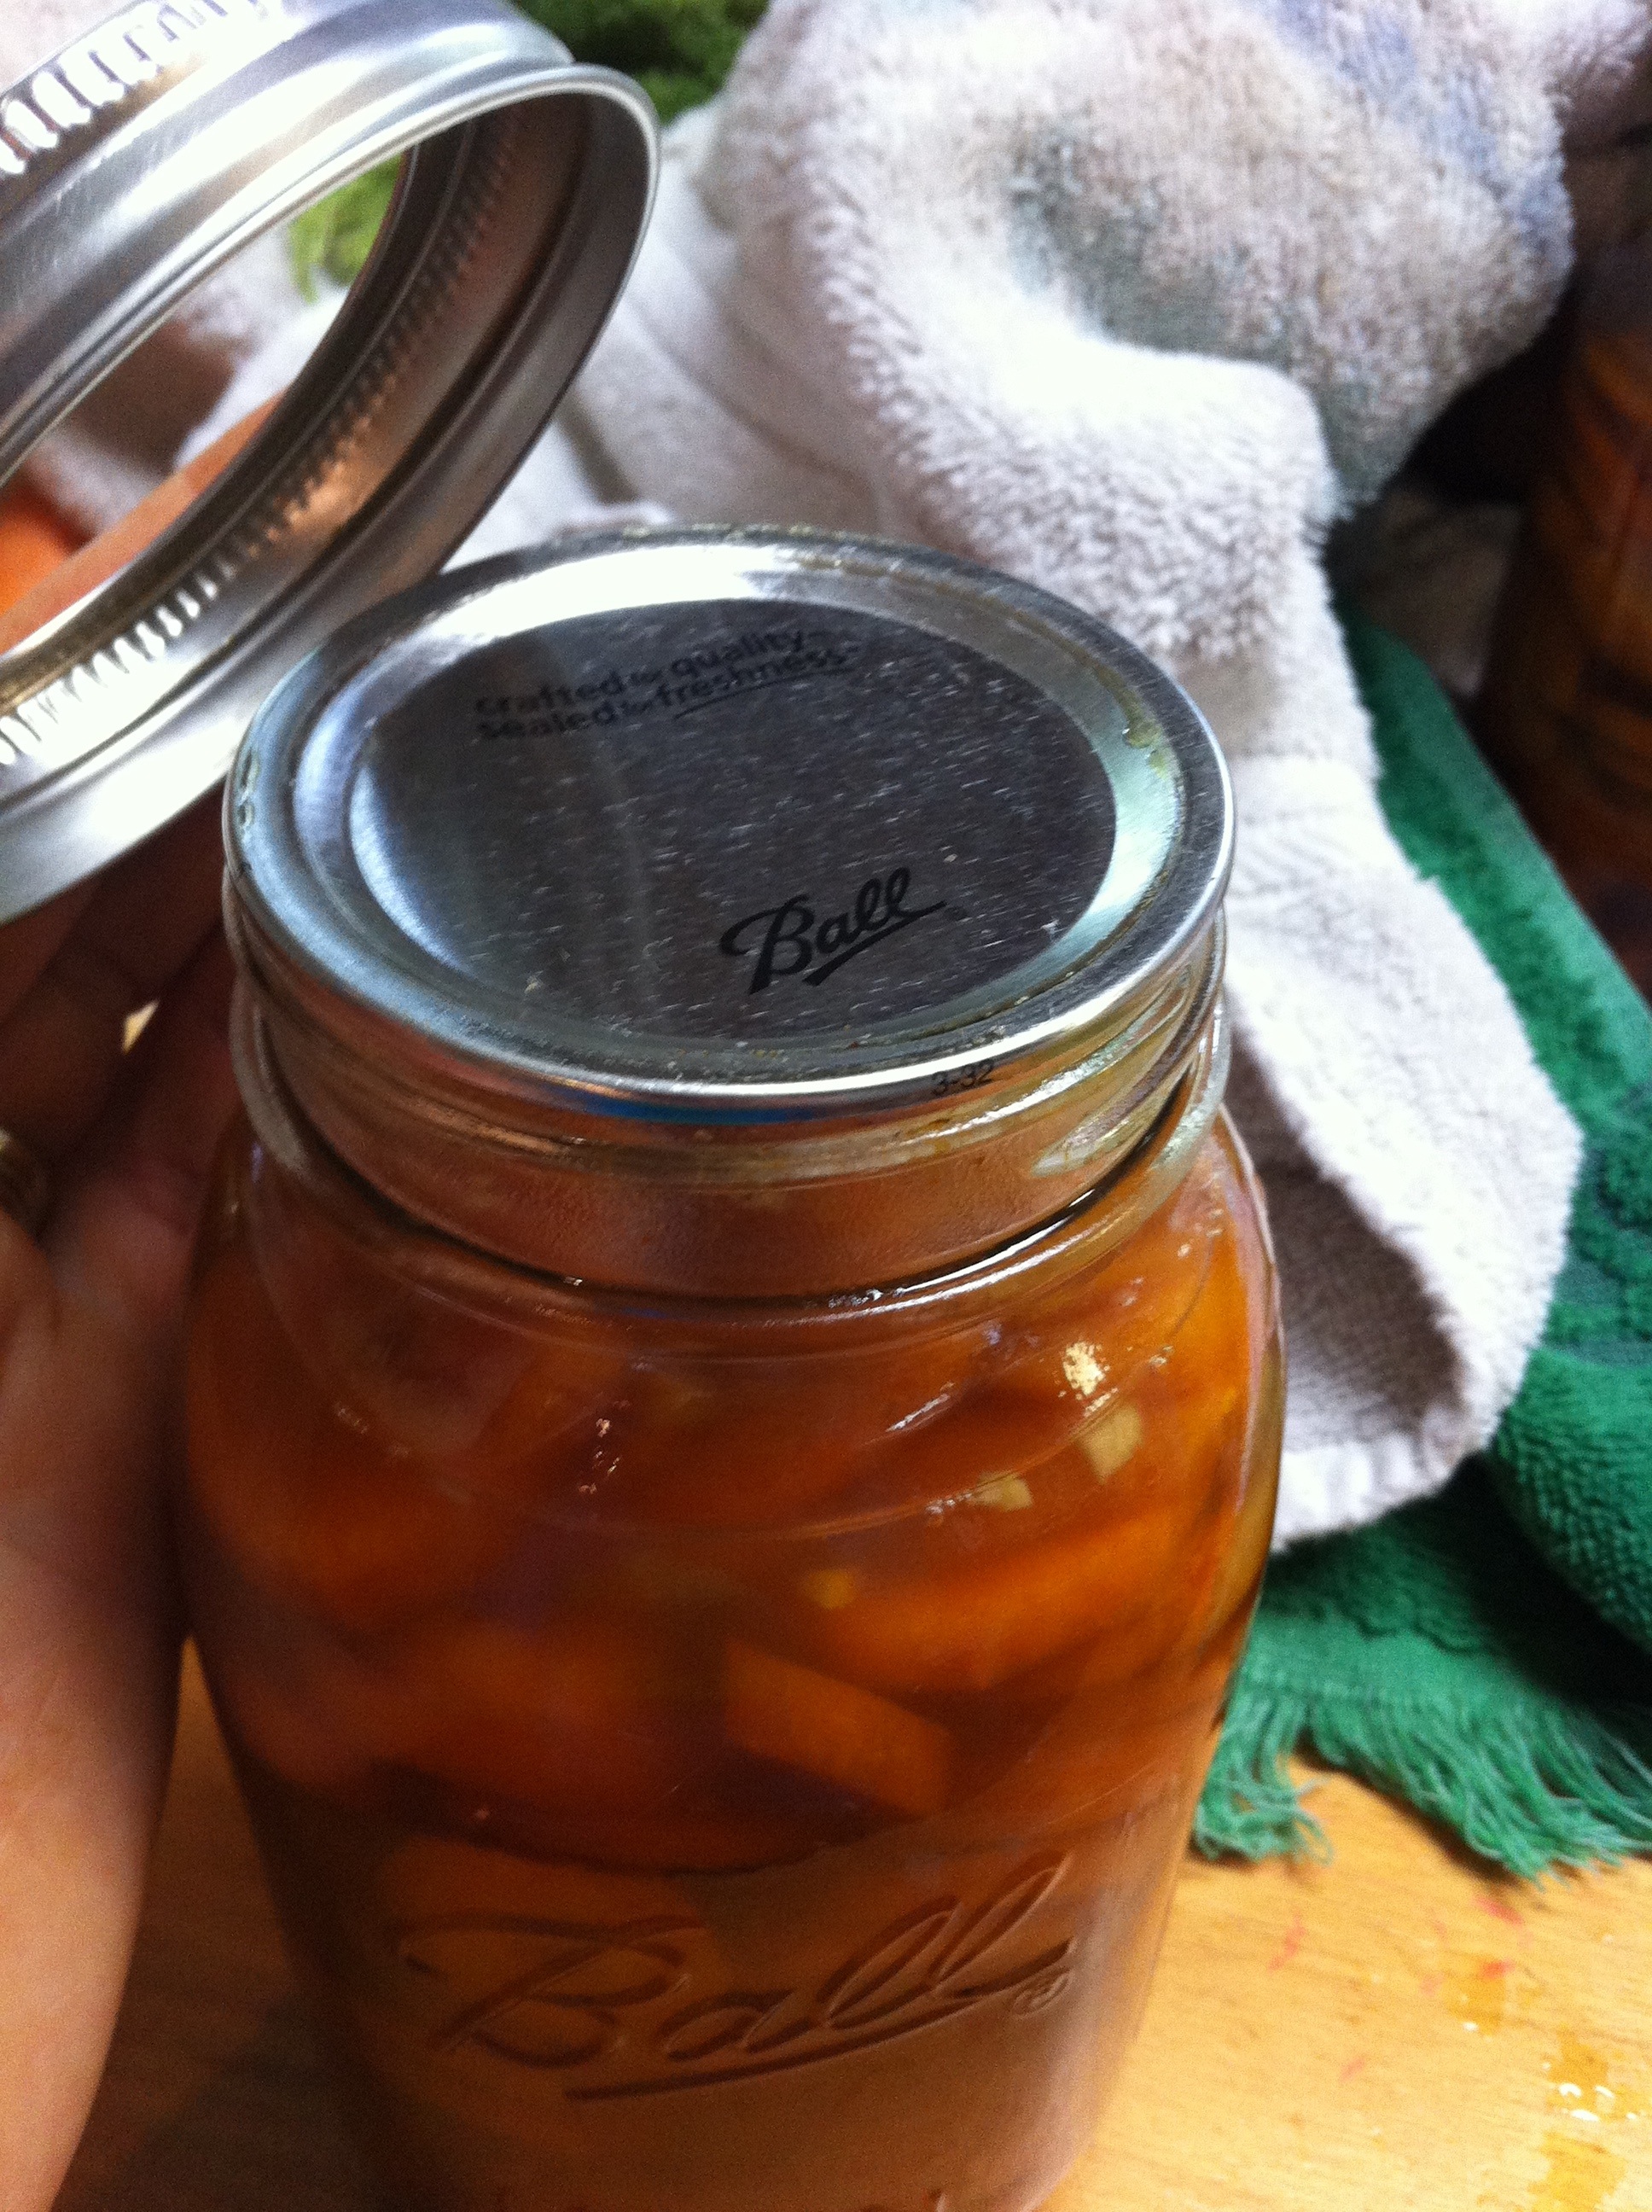
When the solution is hot, it is time to fill the jars. With a funnel {this is not the funnel I usually use for canning, but I couldn’t find the one that actually fits in the jars, so I made due with it!} fill each jar with glaze solution, covering carrots completely, but leaving about an inch of headspace at the top.

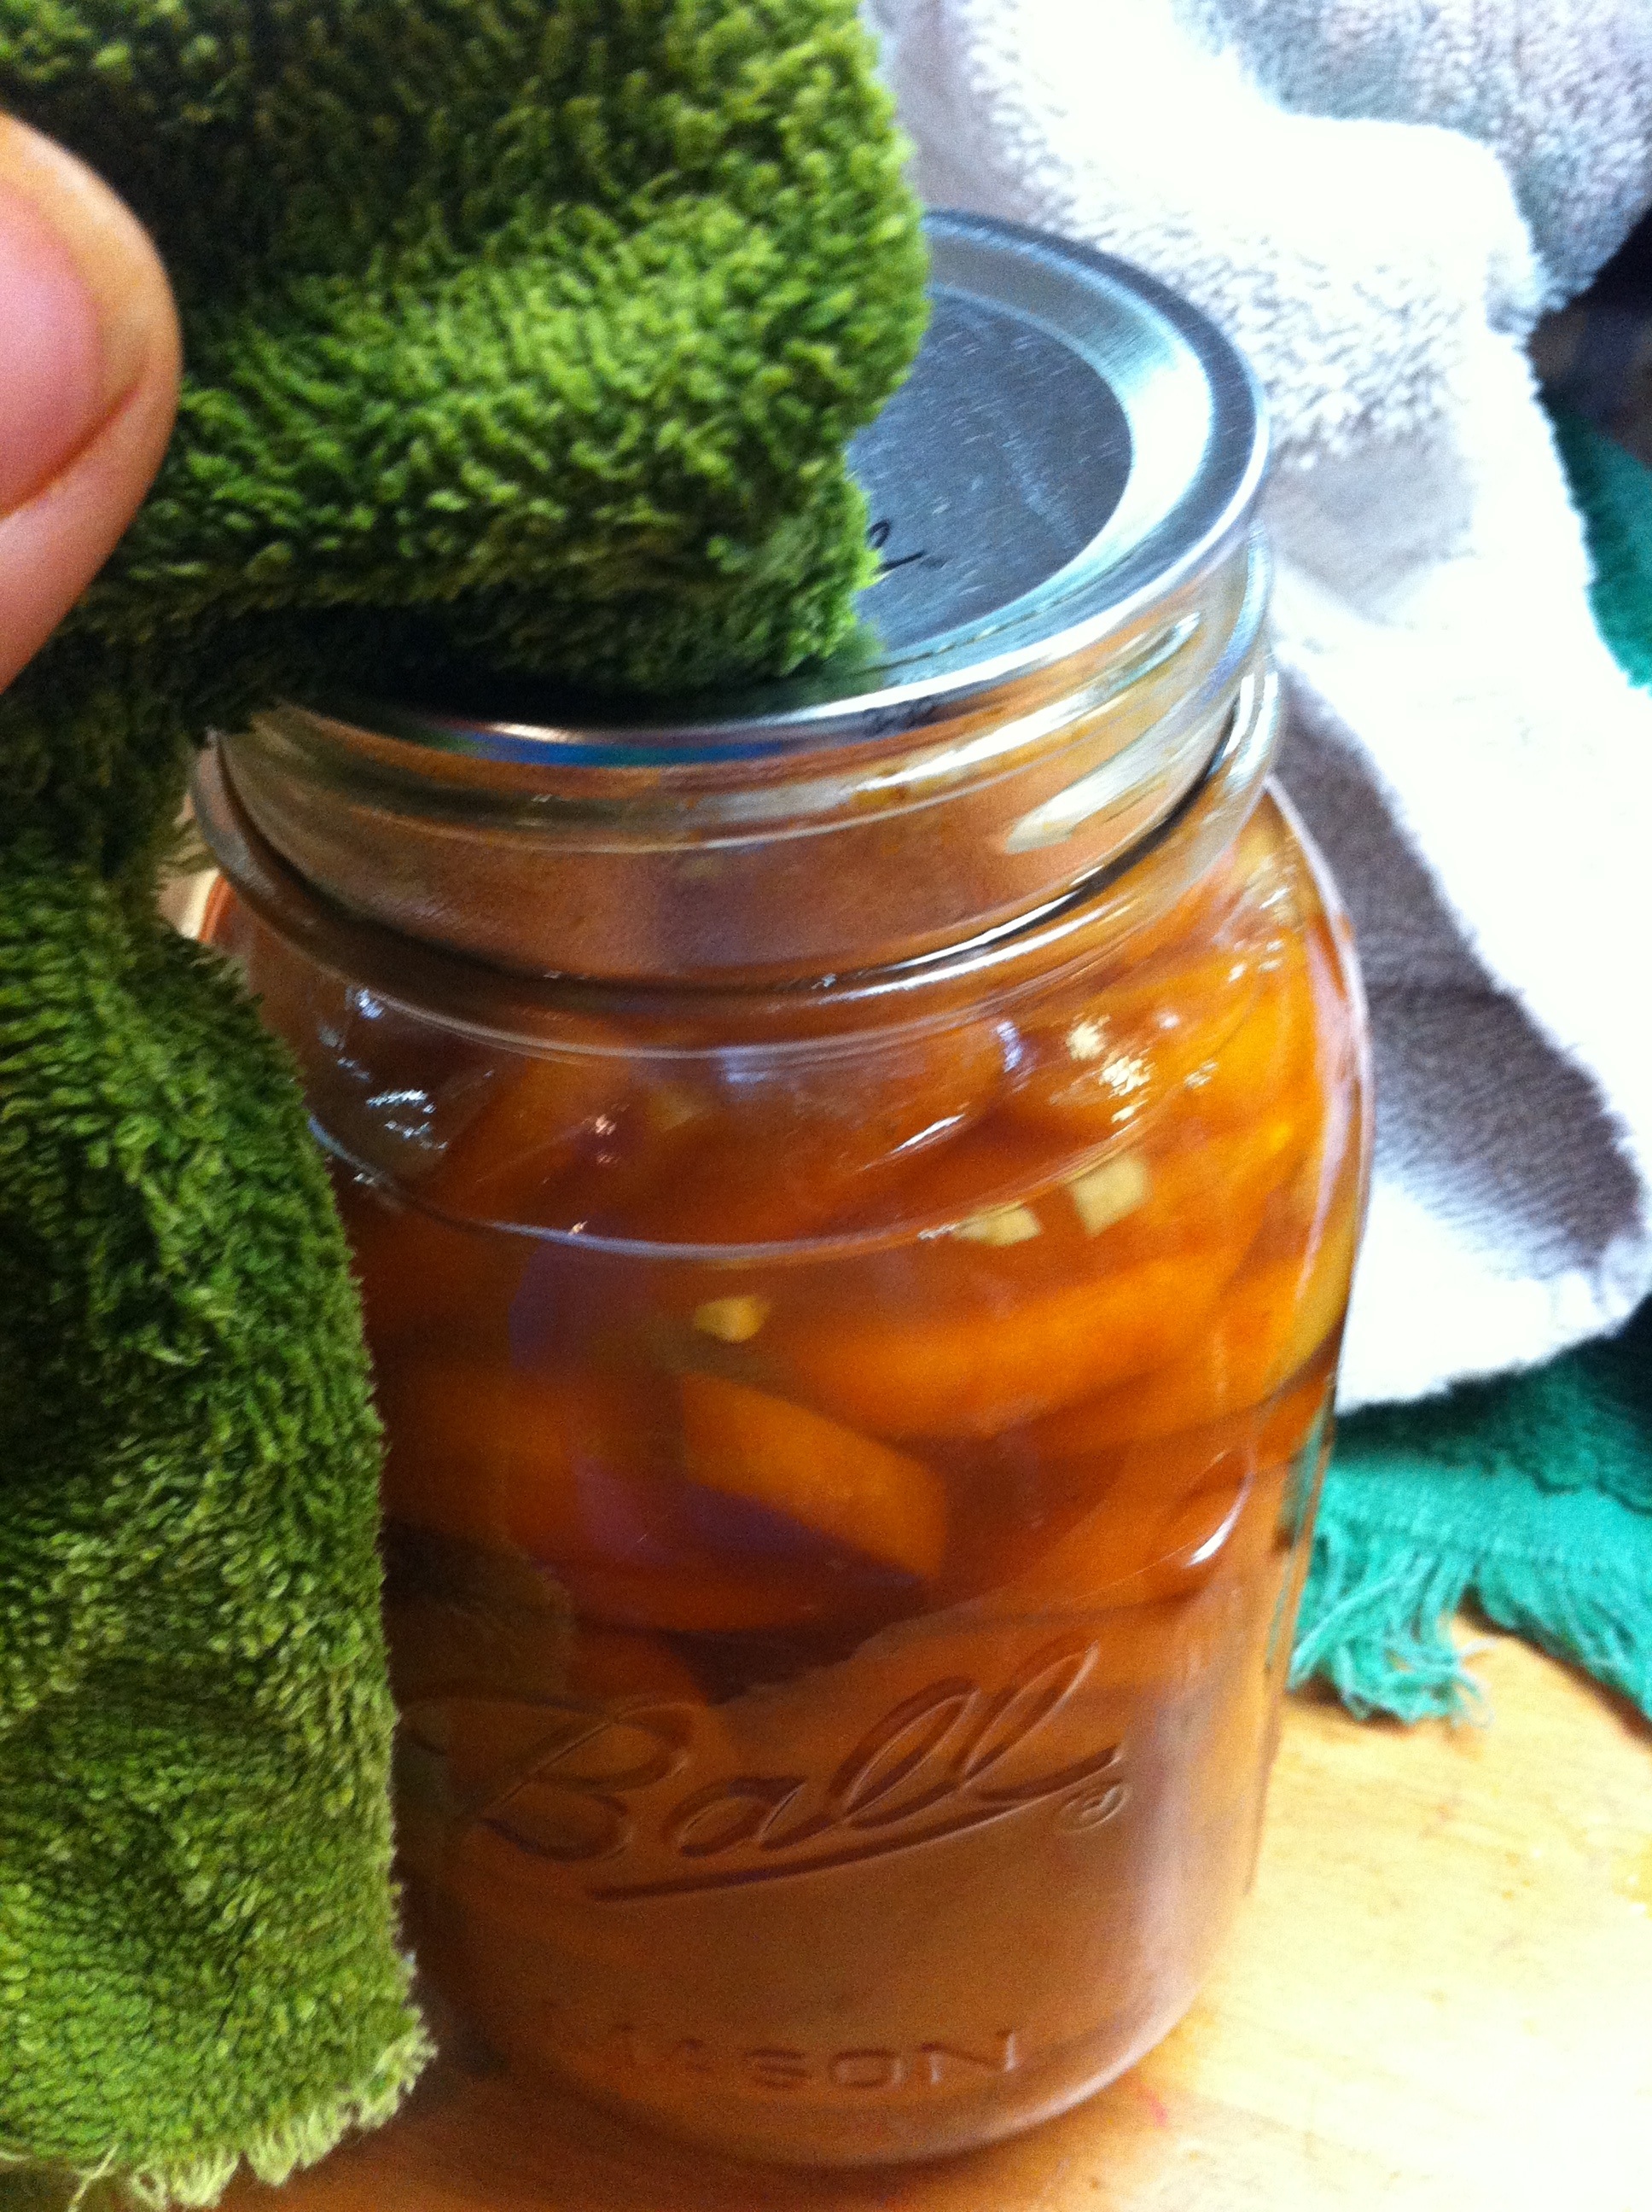
Tap jar to release air bubbles. Wipe the rim of the jar with a warm, damp paper towel or clean rag.

Place lid on wiped-off rim, and then place screw on band over that.

The important thing to remember when tightening the band is not to over tighten. *Just* finger tight. You want to make sure that air bubbles can escape!
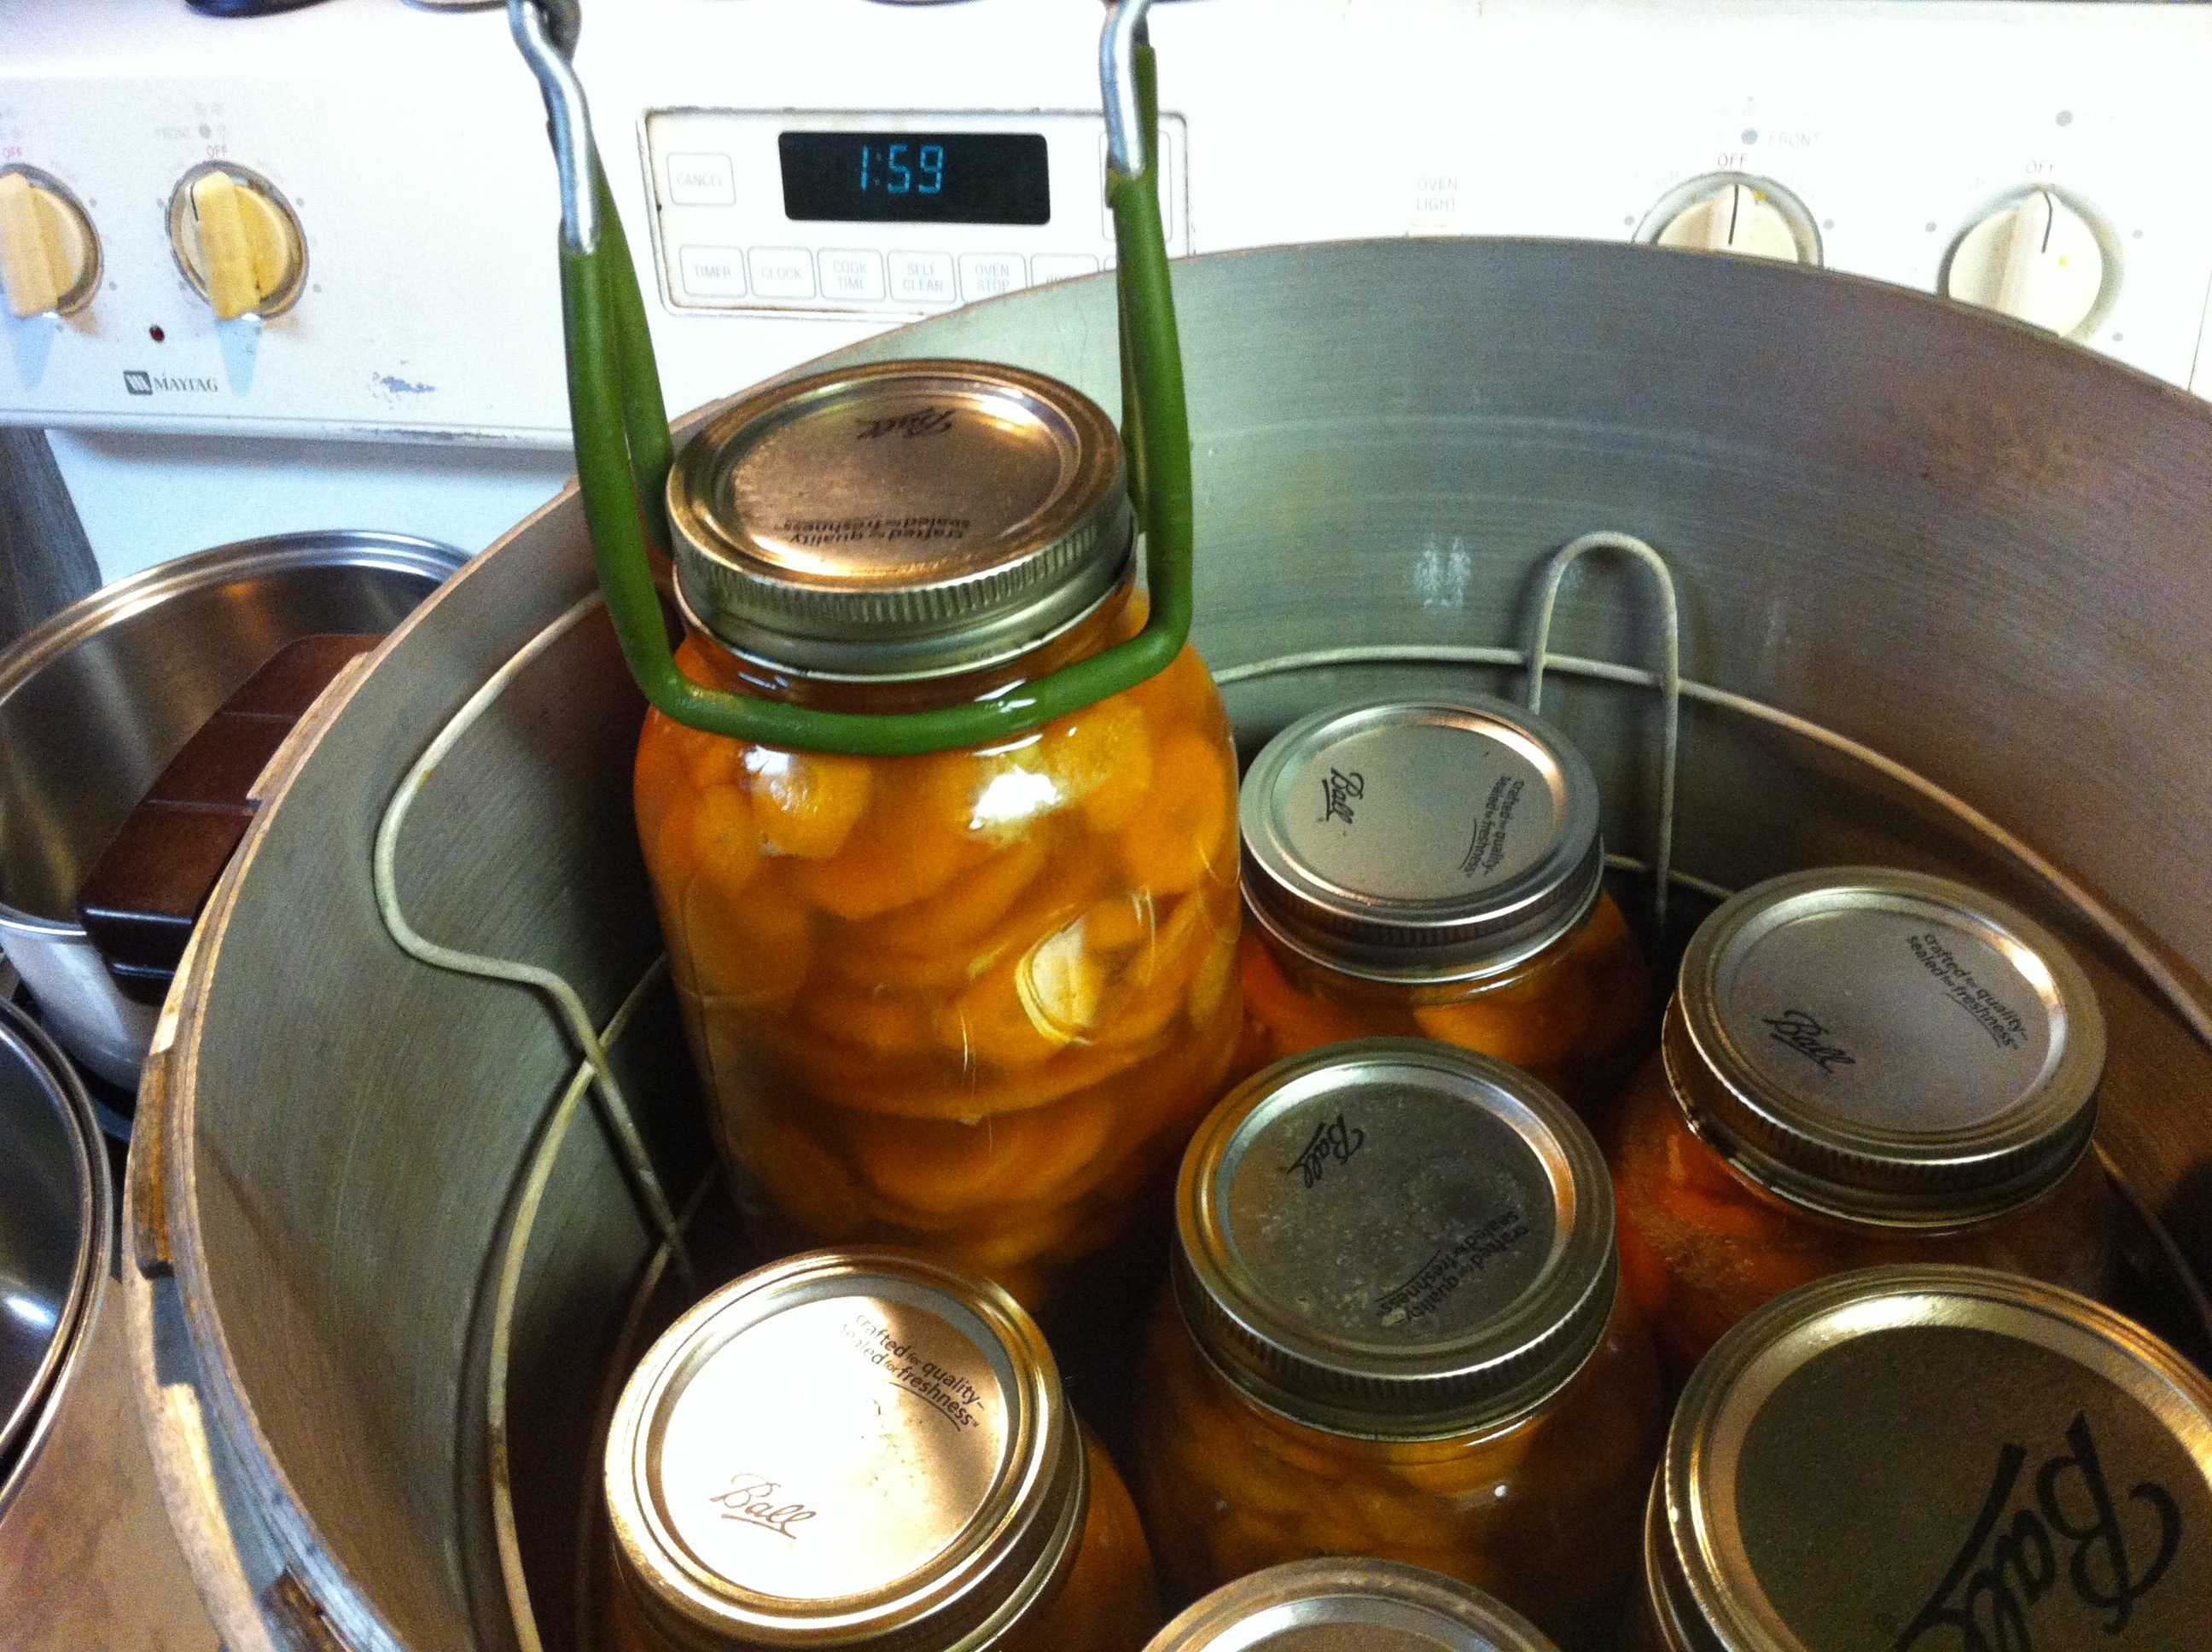
Then, using a jar lifter/holder {not really sure the technical term at the moment}, carefully lift and place jar in a pressure canner. Repeat process until all jars are filled and canner is full.

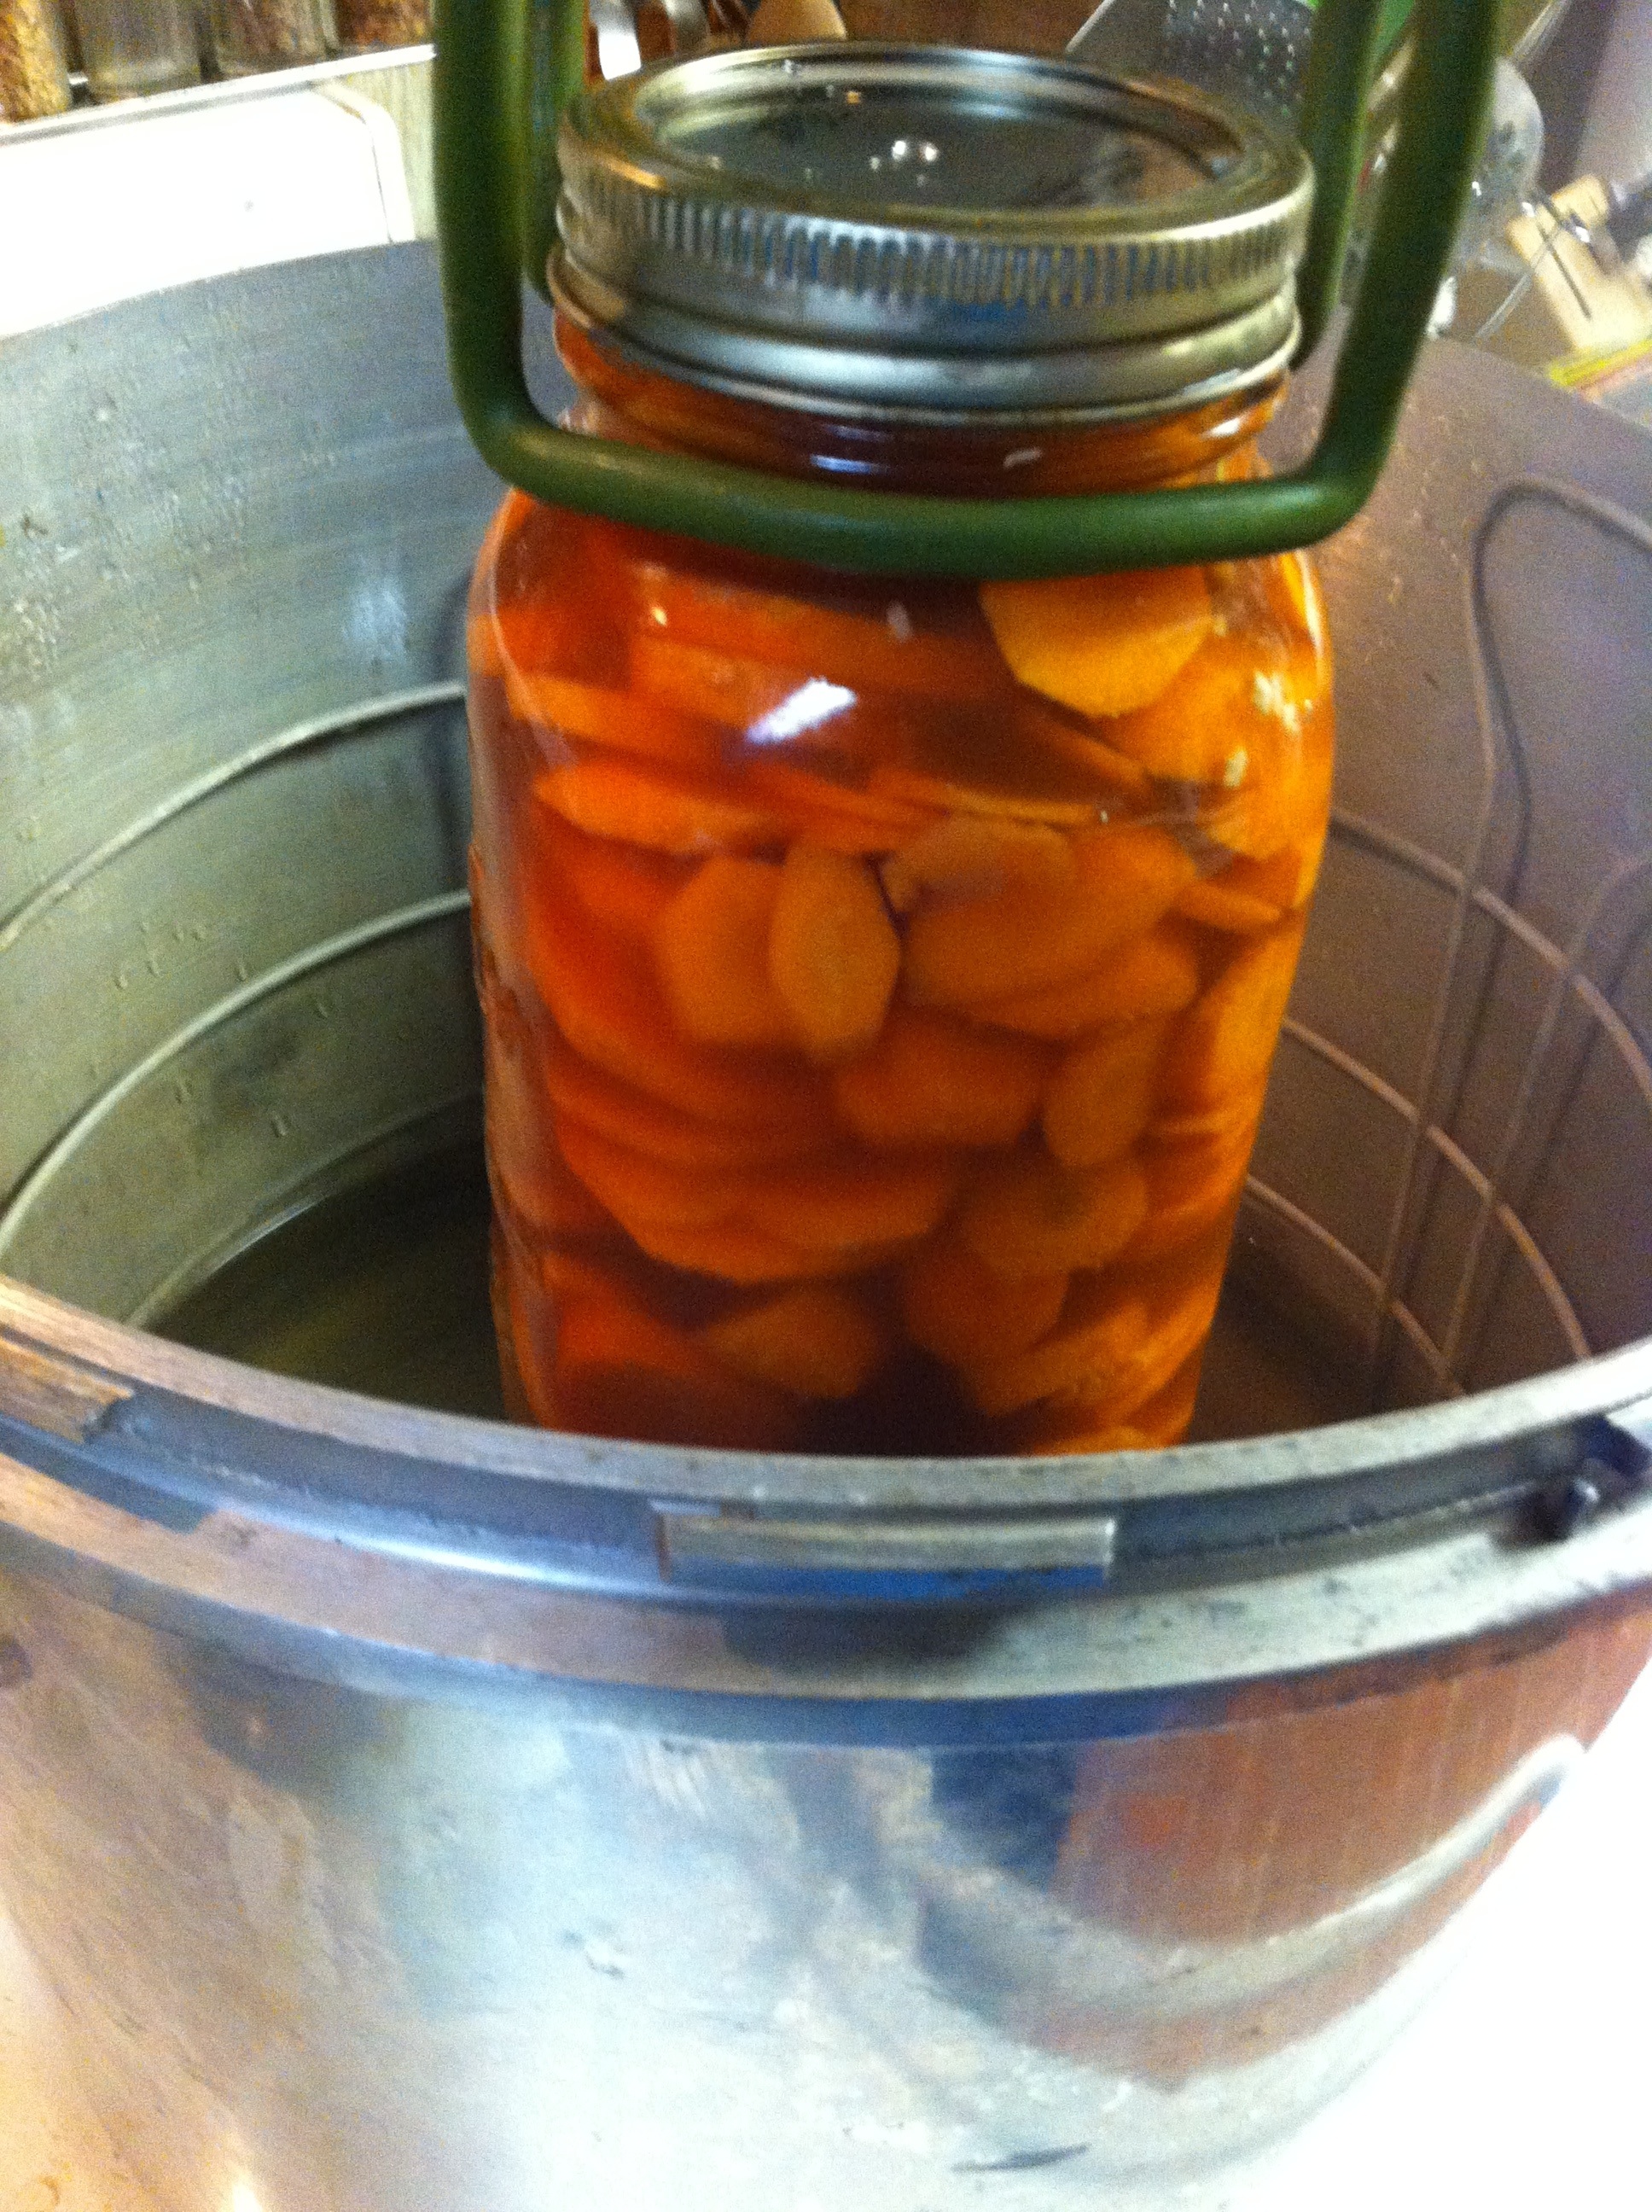
In the pressure canner, process pints or quarts for 30 minutes at 10 lbs pressure. Make sure to follow the instructions for your specific pressure canner, though.

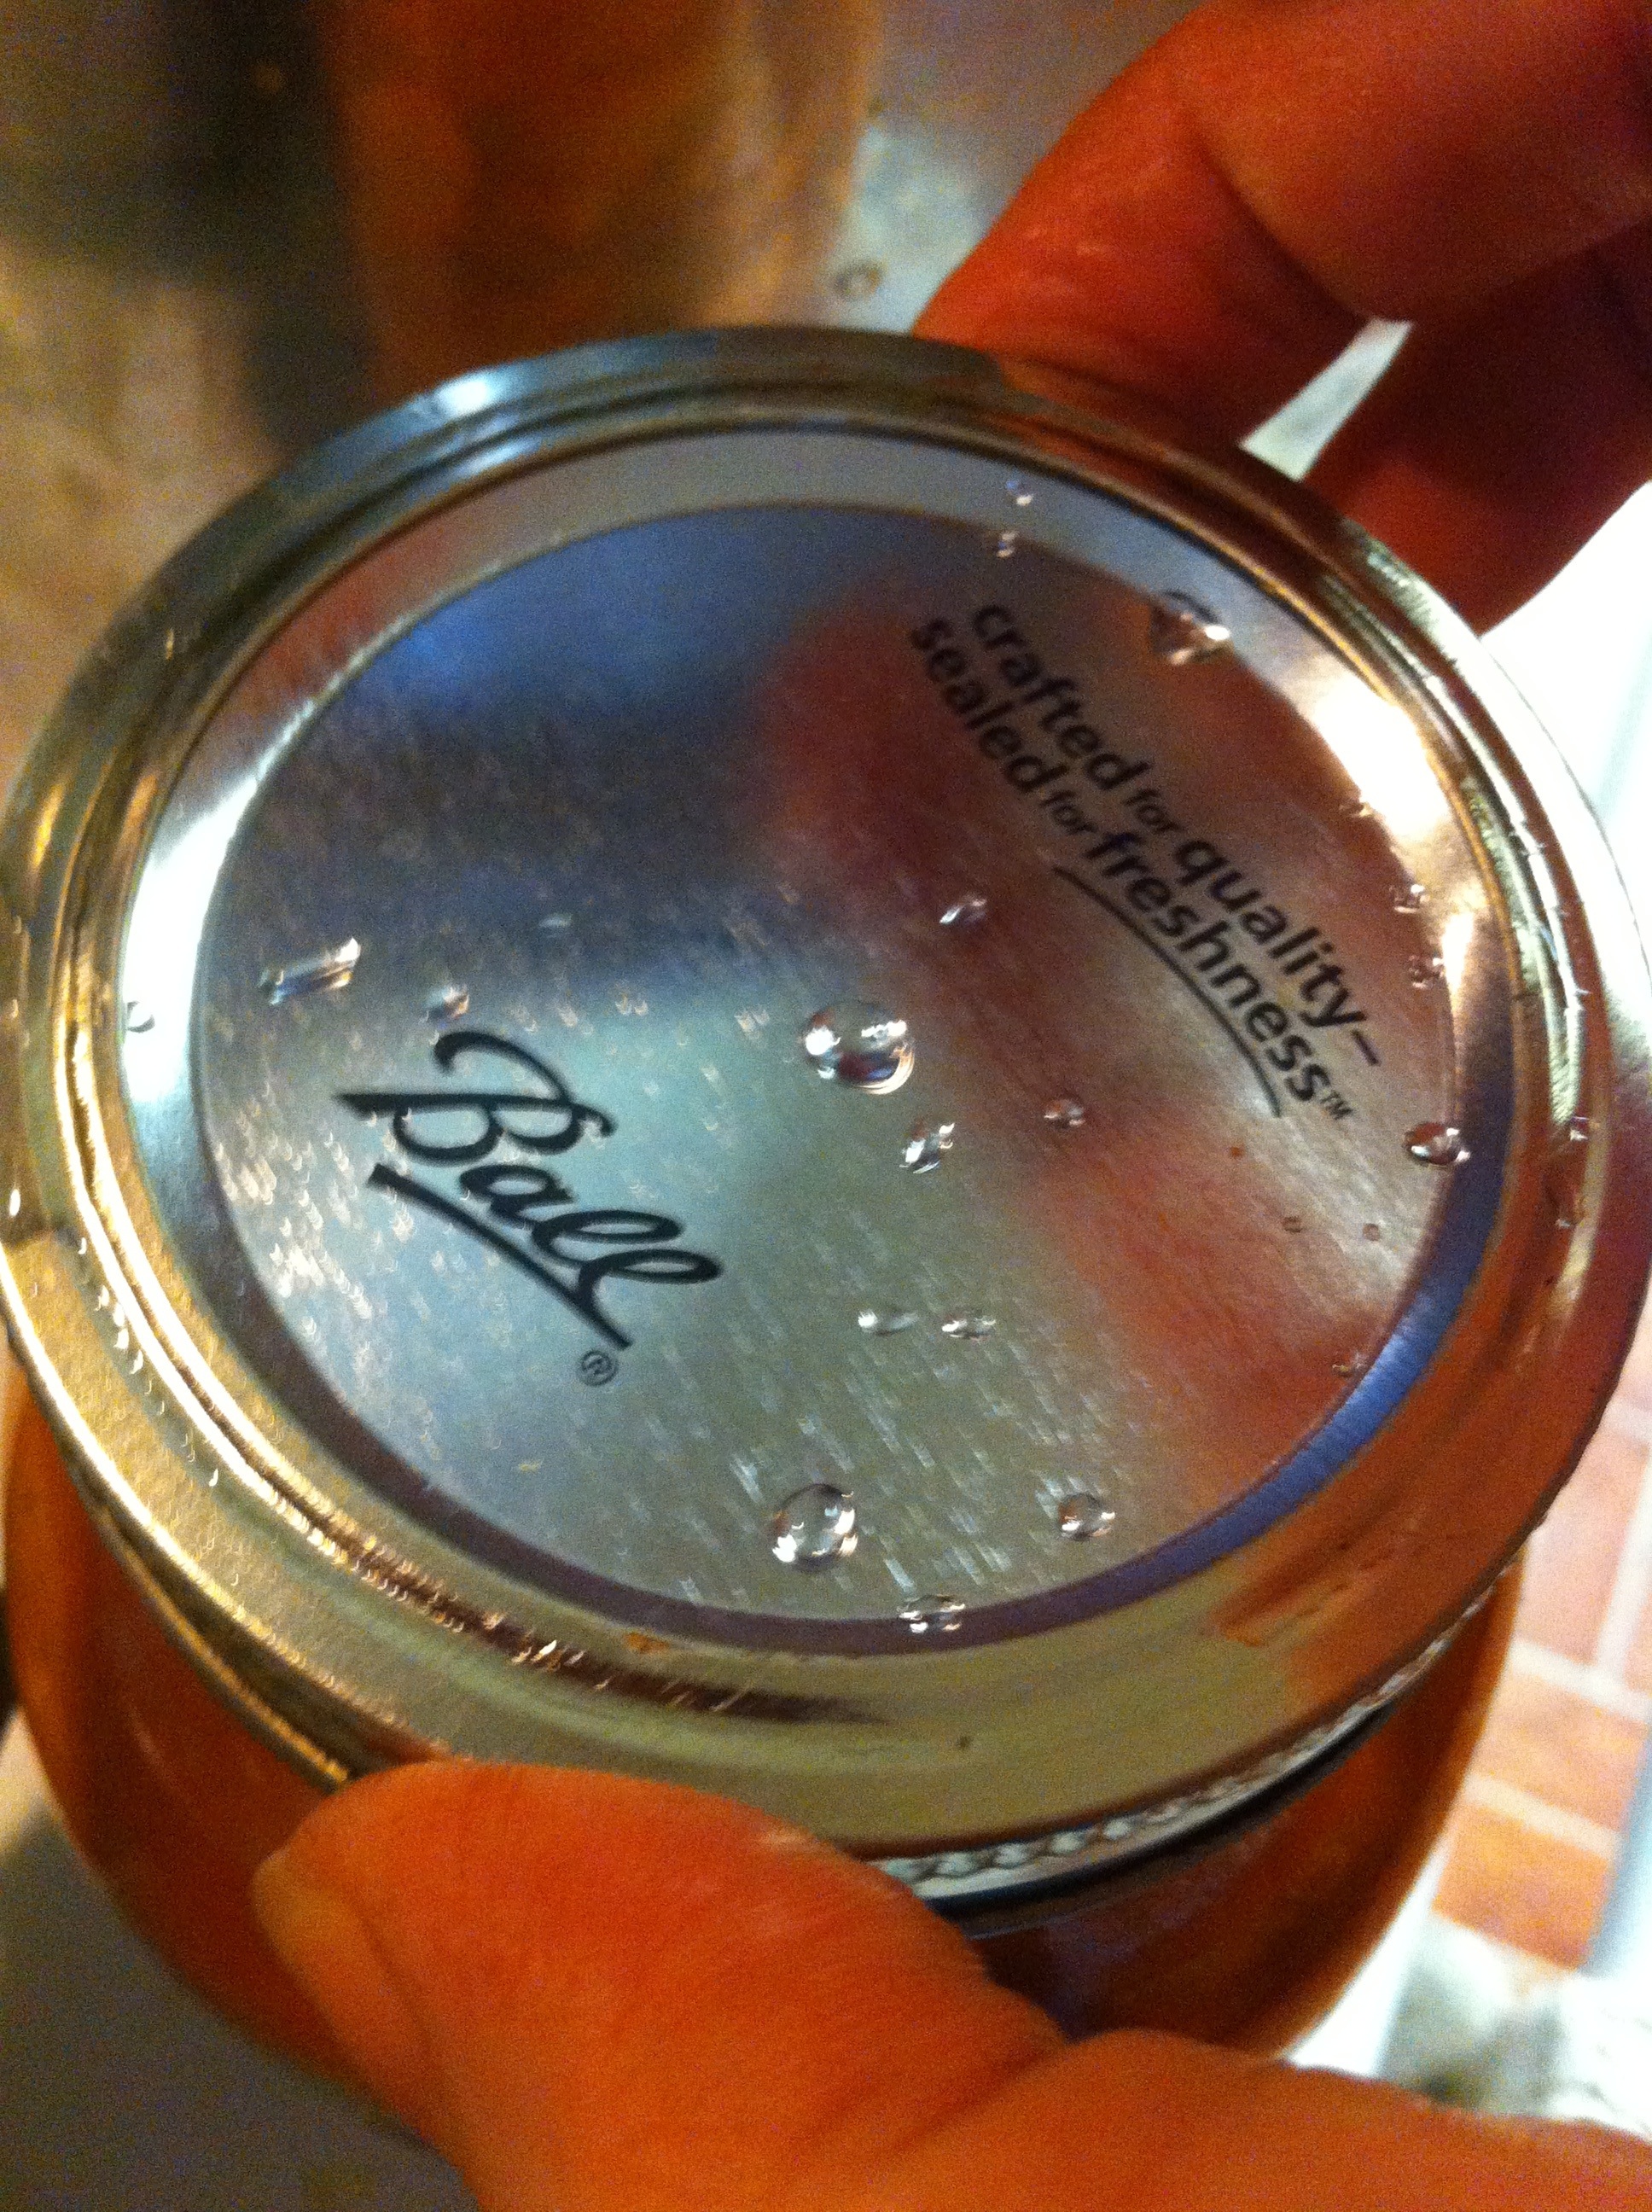
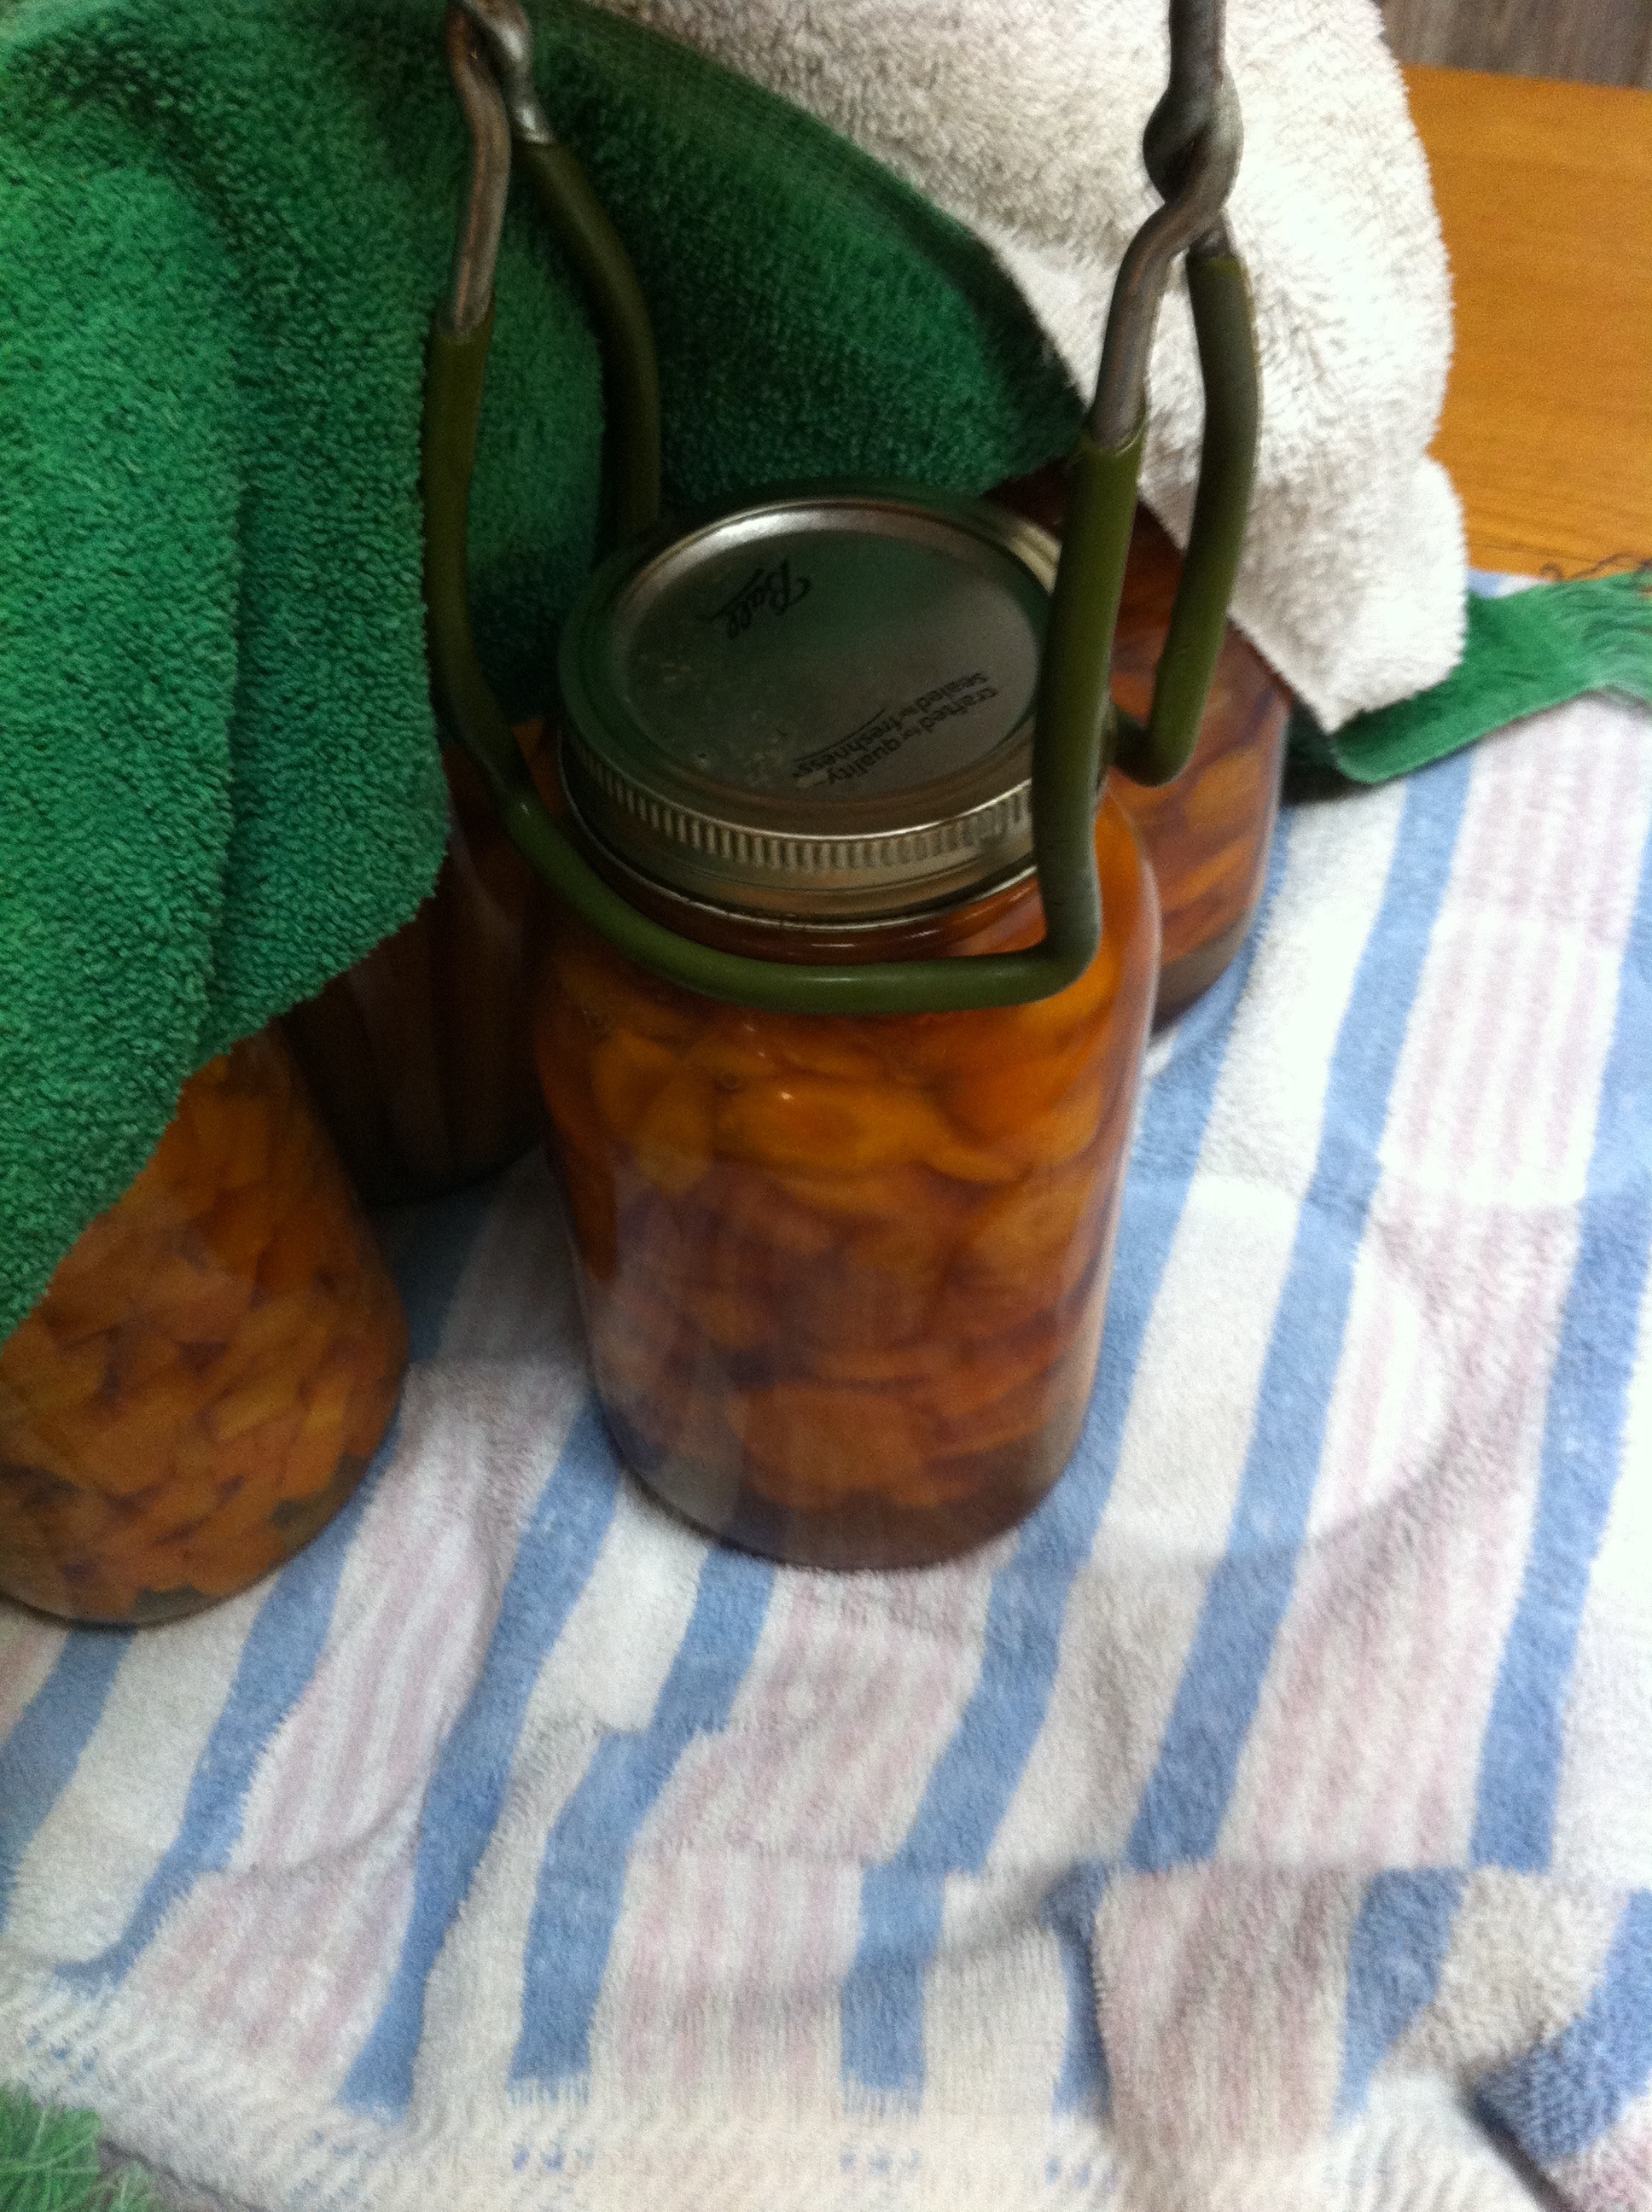
When the processing is over, carefully remove the hot jars with the jar holder and place on a towel in a warm, draft free area. Make sure to cover the jars with a large towel or two as well. This prevents the cooler air from meeting the hot jars and causing cracking/exploding! {This has happened to me before, and it is no fun!} Allow to sit at least 24 hours before disturbing, or until completely cool. You should hear the “popping” of the lids sealing sometime during the canning or cooling process. This is a great sound and one that you want to hear to make sure they have sealed properly! If, after the jars are completely cool, when you press the center of the lid and it “pops” back towards you, it has not sealed properly and will then need to be refrigerated and eaten within a few days.
Once your carrots have completely cooled, you can take the screw on lid off, if desired. They sometimes have a tendency to rust if left on. Besides, you can save and reuse the screw on part for more canning projects. It saves money in the long run because you won’t have to buy more of those, just the lids that seal.
Wipe the outside of the jar and lid area off with a damp cloth, if necessary.
Clearly mark what is in each jar and the date it was canned.

Store these garlic and ginger sweet carrots to enjoy at a later date! The wonder of canning to preserve, it’s a great thing! -Shelley
If you enjoyed this recipe you may also like…
Peach Lime Preserves {for canning}

Peach Lime Preserves {for canning}
Sweet Pickle Relish {for canning}

Sweet Pickle Relish

Definitely going to try this recipe this summer!
LikeLike
Nicky,
They were super easy and smell divine. I can’t talk myself into opening the jar yet since I just canned them, but will let you know how they do taste when we break one out!
LikeLike
Pingback: Sauteed Beet Greens and Carrots with Quinoa |
Pingback: Sweet Pickle Relish {for canning} |
Pingback: Peach Lime Preserves {using low or no sugar pectin} |
Pingback: Jalapeño Jelly {for canning} |
Pingback: Pickled Okra |