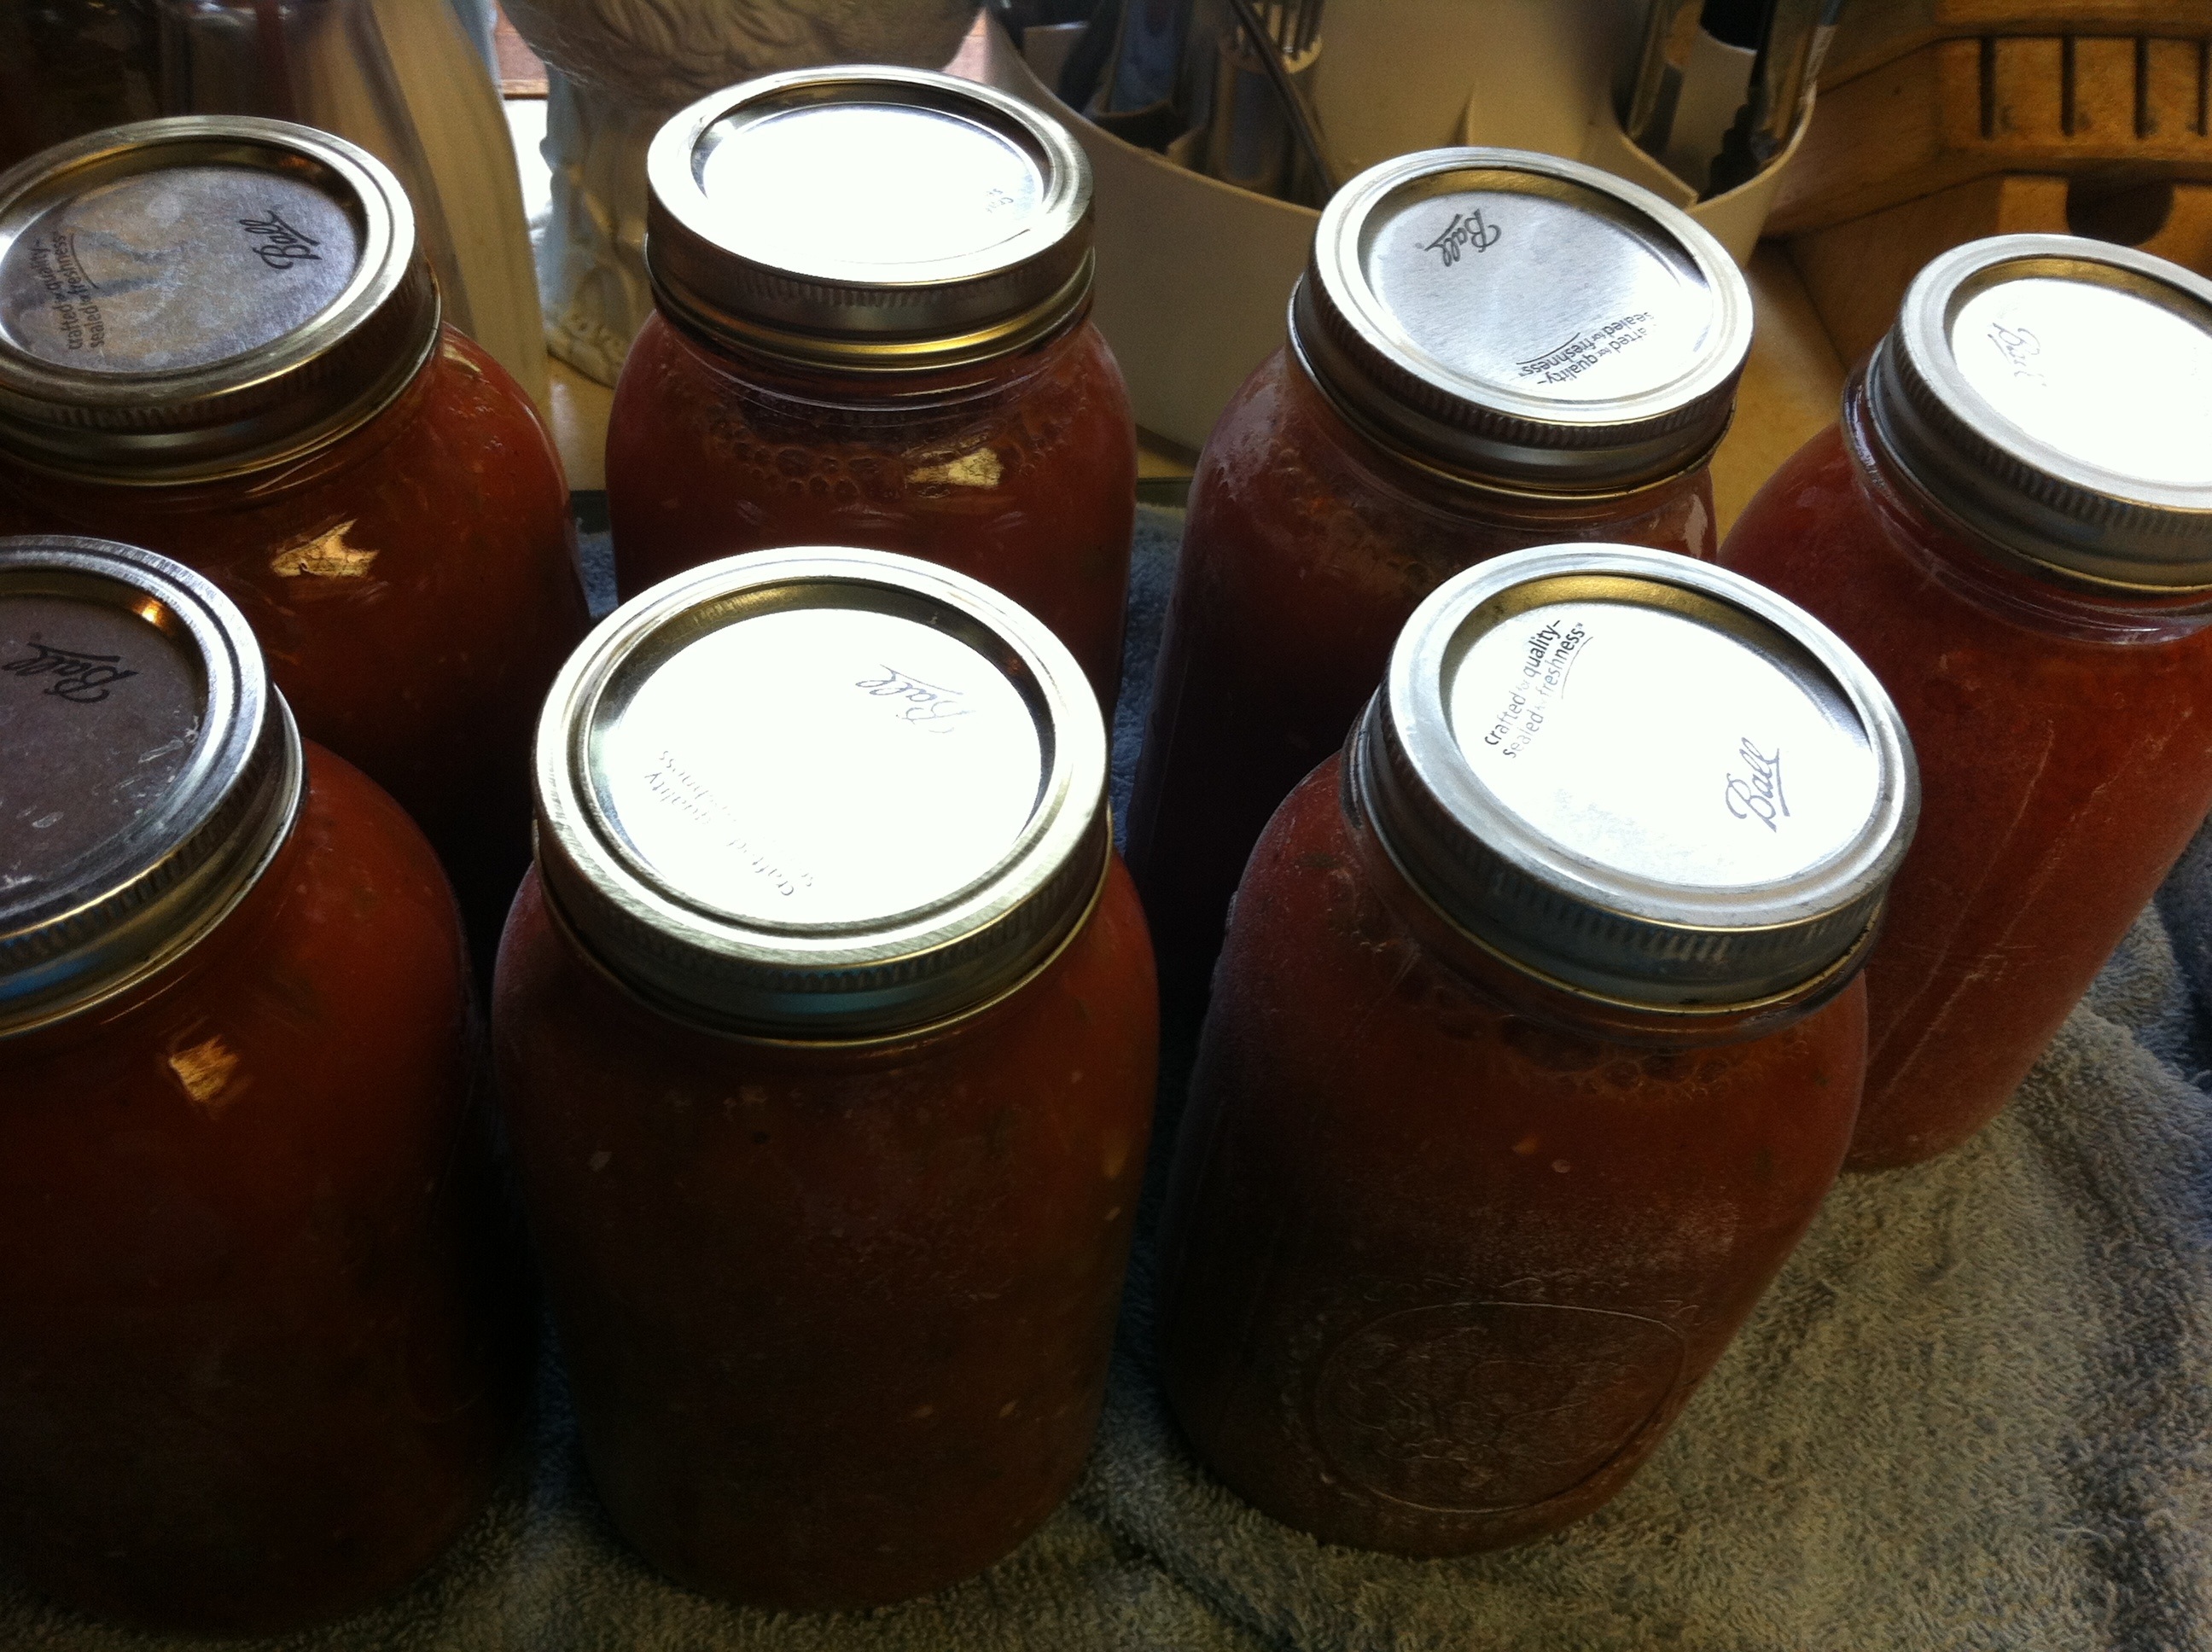
 The canning has begun! I processed my first batch of salsa today in the canner. I unfortunately haven’t been able to make any salsa before today because I have been waiting for enough of the tomatoes to ripen up at the same time to make a batch…so today was the day!
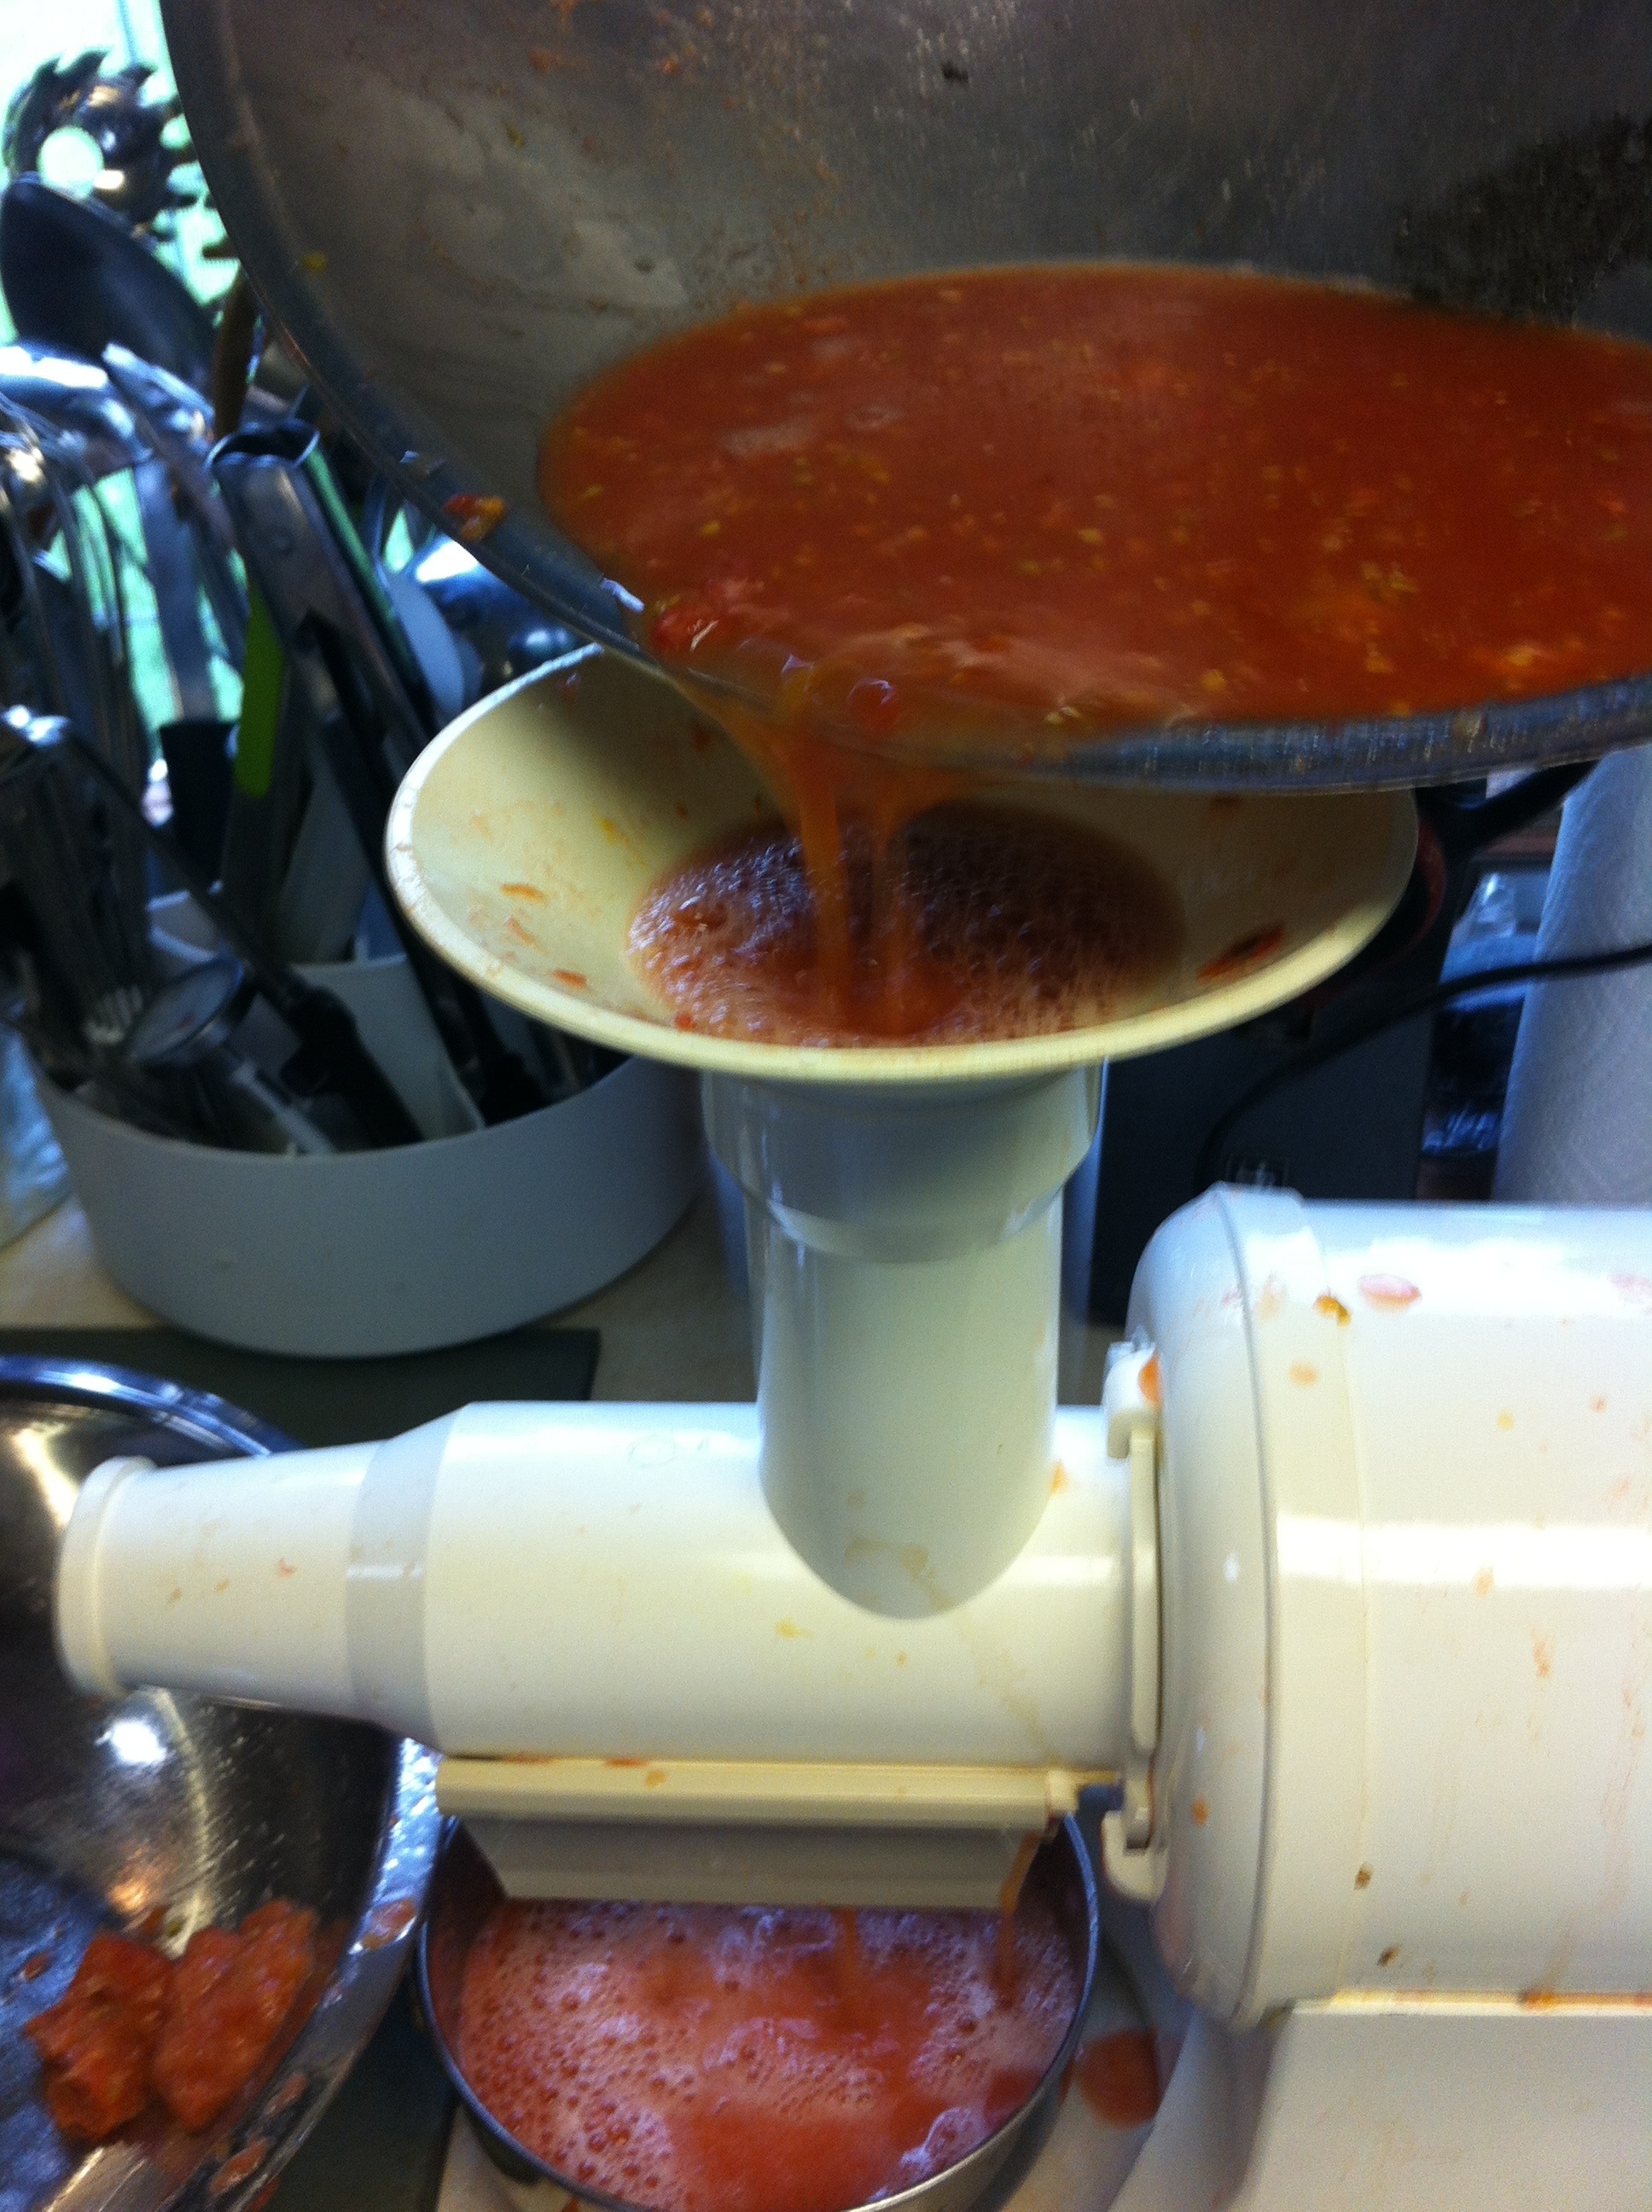
Salsa is a staple in our house, and we are getting down to the last few jars from last year’s garden, so I figured now was the time to get on top of it. The prep work is what is so time-consuming. I cut down on a majority of it today just by being able to run my tomatoes through our Champion Juicer and using a sauce screen that has larger holes than the regular juicer screen.
In the past I have blanched, and then placed the tomatoes in cold water to remove the skins, taken the seeds and cores out, etc. and then proceeded to make the sauce. I have also used a food strainer and sauce maker that has a hand crank similar to the one on this link. But after a couple of years of using the previous methods, I felt like it was just a lot of work {which it is!} and then it dawned on me that we had been given a juicer years before and it was sitting in a box somewhere in our basement. The idea was the same as on the hand-crank version mill…place the tomatoes in the top, push down through the screen/mill and out the end pops the waste, out through the bottom comes the sauce or juice. Why hadn’t I thought to use the motor to do all of the work {in a fraction of the time I might add} before? Well, I tell you…as long as the juicer continues to run, I will use it to do most of the work for me!
Making the salsa today still took the majority of my day, in between sterilizing jars, juicing the sauce, and prepping the veggies. But now that the jars are cooling on the counter I am looking forward to being able to put them away for the year ahead. This is very tasty salsa, by the way. Not too spicy, but with a little bit of kick. Probably a medium on the hot scale. Not so hot that my kids won’t eat it…but they are accustomed to a little bit of heat in their food! I do take all of the seeds out of the peppers because there is someone in my family who cannot eat seeds, but if you were to leave the seeds in it would make it a spicier salsa for sure! If you try this out, let me know how you like it. Enjoy! -Shelley.
Salsa
*Makes approximately 6-7 quarts
About 45 medium, ripe tomatoes – skins, seeds, cores and bad spots removed {ends up being about 16 cups tomato sauce/juice when most of the liquid is squeezed out before running through the mill or about 20 cups of tomato sauce/juice otherwise}
6 c onions, chopped
12 cloves garlic, minced
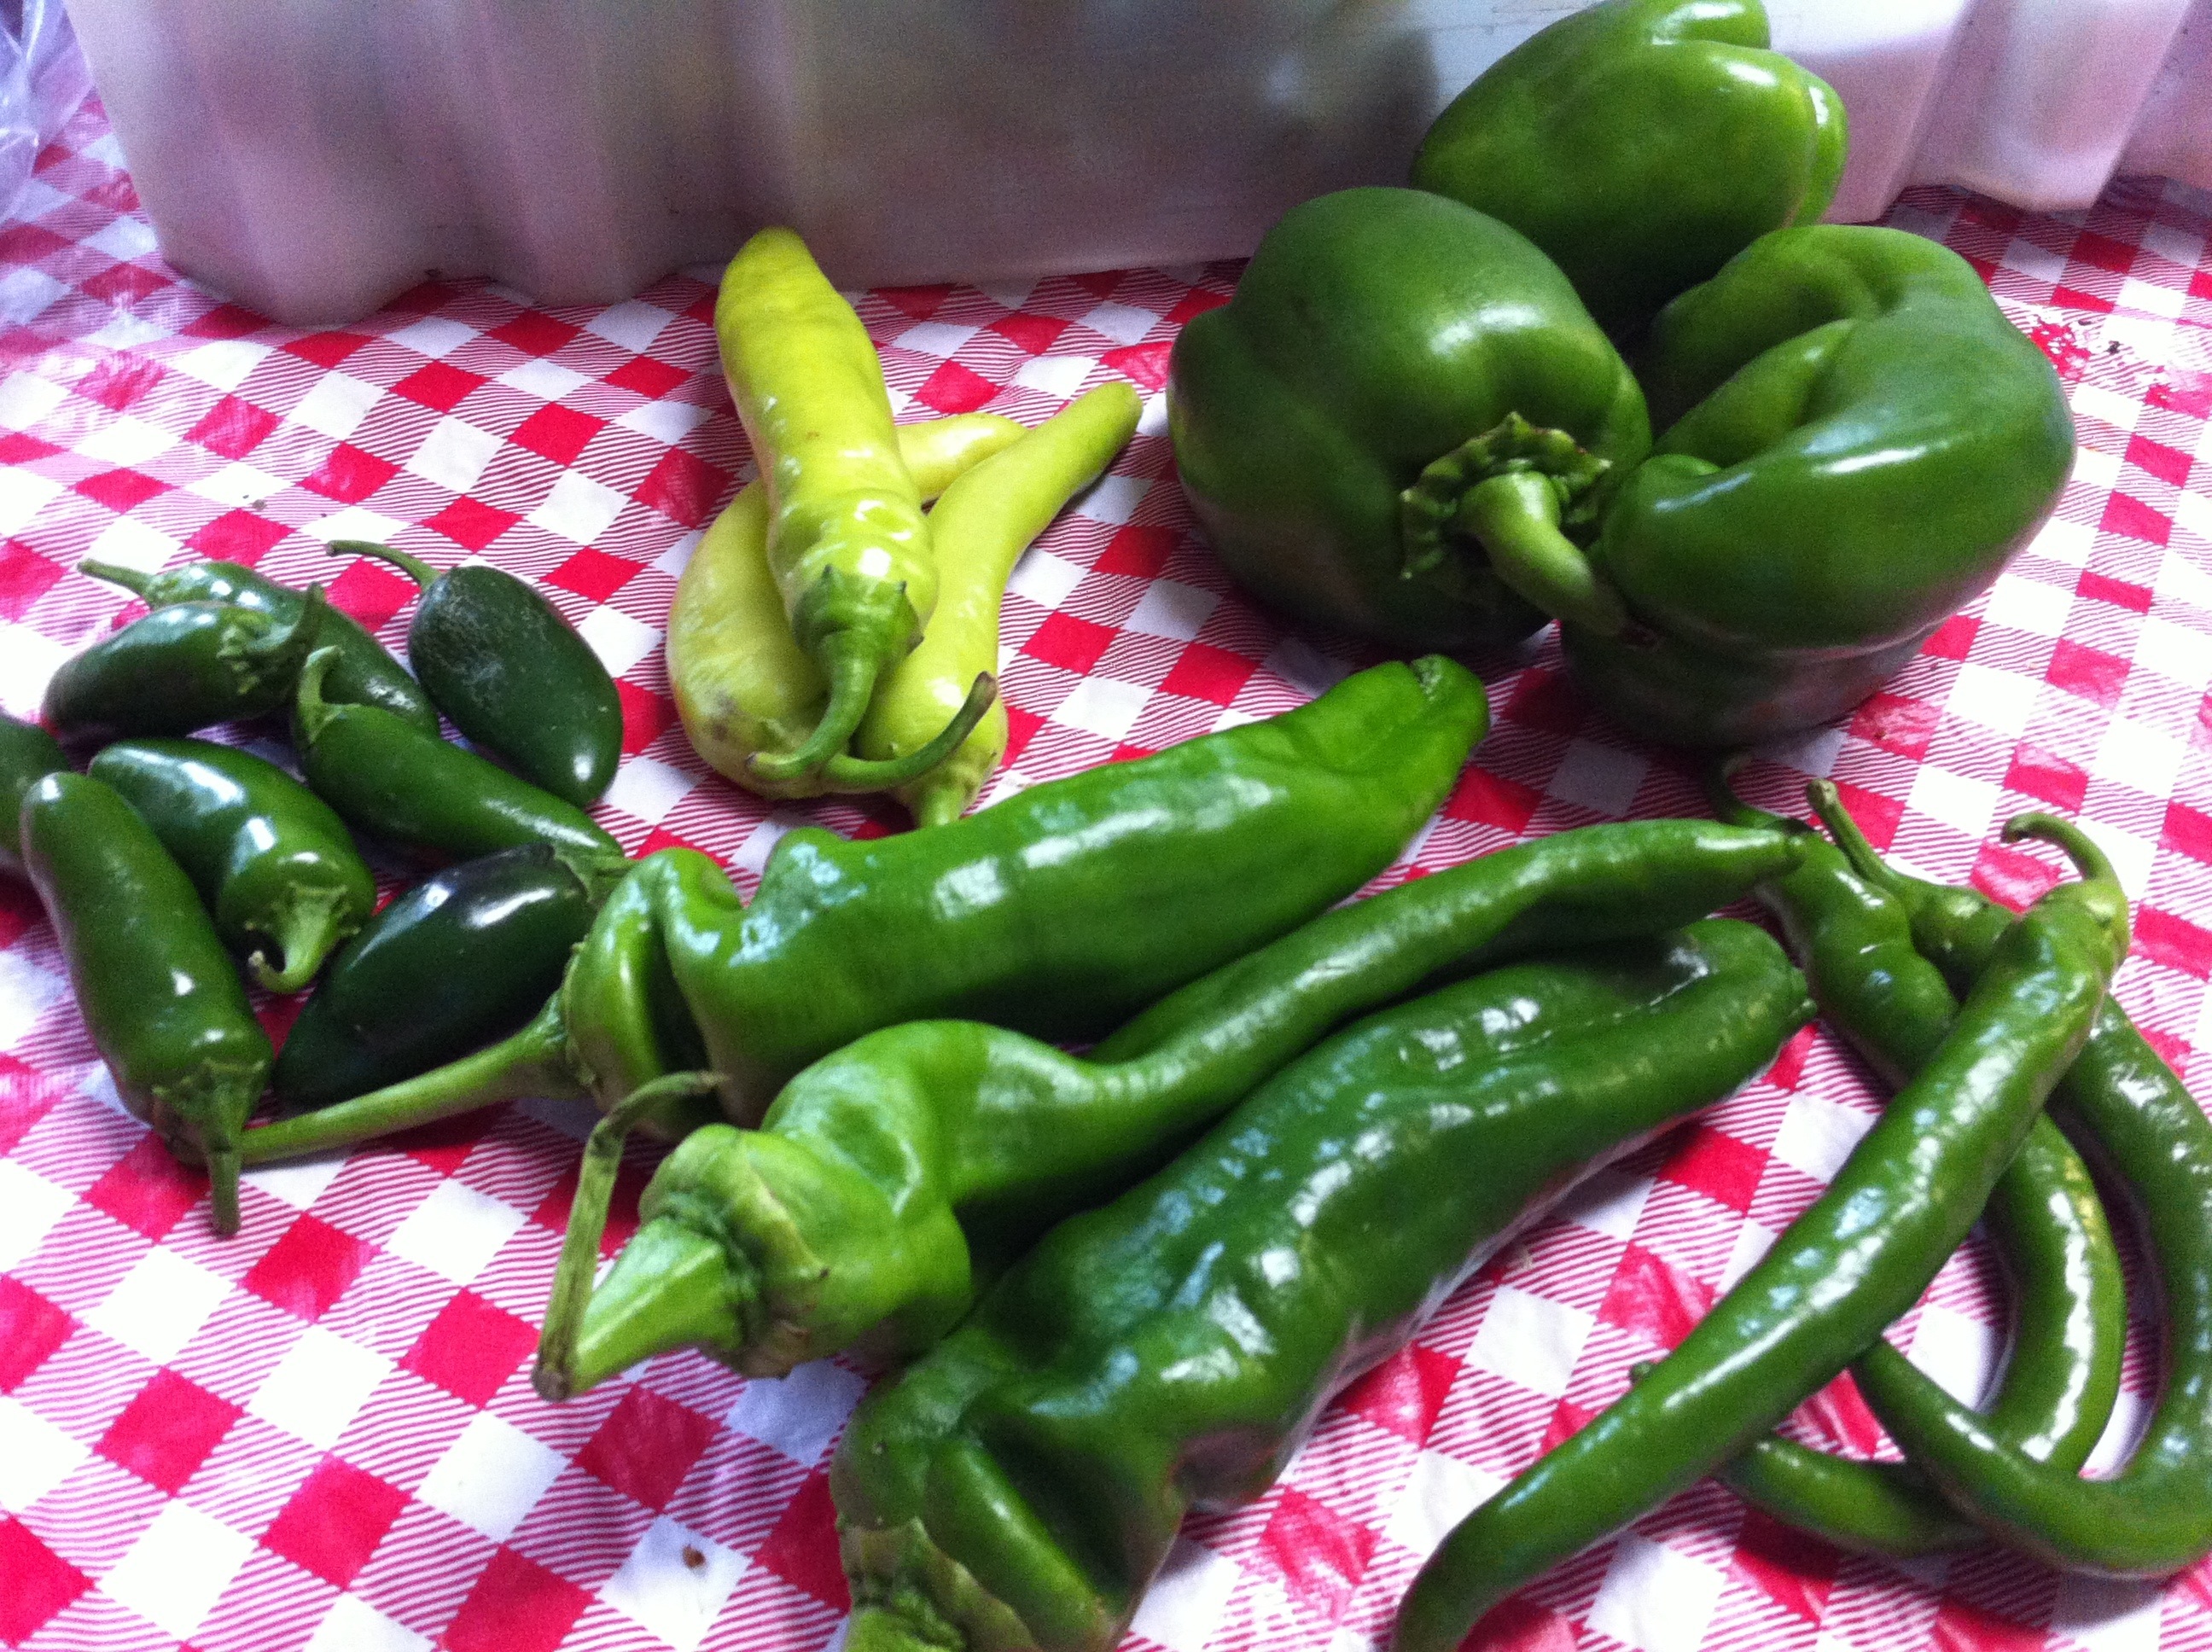
3 medium green bell peppers, de-seeded and chopped
3 anaheim peppers, de-seeded and chopped
8 jalapeno peppers, de-seeded and chopped
3 salsa peppers, de-seeded and chopped
3 banana peppers, de-seeded and chopped
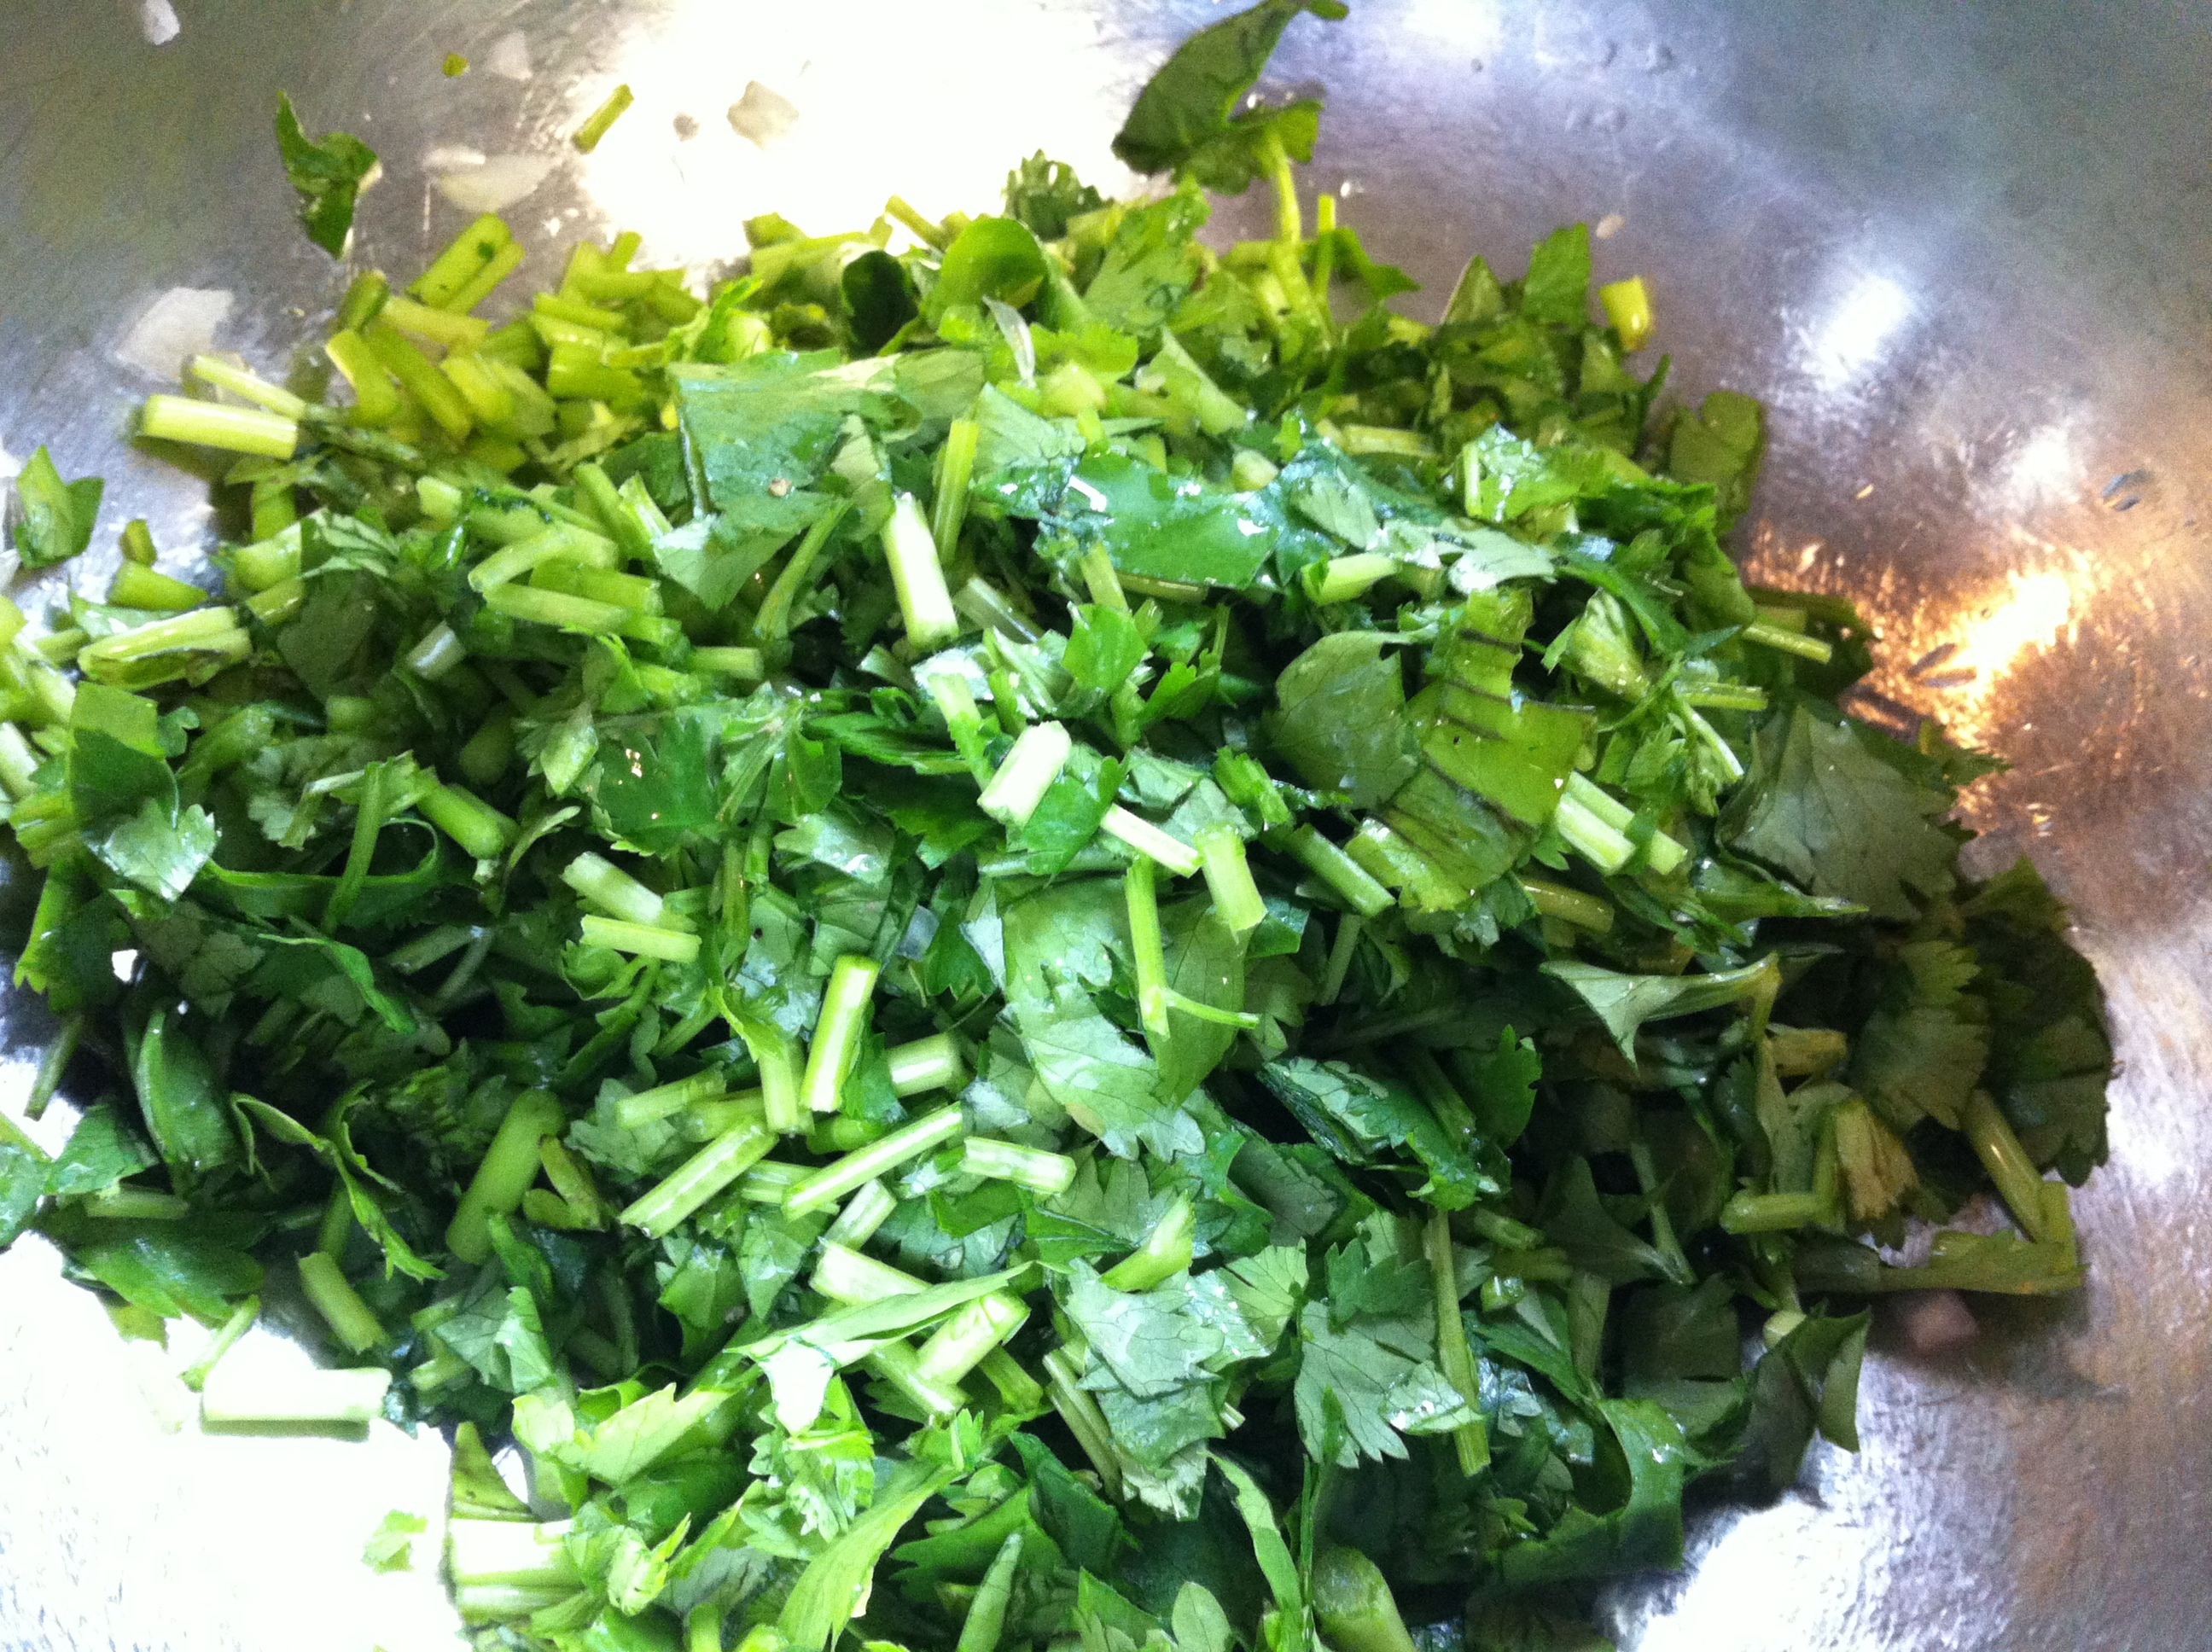
1 bunch cilantro, chopped
3 T pickling salt
2 t fresh ground black pepper
1 t cumin
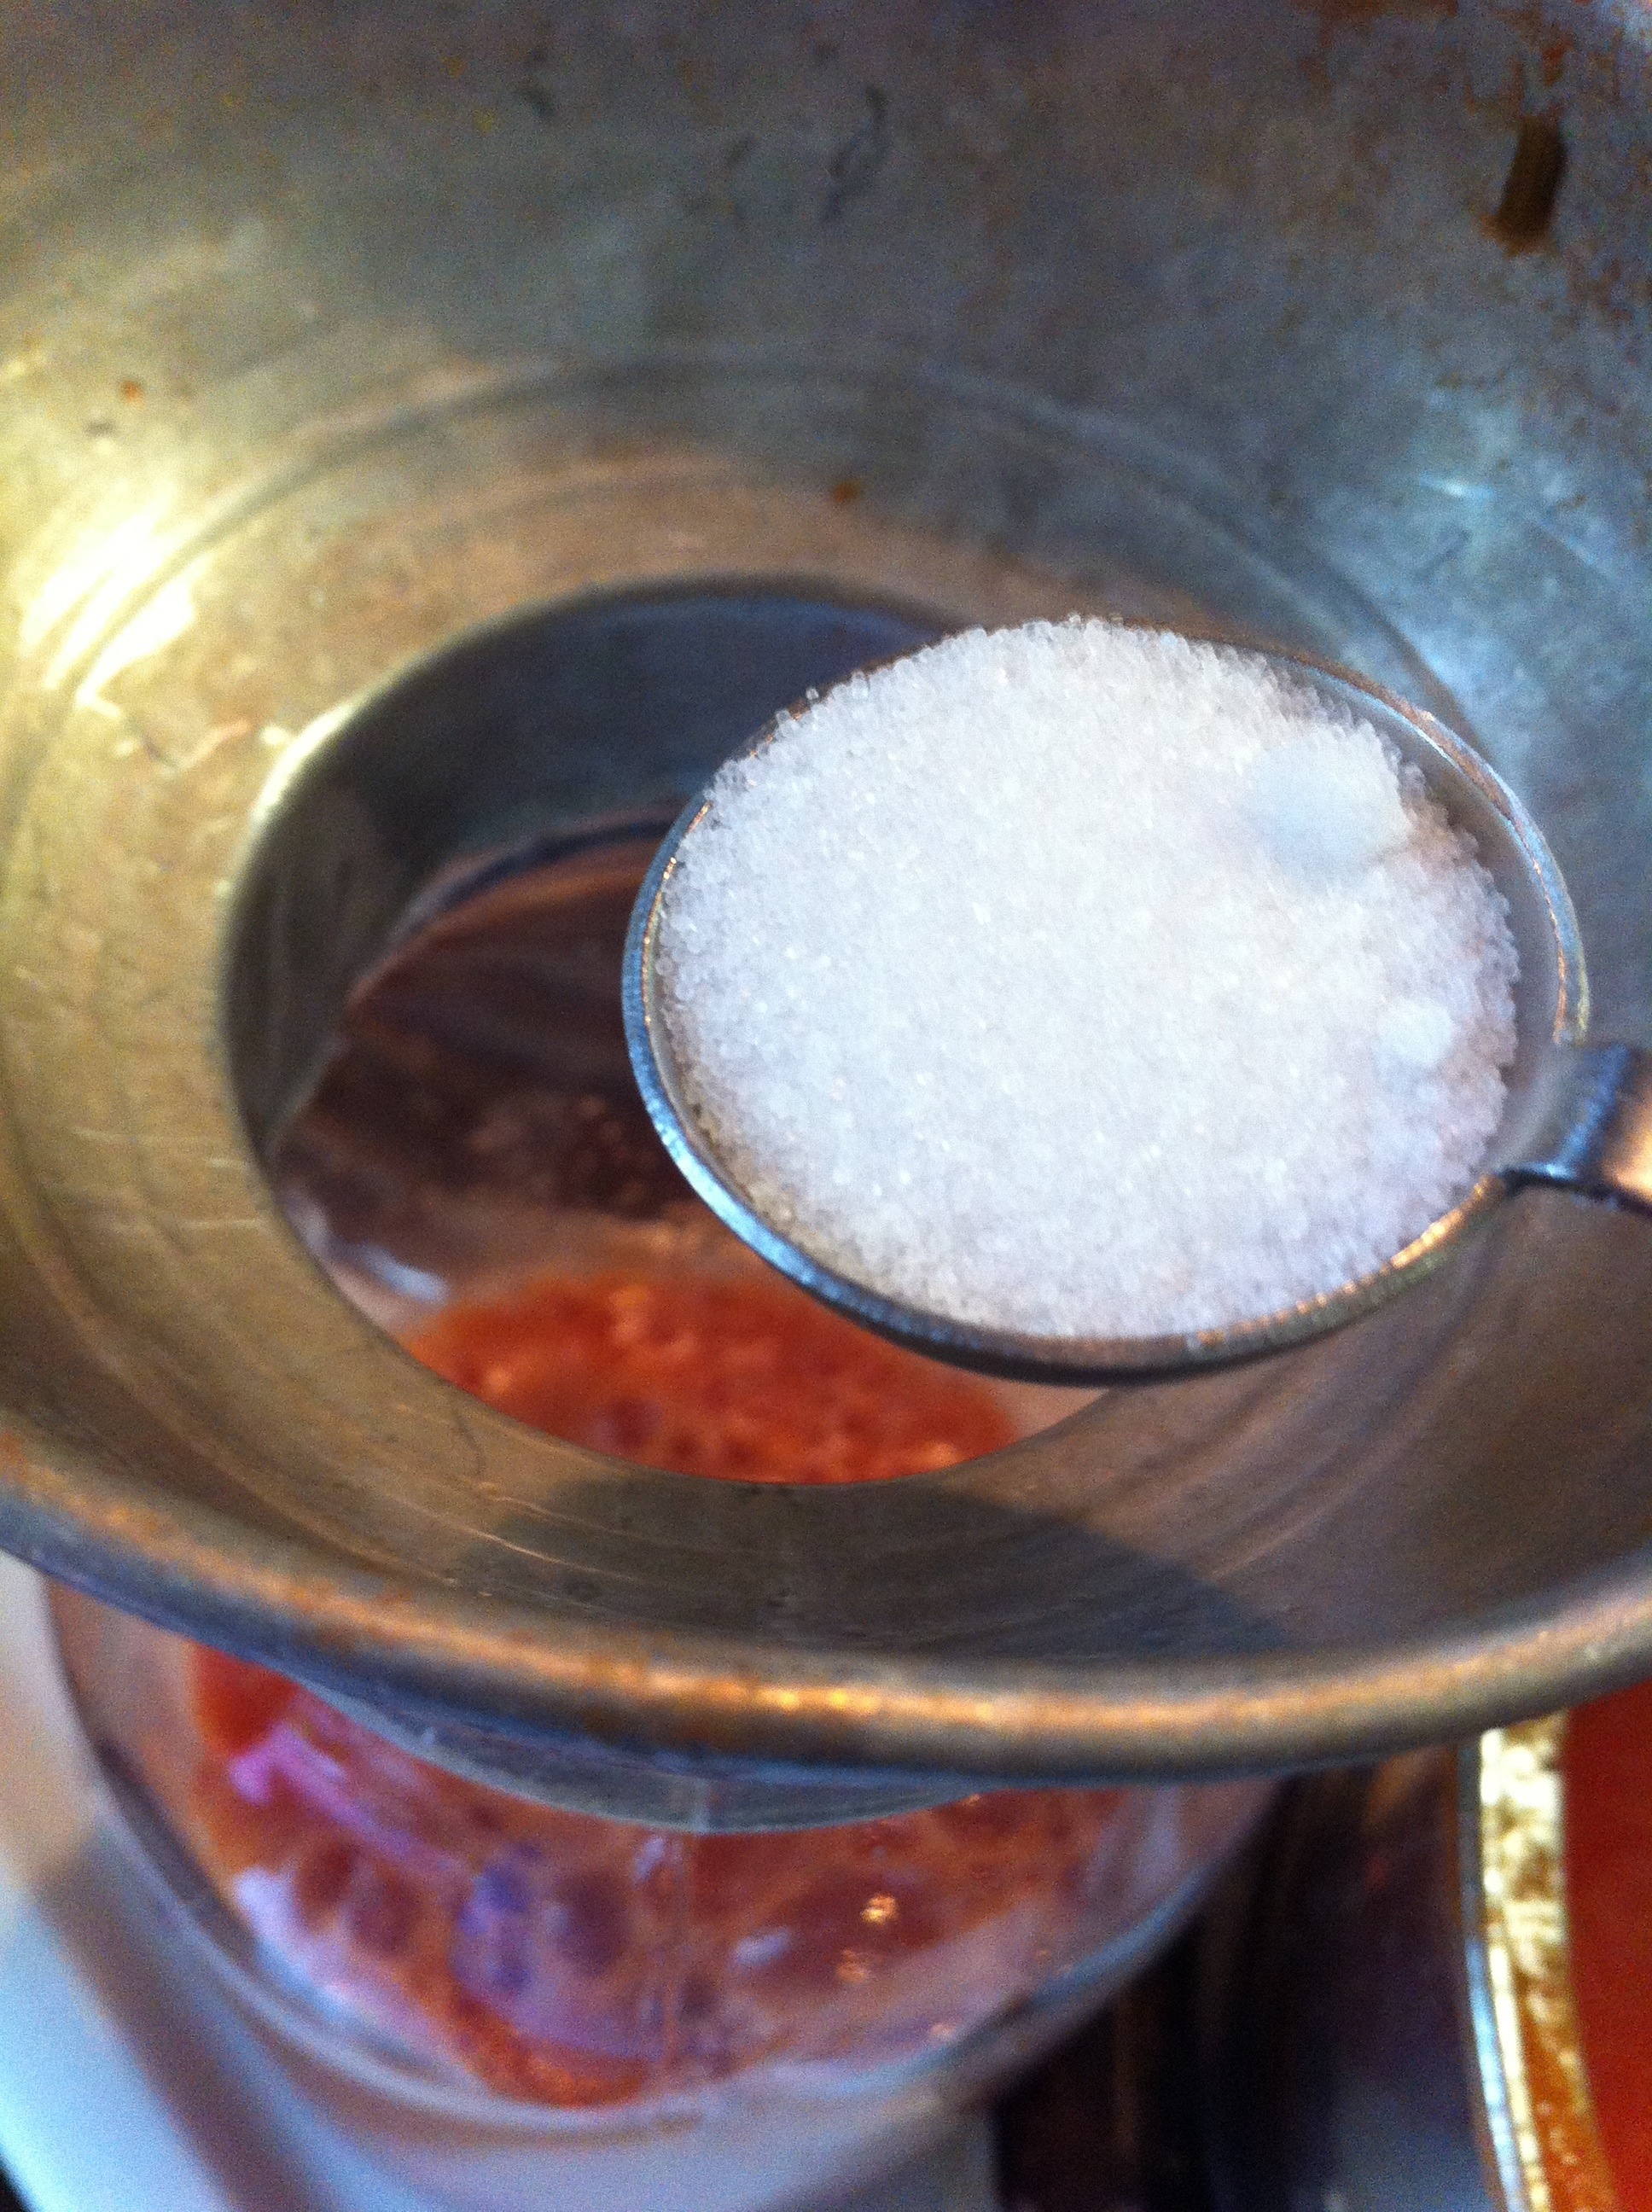
1/4 c sugar
1/4 c lime juice
1 1/2 c white vinegar
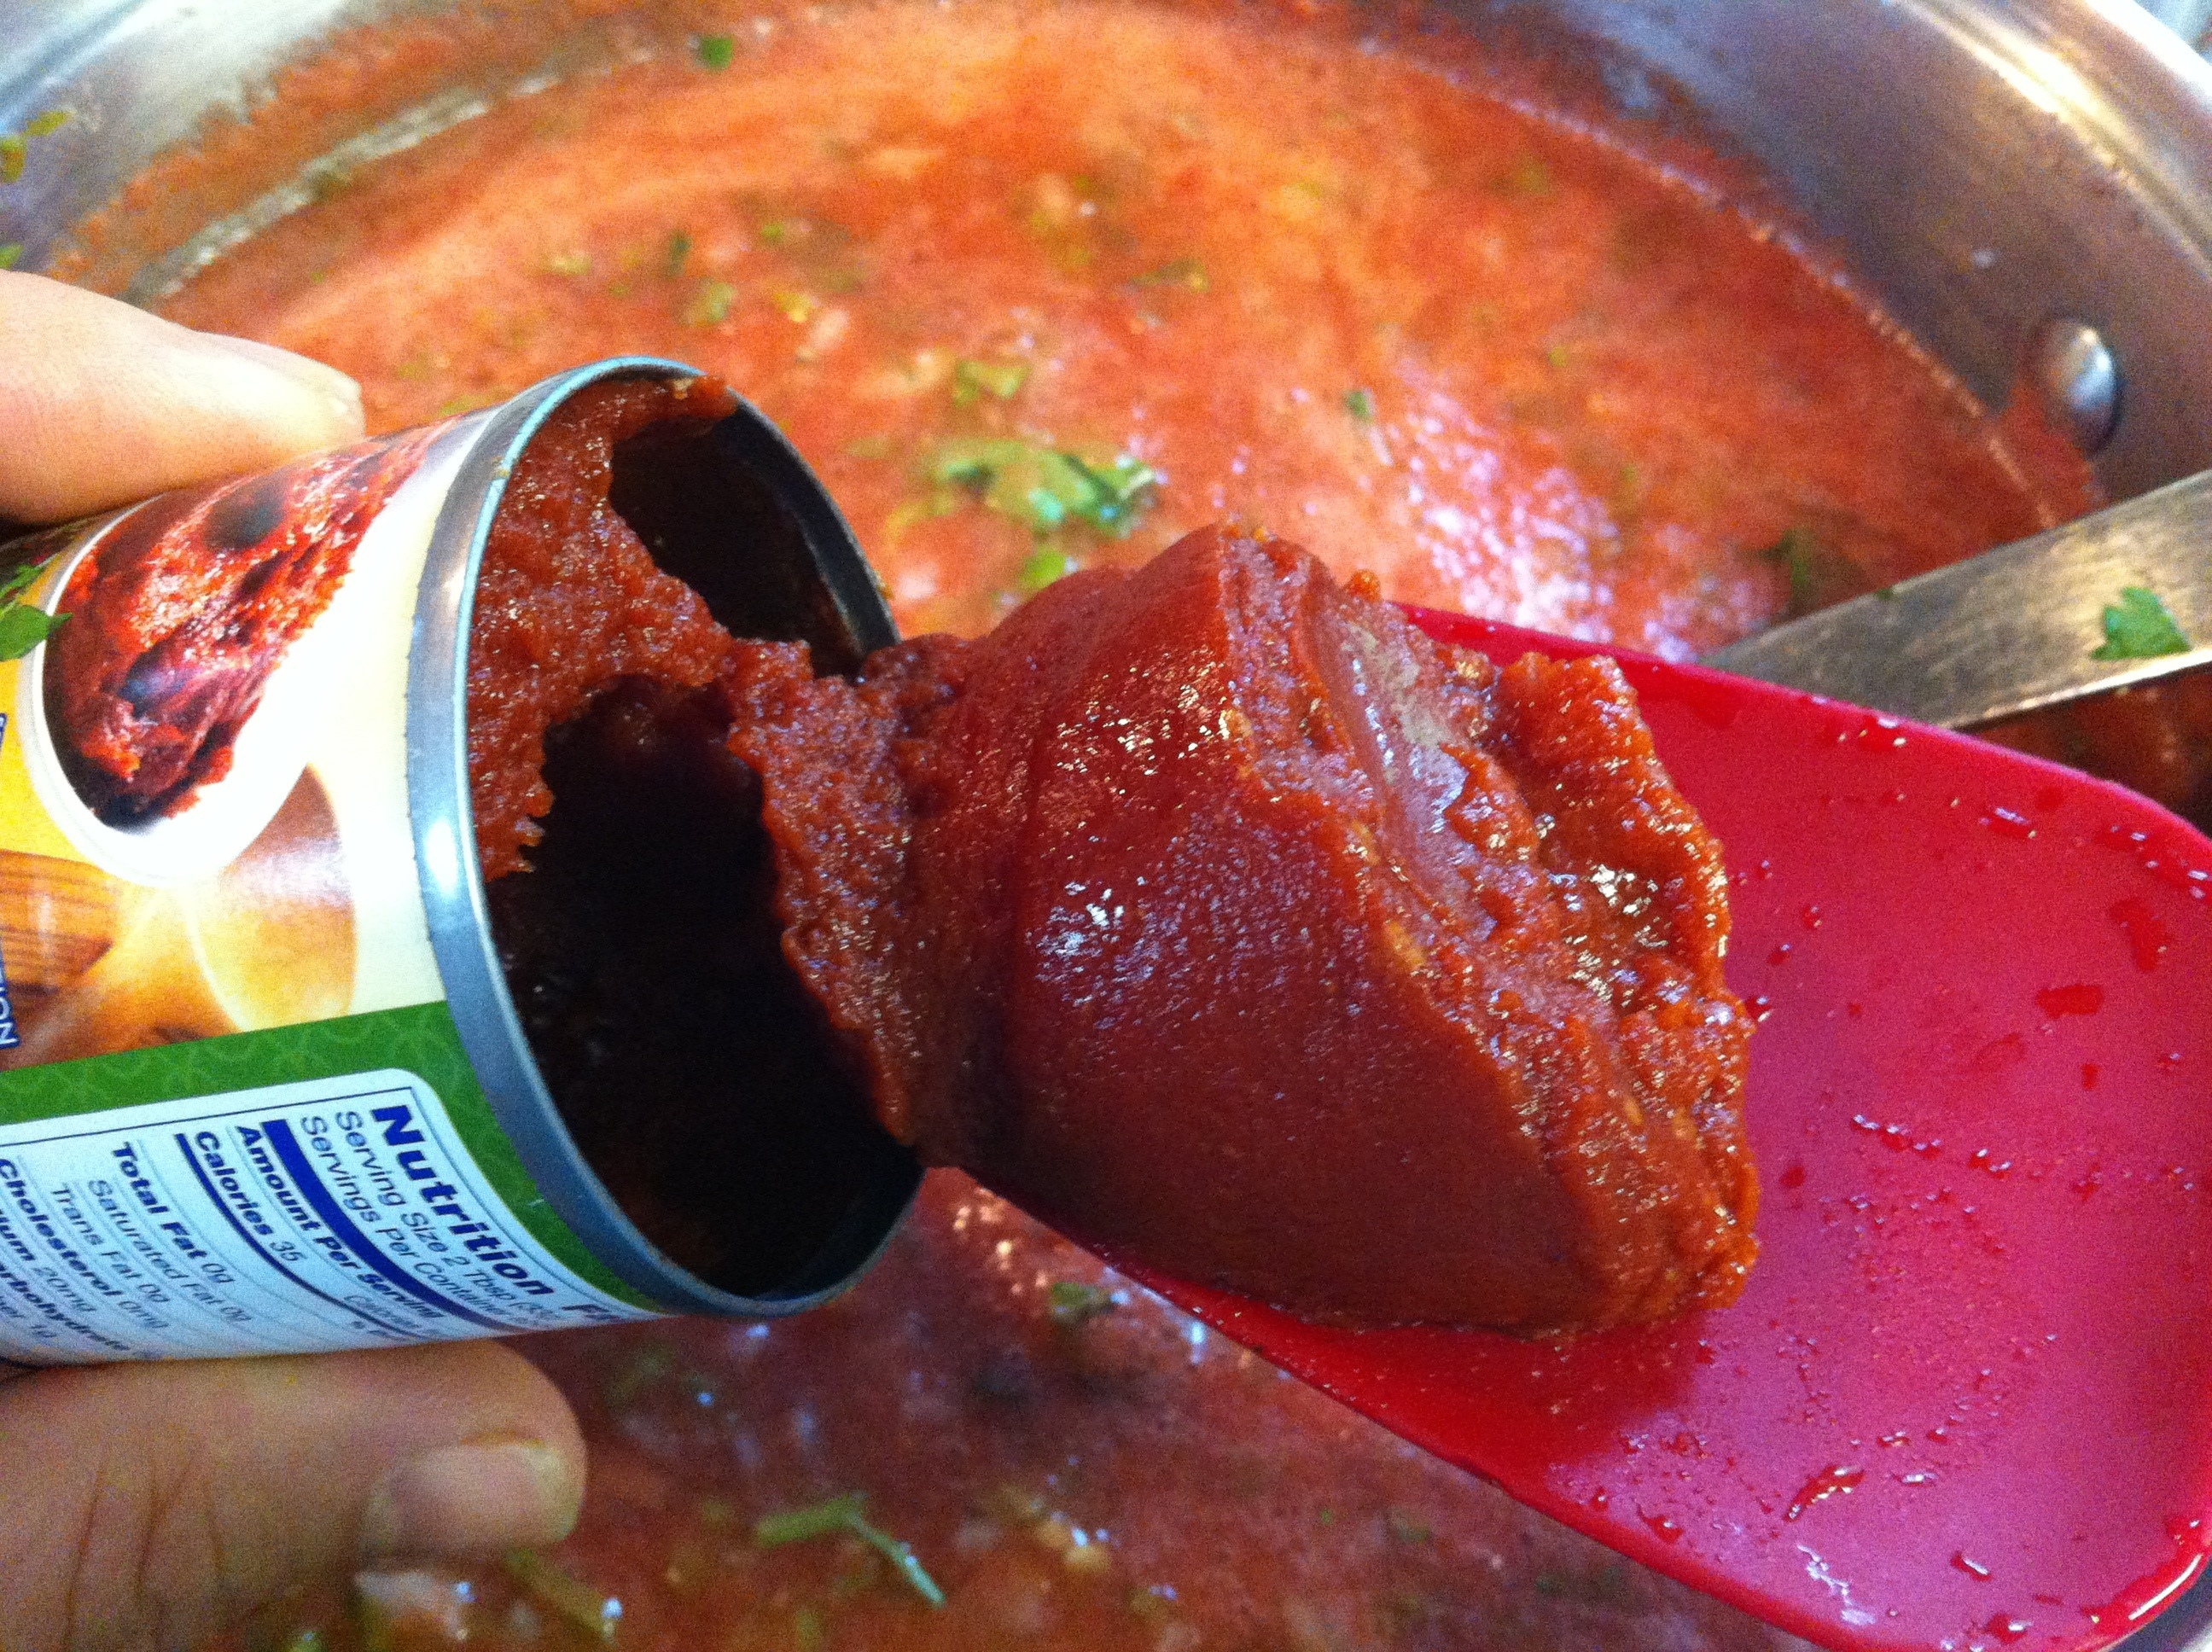
1-2 small cans tomato paste, optional – if salsa needs to be thickened up
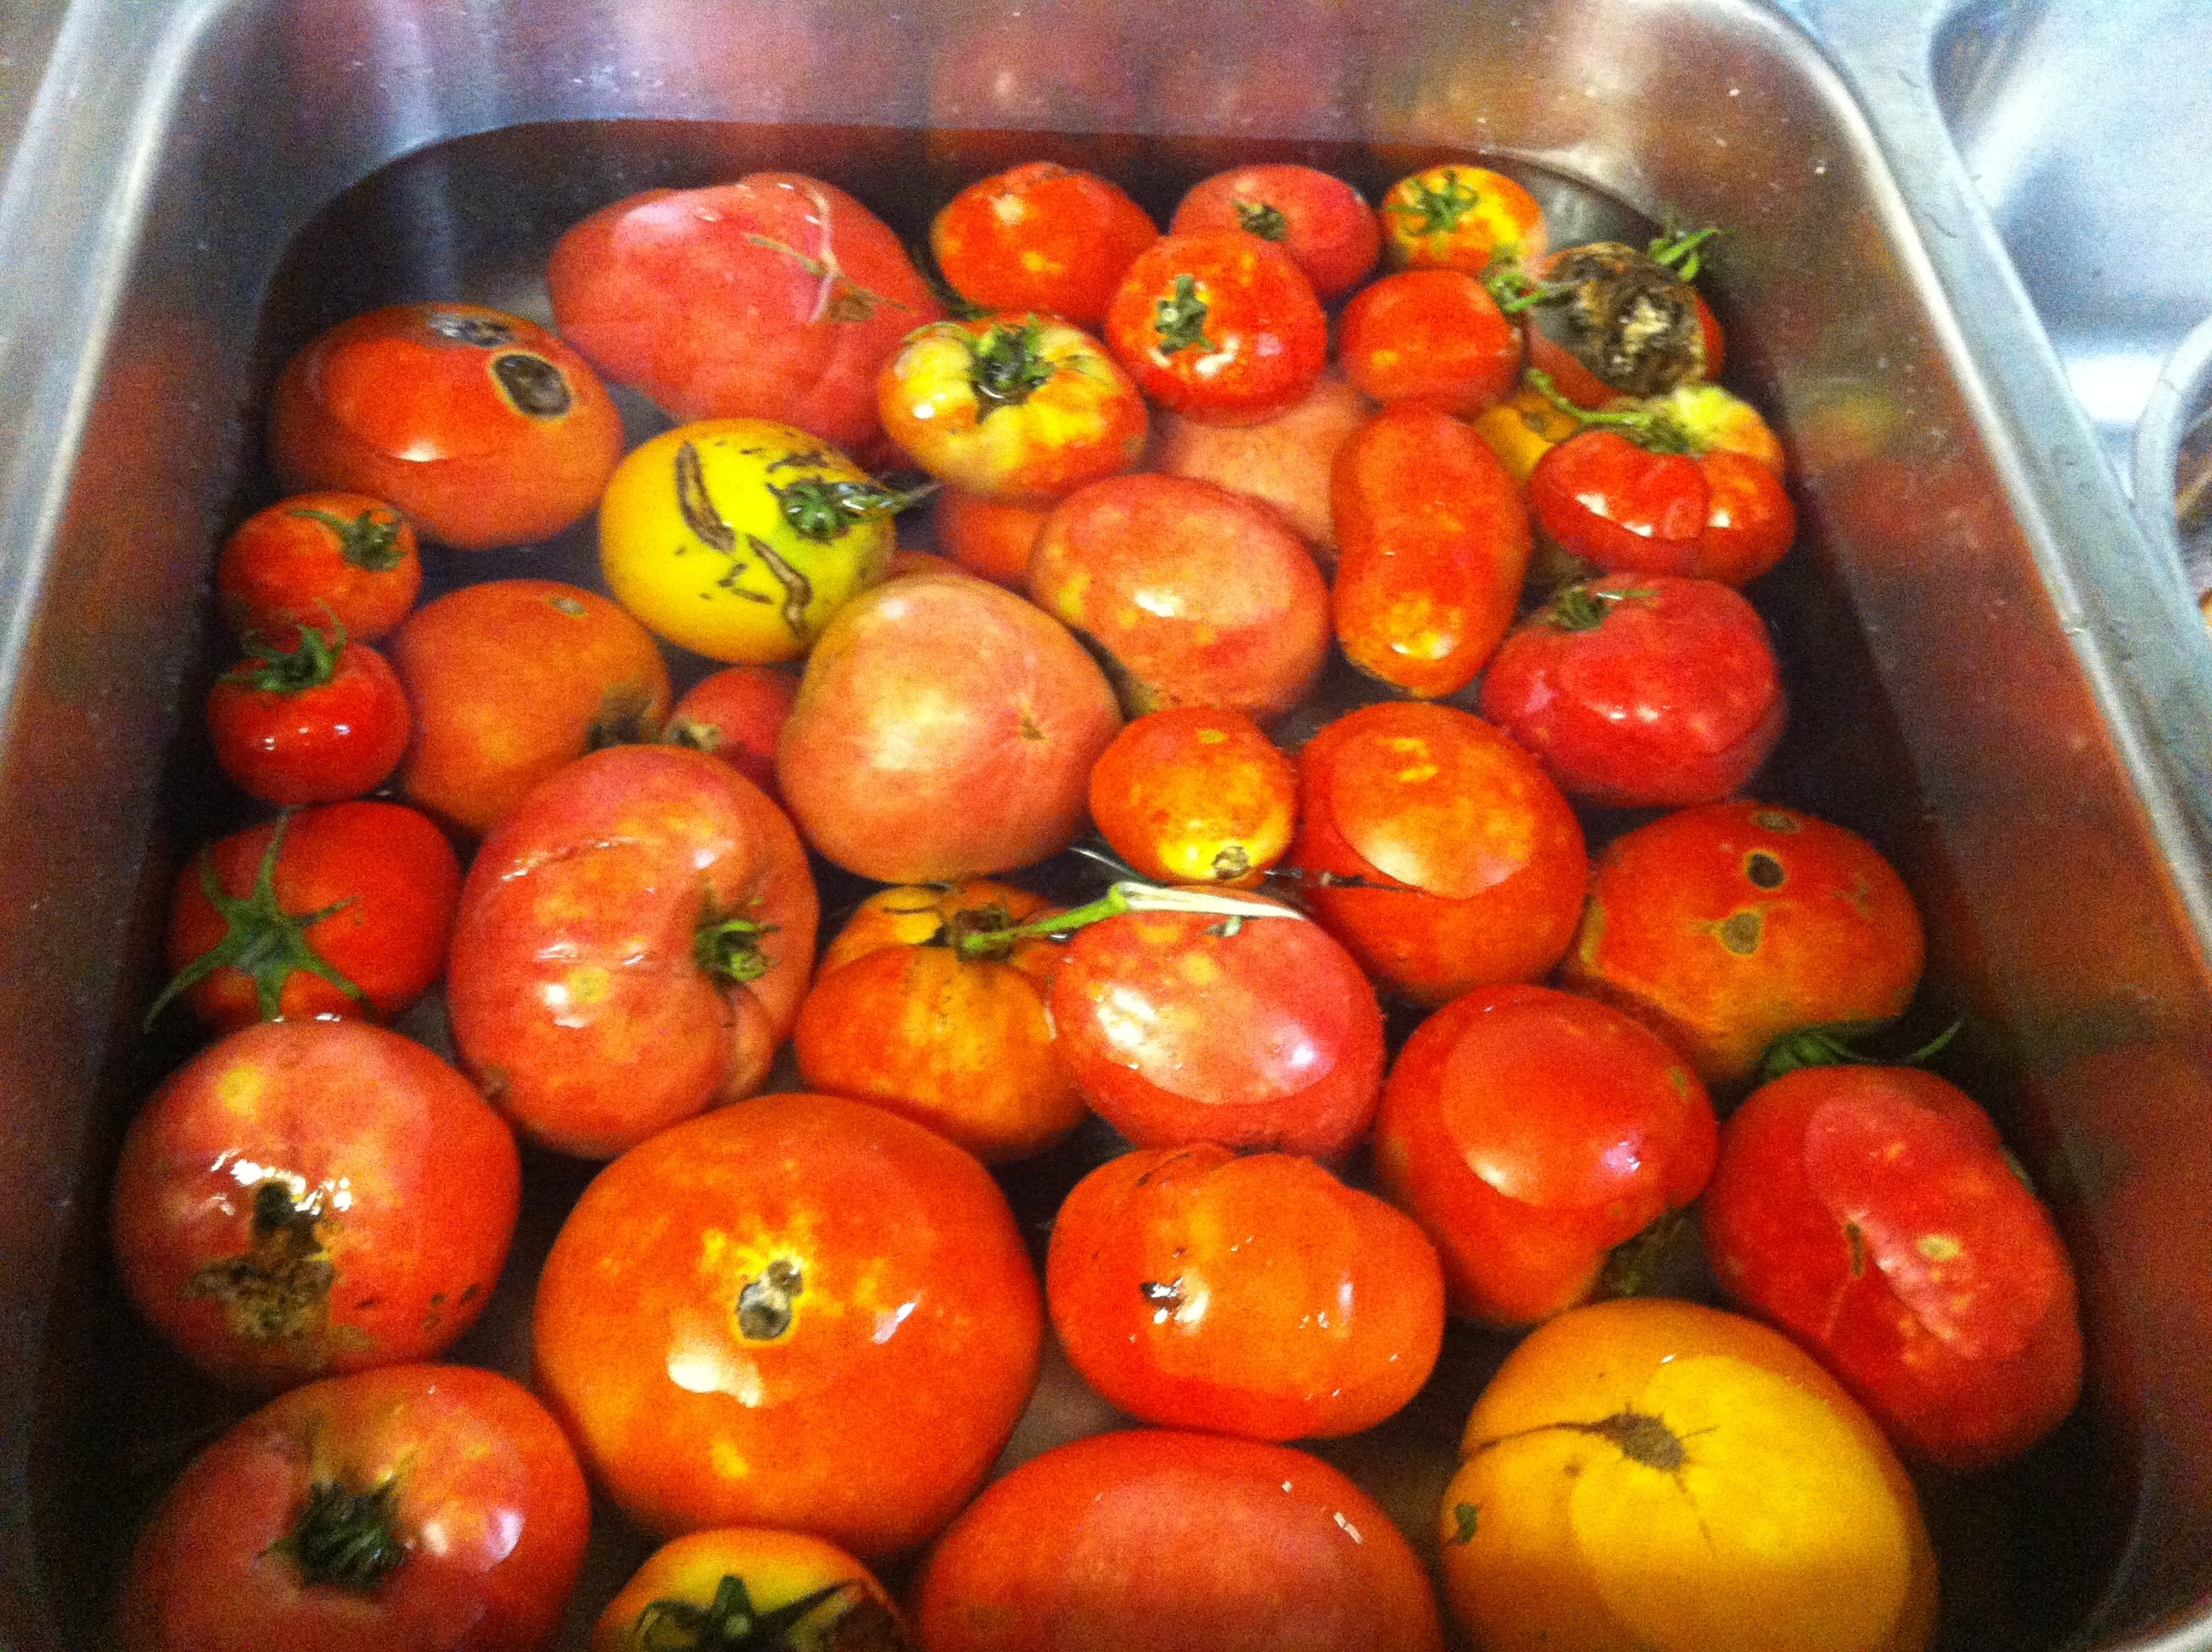
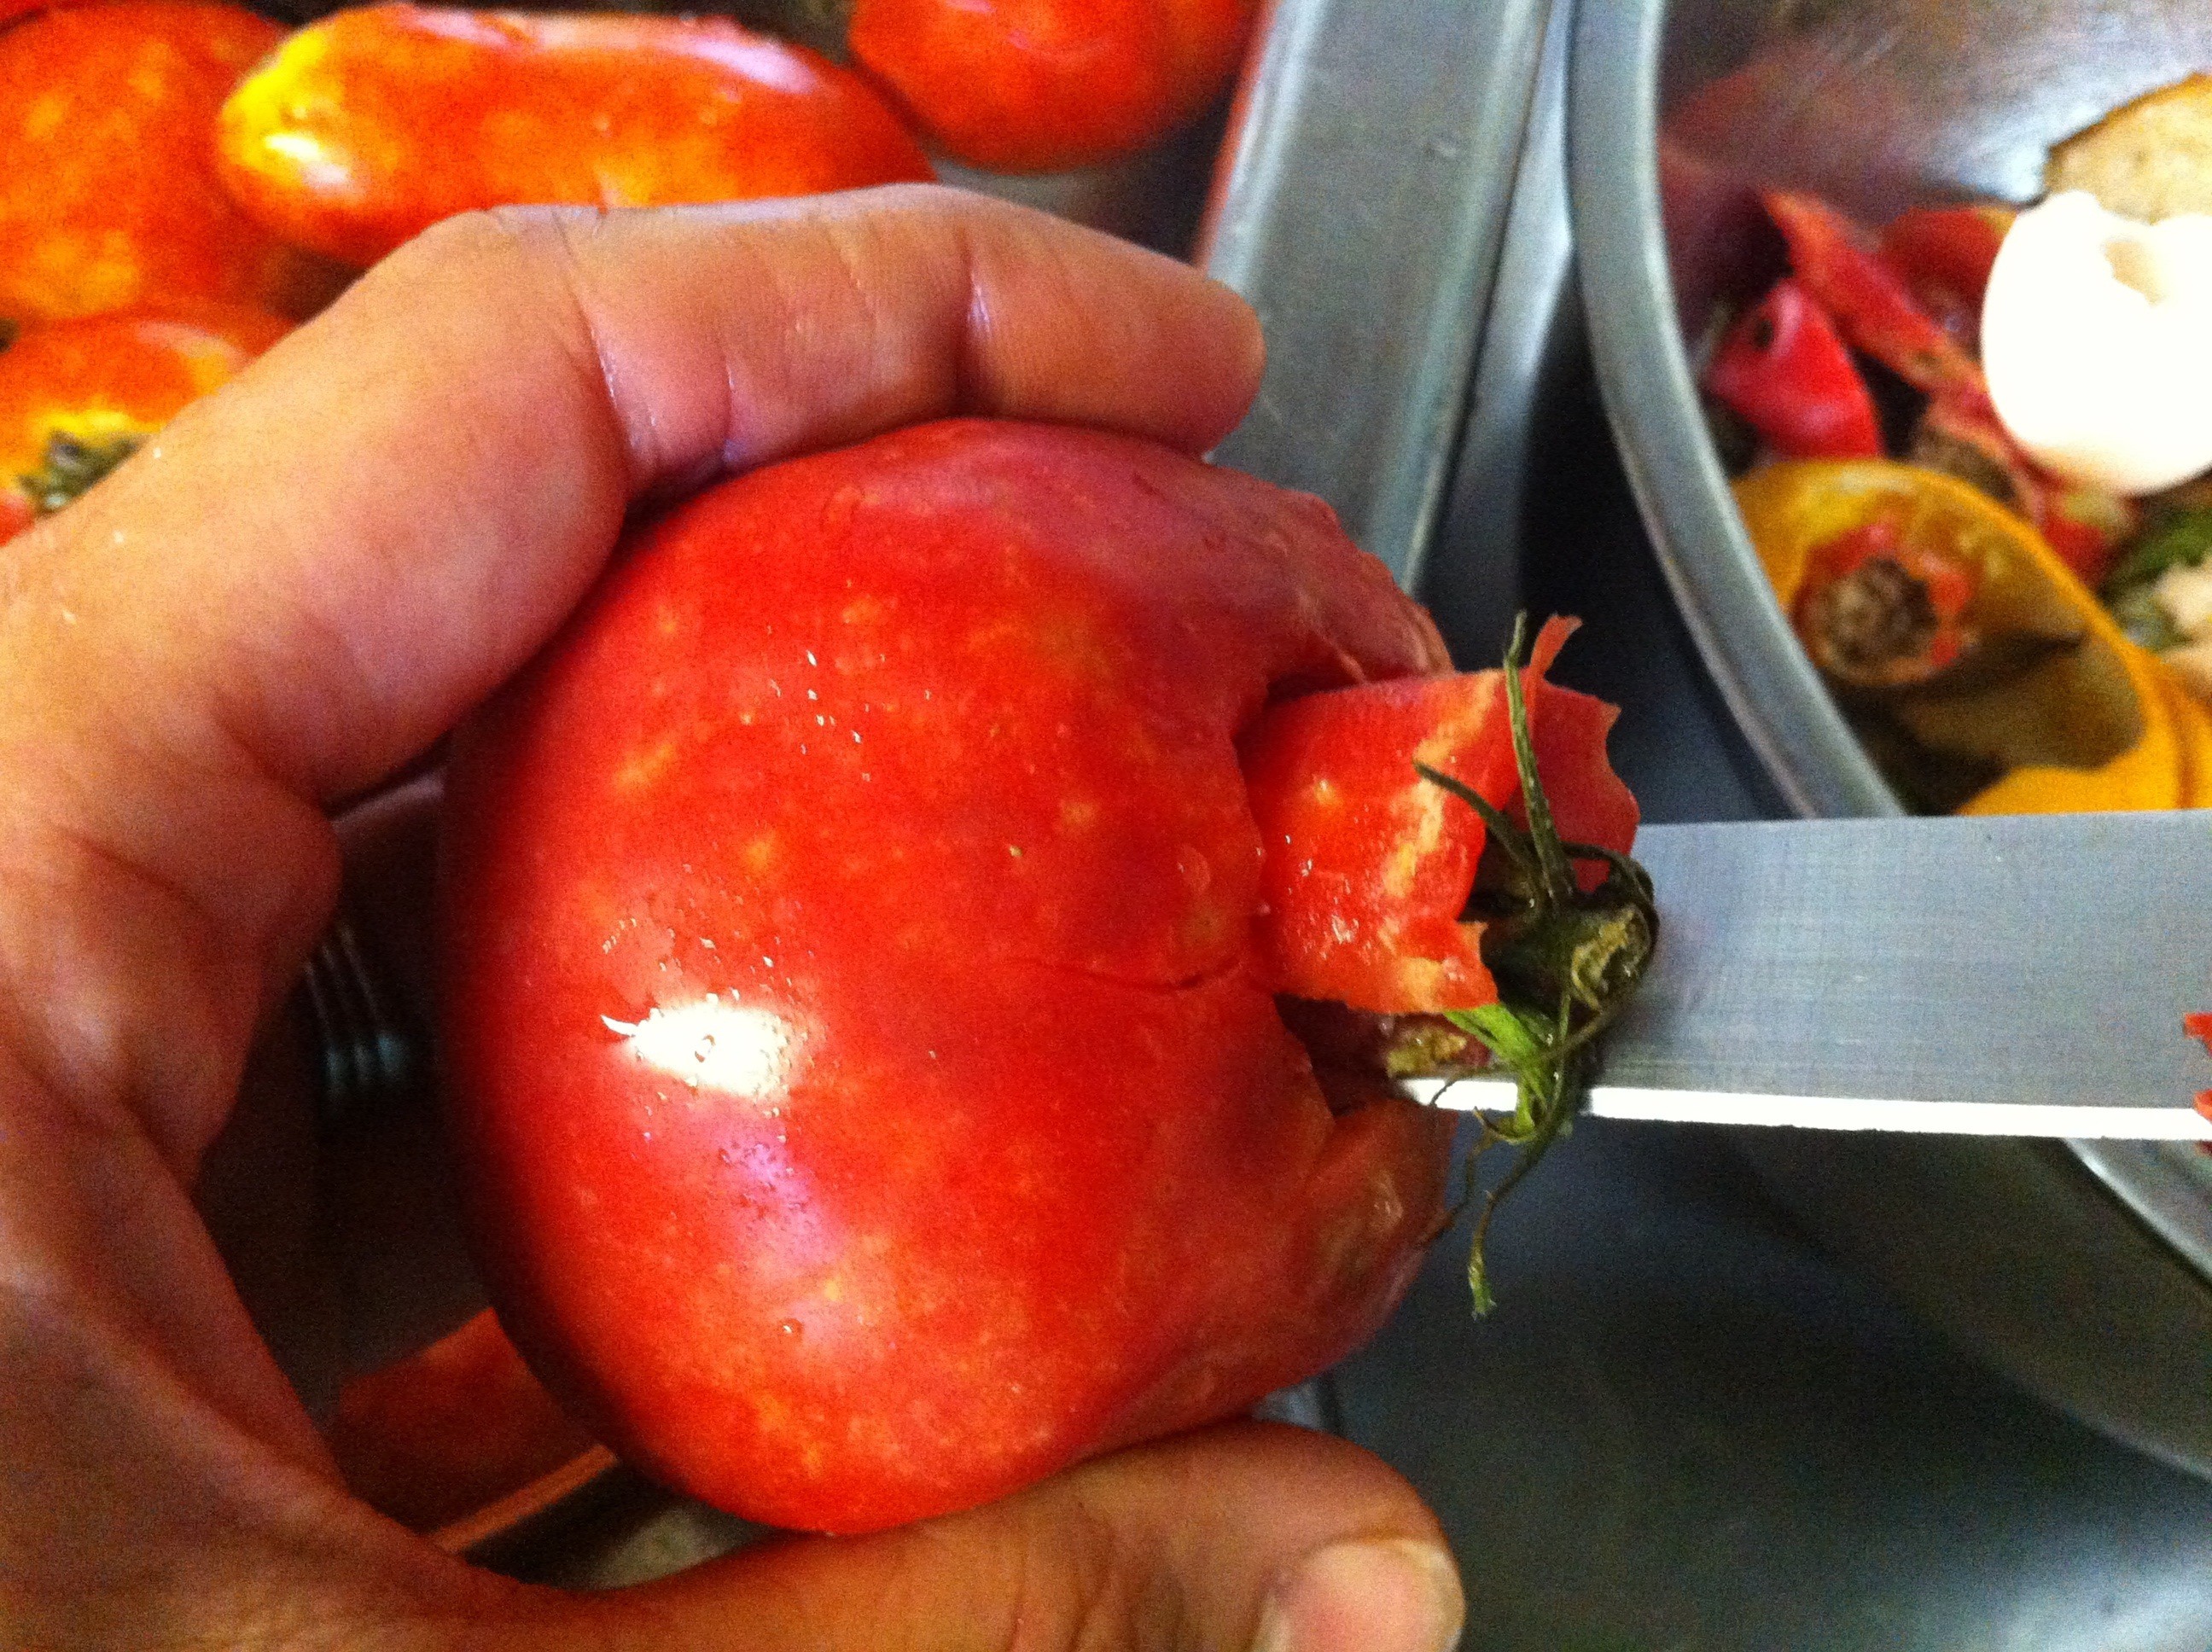
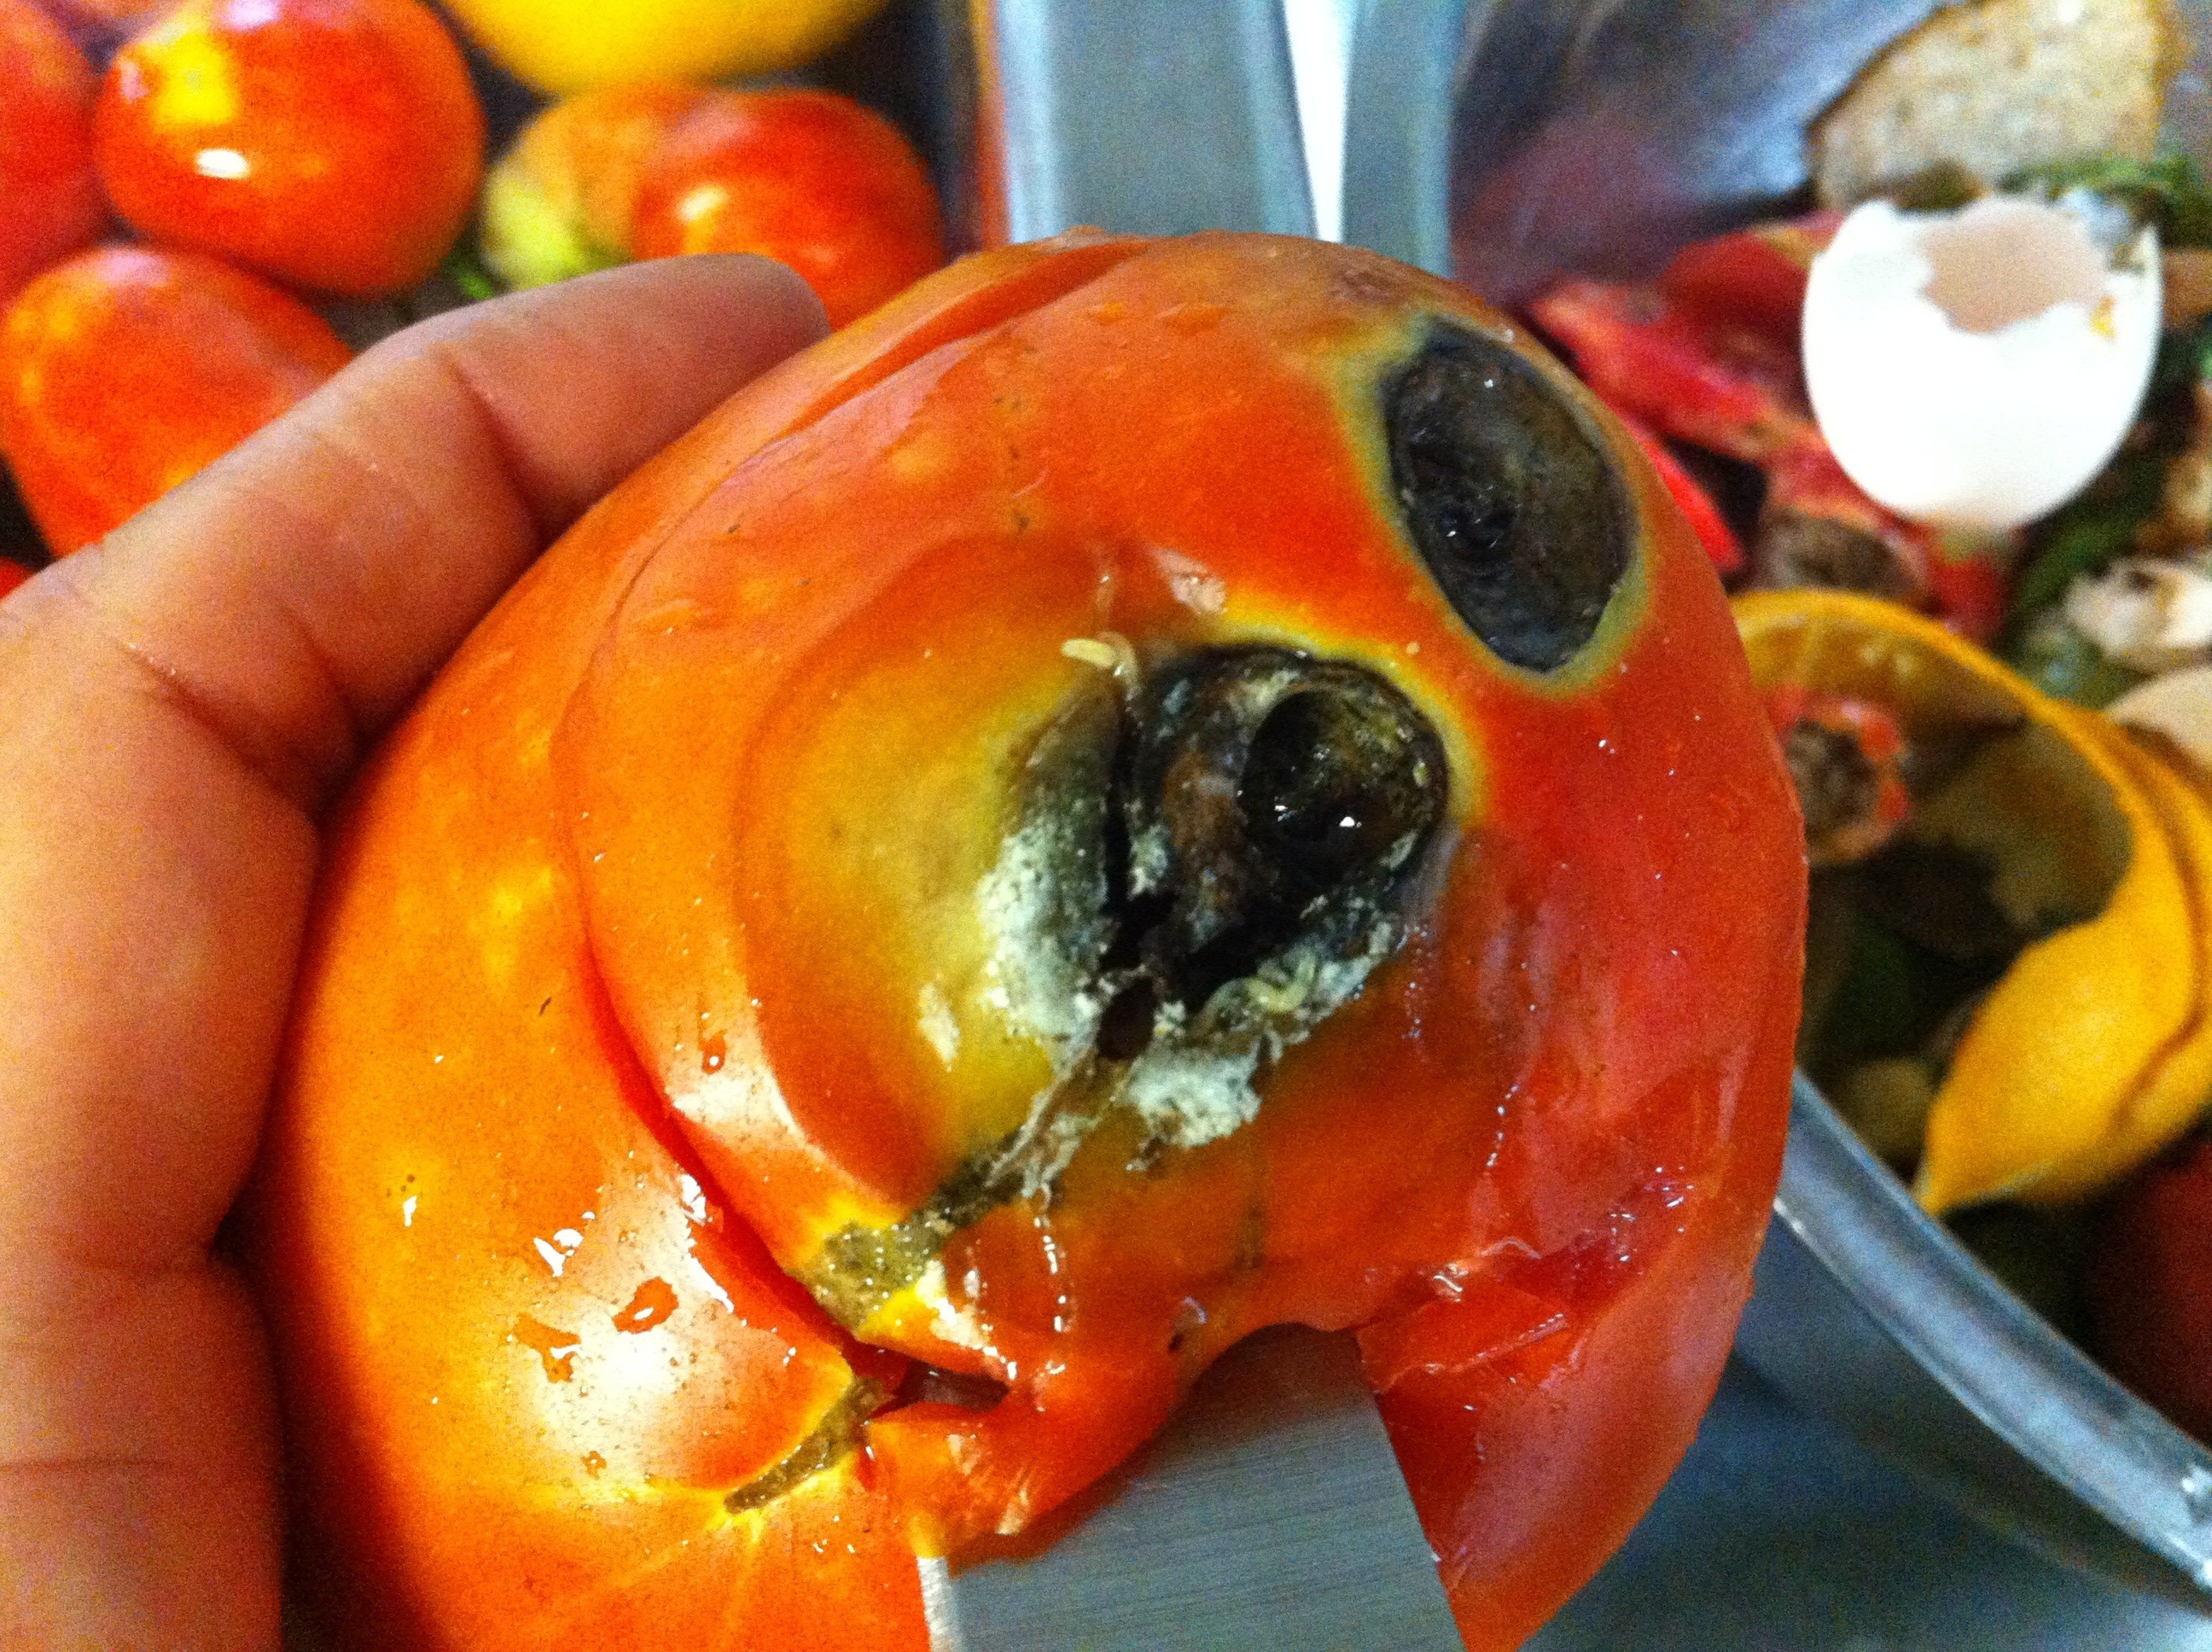
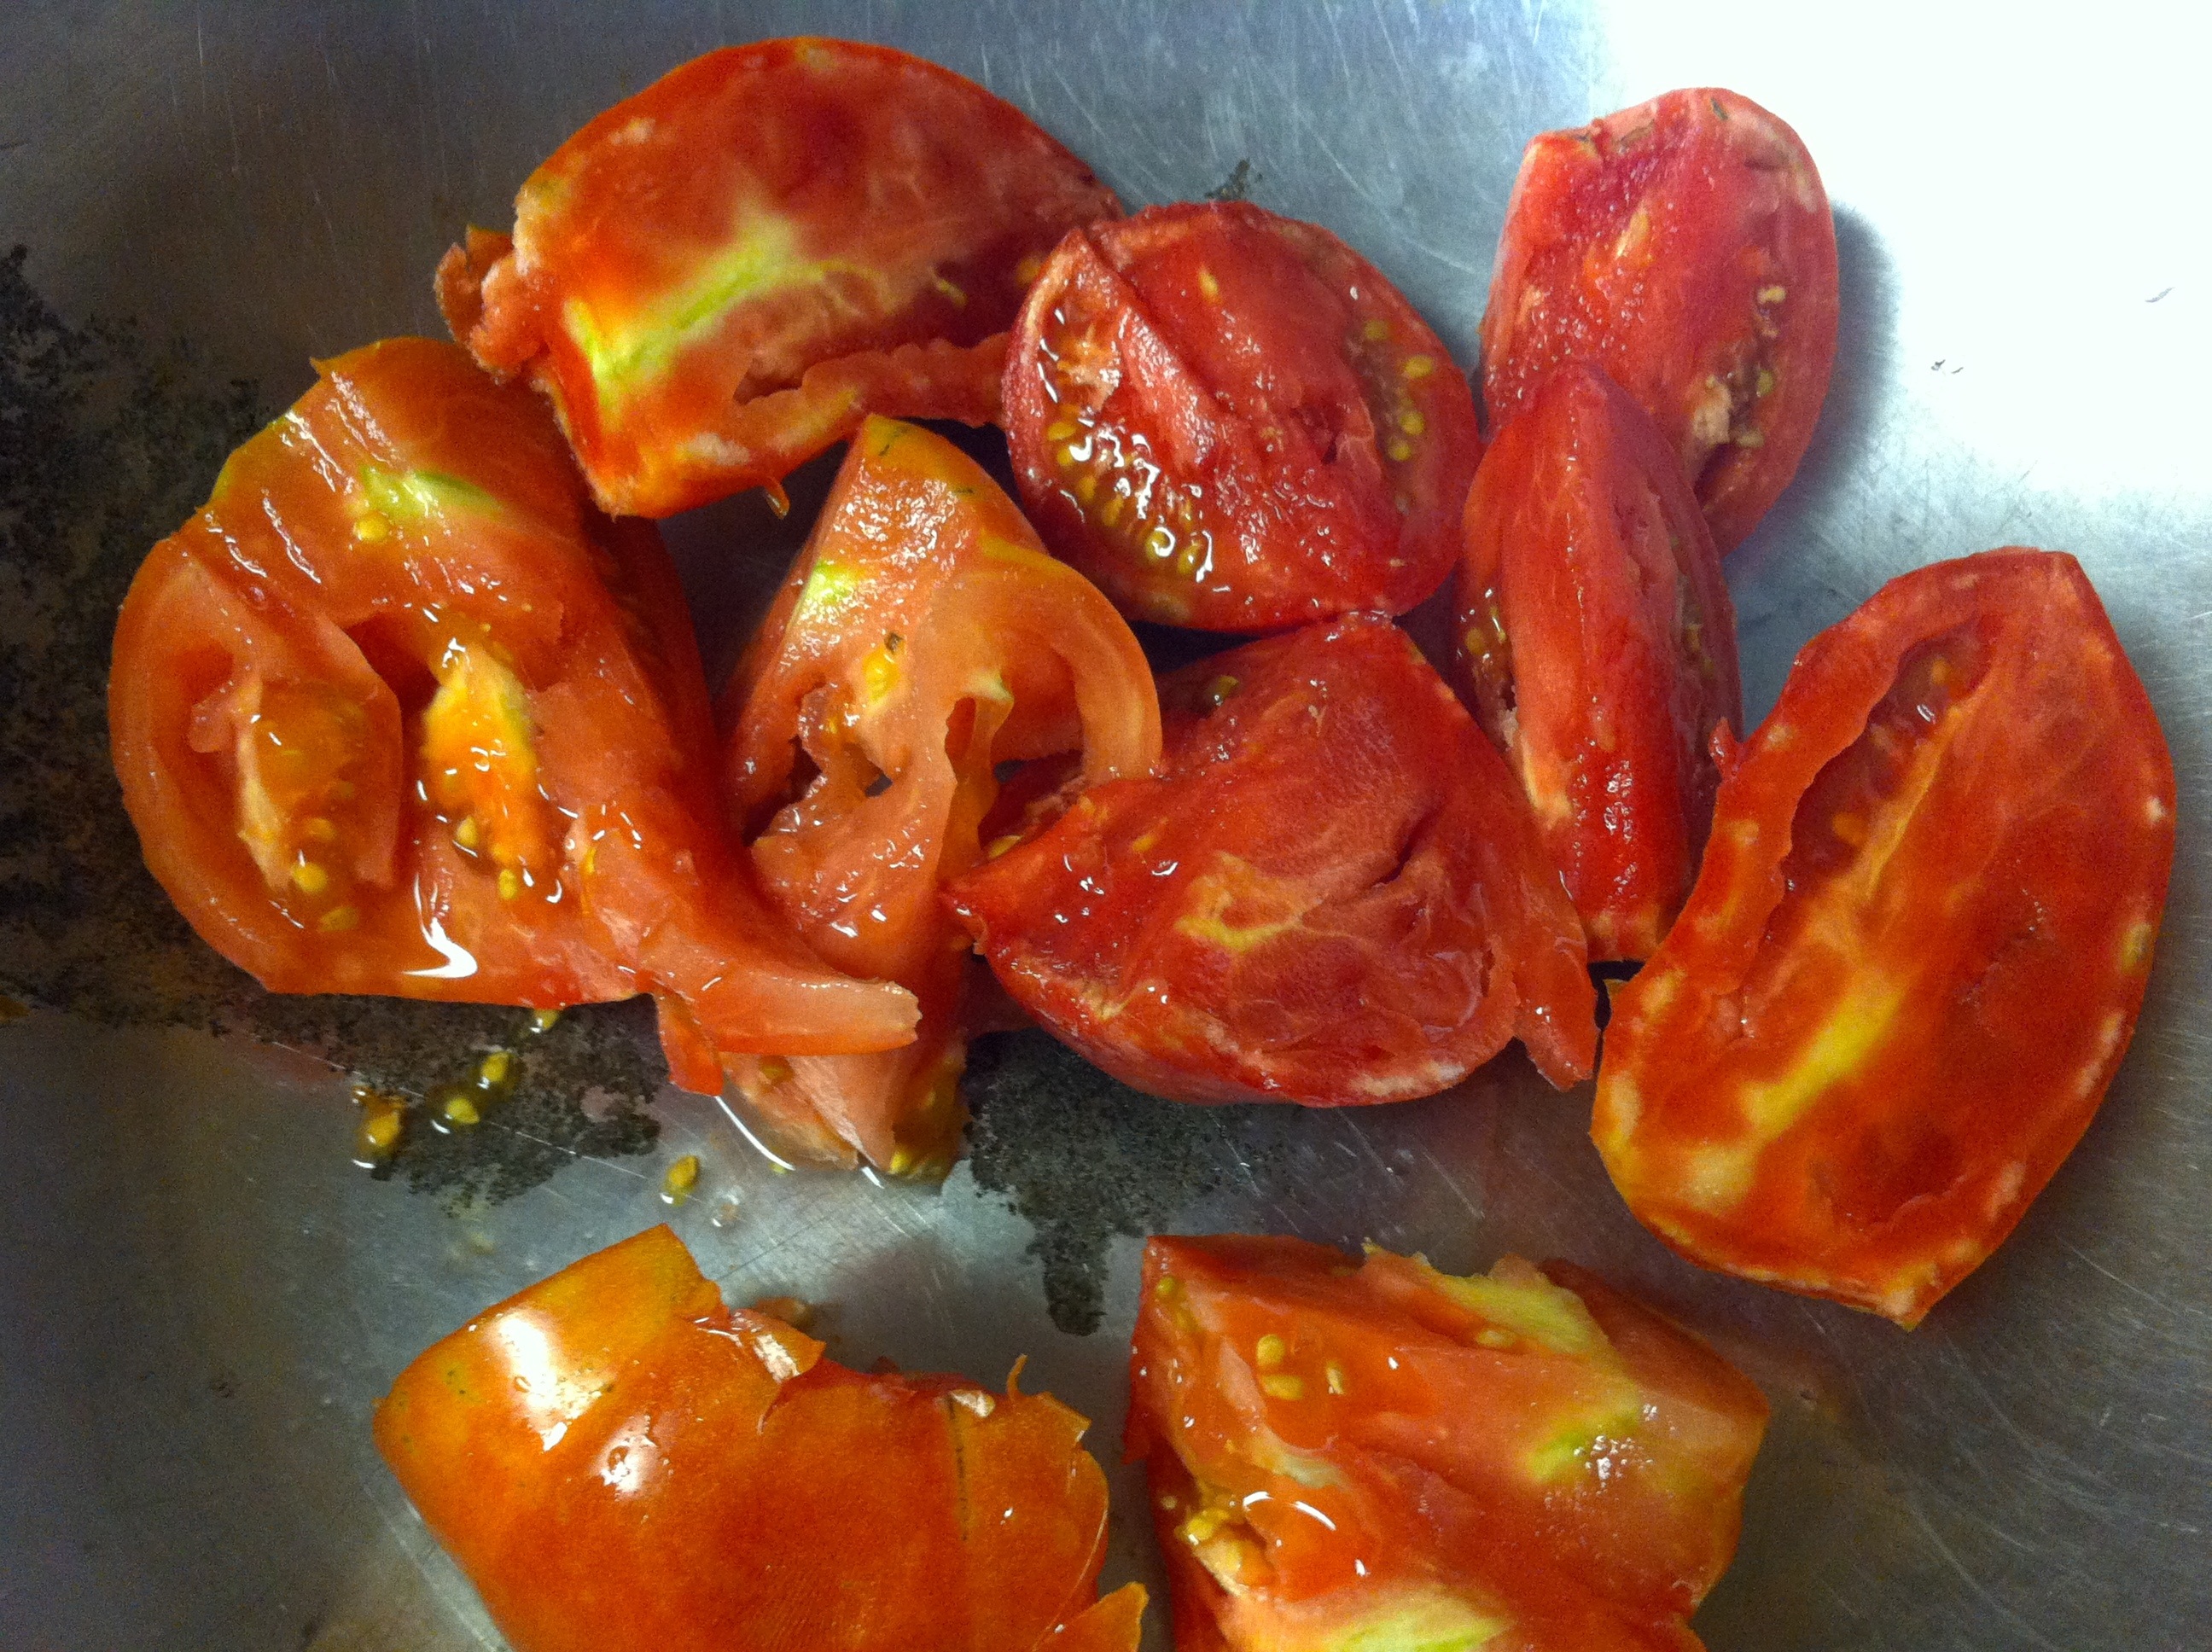
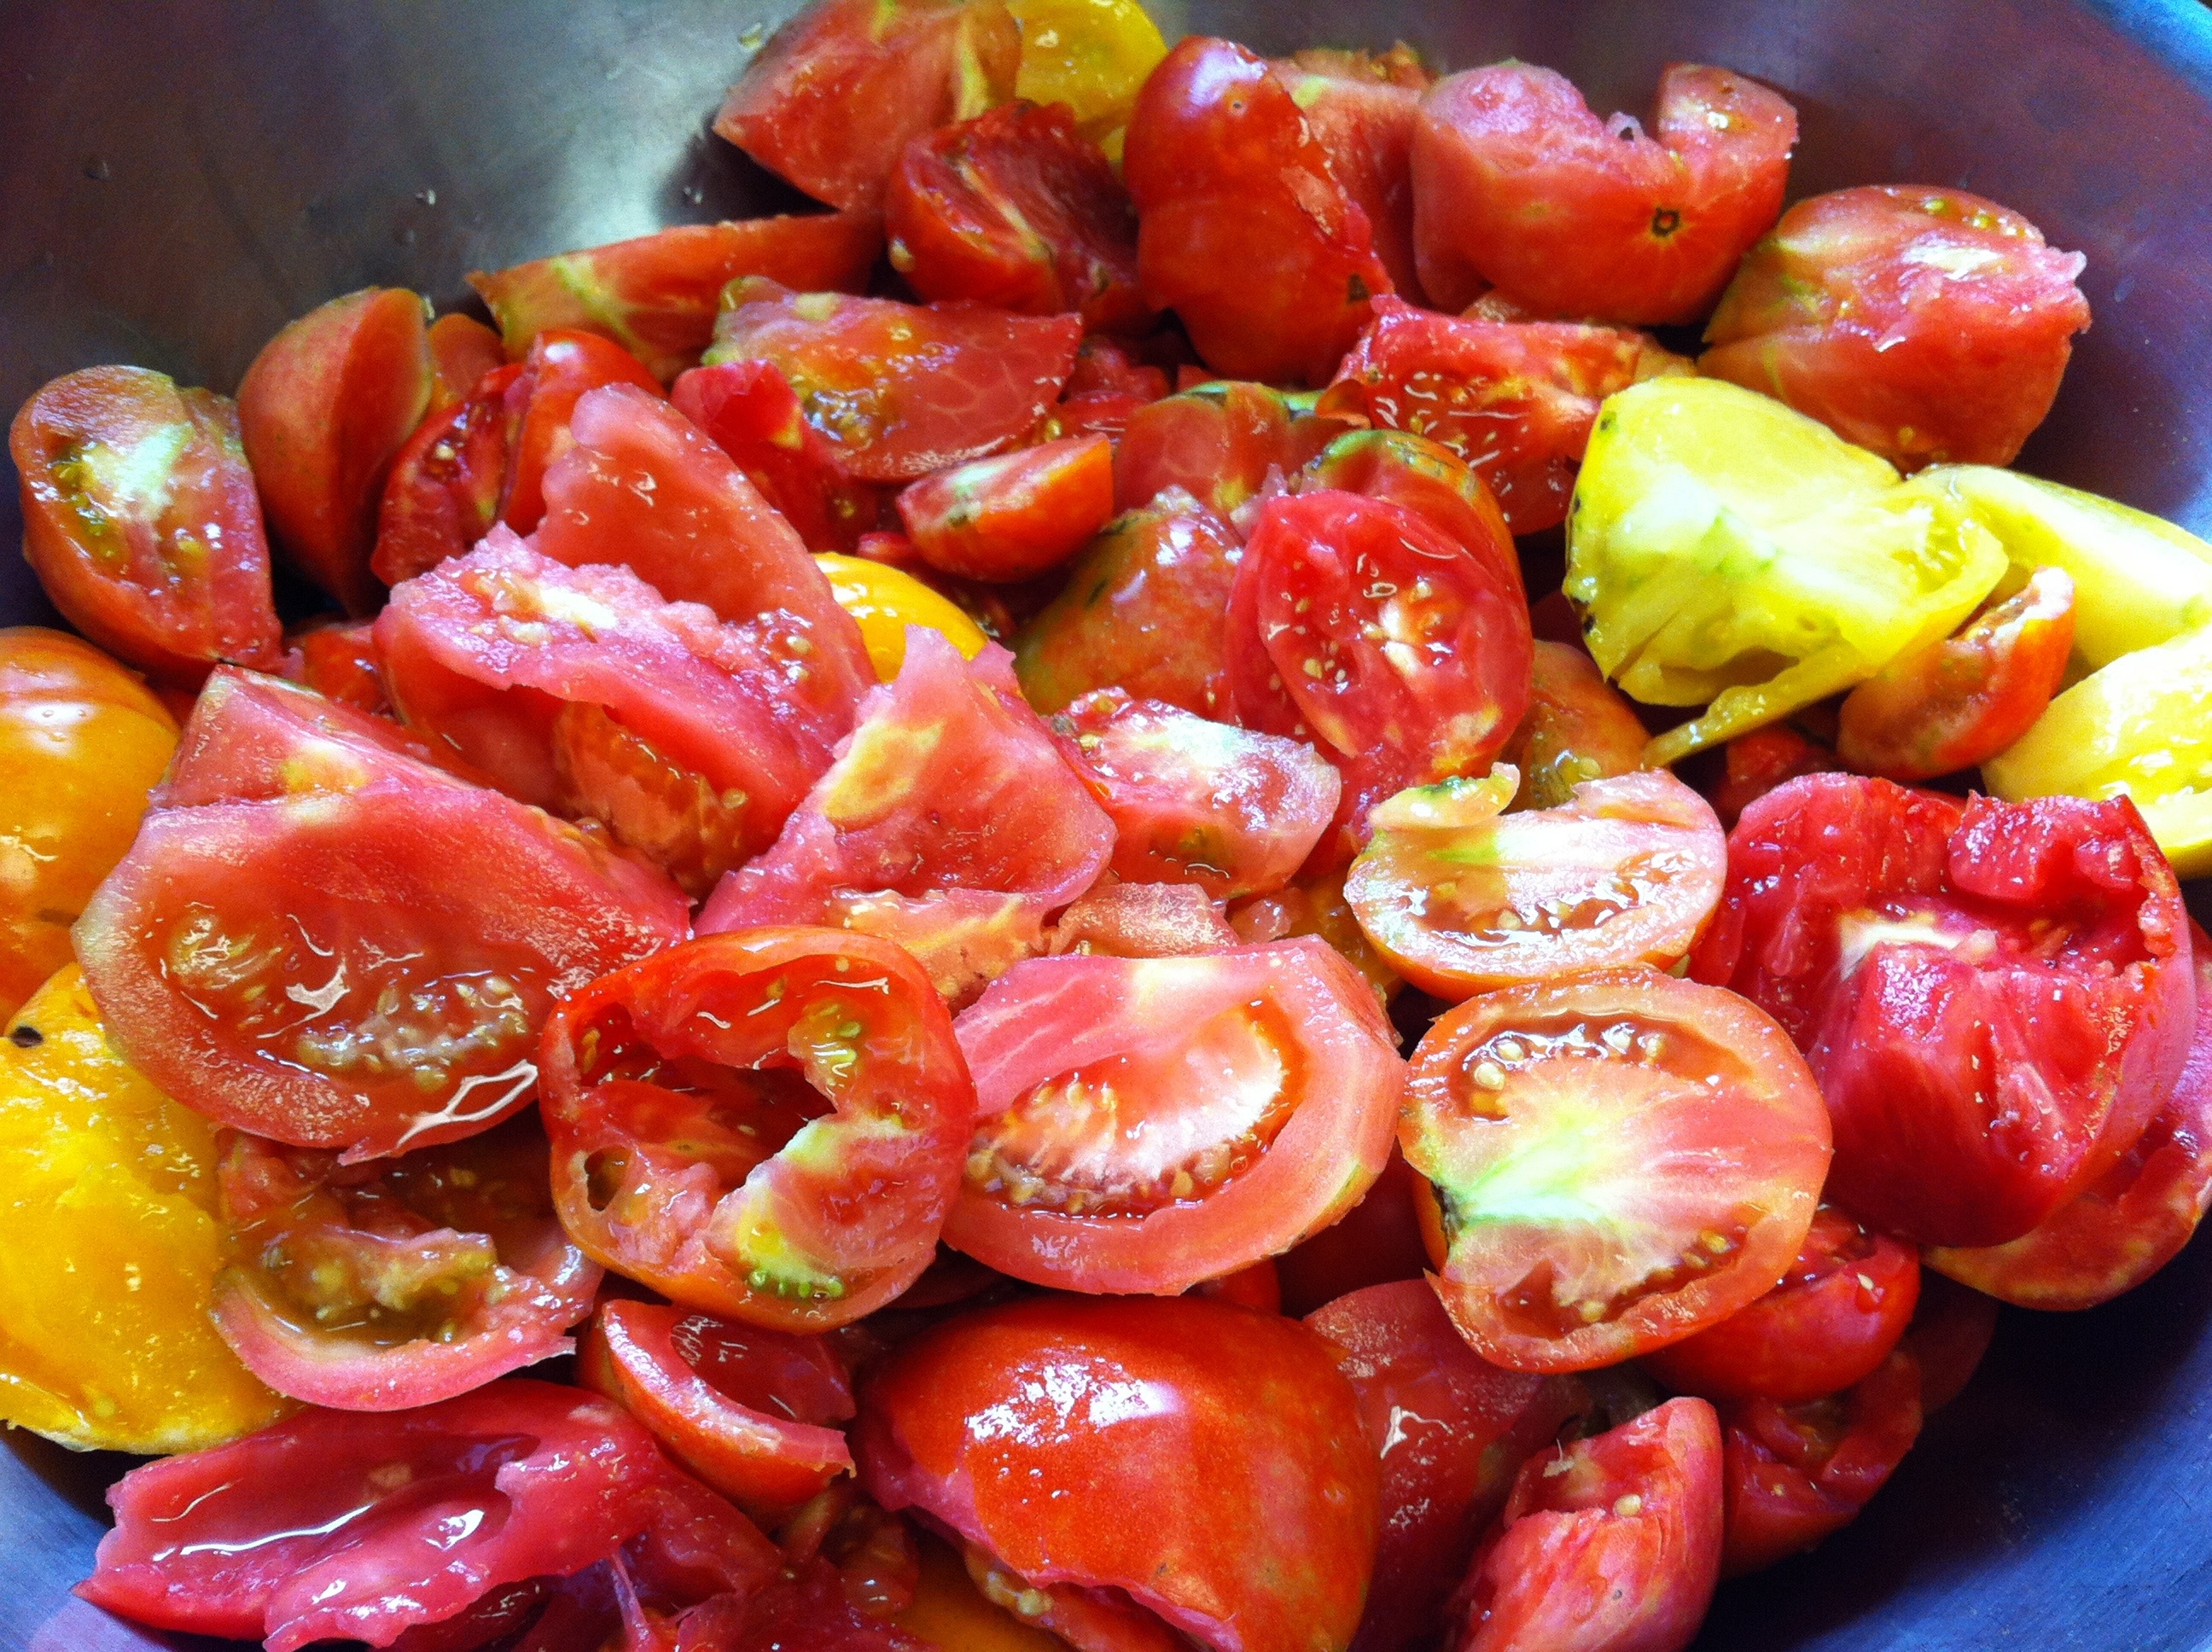
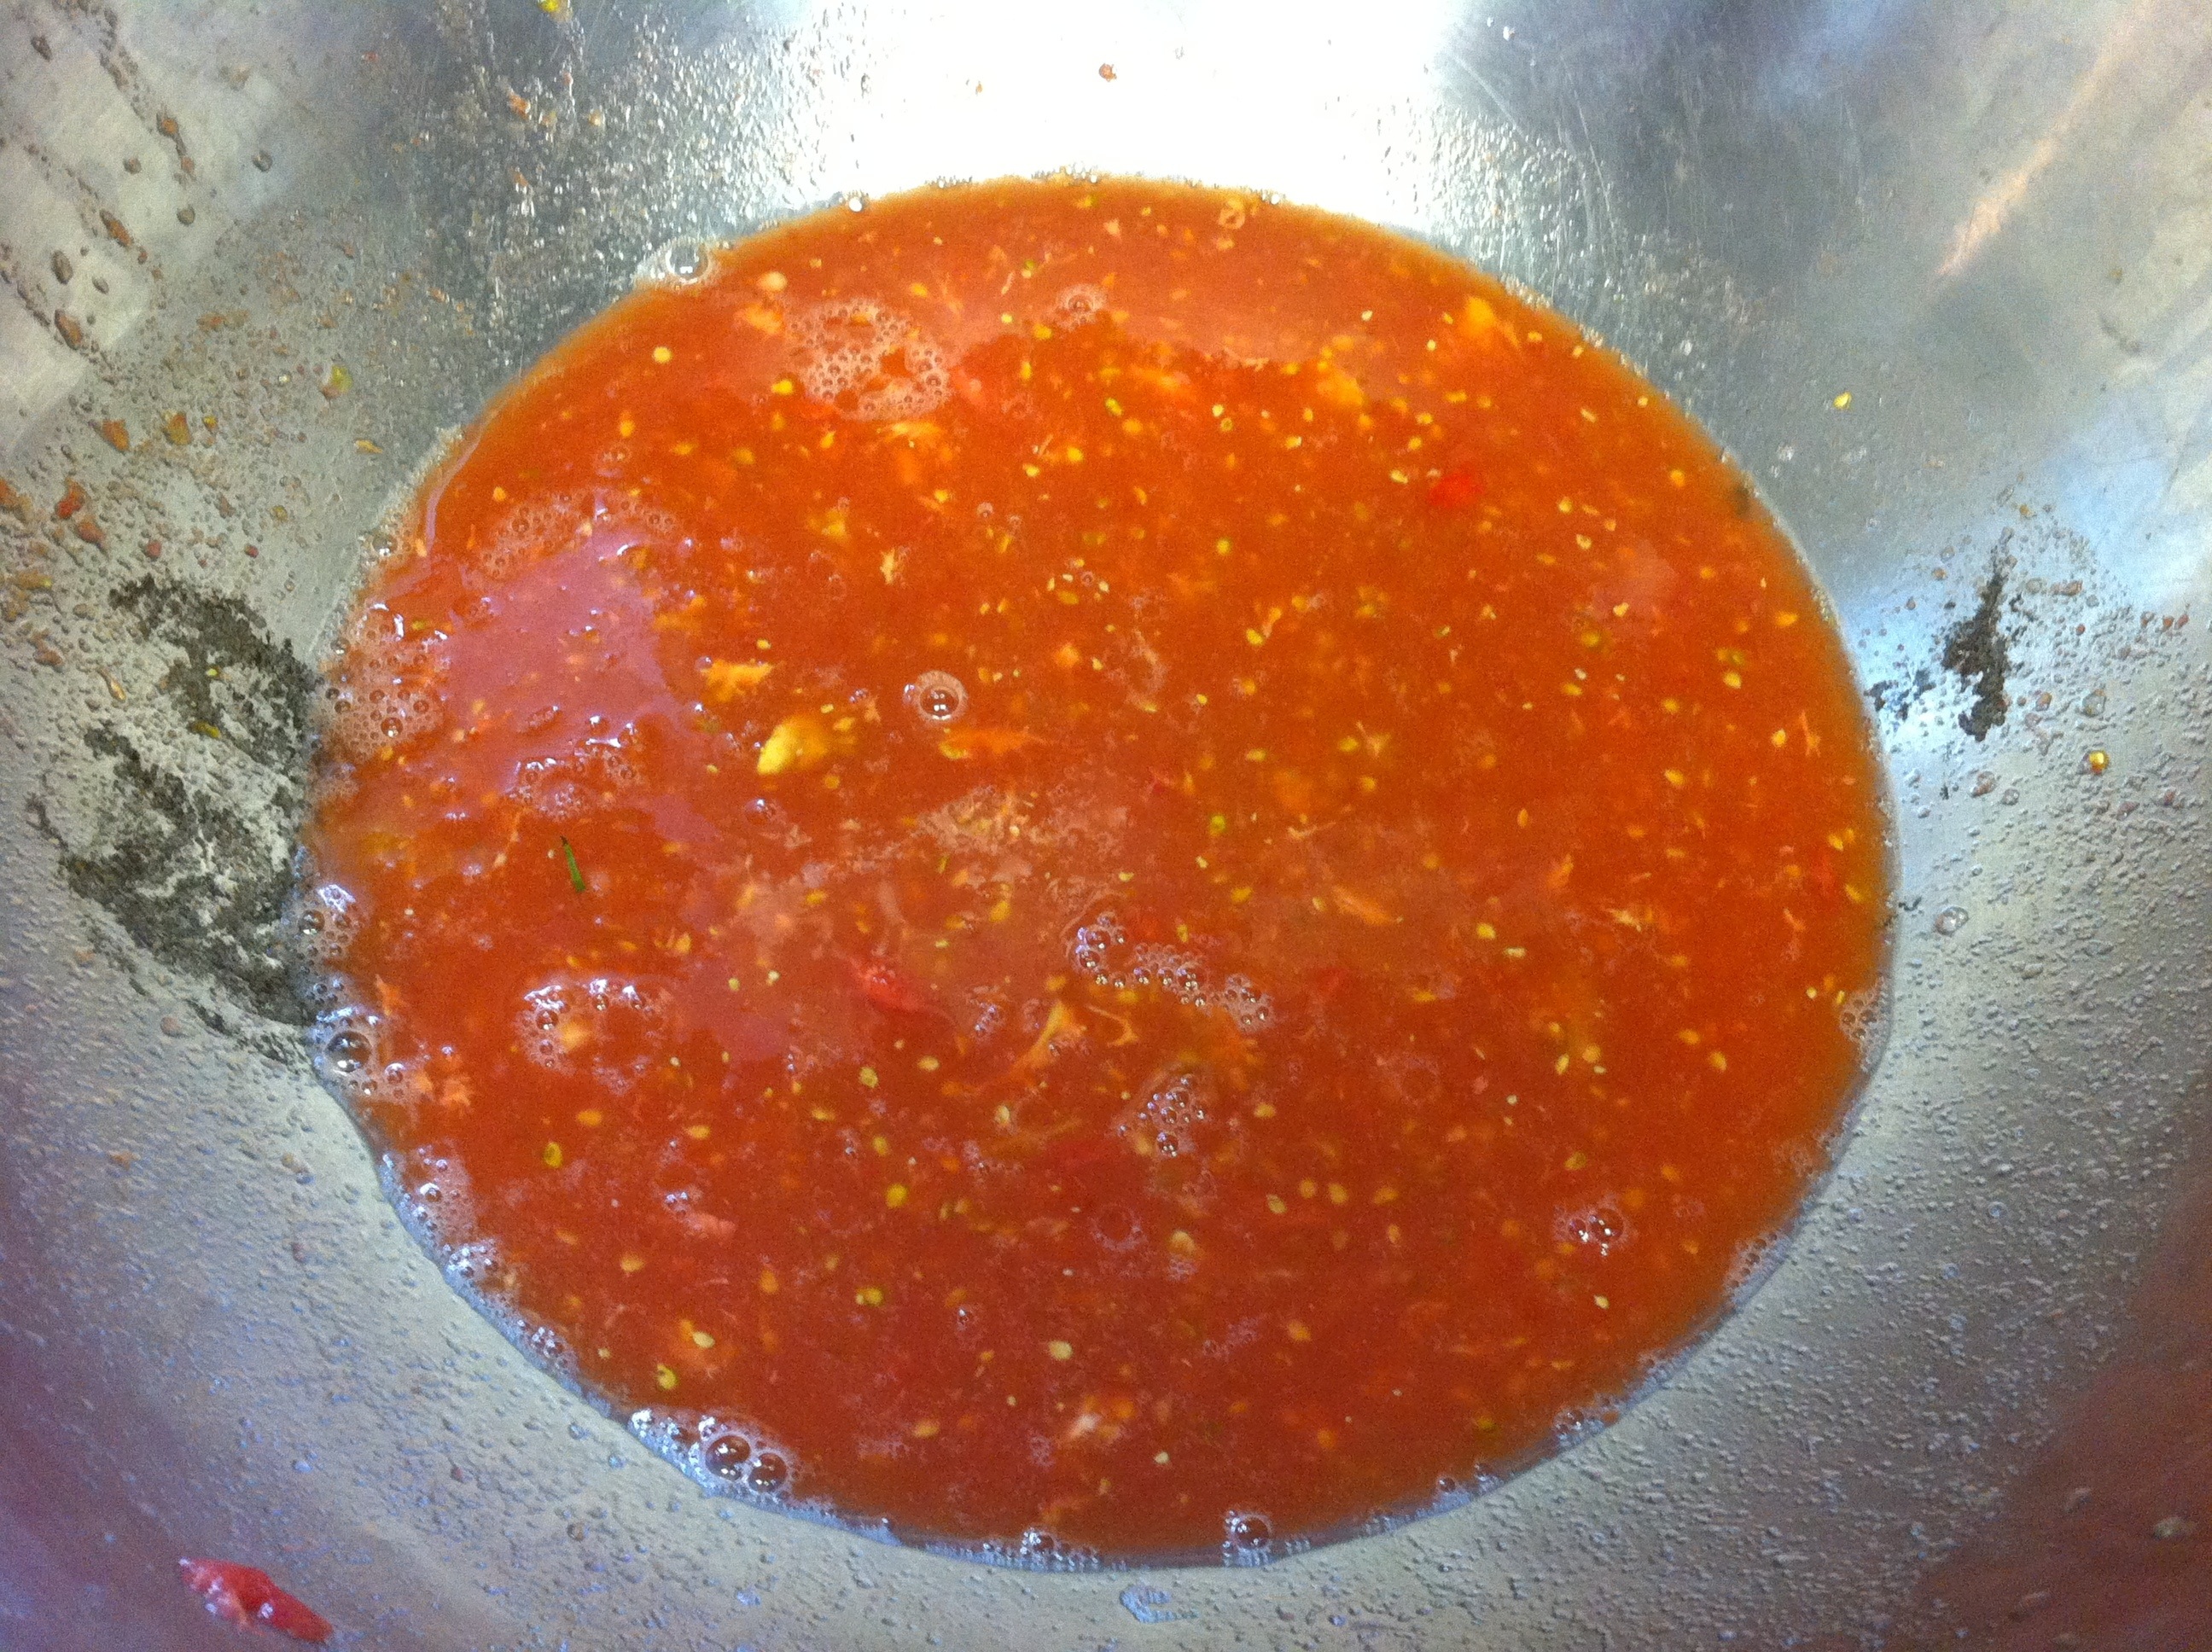
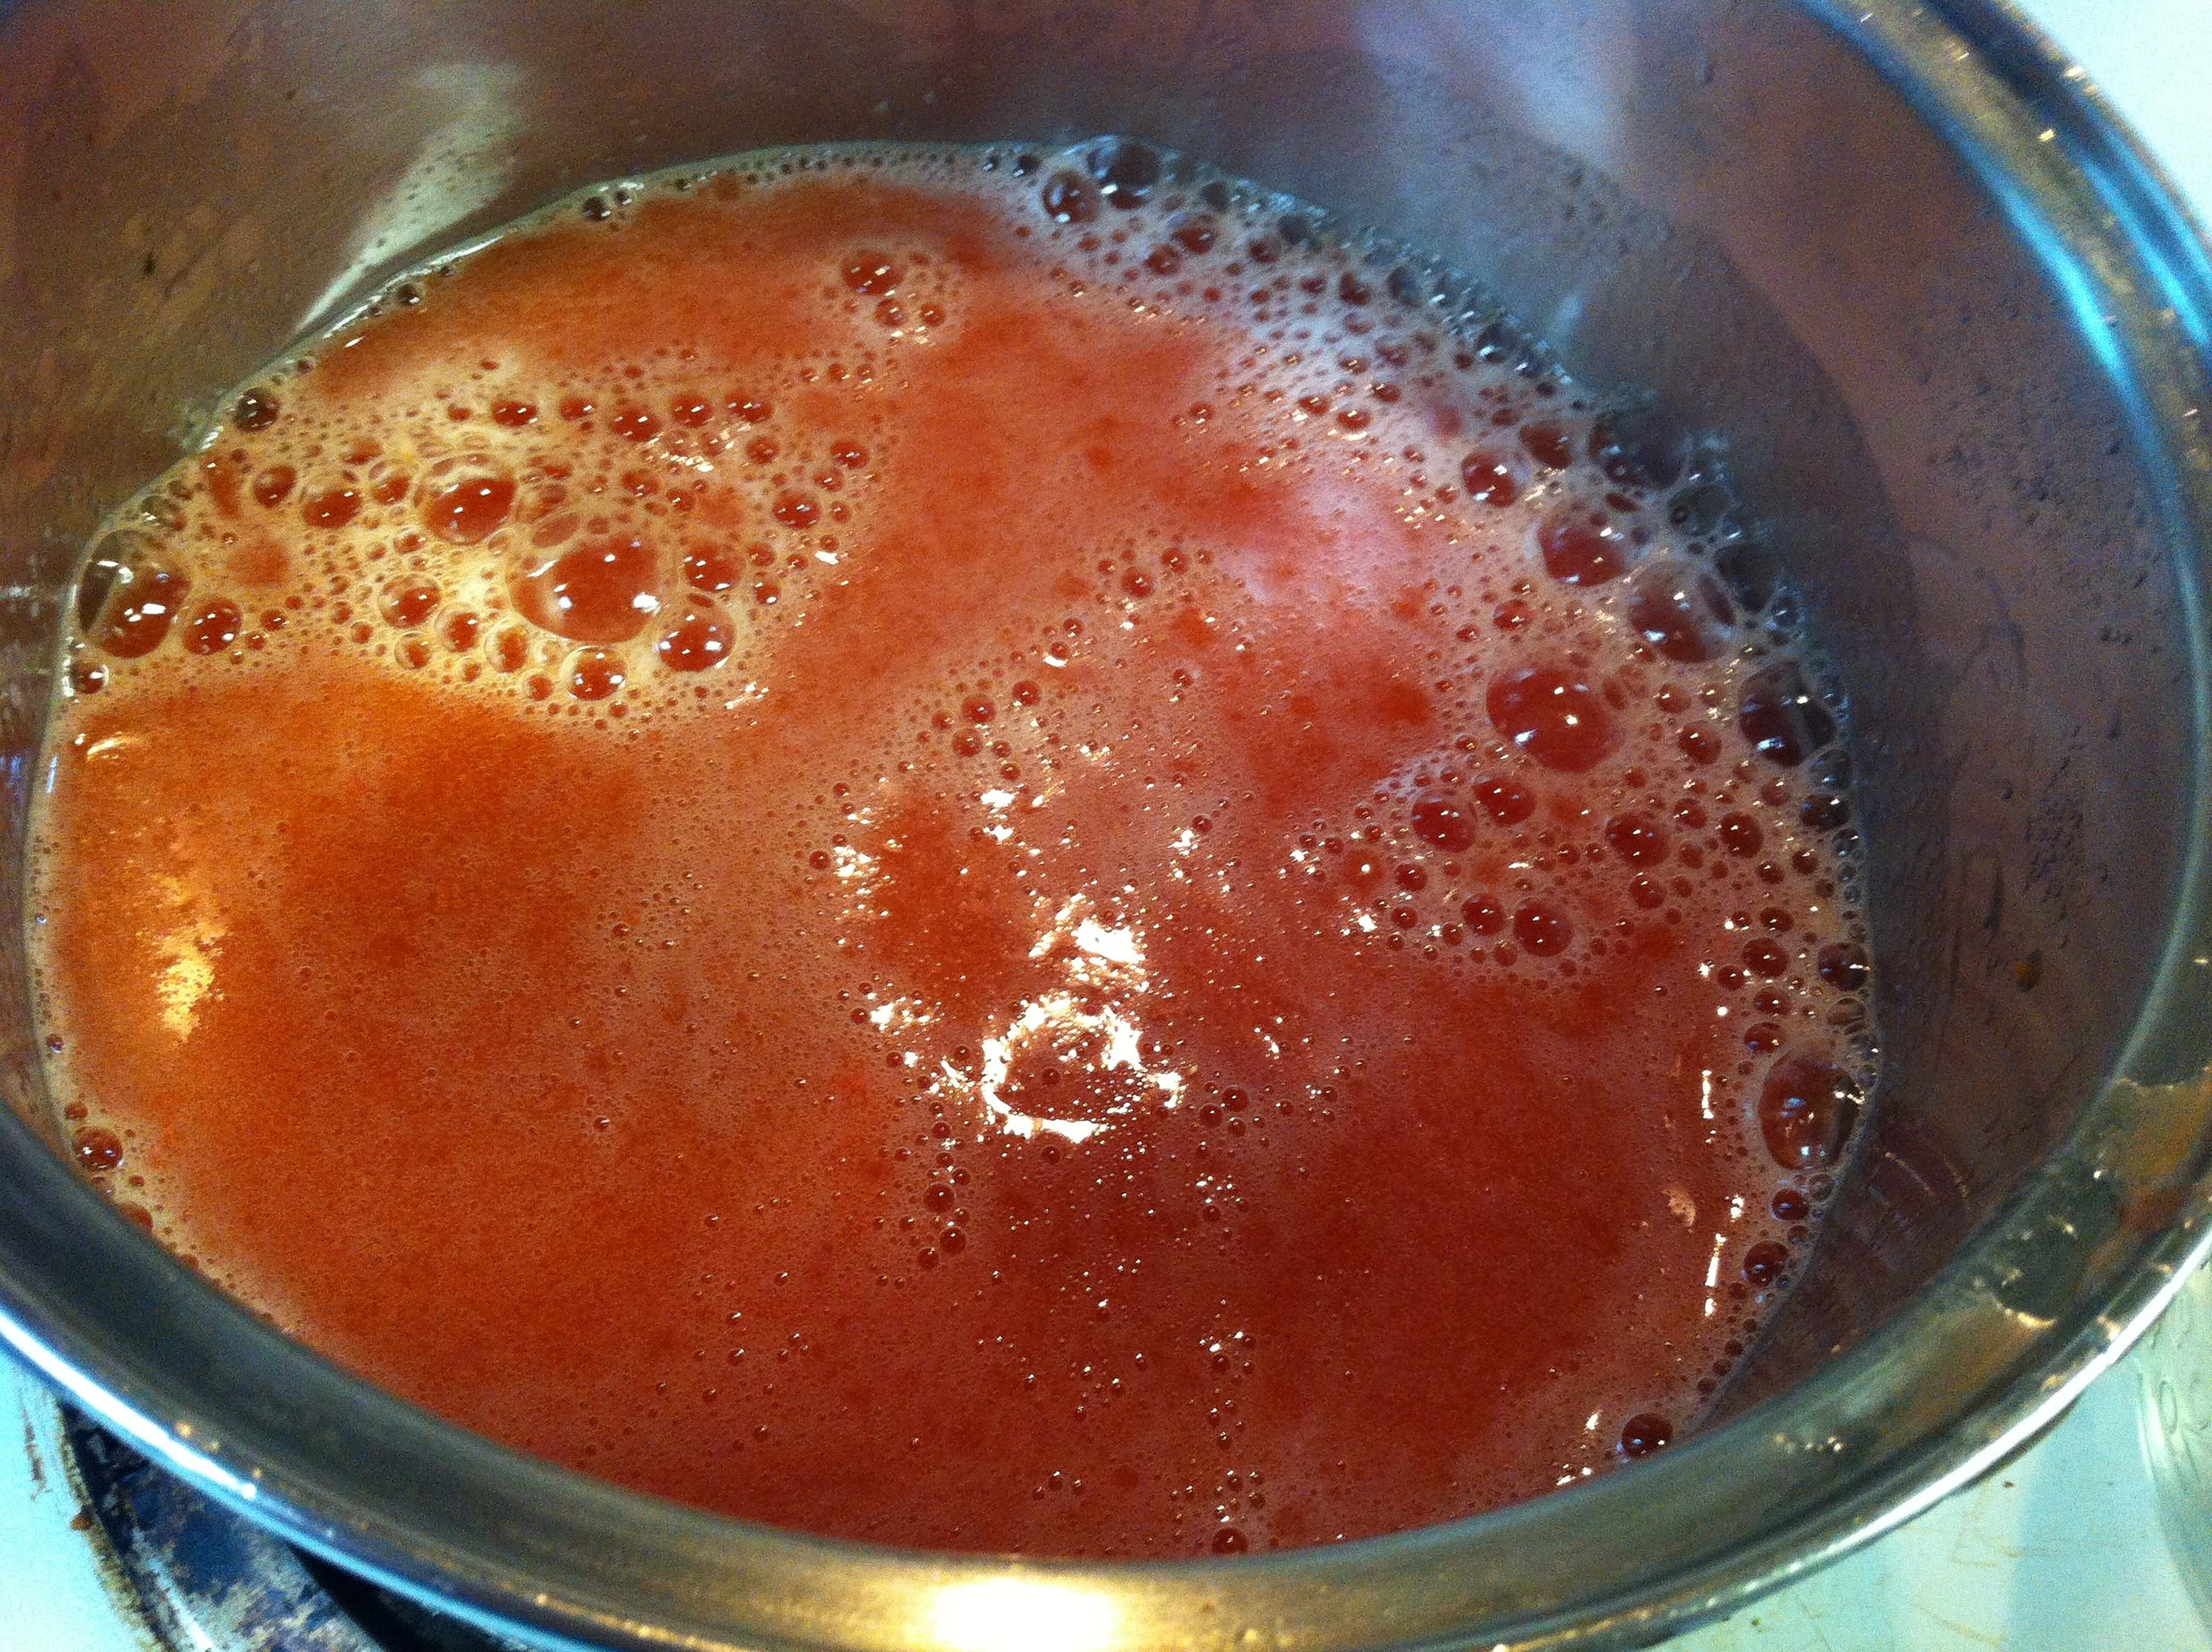
Start off by washing tomatoes and then cutting out the cores and bad spots. I cut them in smaller pieces and place in a large bowl. I cut them smaller to be able to run through the juicer easier.
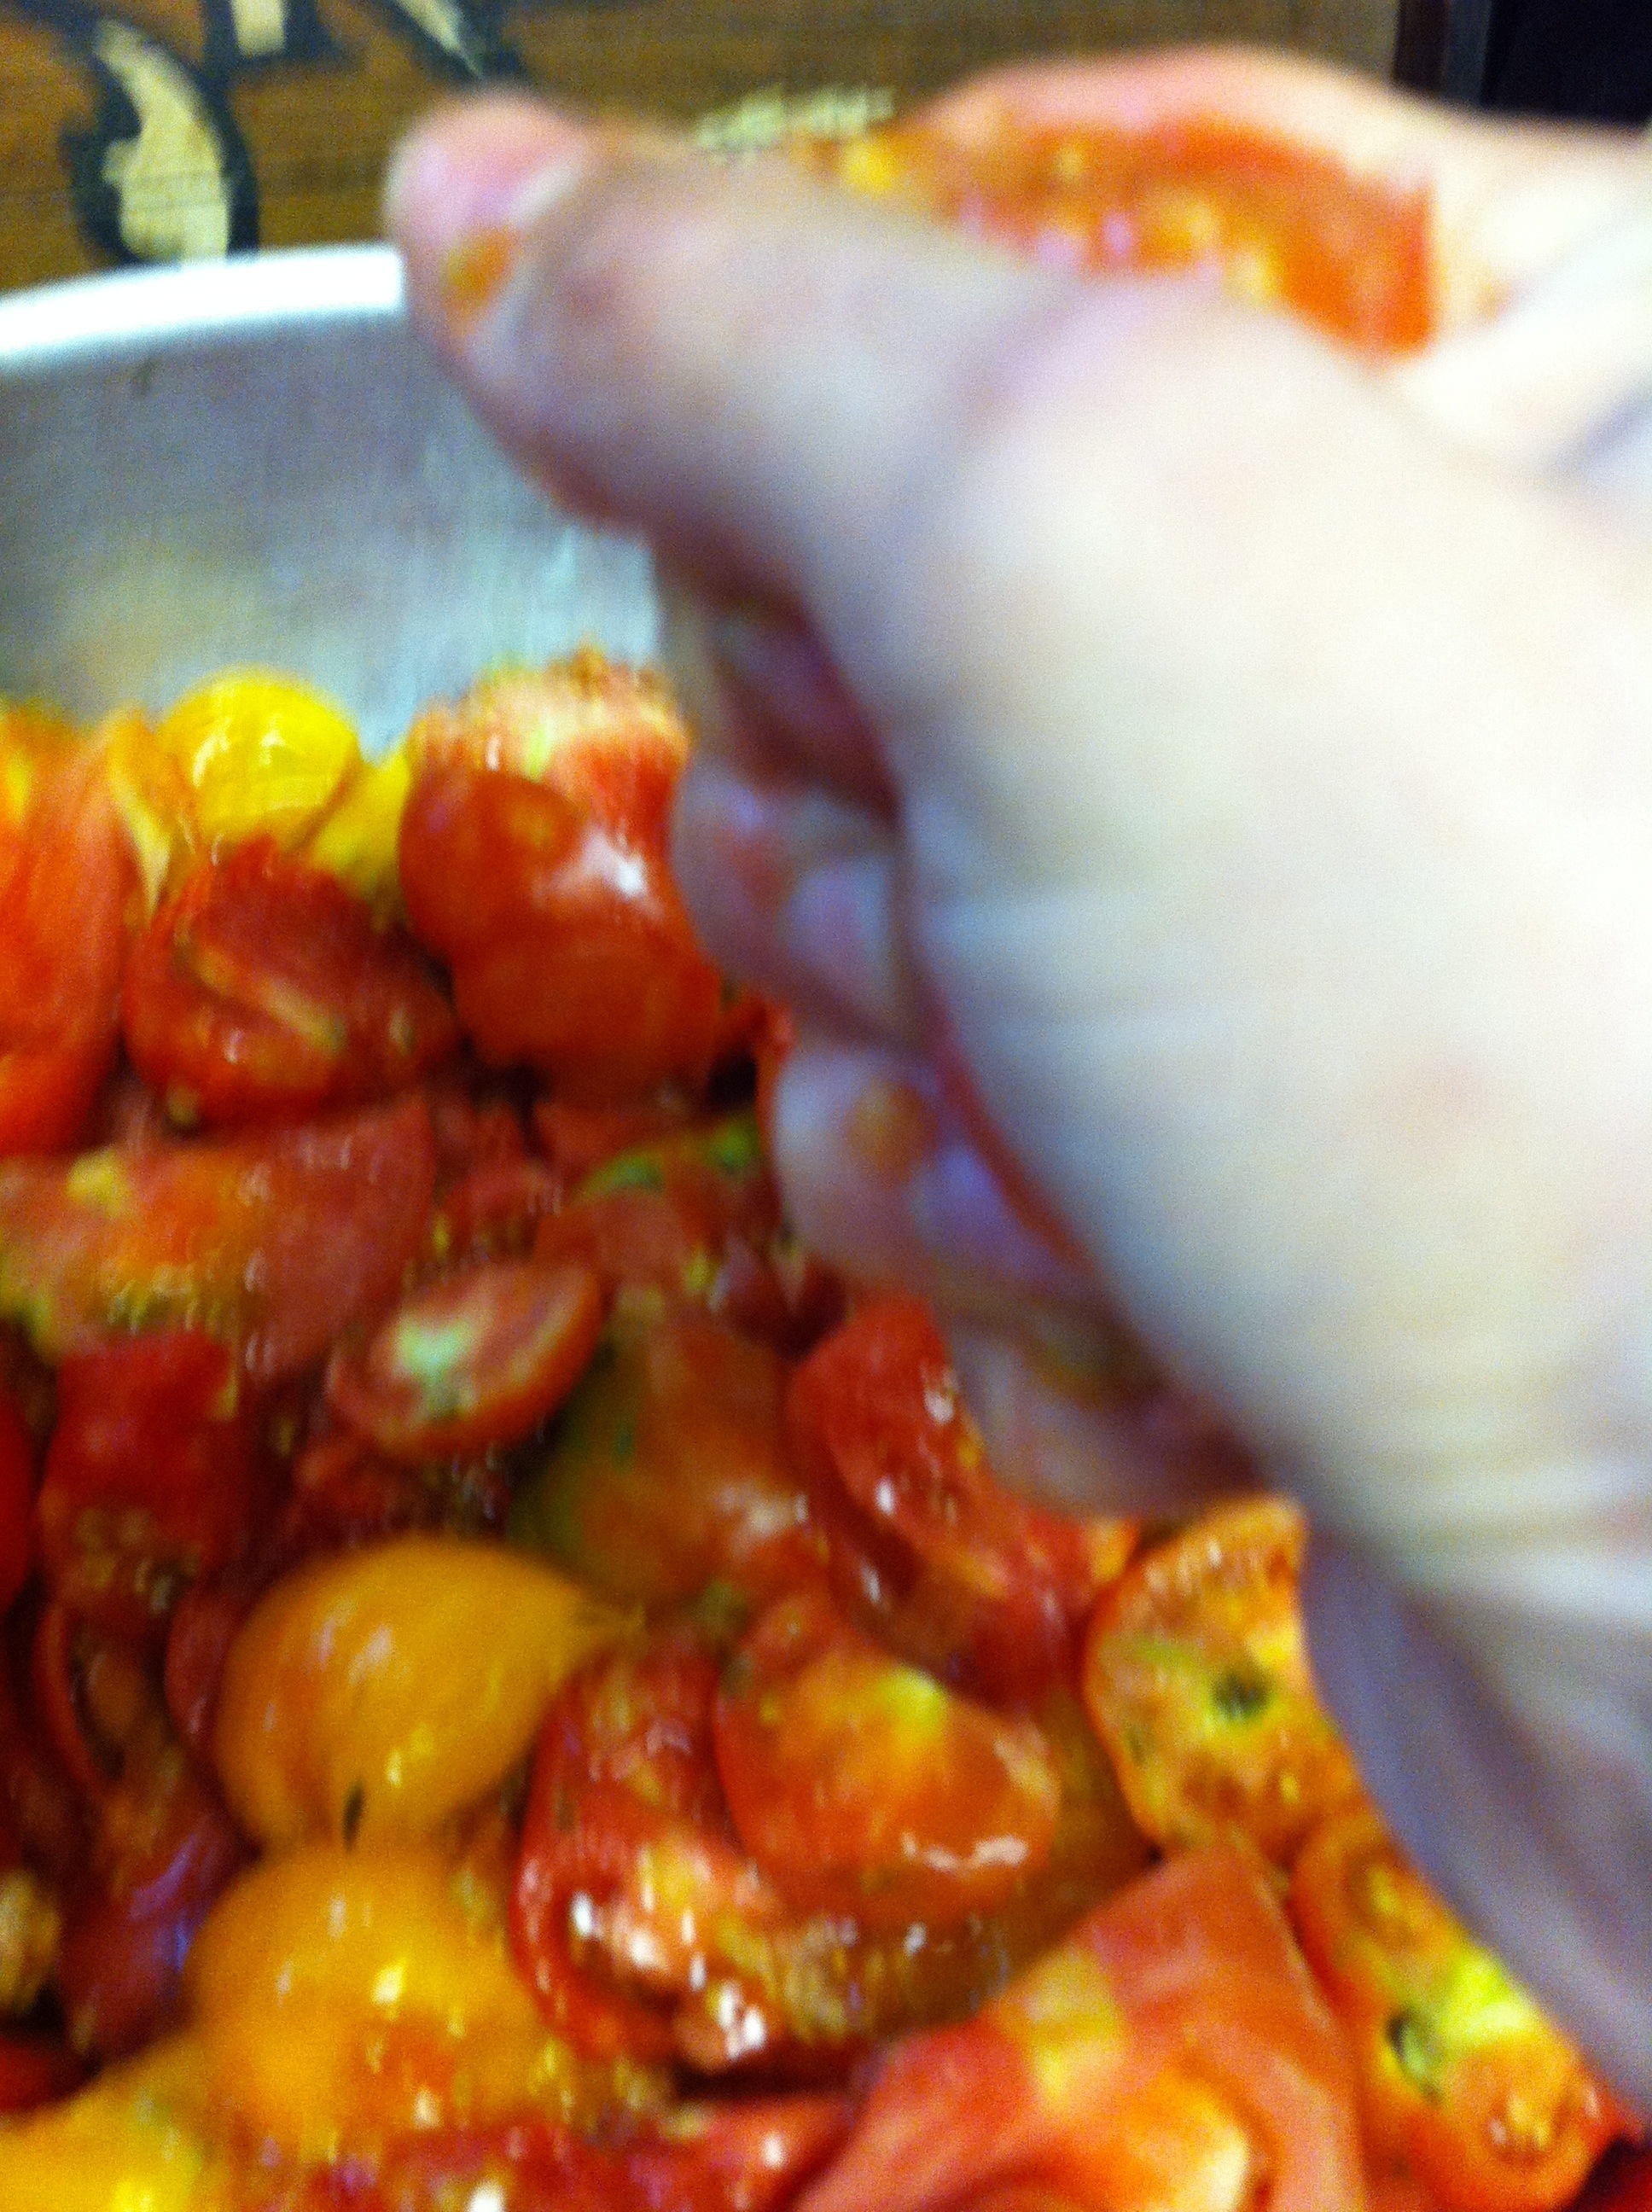
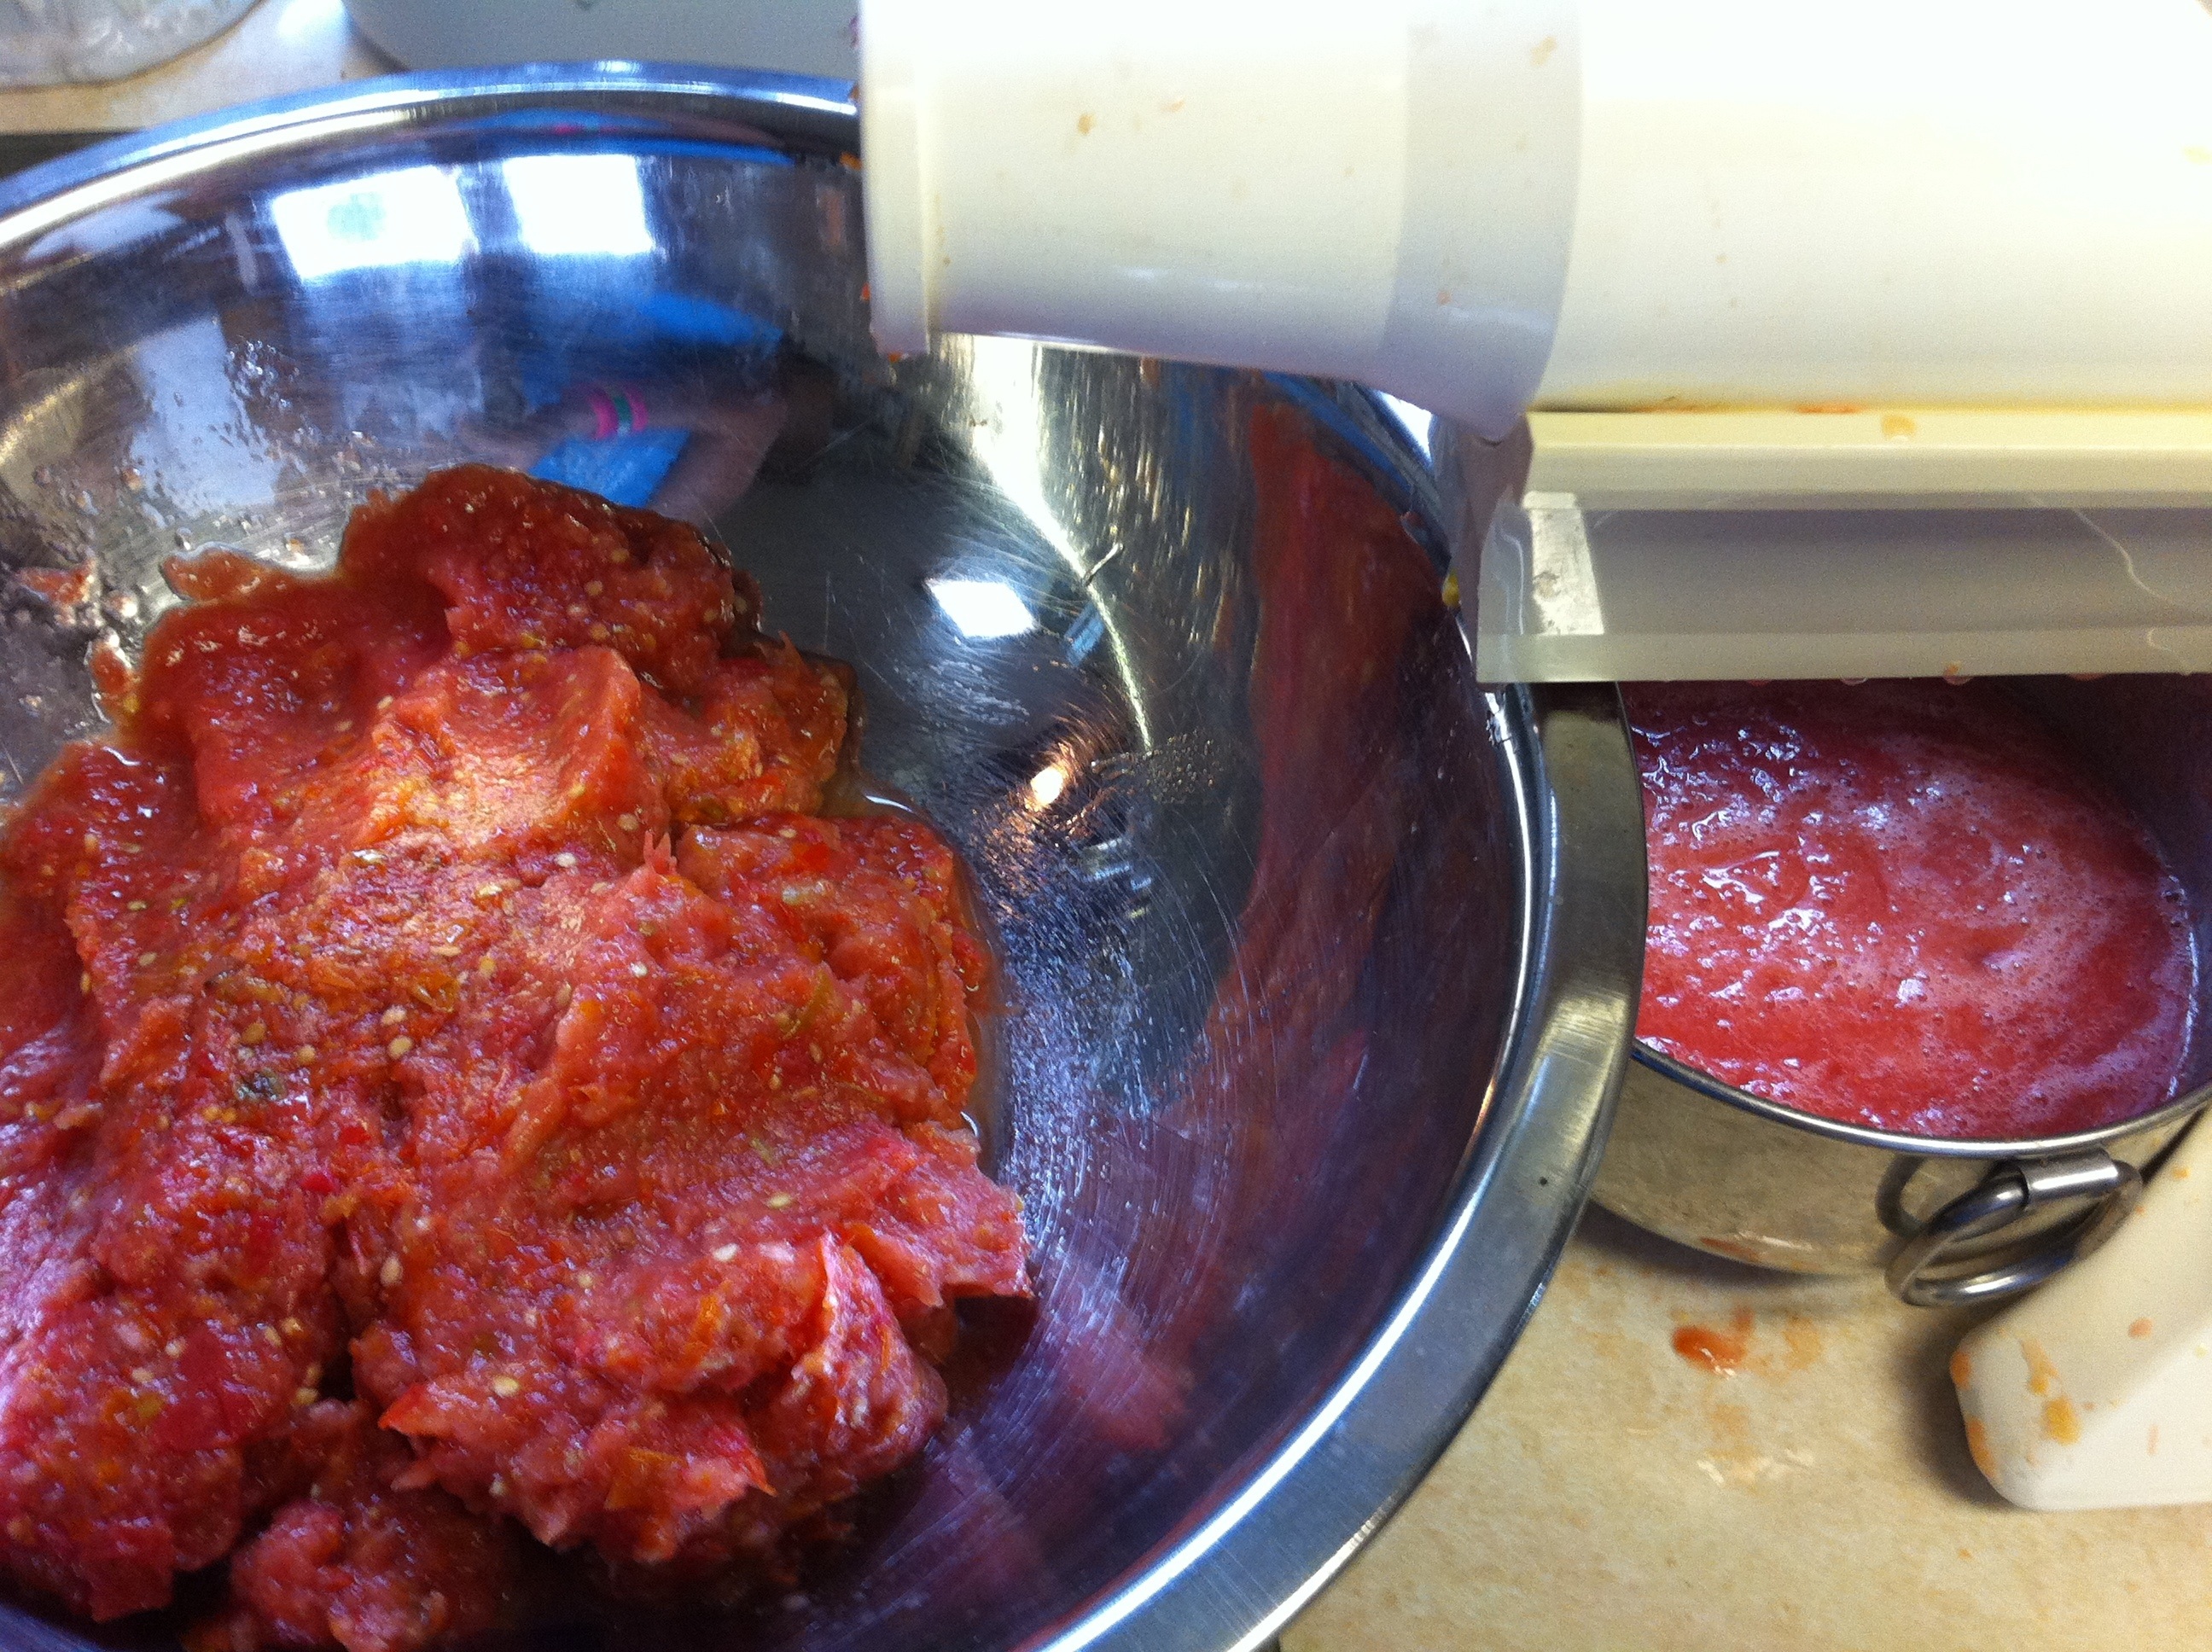
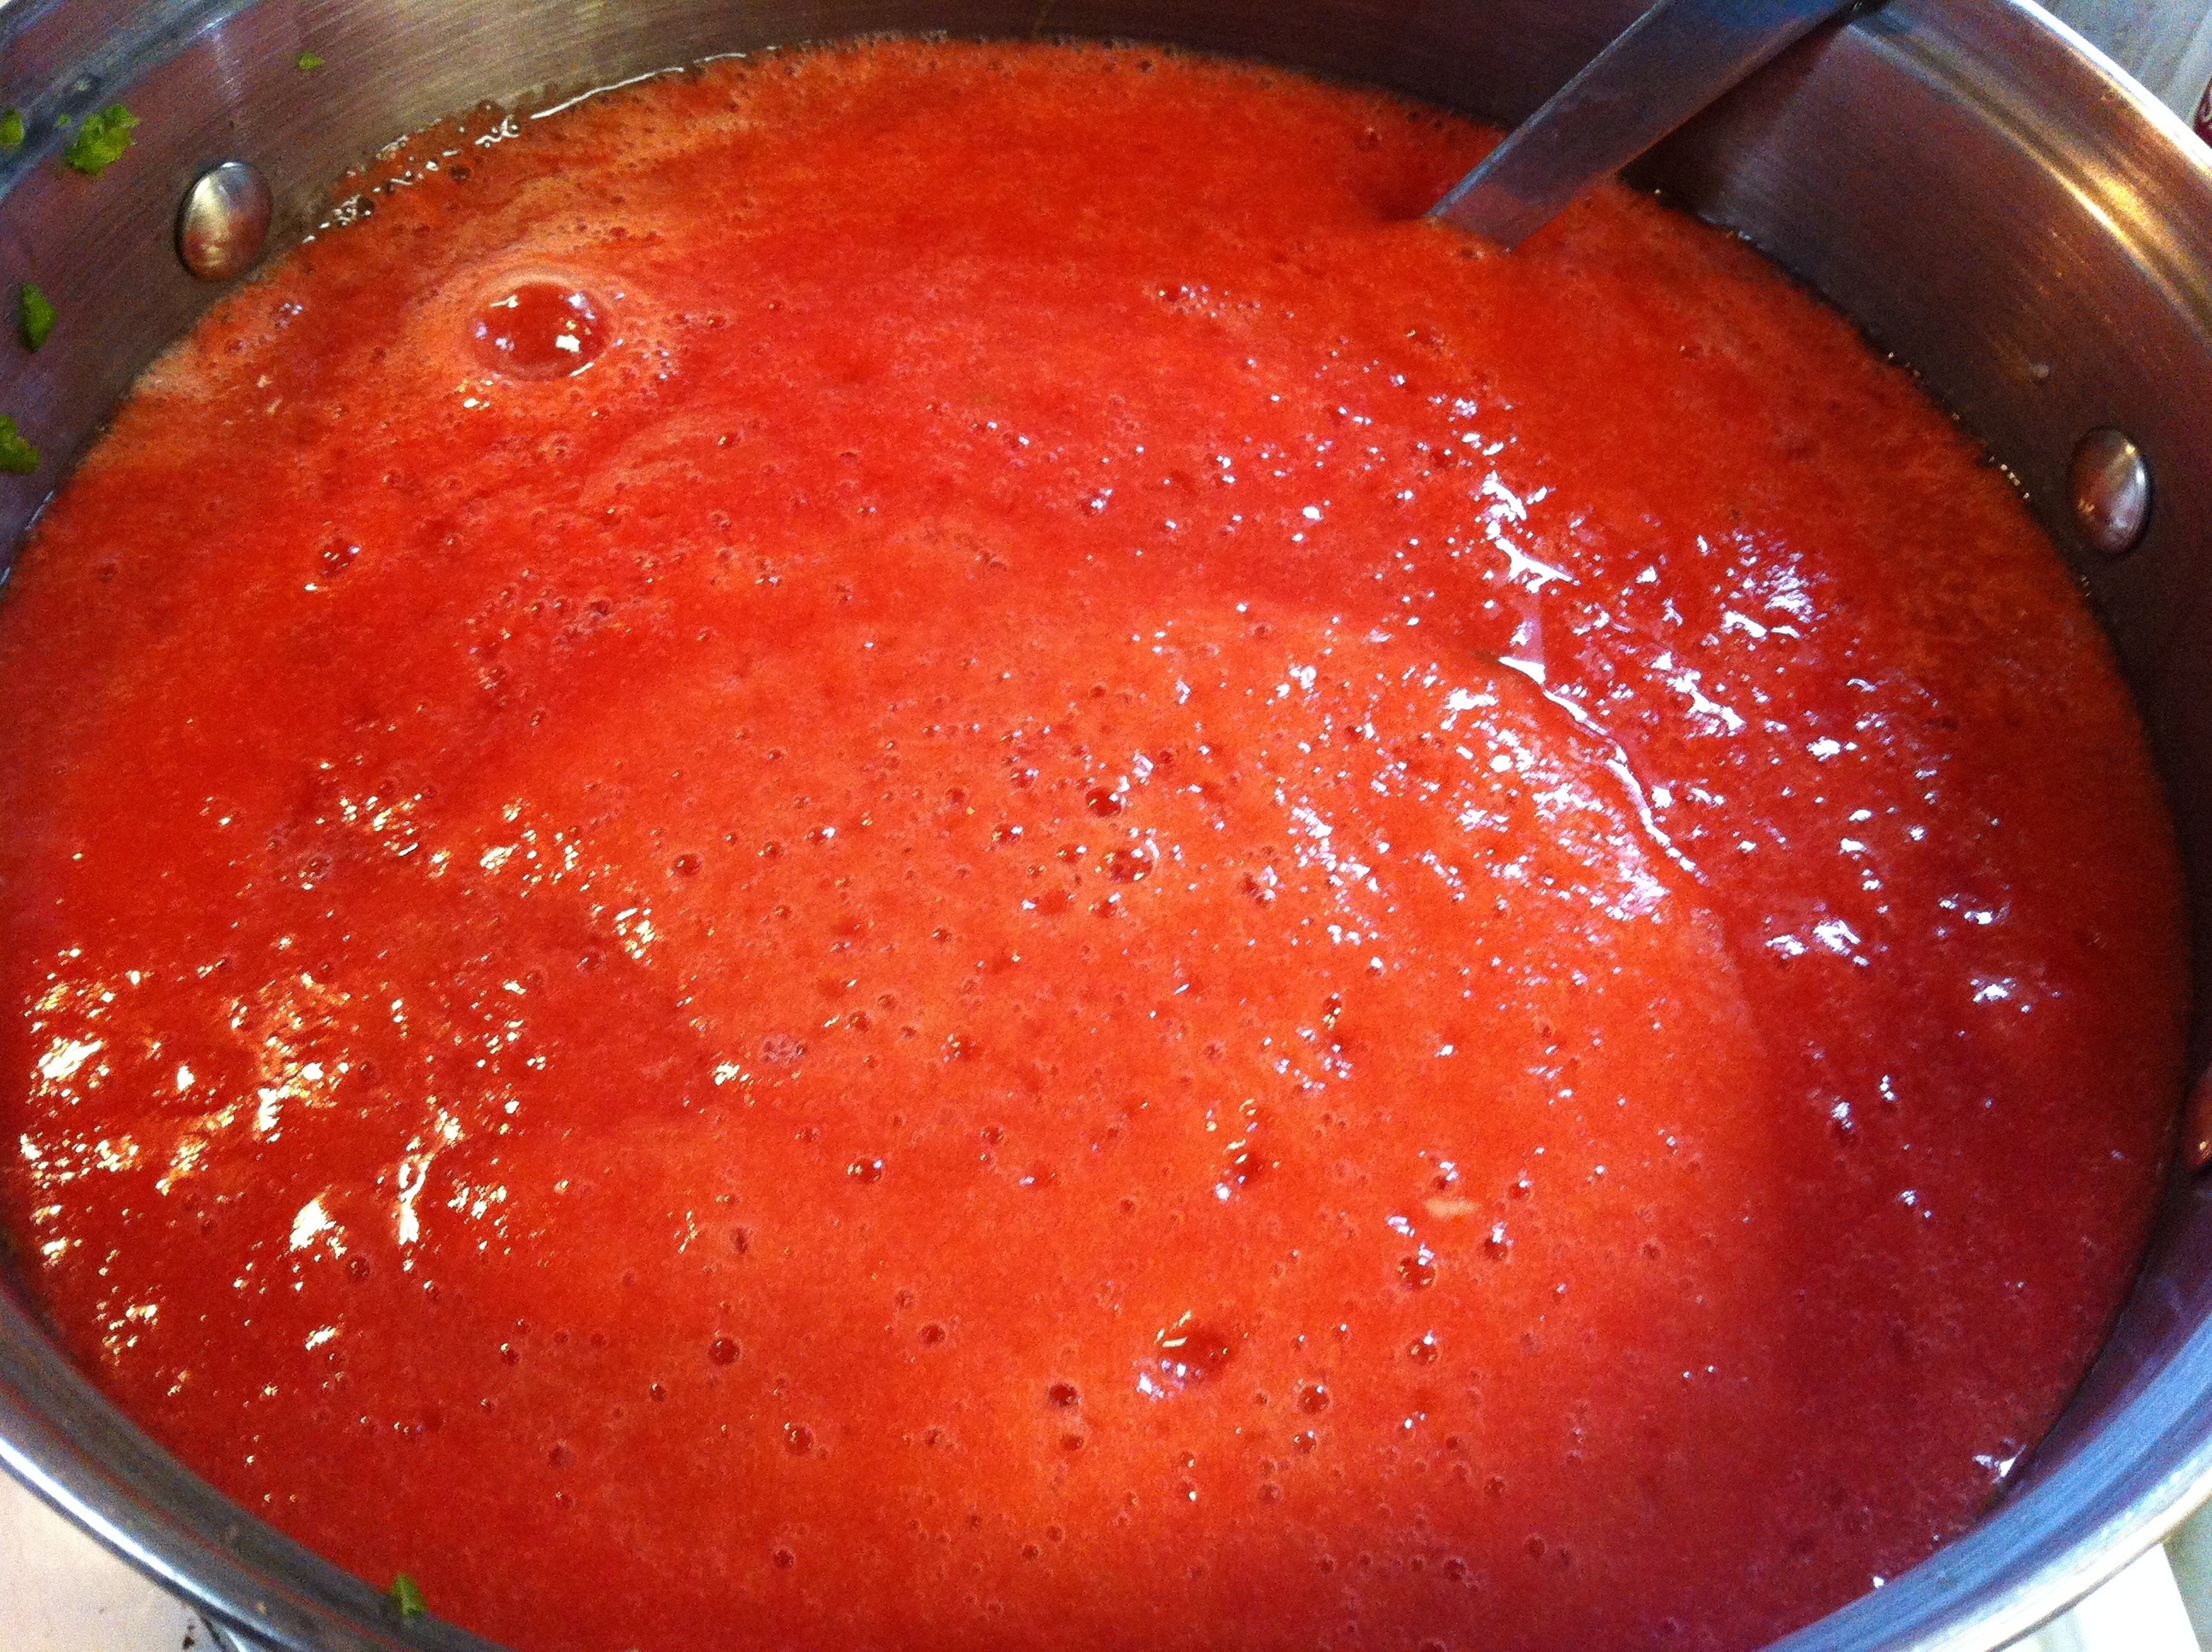
I then squeeze then excess juice out of the tomatoes into the same bowl that I had them in before and run them through the juicer/mill. This helps to avoid having such a runny sauce. If you are using tomatoes like roma, there isn’t as much liquid in them so this wouldn’t be necessary. I didn’t have many roma’s in the mix so out came the excess liquid!
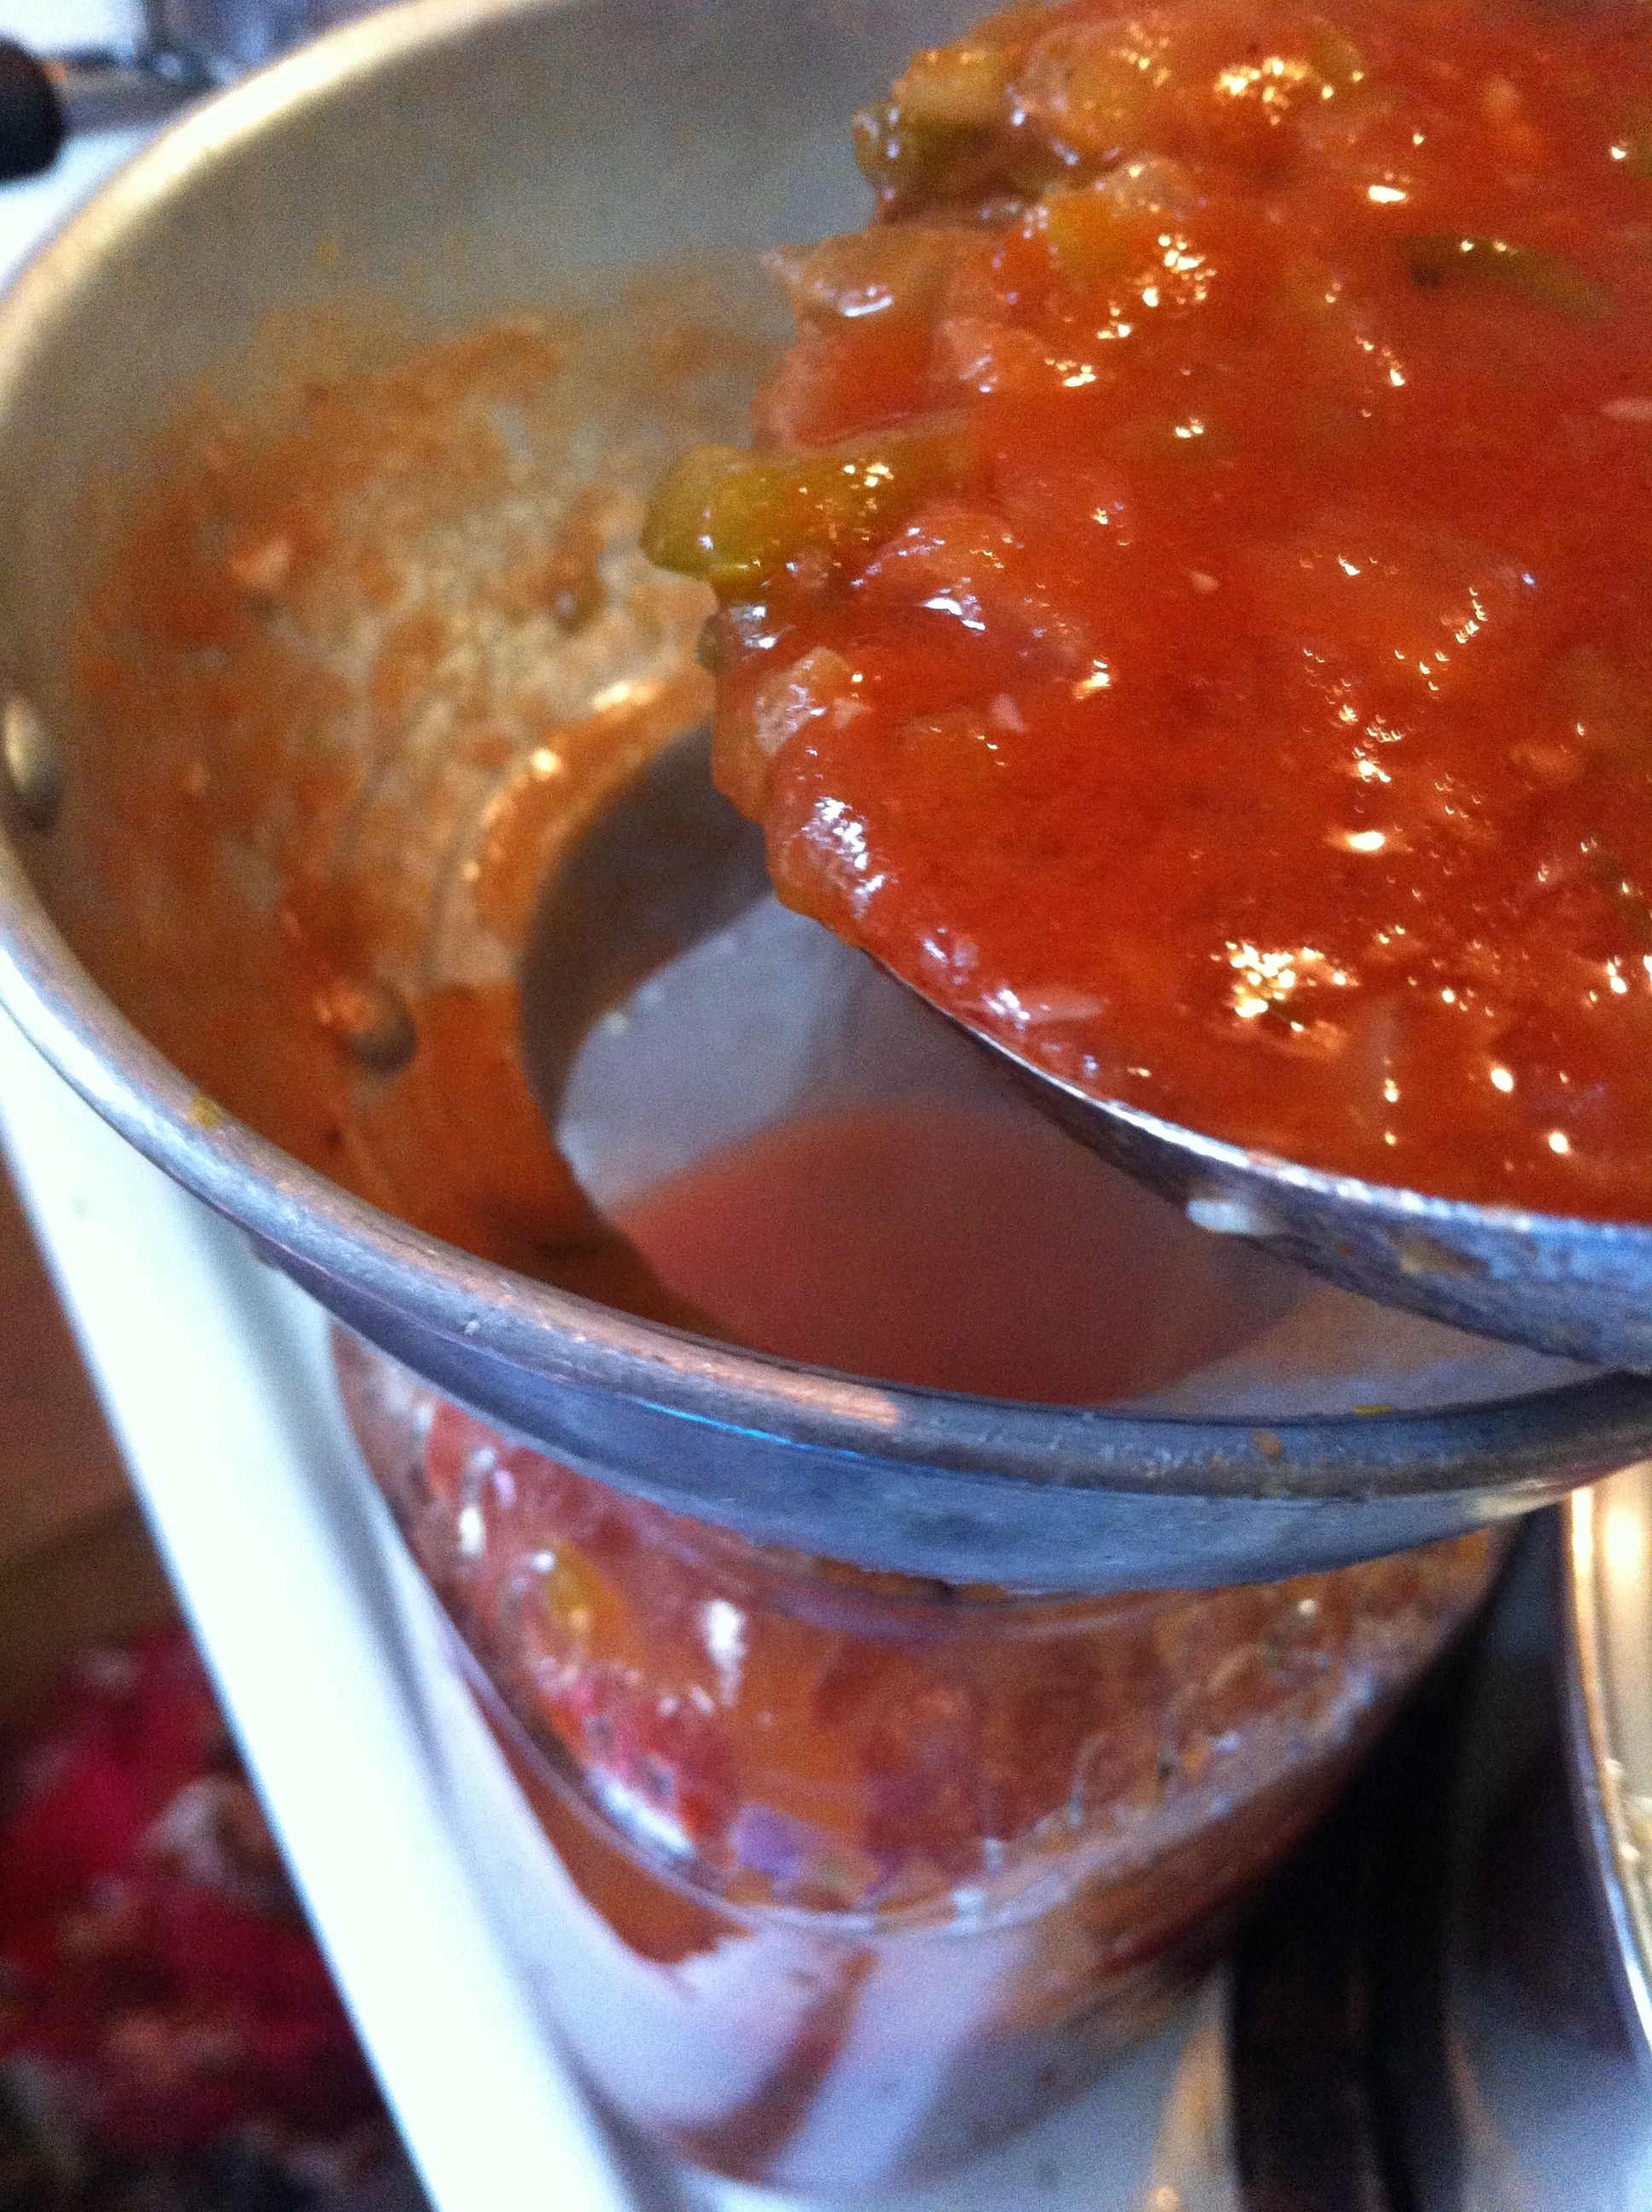
Notice the juice/sauce comes out of the center/bottom and out the end comes the seeds and skin. Once I have run all of the tomatoes through, I run the seeds and skin through another time our two. You would be surprised how much tomato sauce is still in those suckers!
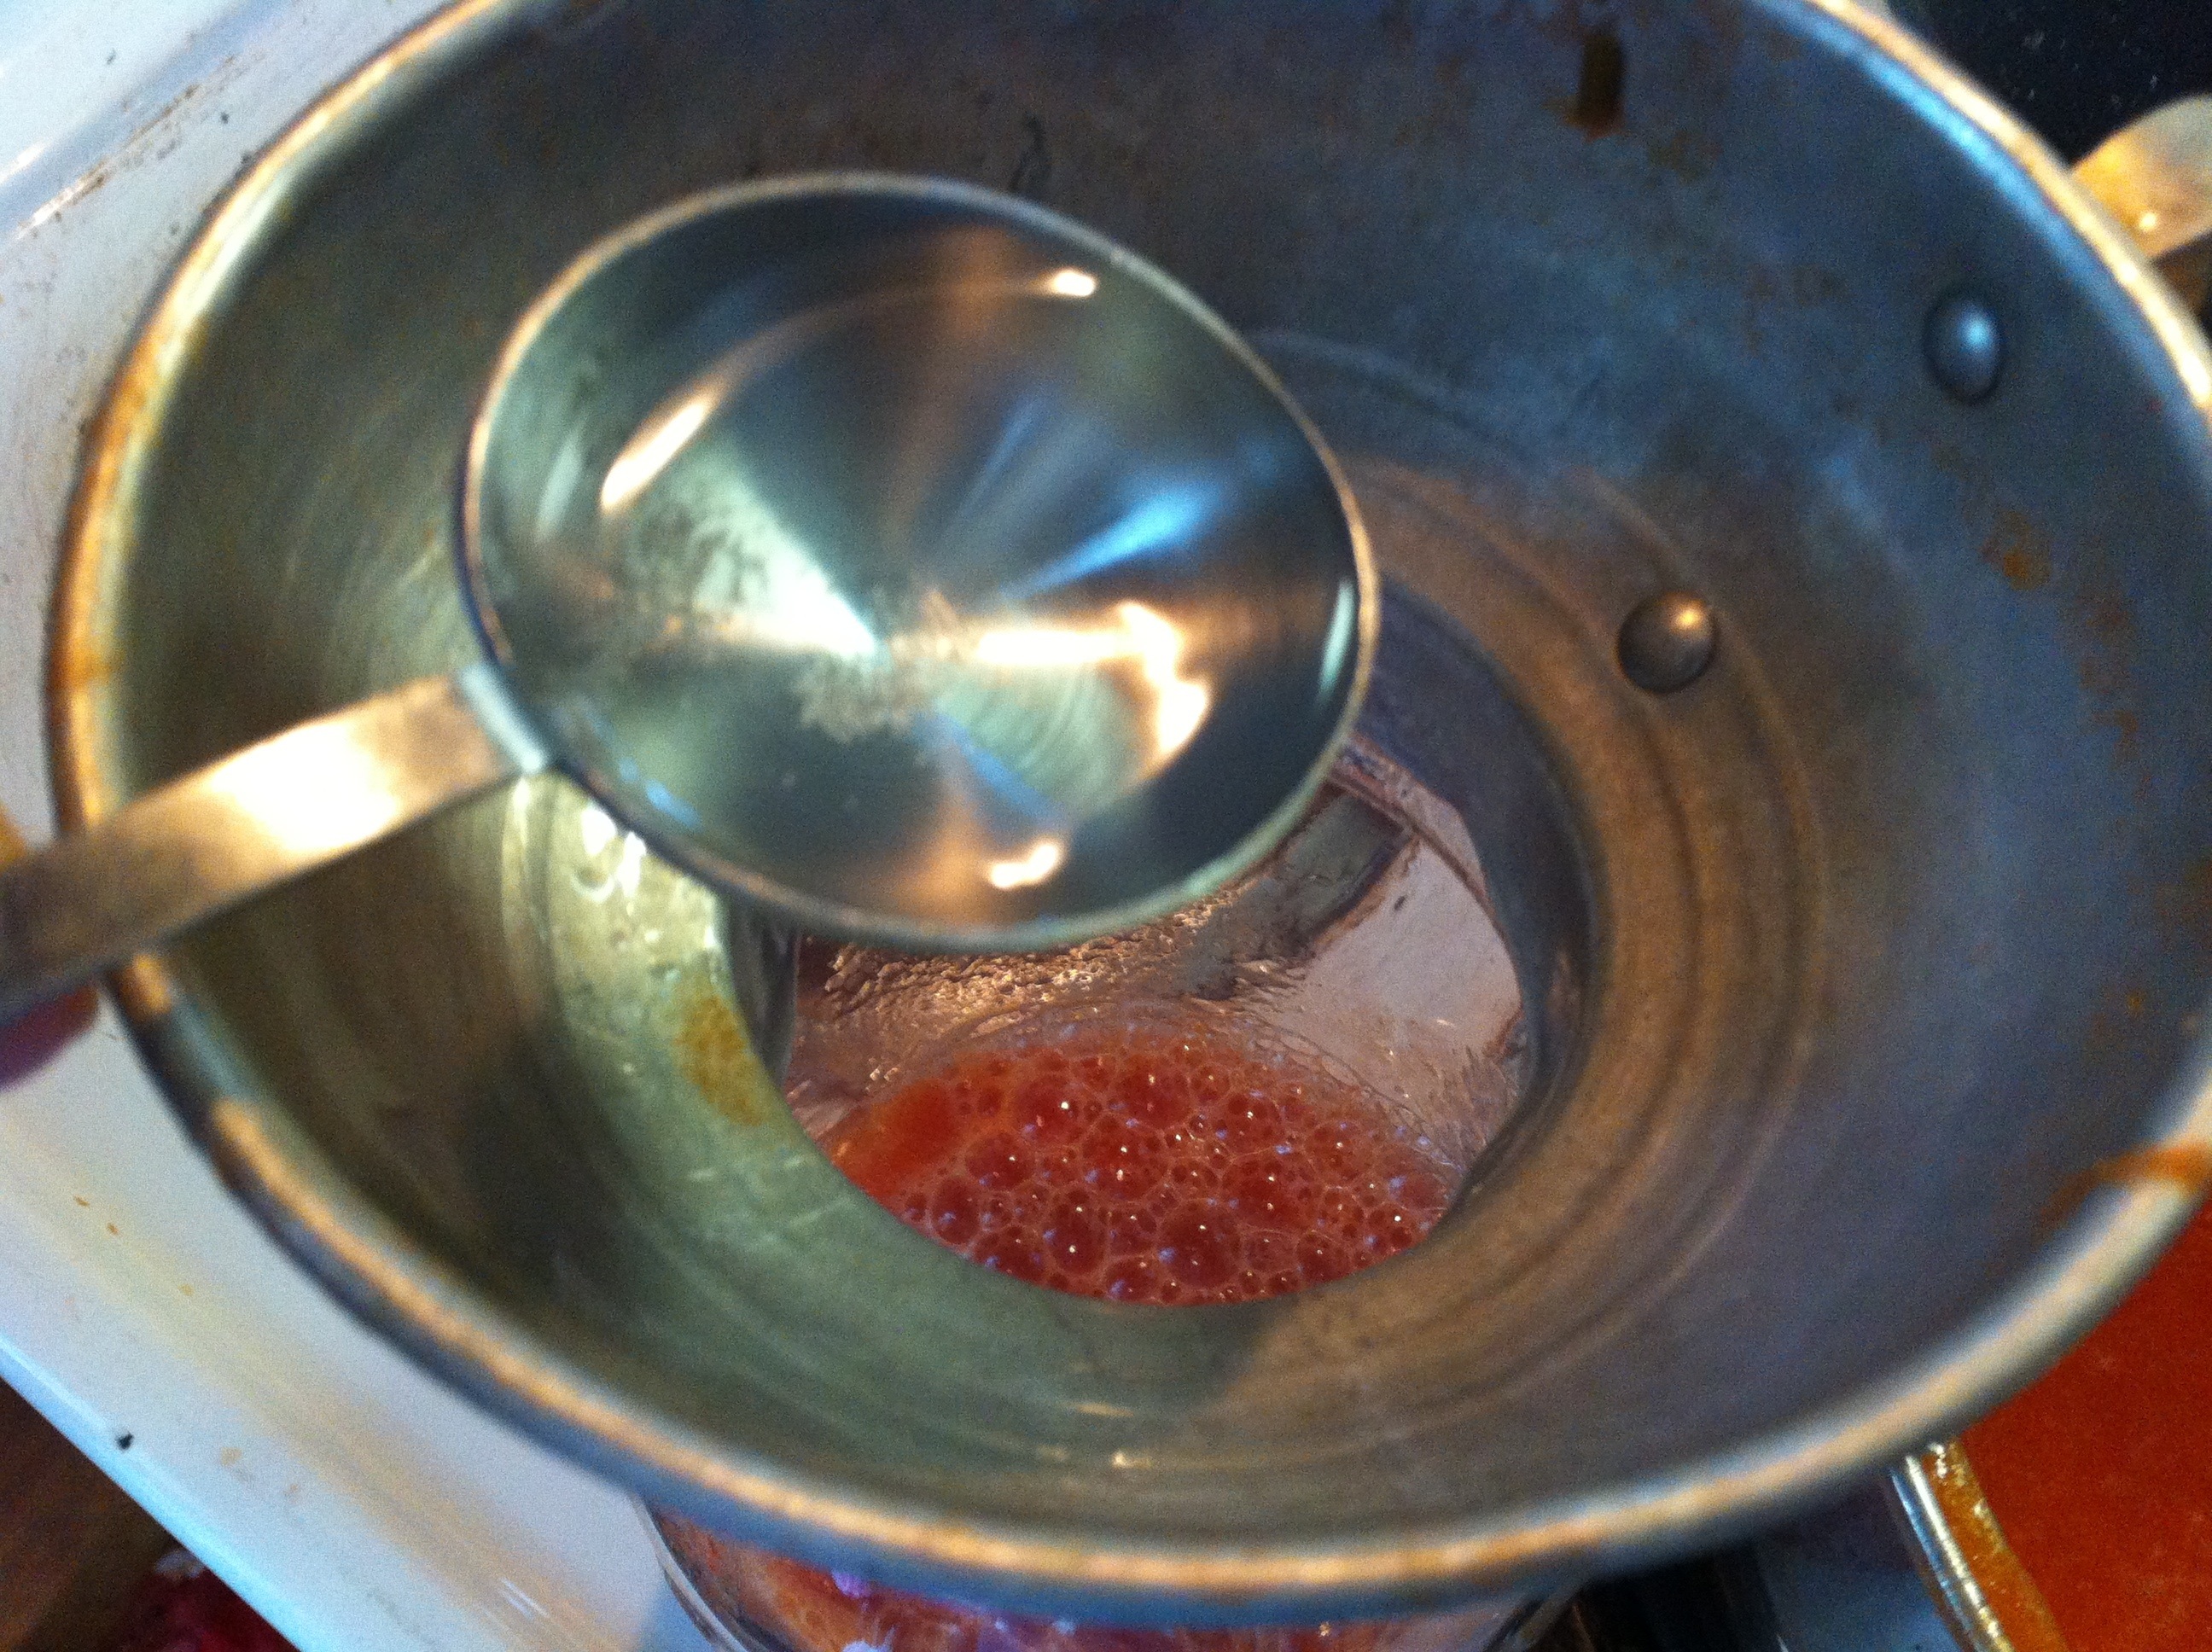
Next, prep all of the veggies by chopping finely. Place onions, garlic, peppers and spices into a large stockpot. Reserve cilantro to throw in later towards the end of cooking.
Transfer tomato sauce to the stockpot and stir to combine. Bring to a boil on high heat and simmer for 15 minutes and then add cilantro and simmer another 5 minutes.

If you find that the salsa is too runny for your liking, go ahead and add a small can, or two, of tomato paste to thicken up and mix to combine.
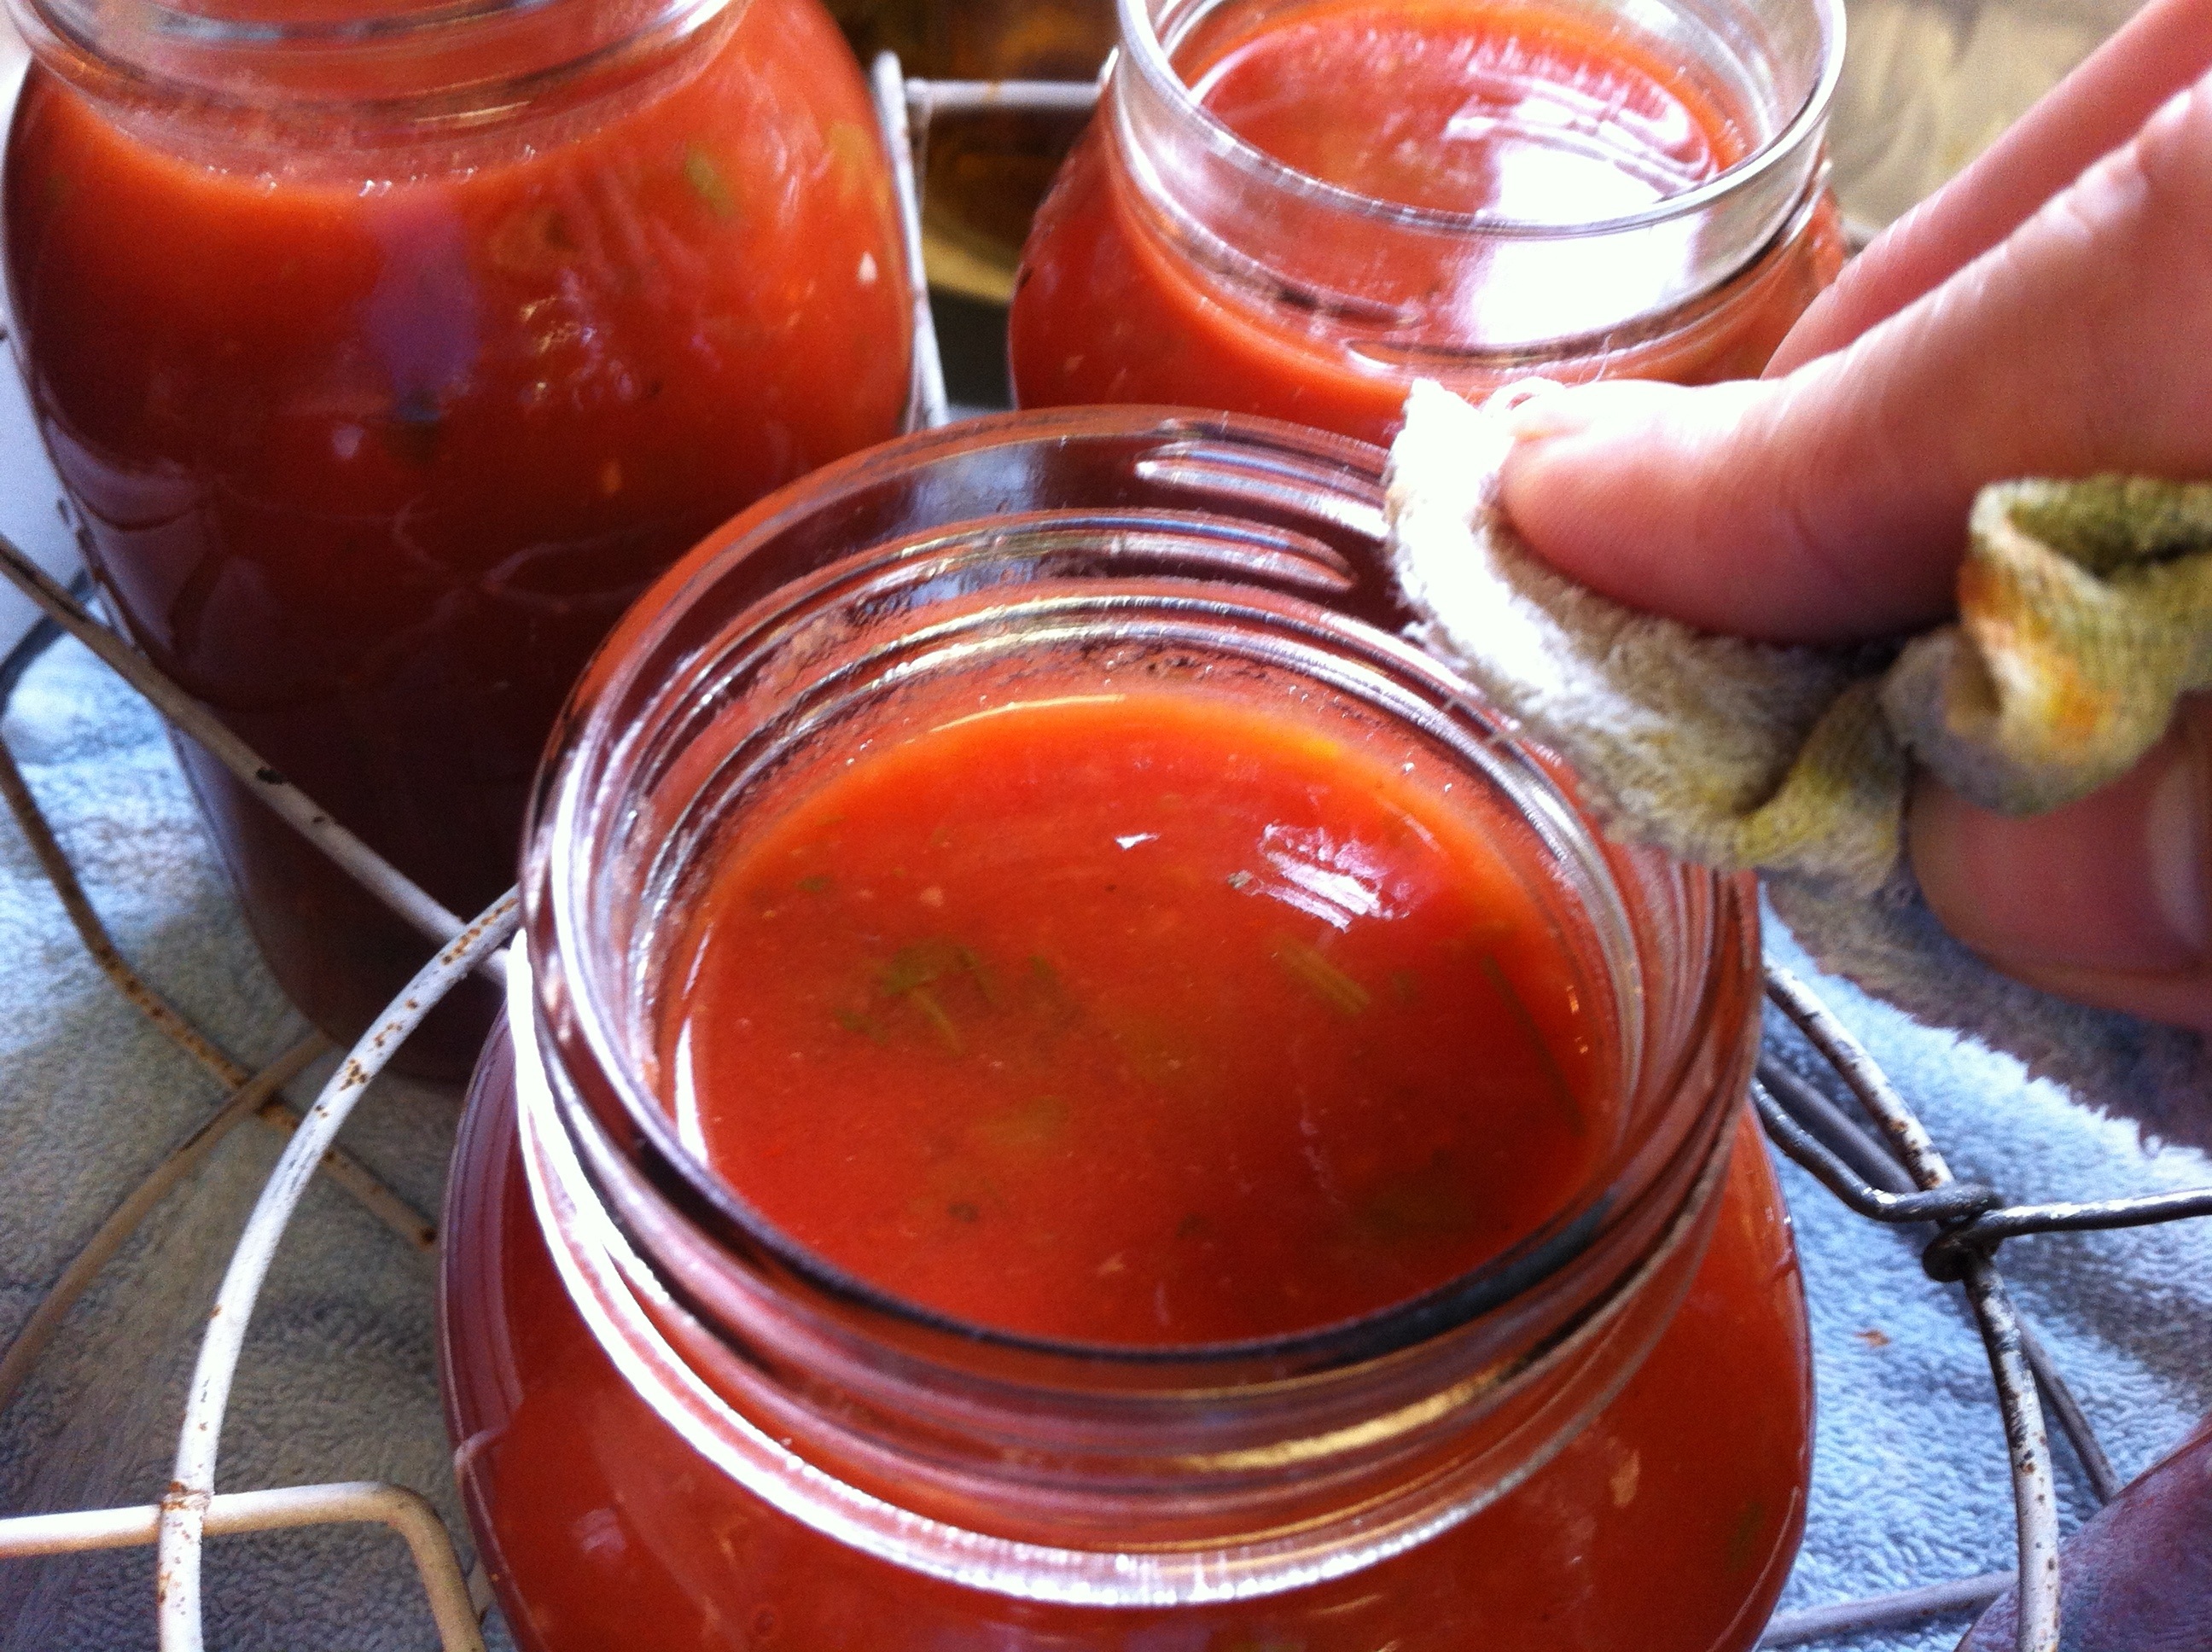
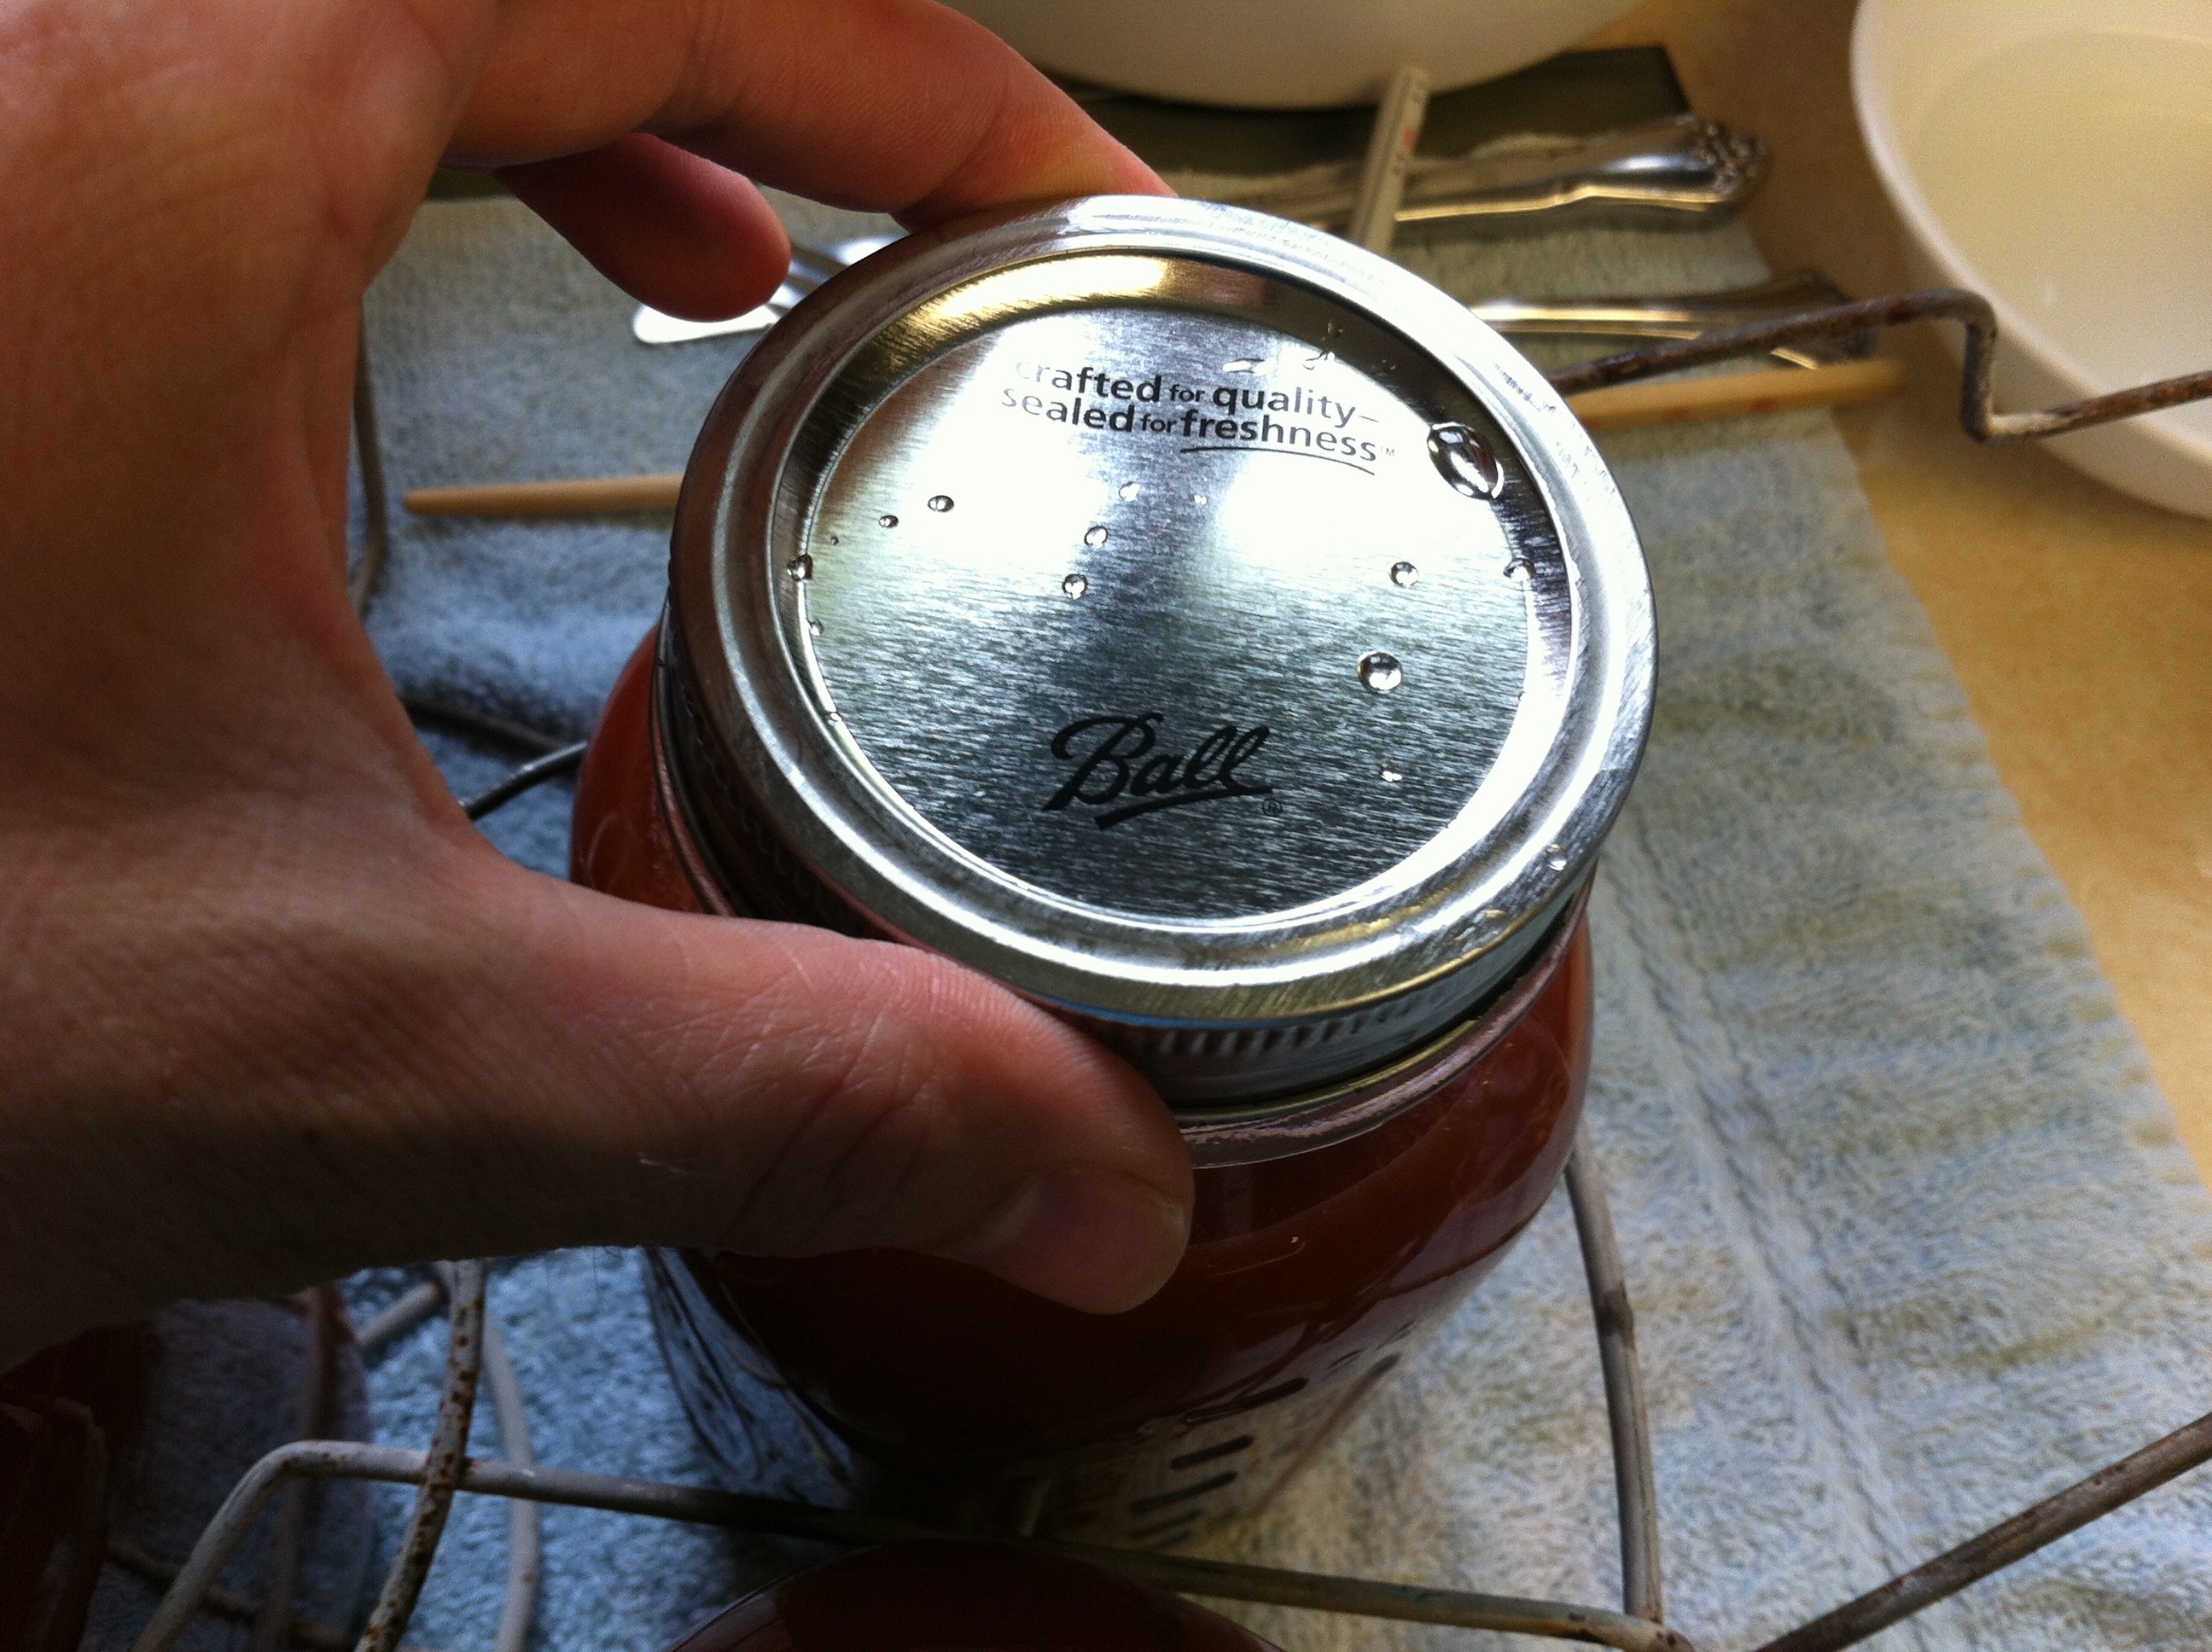
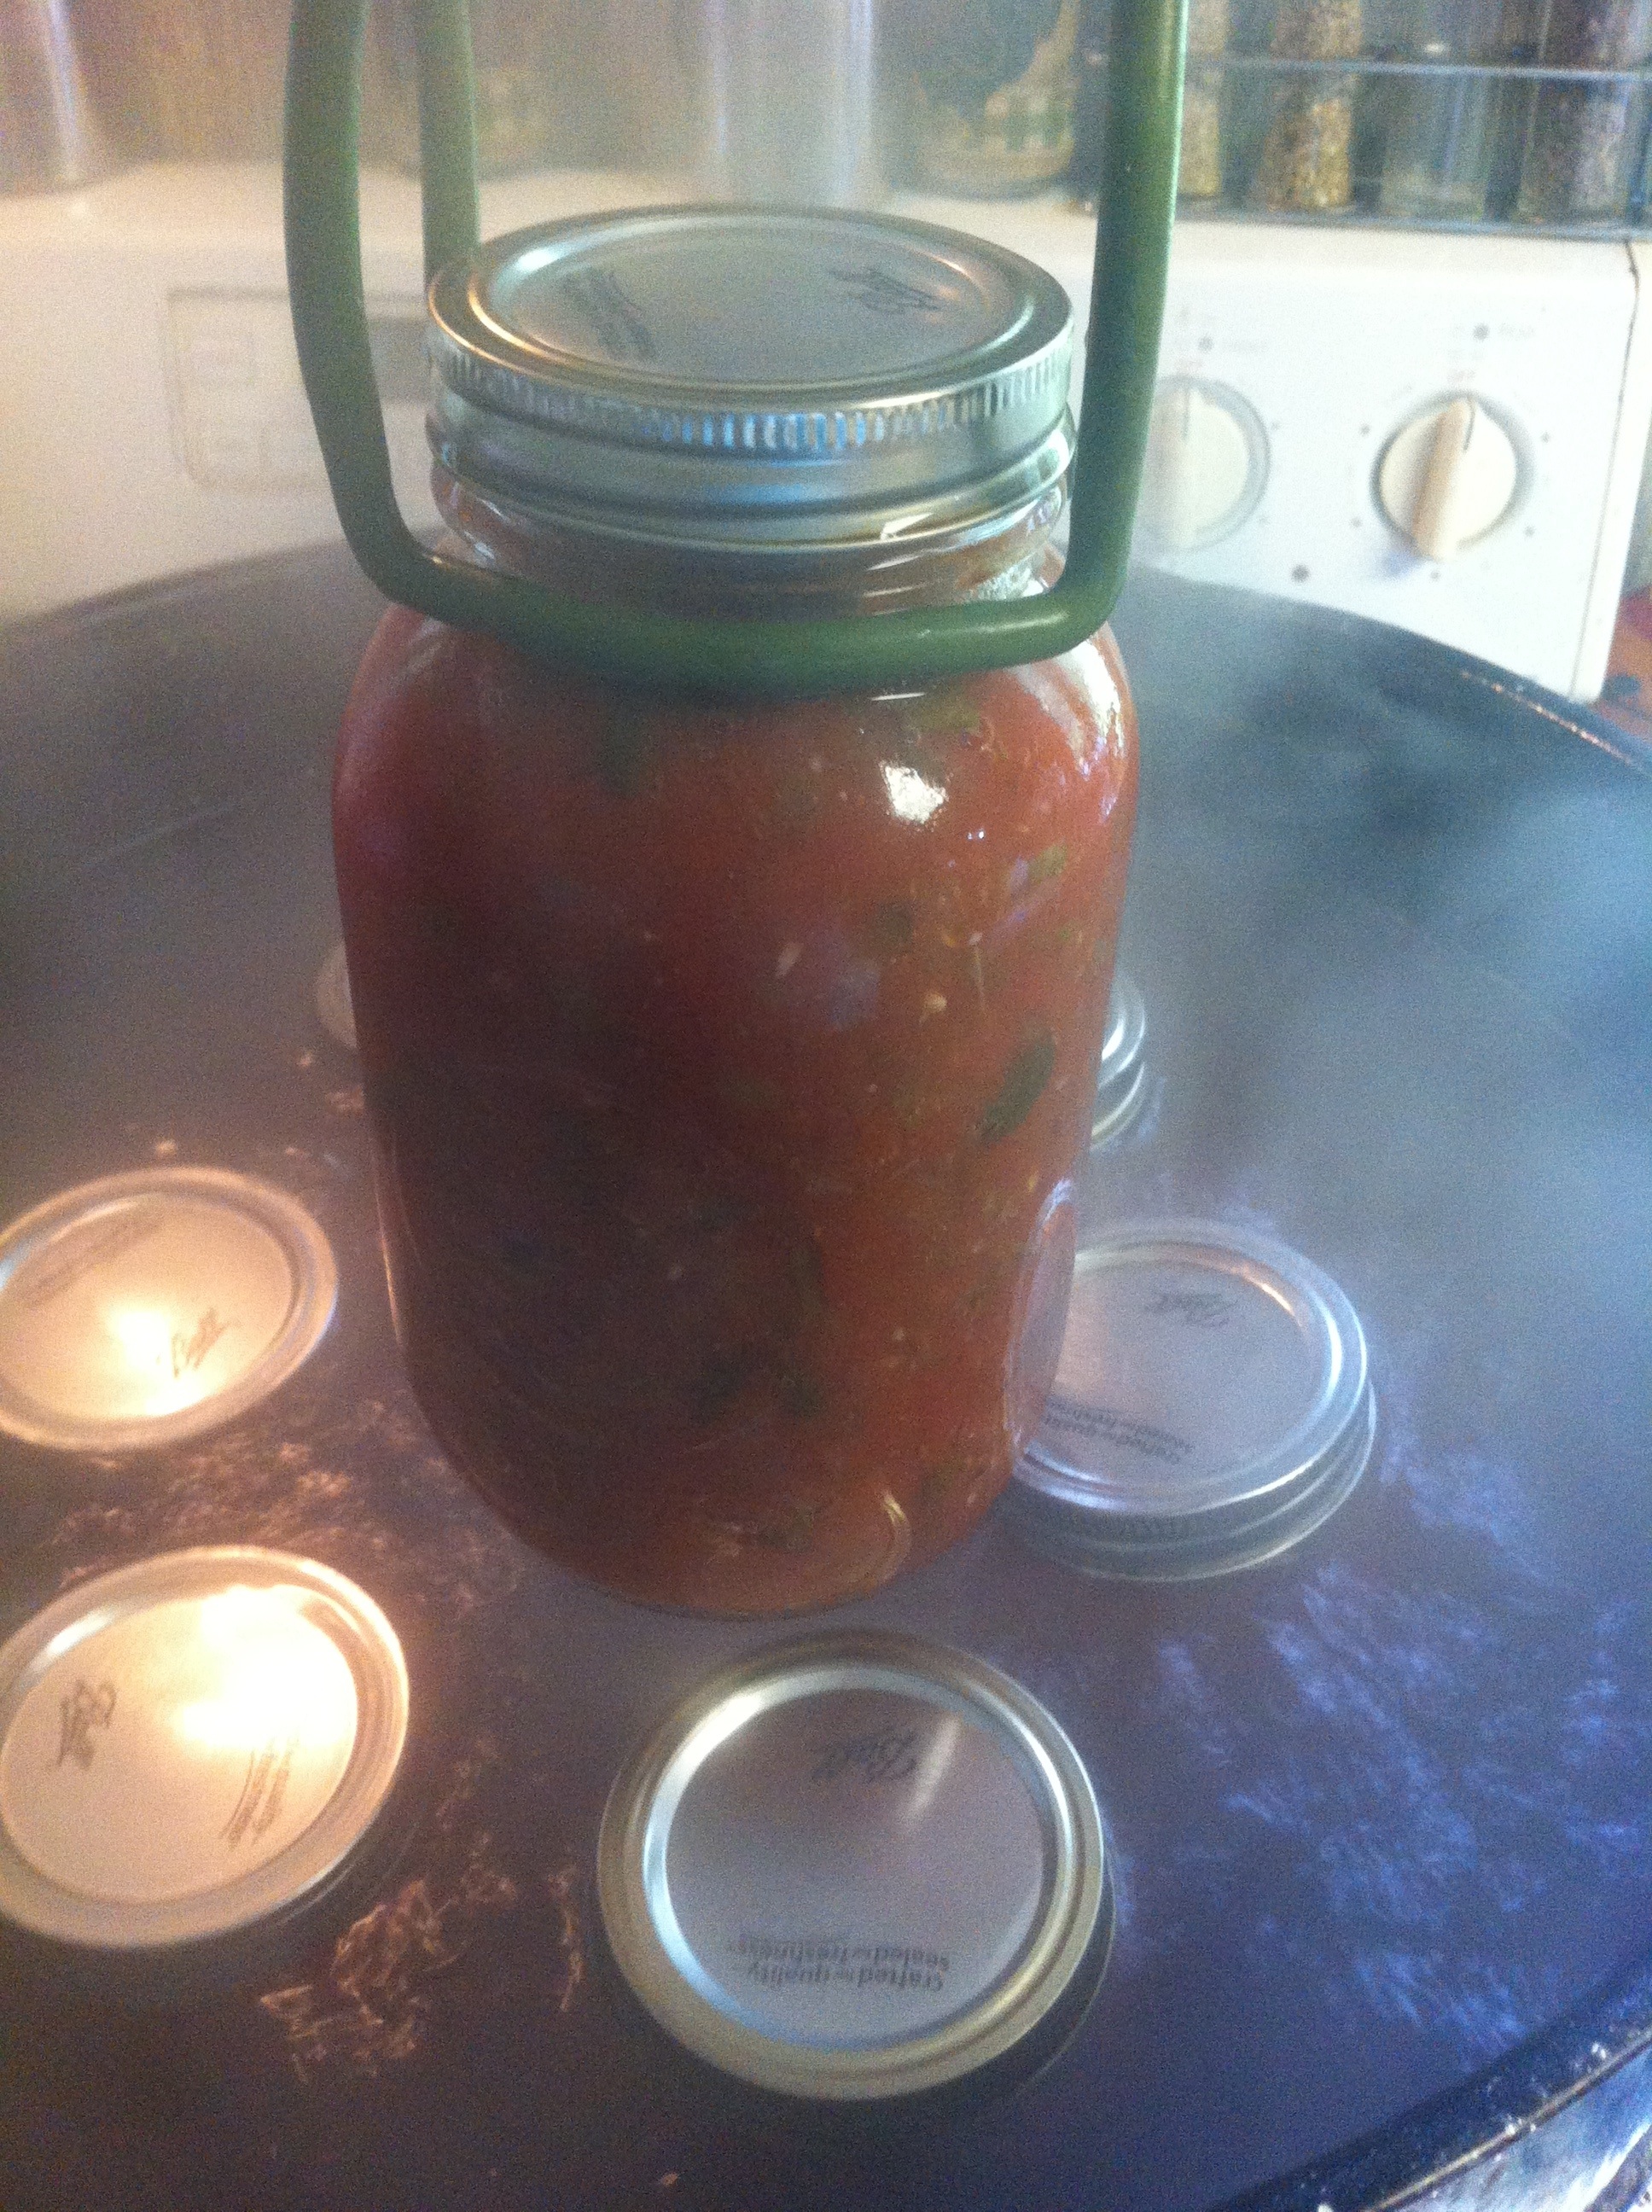
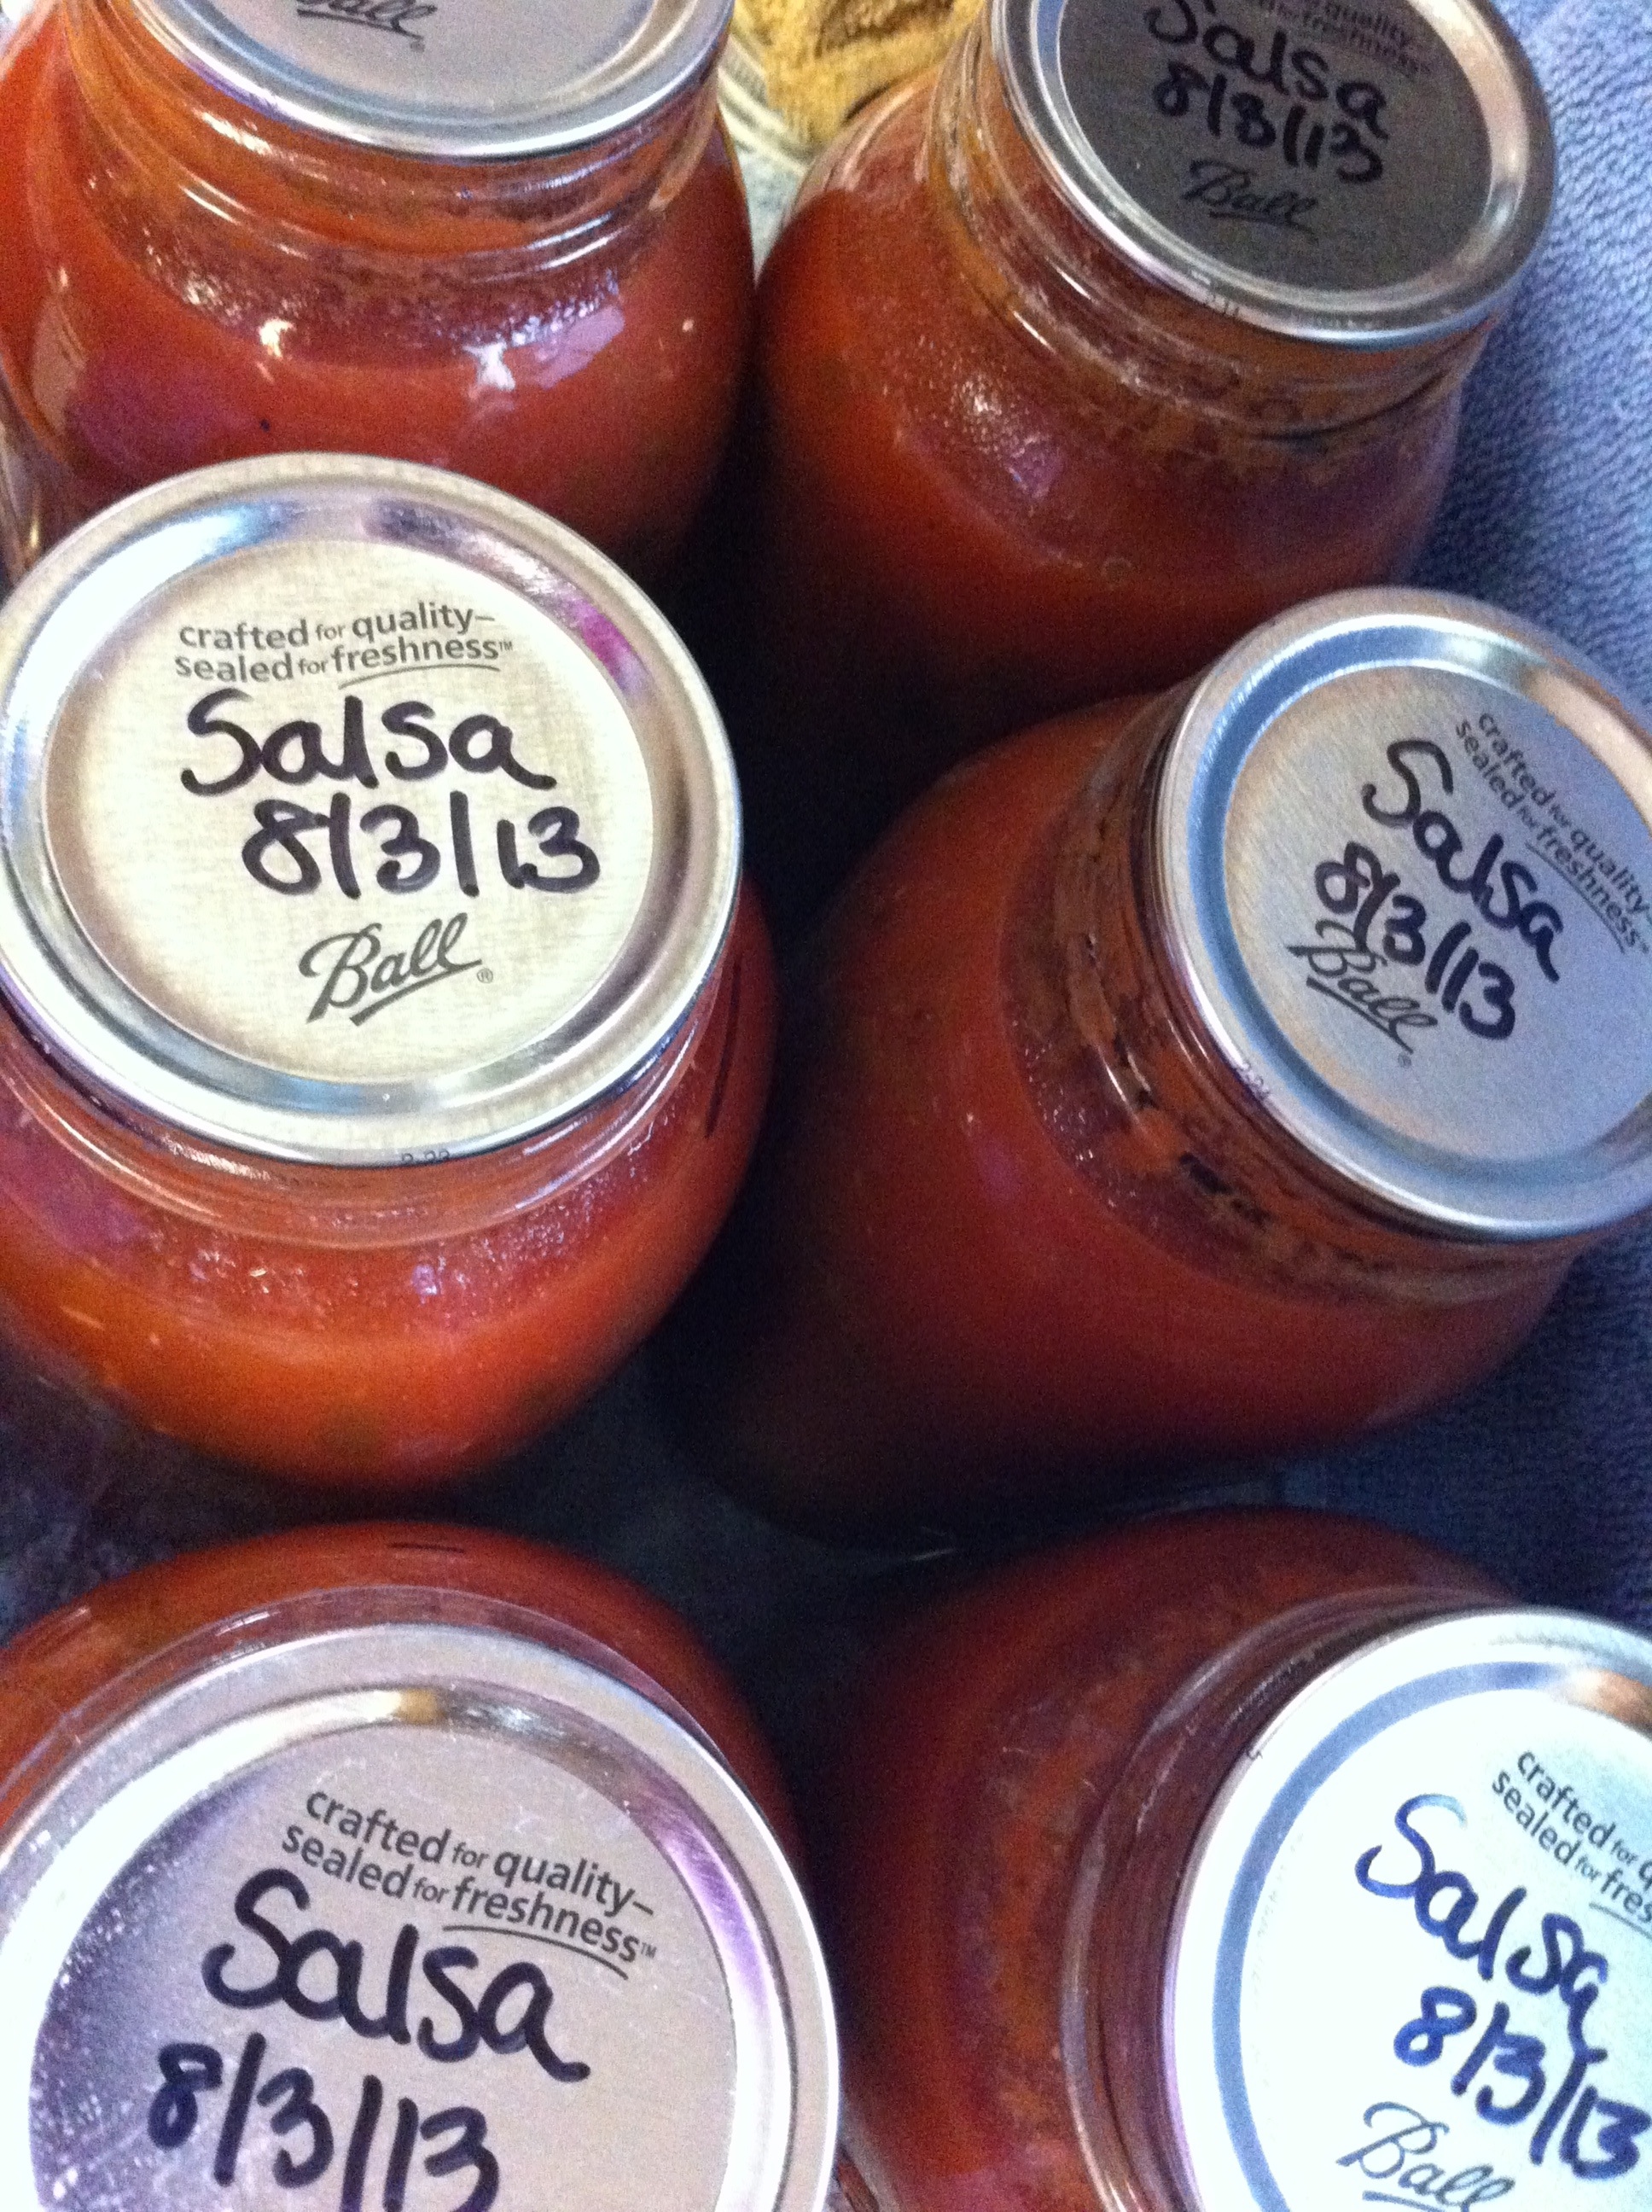
When the jars have been sterilized {I place them on the sanitize setting in the dishwasher and then once cleaned put in a 170 degree oven until I am ready to fill them}, bring the salsa back up to a boil. Fill the jars, leaving a 1″ headspace. Wipe rims with a clean, damp rag or paper towel and adjust 2 piece caps until *just* finger tight. Process quarts 45 minutes or pints 35 minutes in a hot water bath canner. When done processing, place hot jars on a towel-lined surface and place another towel on top of jars until cool. This helps keep the cooler air from cracking the very hot jars. Once cooled, check to make sure jars have sealed by gently pressing on center of lid. If it pops back, refrigerate and use. If not, label and store for later use!

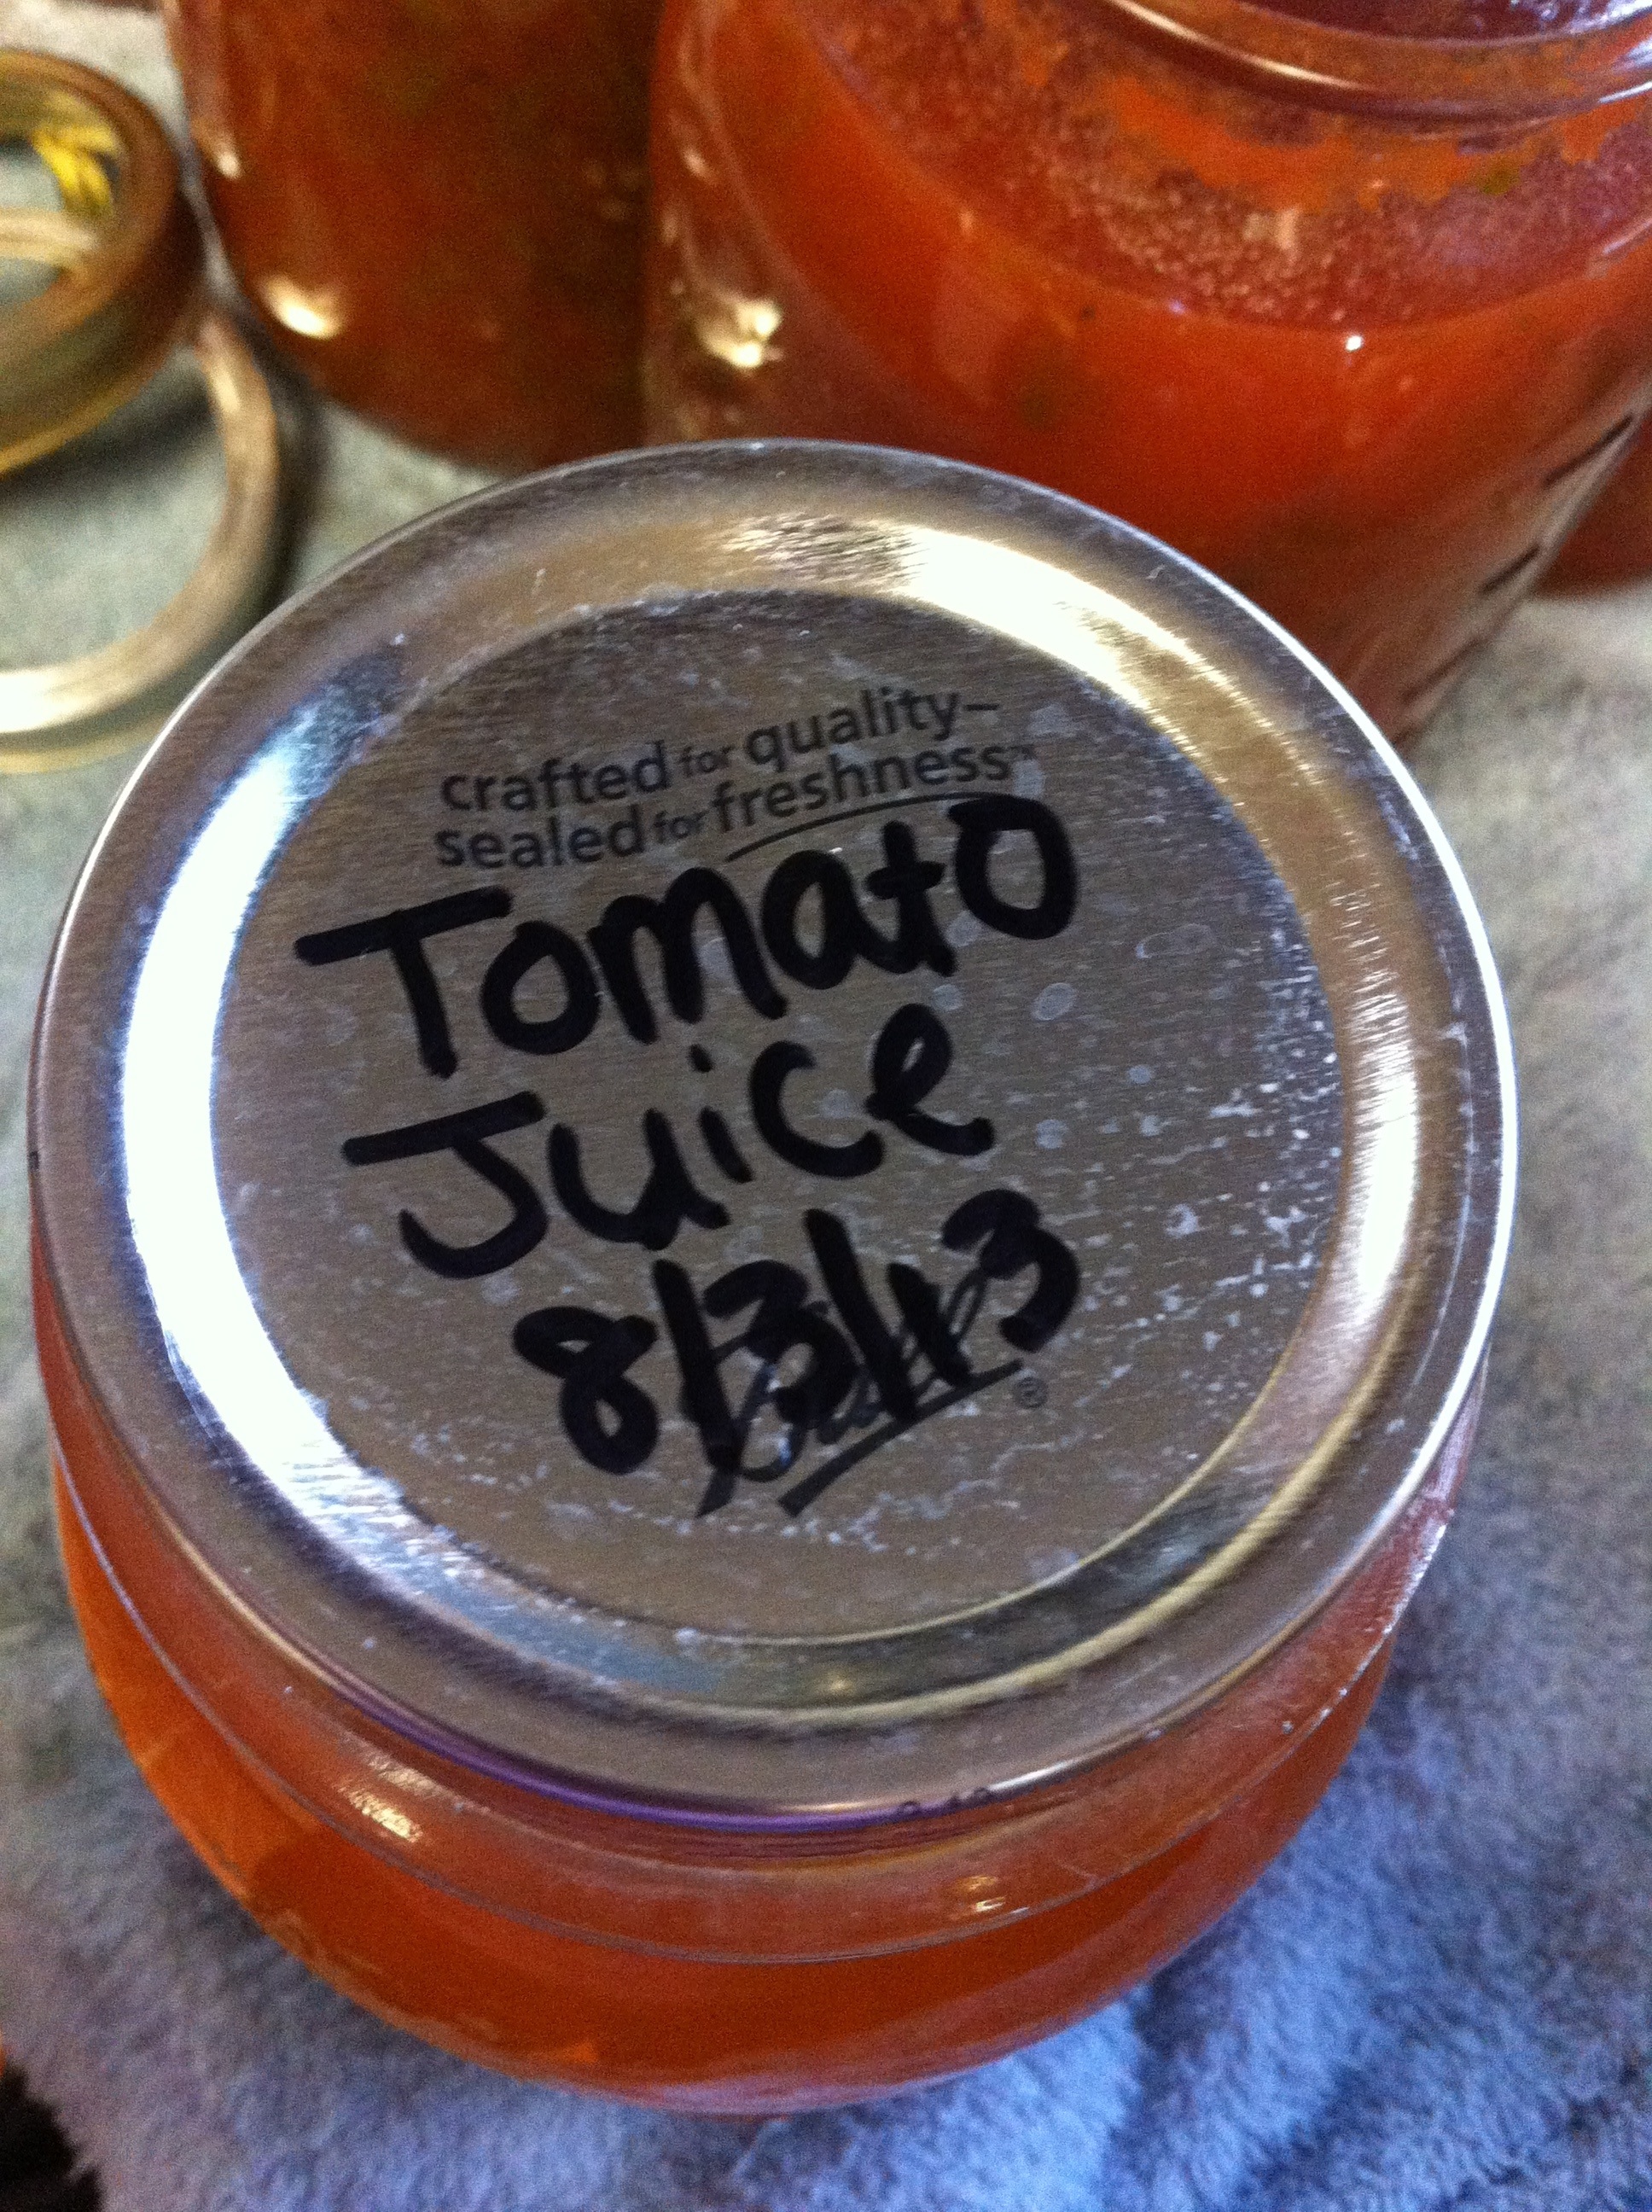
How to can the leftover tomato juice:
In the bowl where the tomatoes were previously you will be left with all of the juice/seeds that were squeezed out of the tomatoes. By all means don’t throw that out! Either run the juice through a strainer, or I ran it through the juicer, to get all of the seeds out. I can this tomato juice to use in soups and foods as well.
Fill sterilized jars with the tomato juice, 2 T of lemon juice or vinegar per quart {or 1 T/pint}, and 1 t of salt per quart {1/2 t/pint}. Wipe rims and adjust 2 piece cap until *just* finger tight. Process 35 minutes for pints, 45 minutes for quarts in a hot water canner.
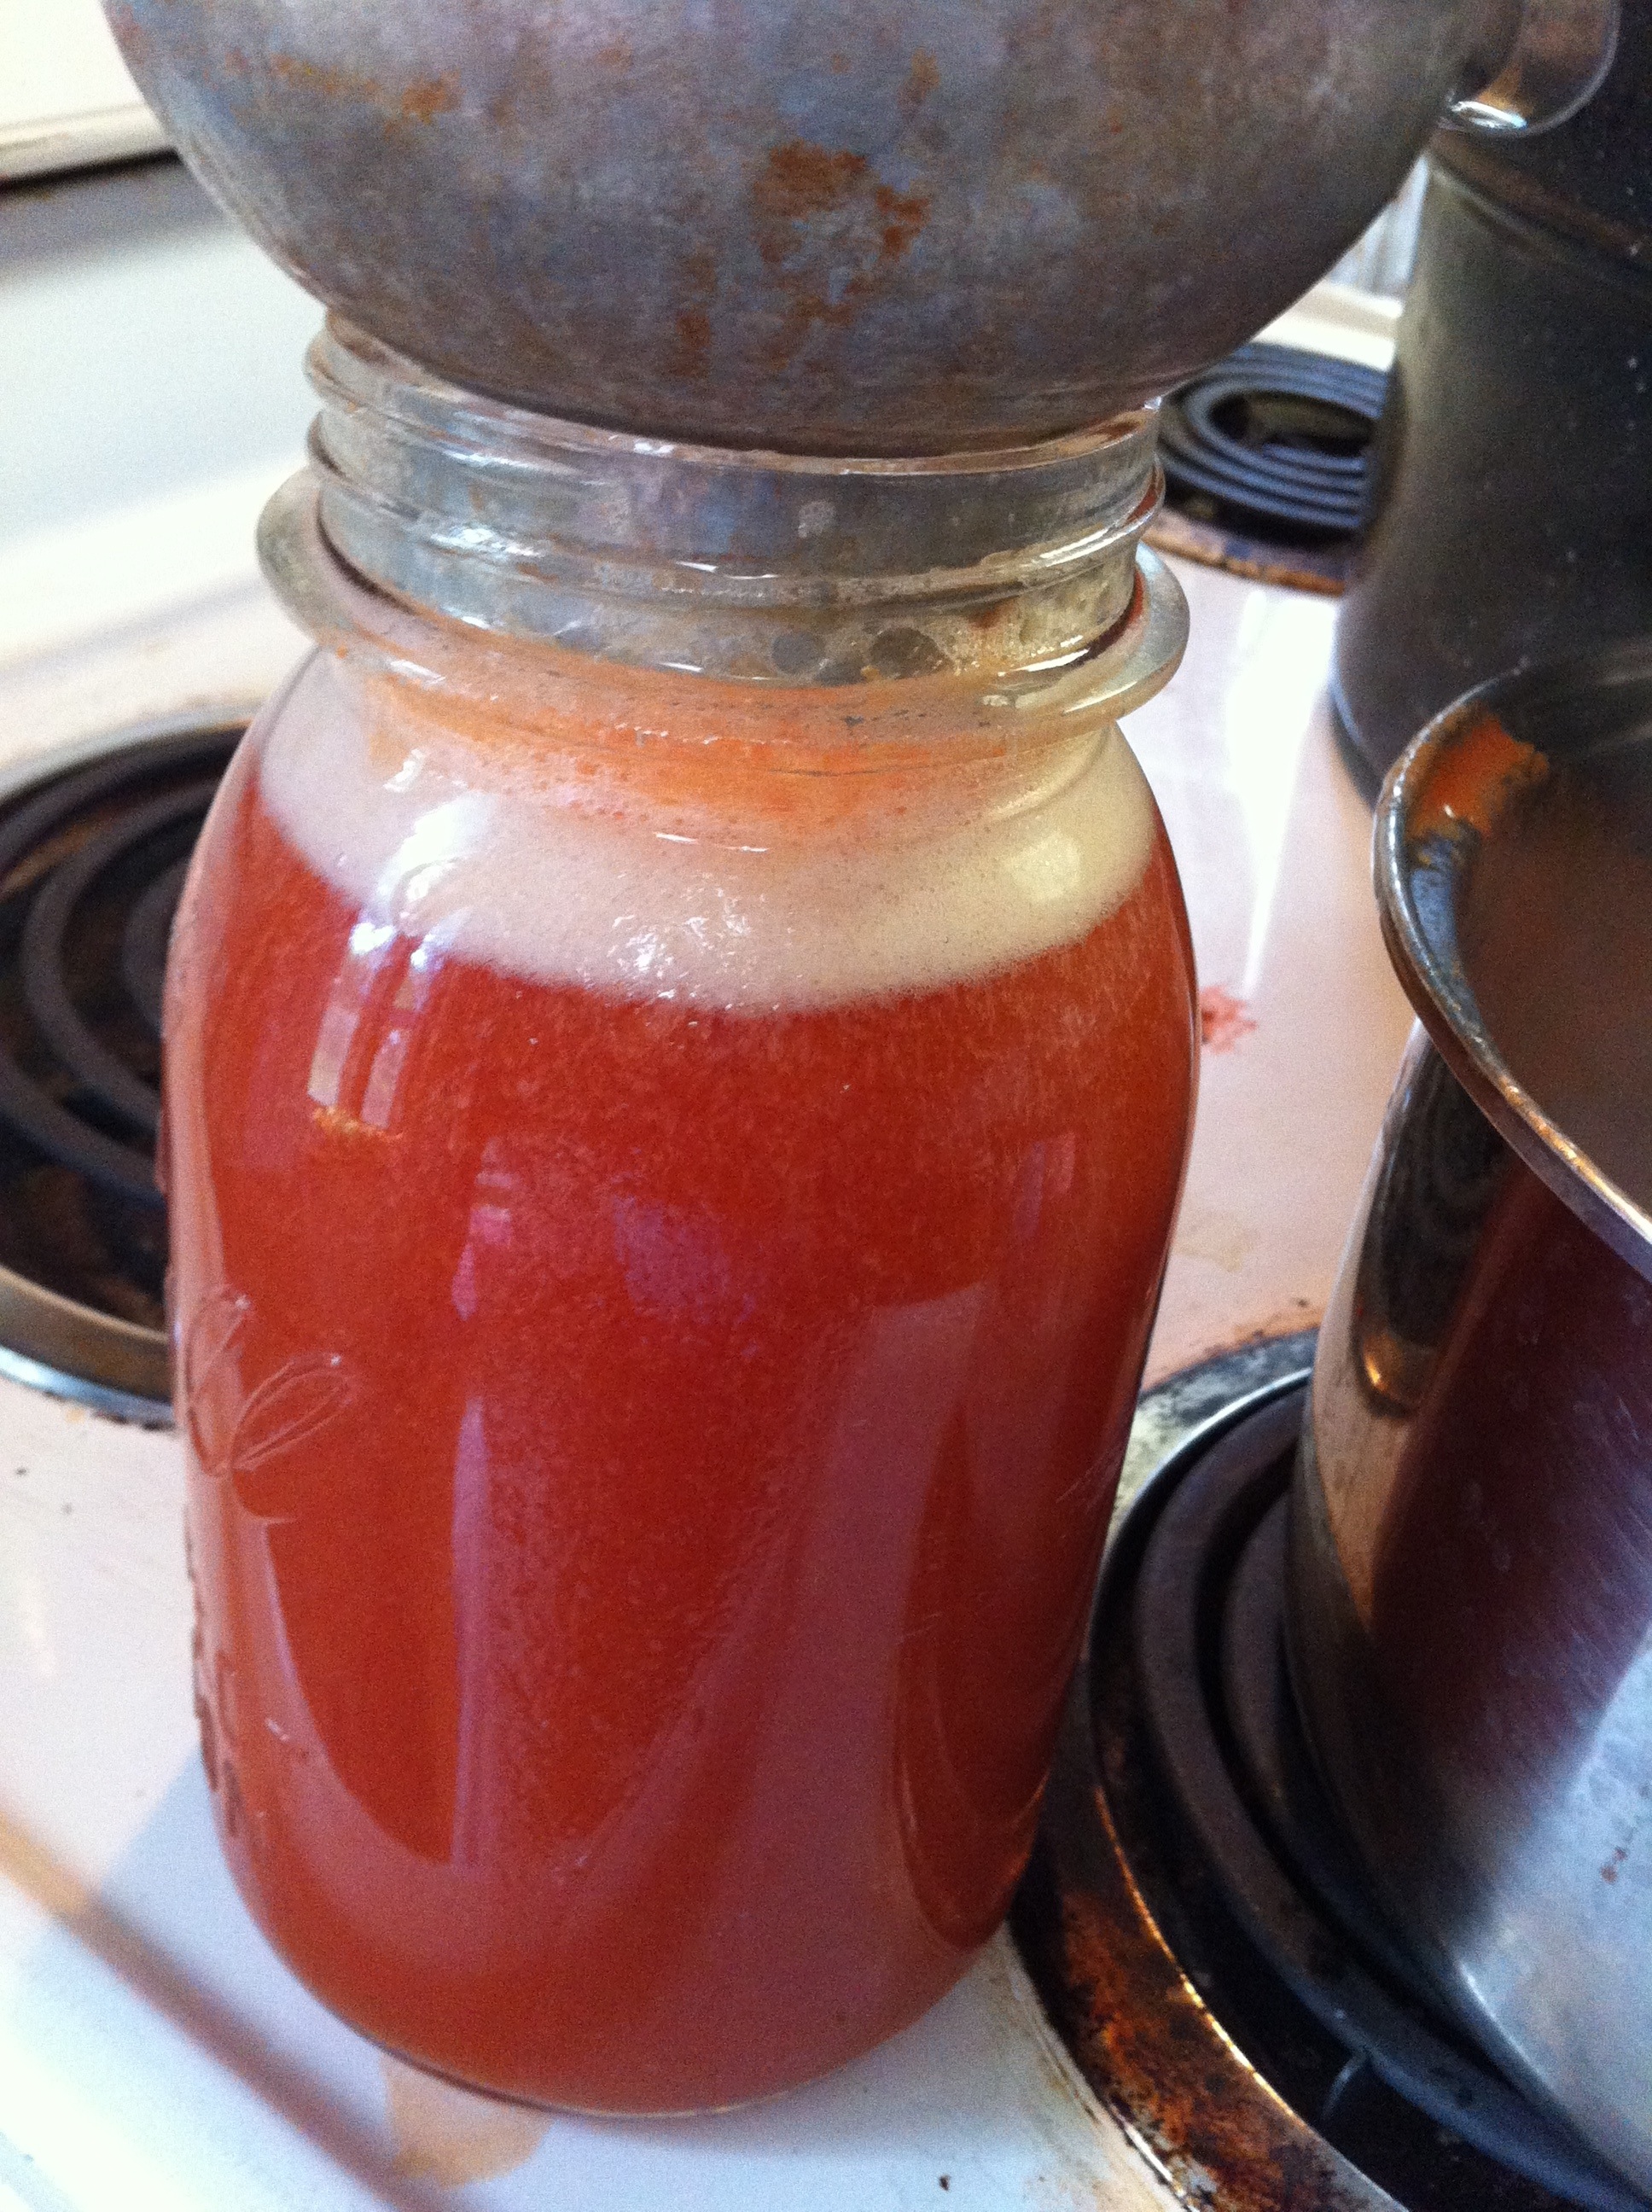
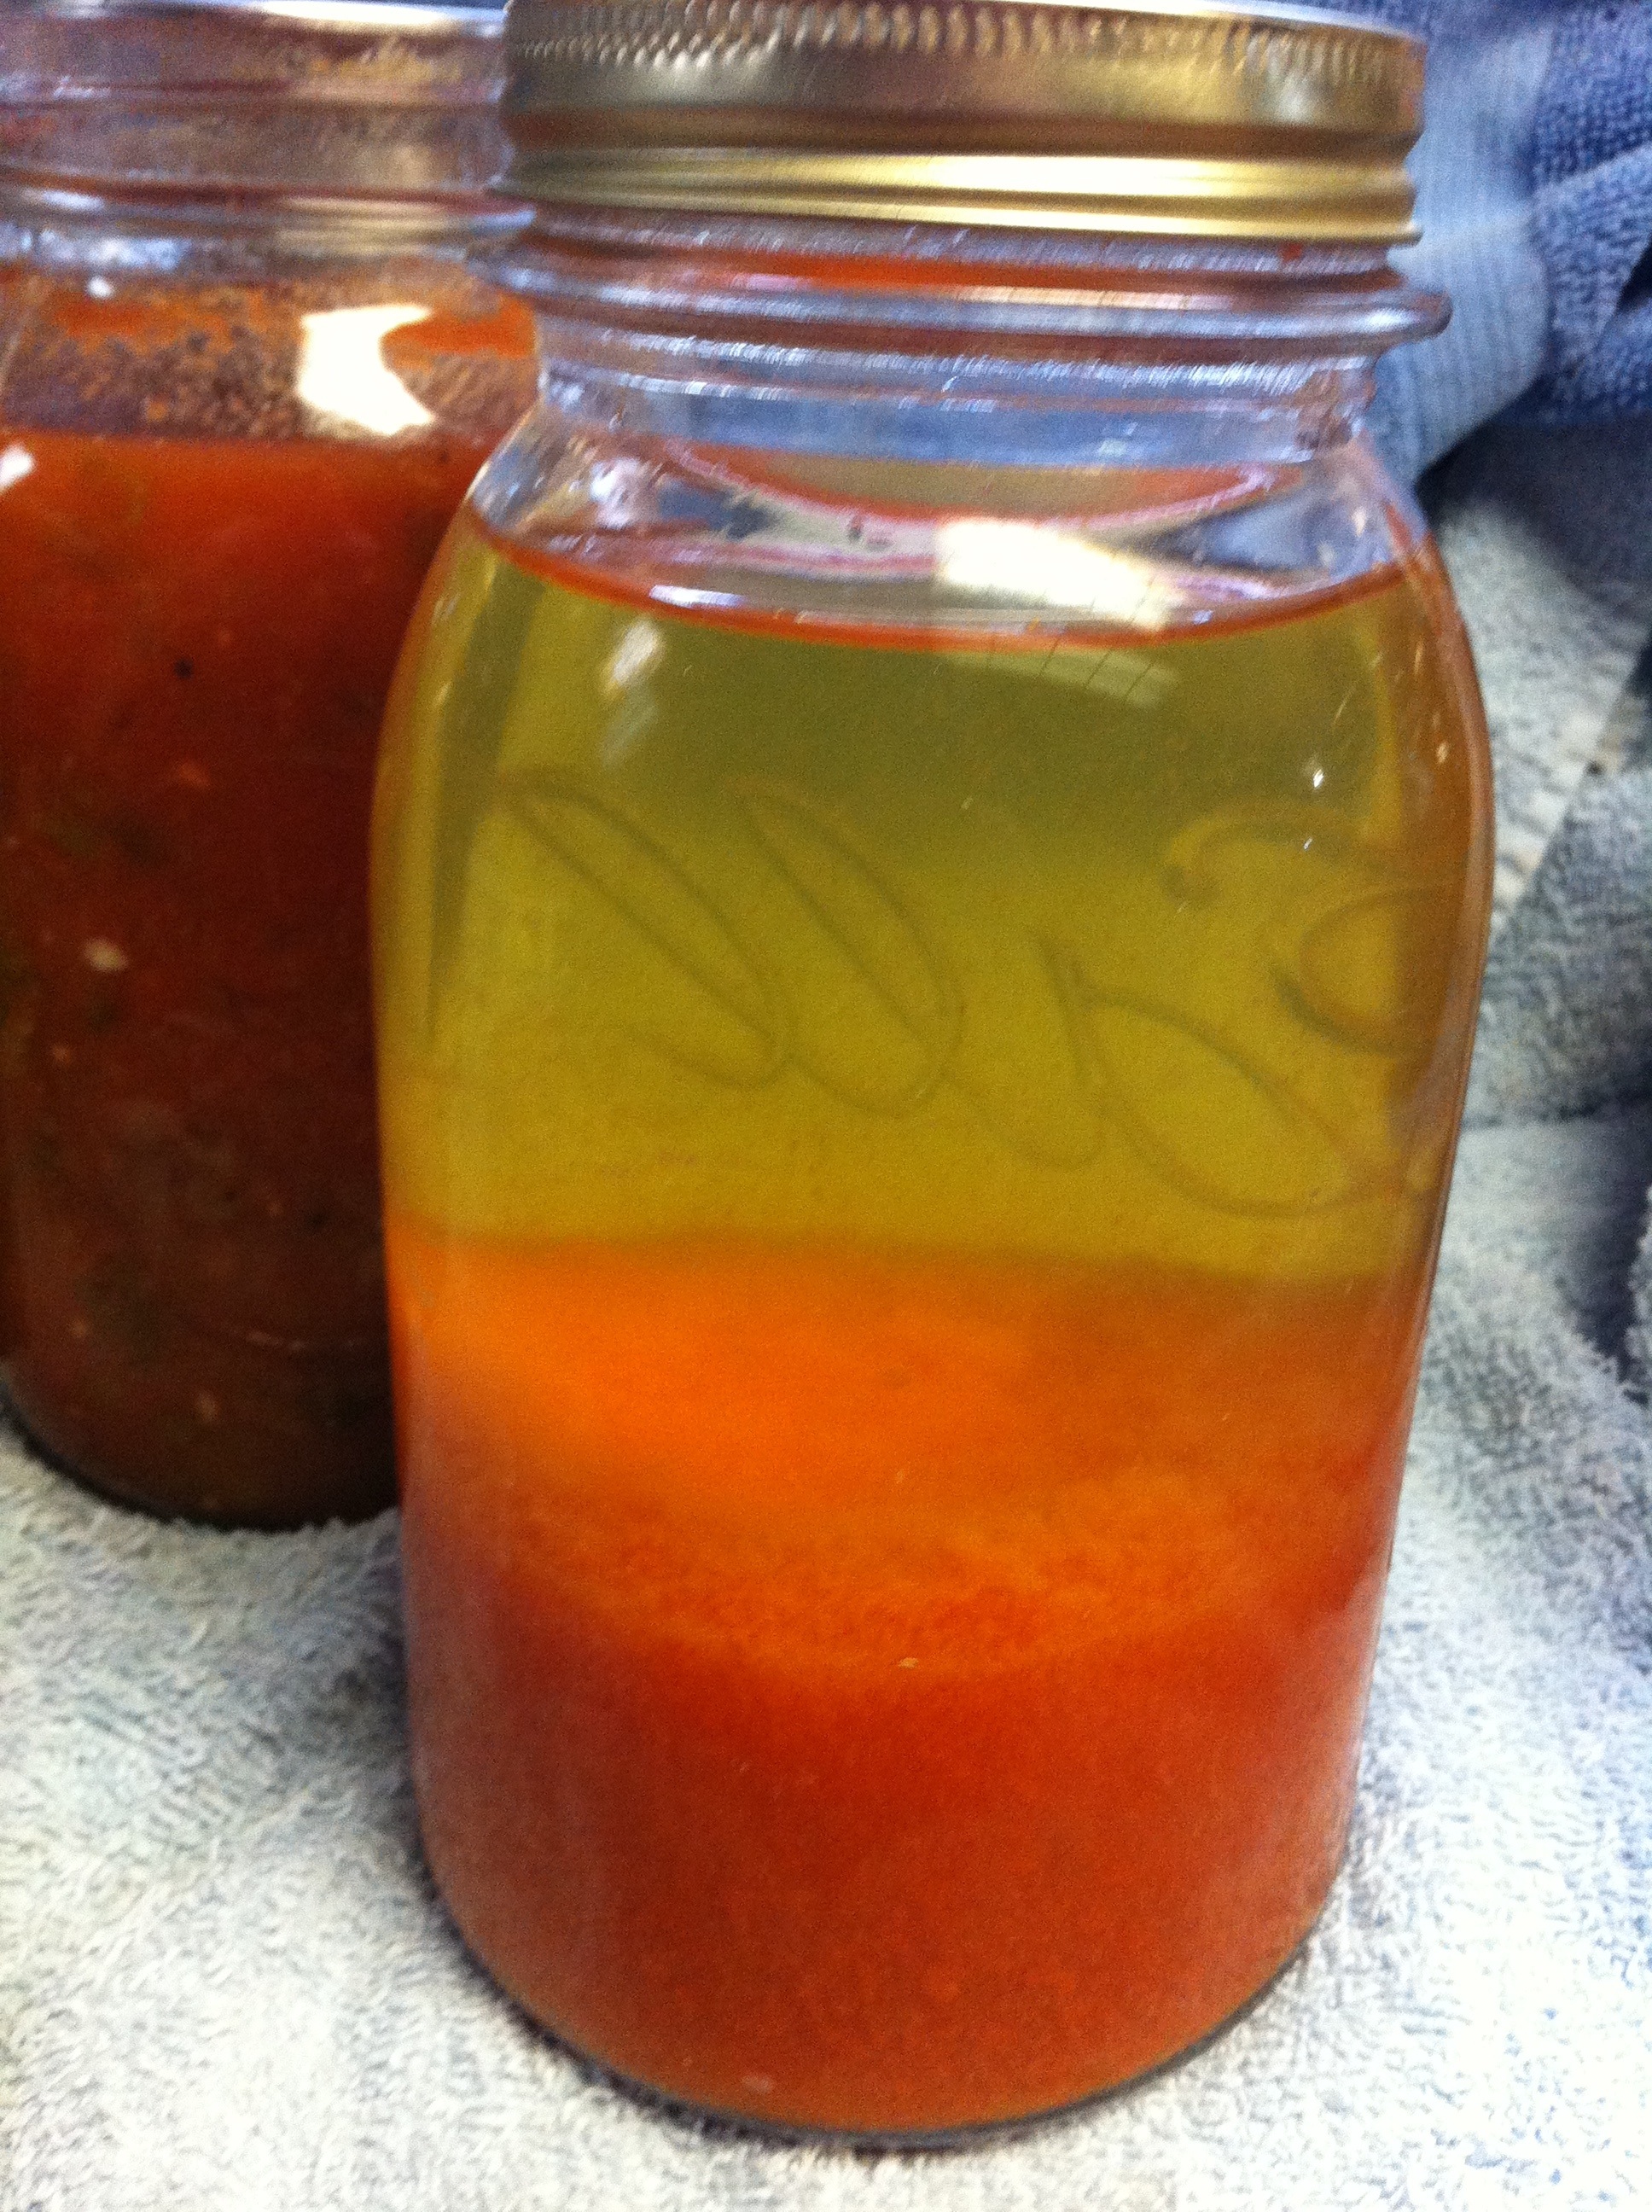
When the jars cool you will notice that the water separates from the tomato pulp part. This is okay. When ready to use, just give a little shake to mix it back up.
If you enjoyed this post you may also like…
Homemade Ketchup {for canning}

Homemade Ketchup {for canning}
Heirloom Tomato Basil Soup {for canning}
Heirloom Tomato Basil Soup {for canning}

Pingback: Heirloom Tomato Basil Soup {for canning} |
Pingback: Homemade Ketchup {for canning} |
Pingback: Sofrito {for canning} |
Pingback: Crockpot Chili |
Pingback: Tart Cherry Pie Jam |
Pingback: Quick and Flavorful Blender Salsa (Using The Ninja Chef Duo Blender) |