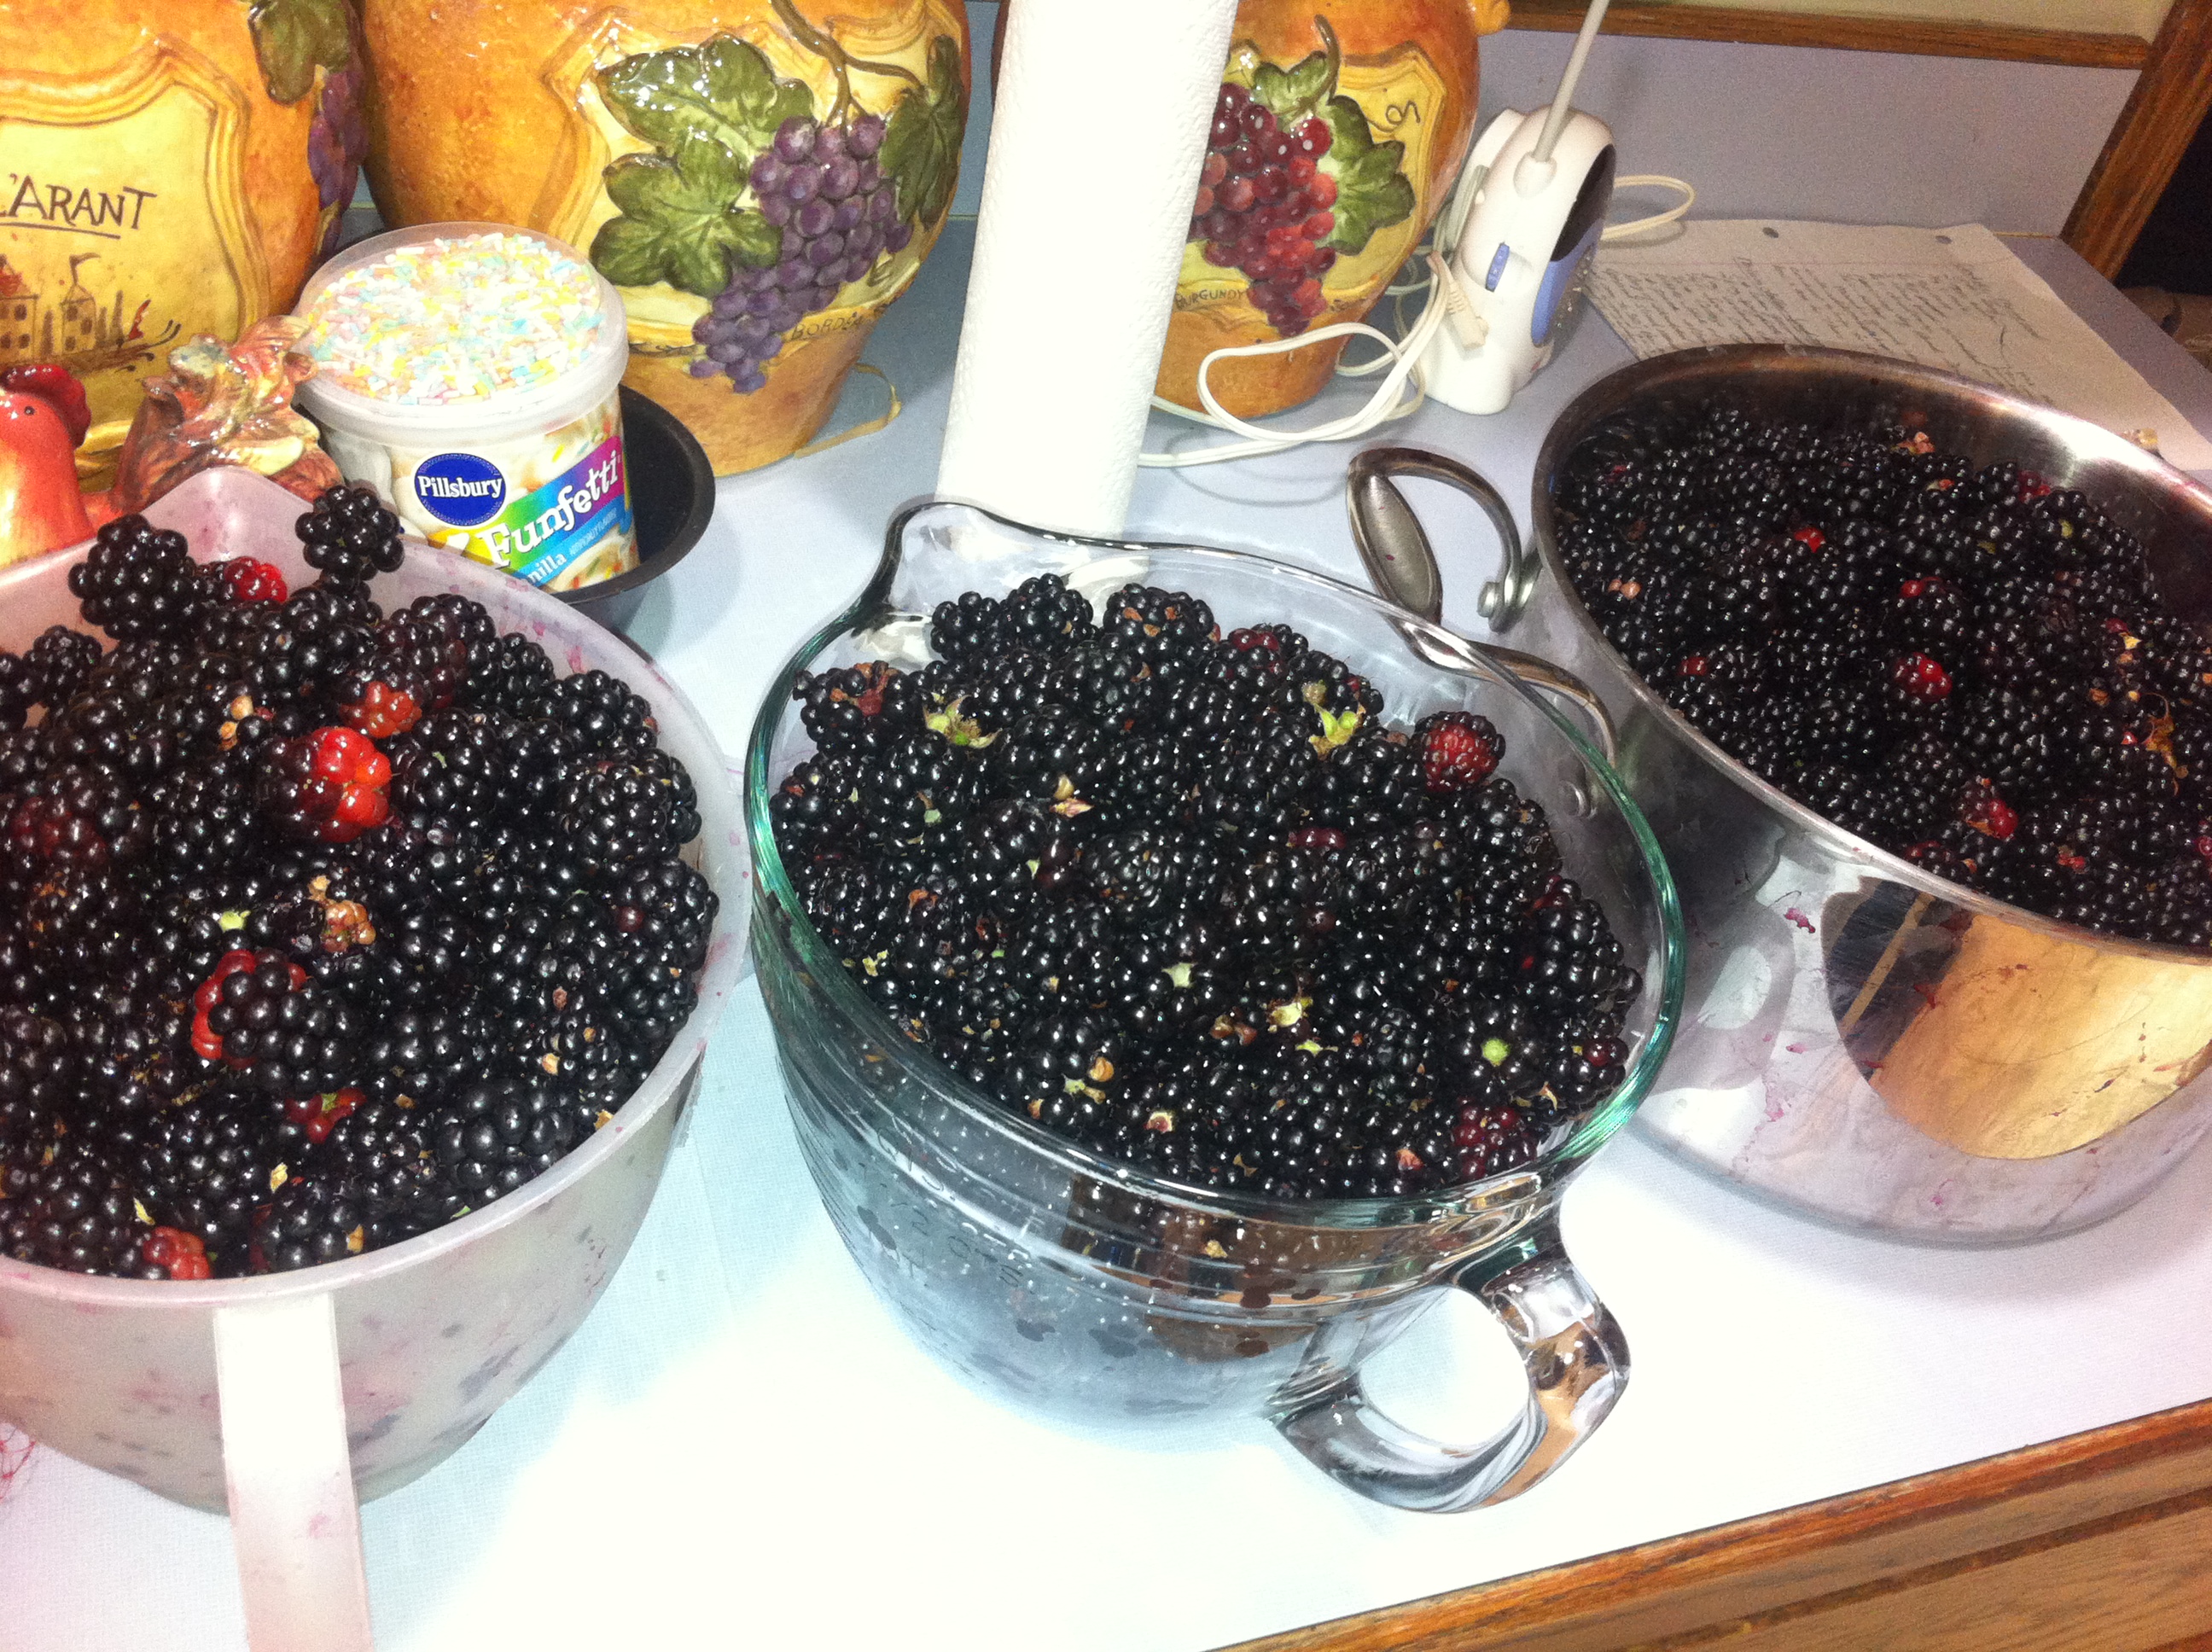
 Last summer we were fortunate enough to acquire some beautifully plump and ripe blackberries from an aunt that has amazing blackberry bushes. I had very good intentions at the time of taking them home and making a lovely jam right away. Unfortunately life, and other gardening and canning duties, took priority over the blackberries. They have since been tucked away in the cold and dark freezer, nestled in freezer bags, waiting patiently for me in their dormant state to get the energy and desire to do something with them. This past week was the time.
  I realized I wasn’t doing myself any favors by ignoring them any longer {now that we have our garden planted and will soon need the currently occupied freezer space to be emptied for the soon-coming produce}.
Anyway, what resulted in an afternoon was 3 lovely blackberry jam flavors. The recipe that I will be sharing with you today is the Blackberry Orange Jam {which ranked number one among my little clan of taste testers}. It is pretty tasty and I am happy with the results. Sweet, but not too sweet, ending with a touch of citrus flavor. The orangy-citrus flavor was achieved by using some frozen orange juice concentrate, which worked out very well. I also de-seeded the blackberries, because I don’t care for seeds in my jams, but if you would like to omit the de-seeding step, by all means that is fine as well.
I used the Ball RealFruit Low or No-Sugar Needed Pectin. 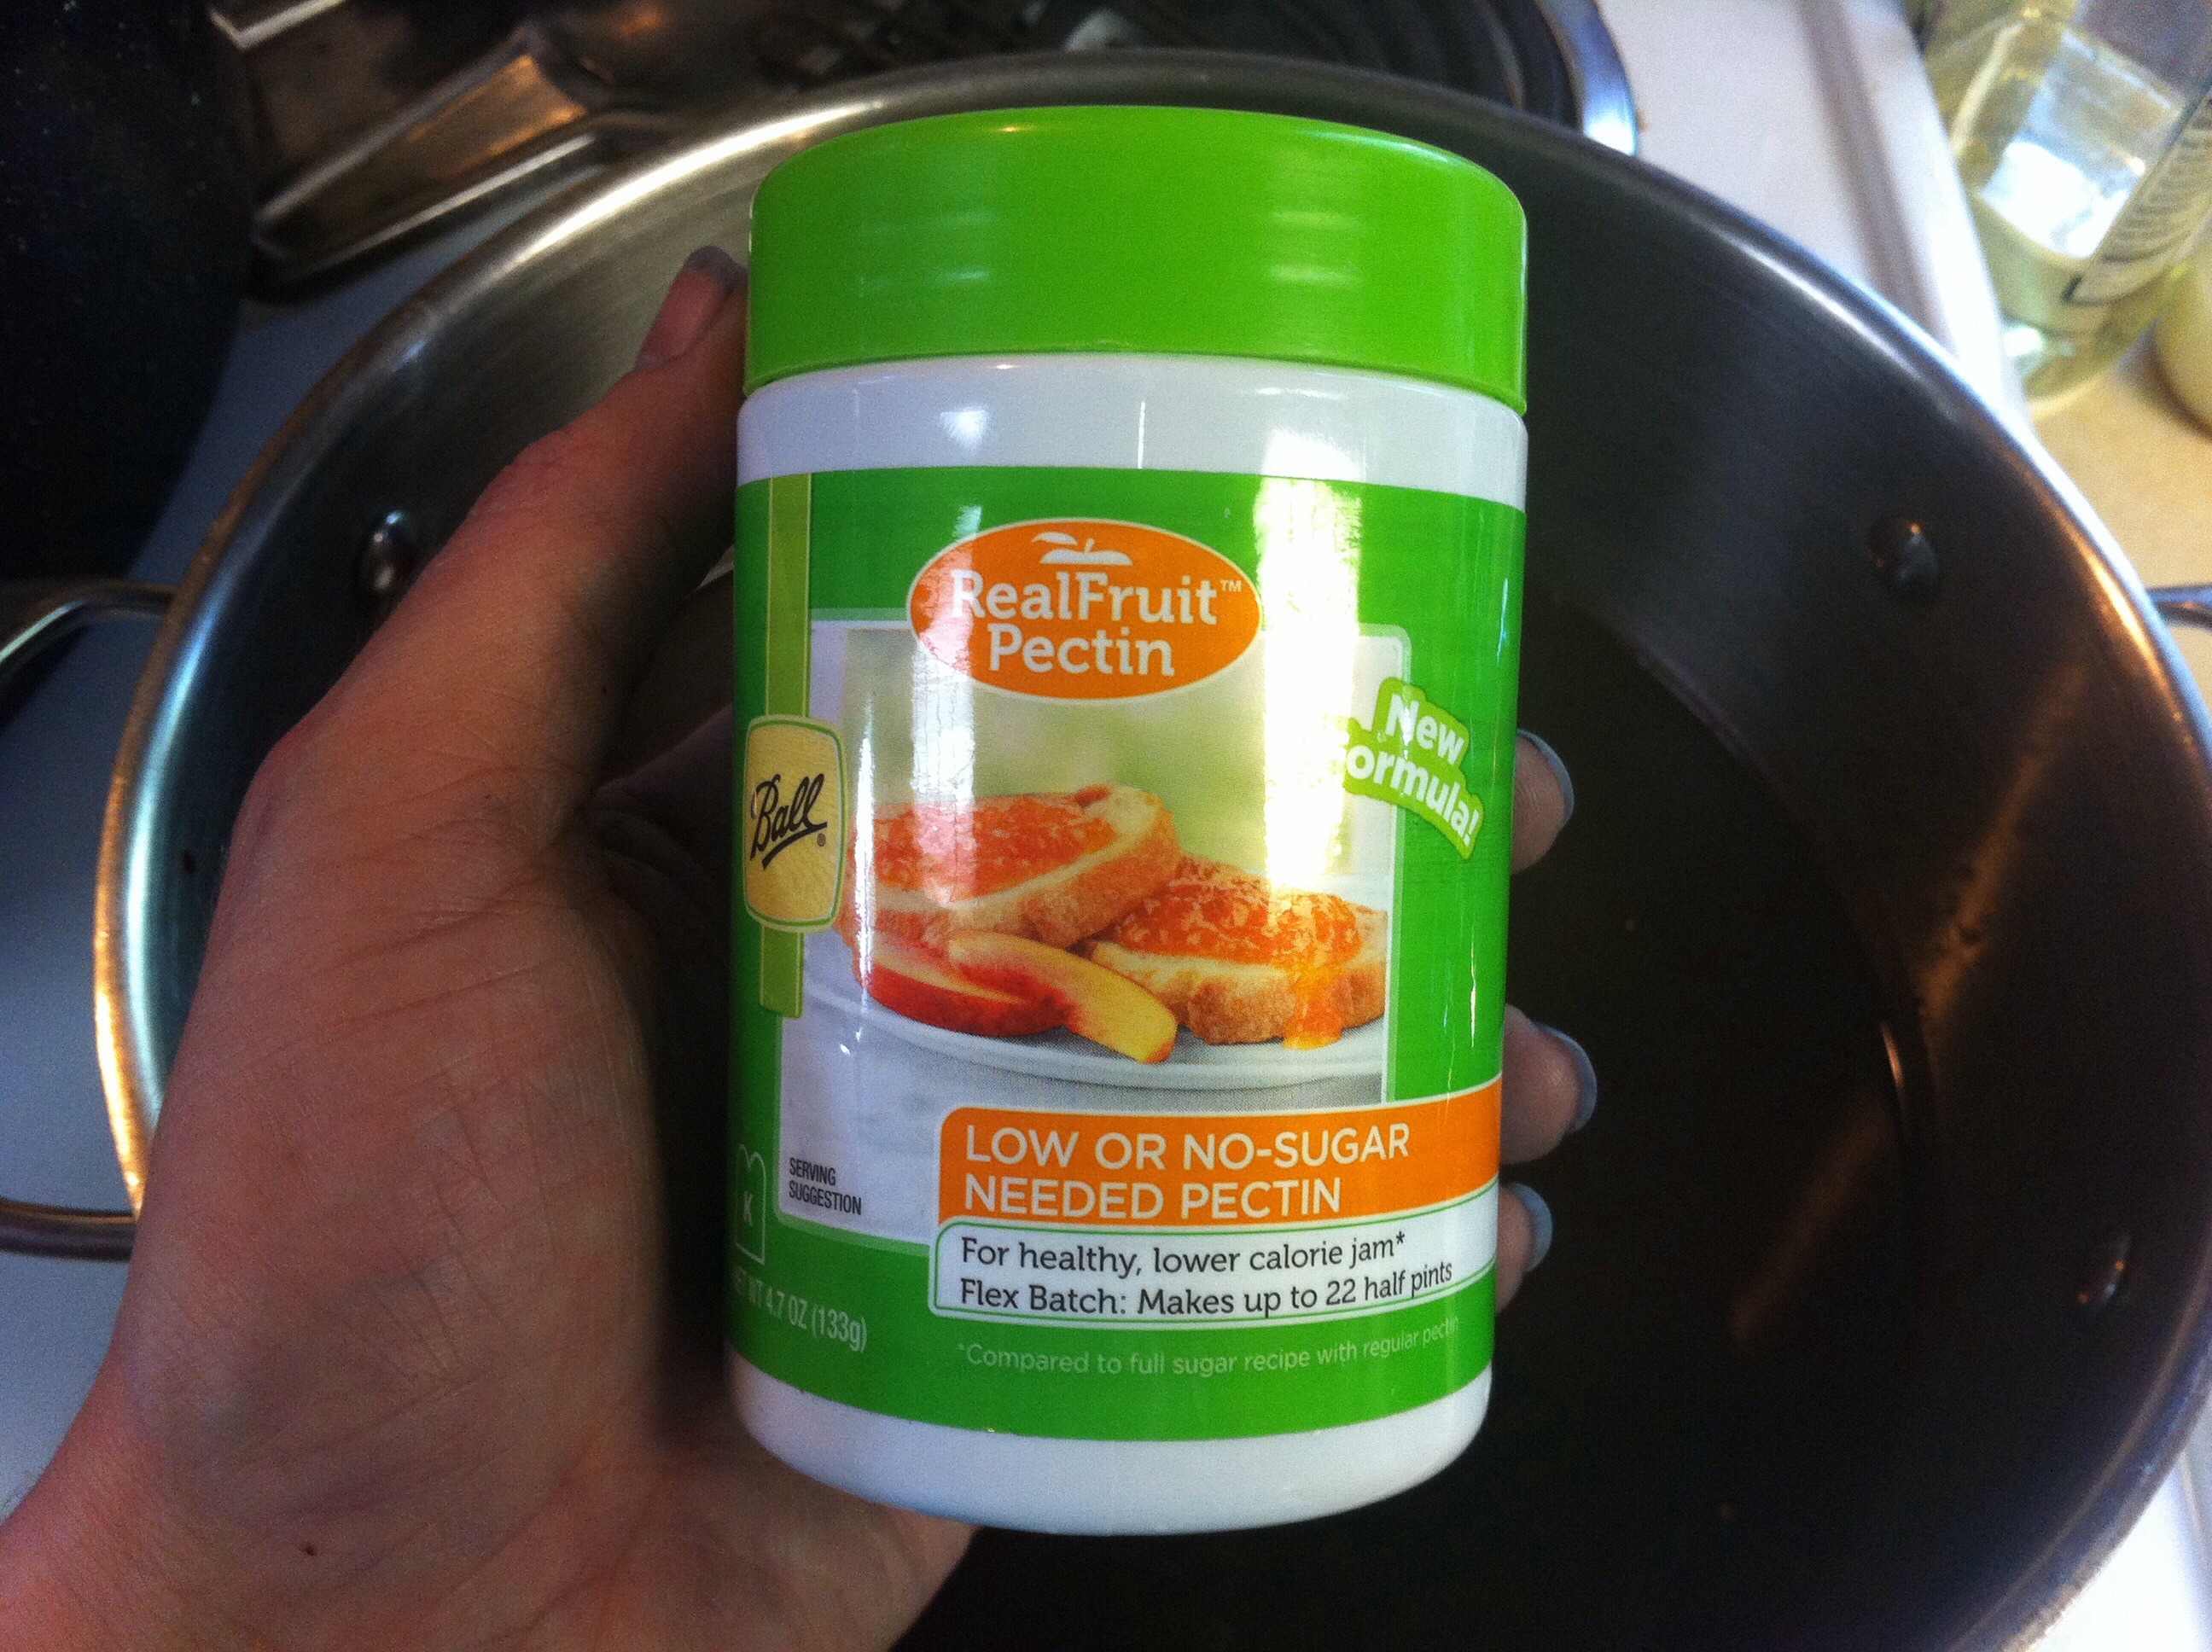 I decided to use this because when using regular pectin, recipes normally call for HUGE amounts of sugar, which I don’t really care for. Using a lower or no-sugar pectin allows the flexibility to use no sugar at all, or use a bit more than a “low-sugar” recipe, but much less than what is usually used in making regular pectin-made jams.
If you are looking for a wonderful variation on a standard blackberry jam, this may be the recipe for you. Try it out and let me know how you like this Blackberry Orange Jam. Make sure to keep an eye out in the near future for the other two flavors I will be posting: Cinnamon Vanilla Blackberry Jam and Blackberry Vanilla Lime Jam. Enjoy! -Shelley.
Blackberry Orange Jam
*makes approximately 6 half-pint jars of jam
4 c blackberry pulp/juice, de-seeded {this equals about 1/2 gallon, or 2 quarts, or 4 pints fresh/frozen fruit}
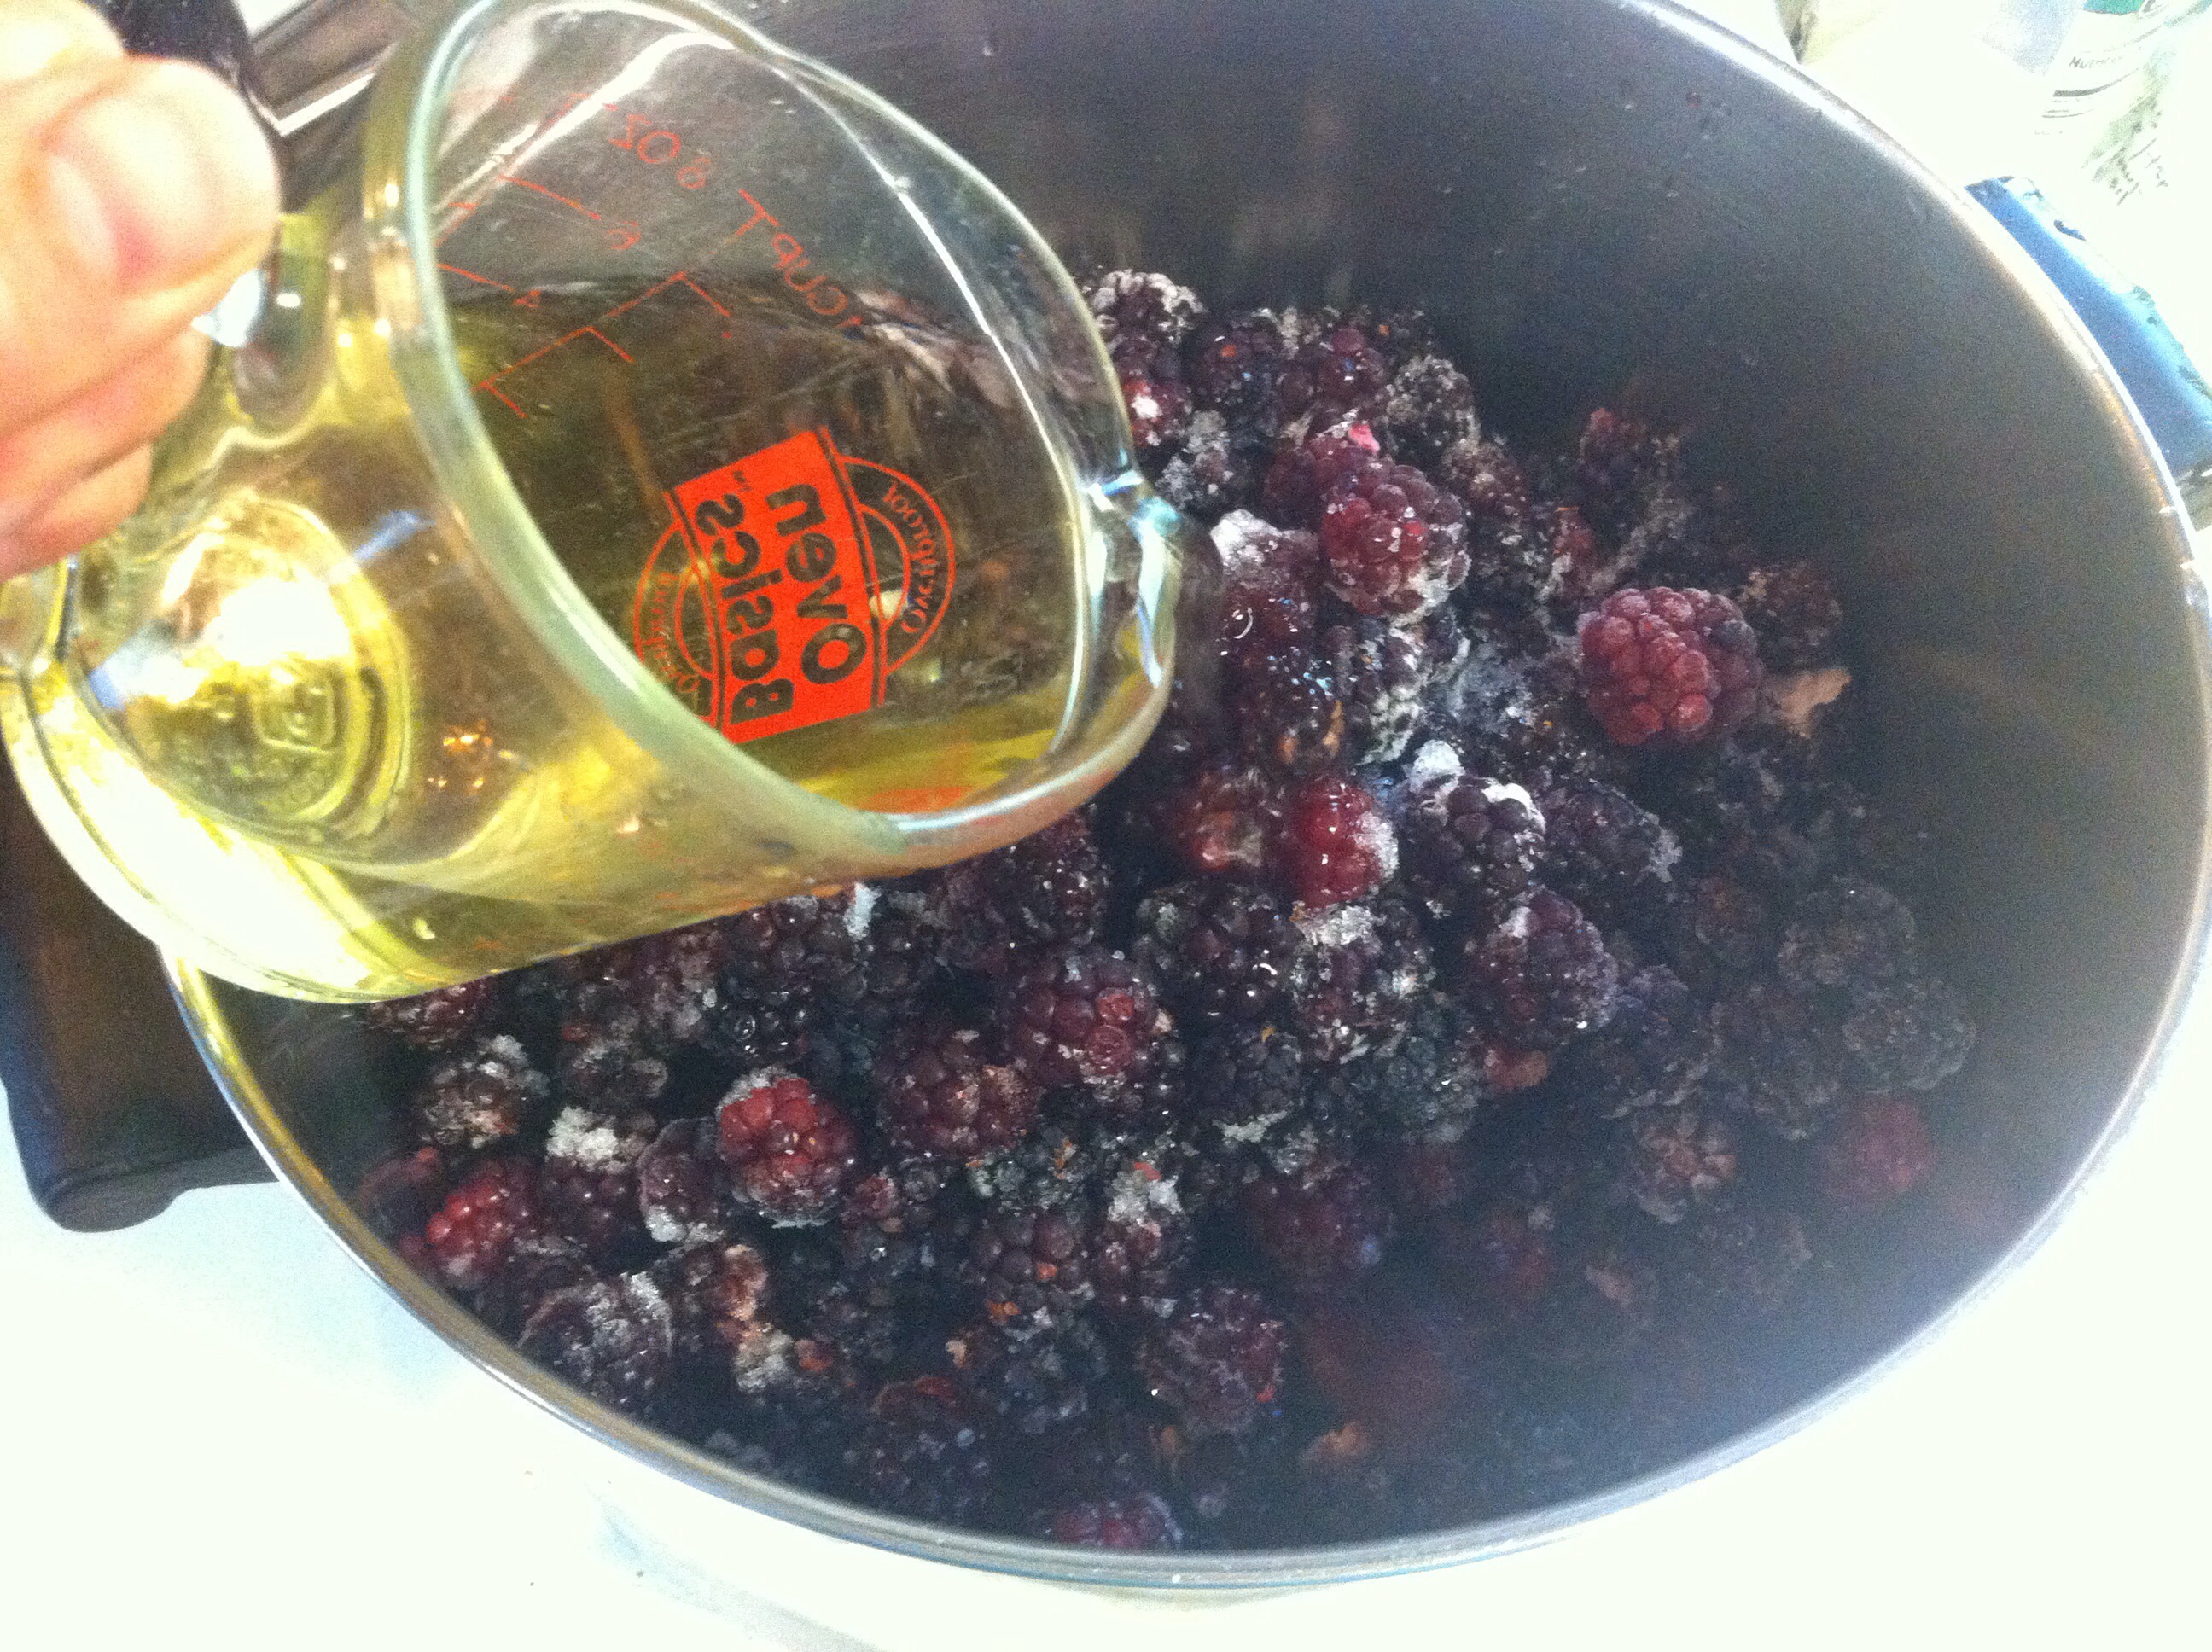
1/4 c apple juice for cooking berries down a bit before de-seeding {optional}
3/4 c frozen orange juice concentrate (thawed)
4 1/2 T low/no-sugar pectin
2 c sugar
1/2 t coconut oil {or butter} to help jam not to foam
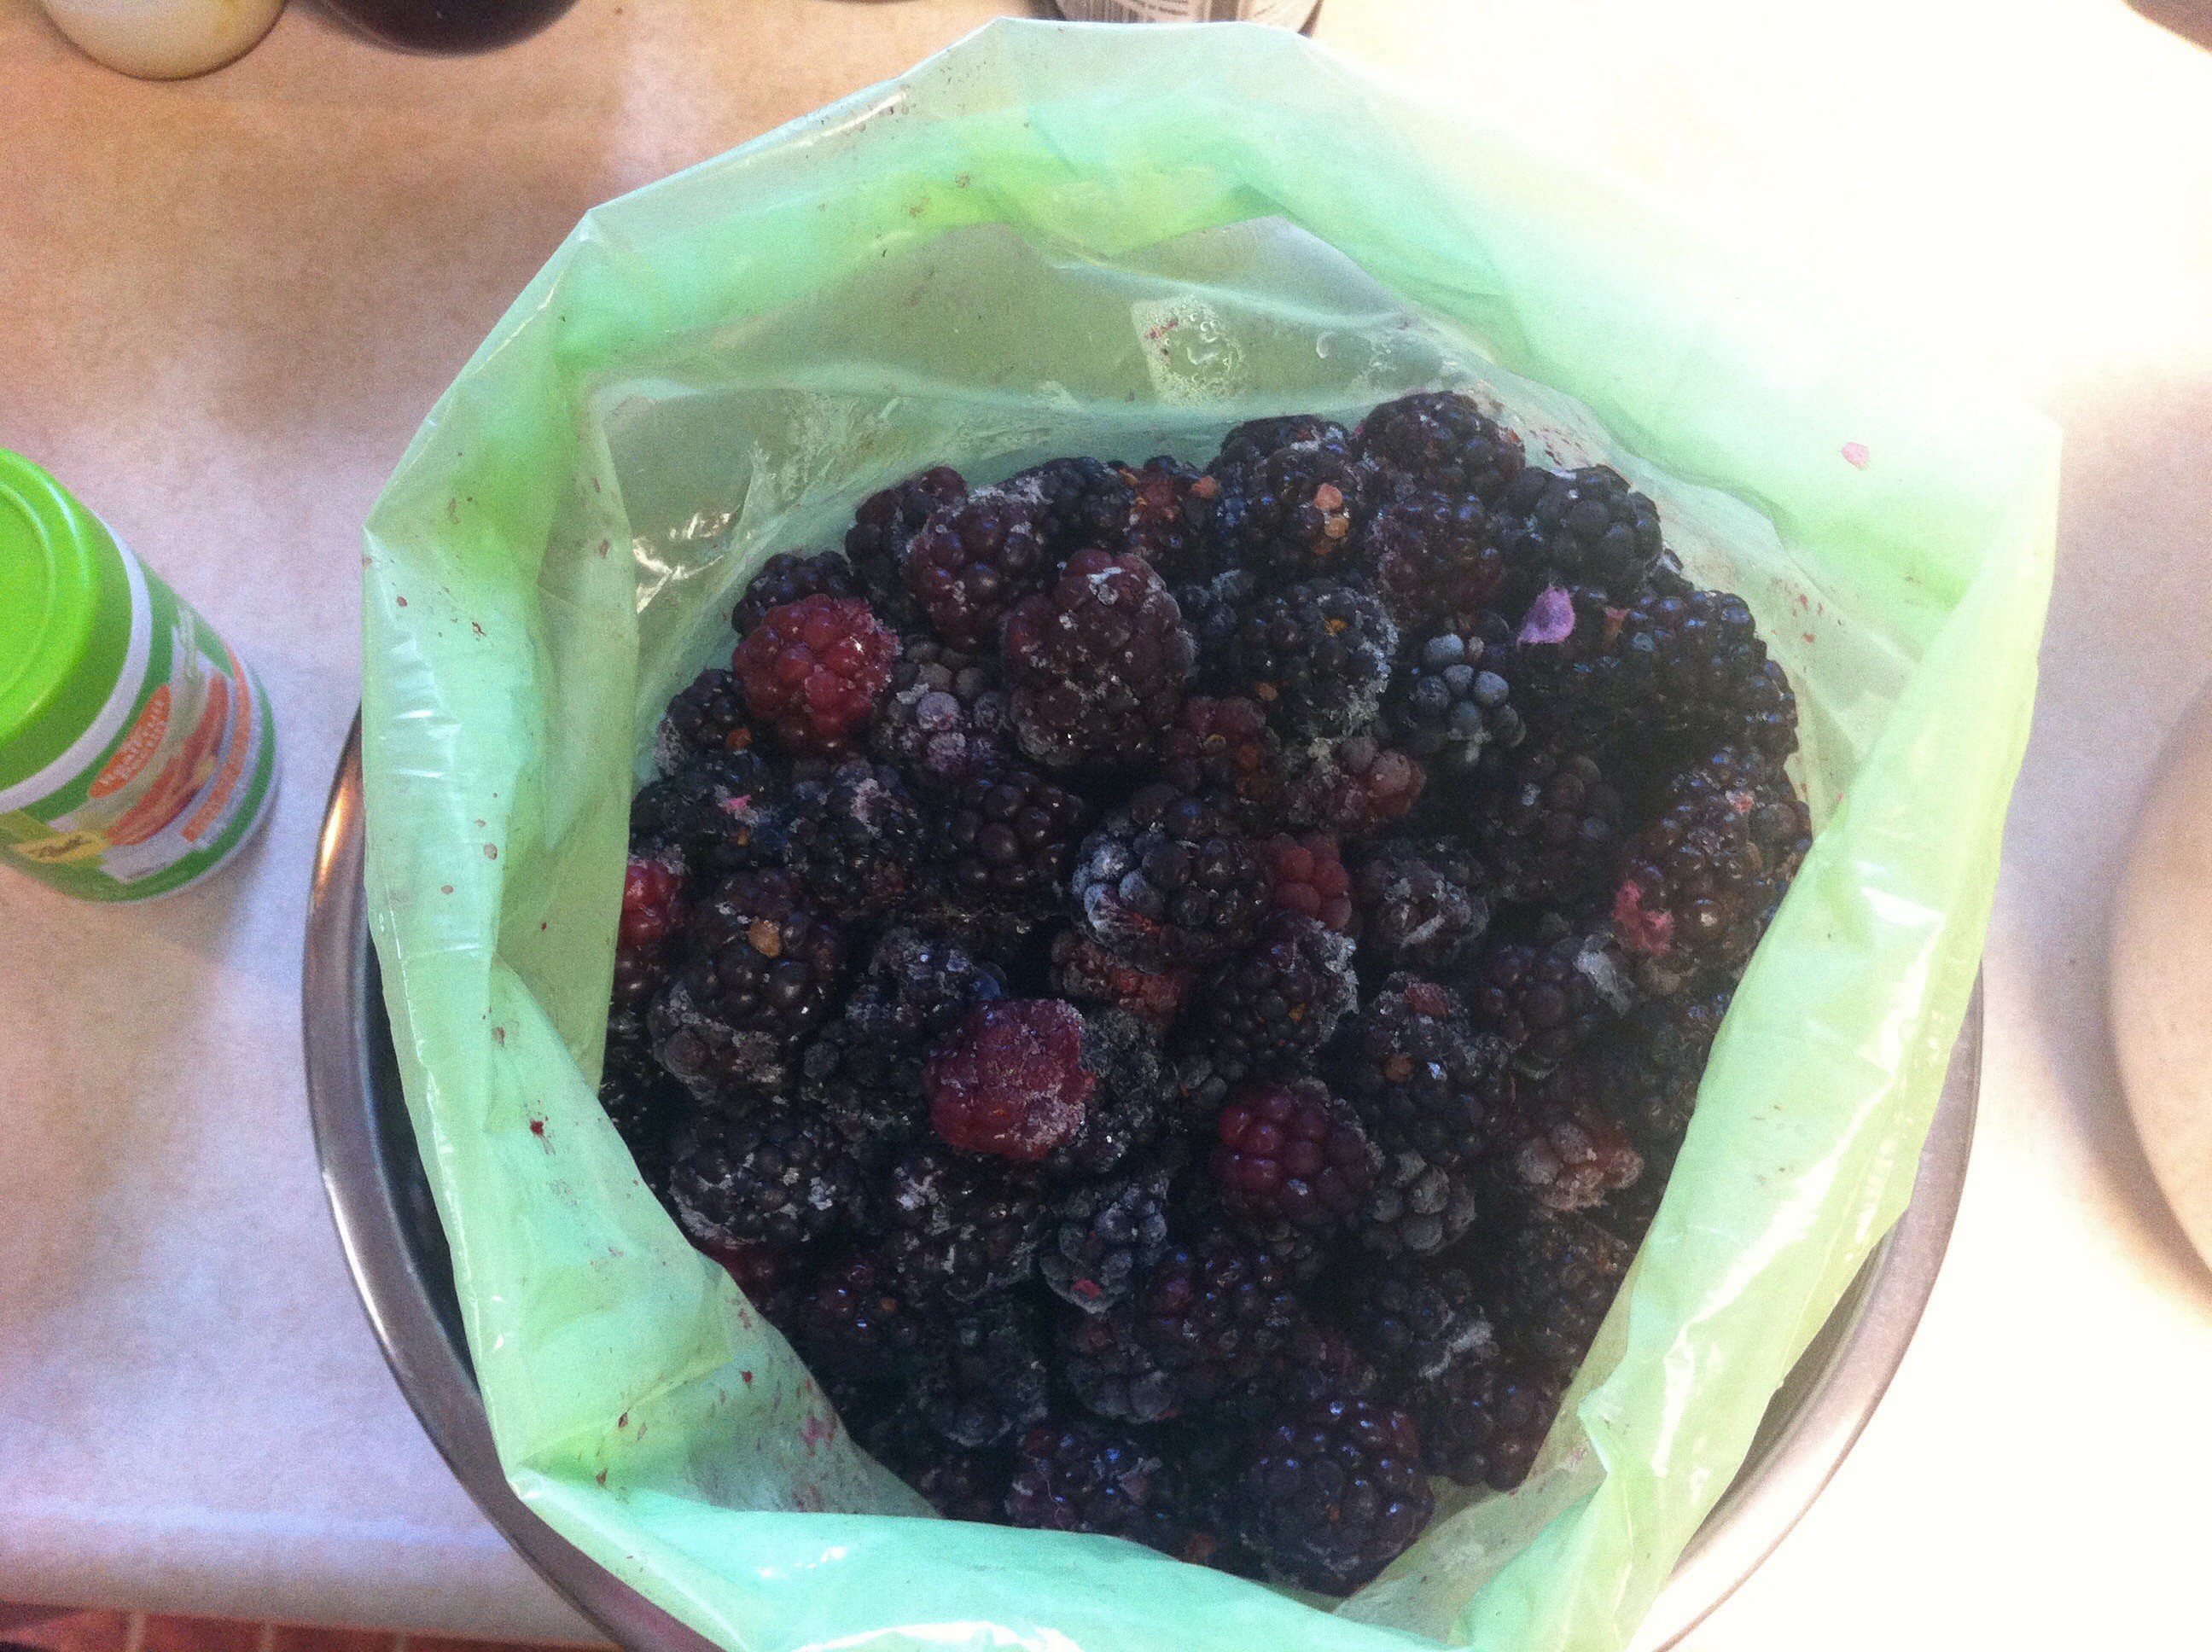
If starting from frozen blackberries:
Make sure to thaw berries out a bit. If they need to be rinsed do that as well. I washed and dried these berries before freezing them, so it made it one step easier for me. I would imagine frozen berries which are bought packaged at a store would be clean as well.
If you are de-seeding the berries, this is one option of how to do that:
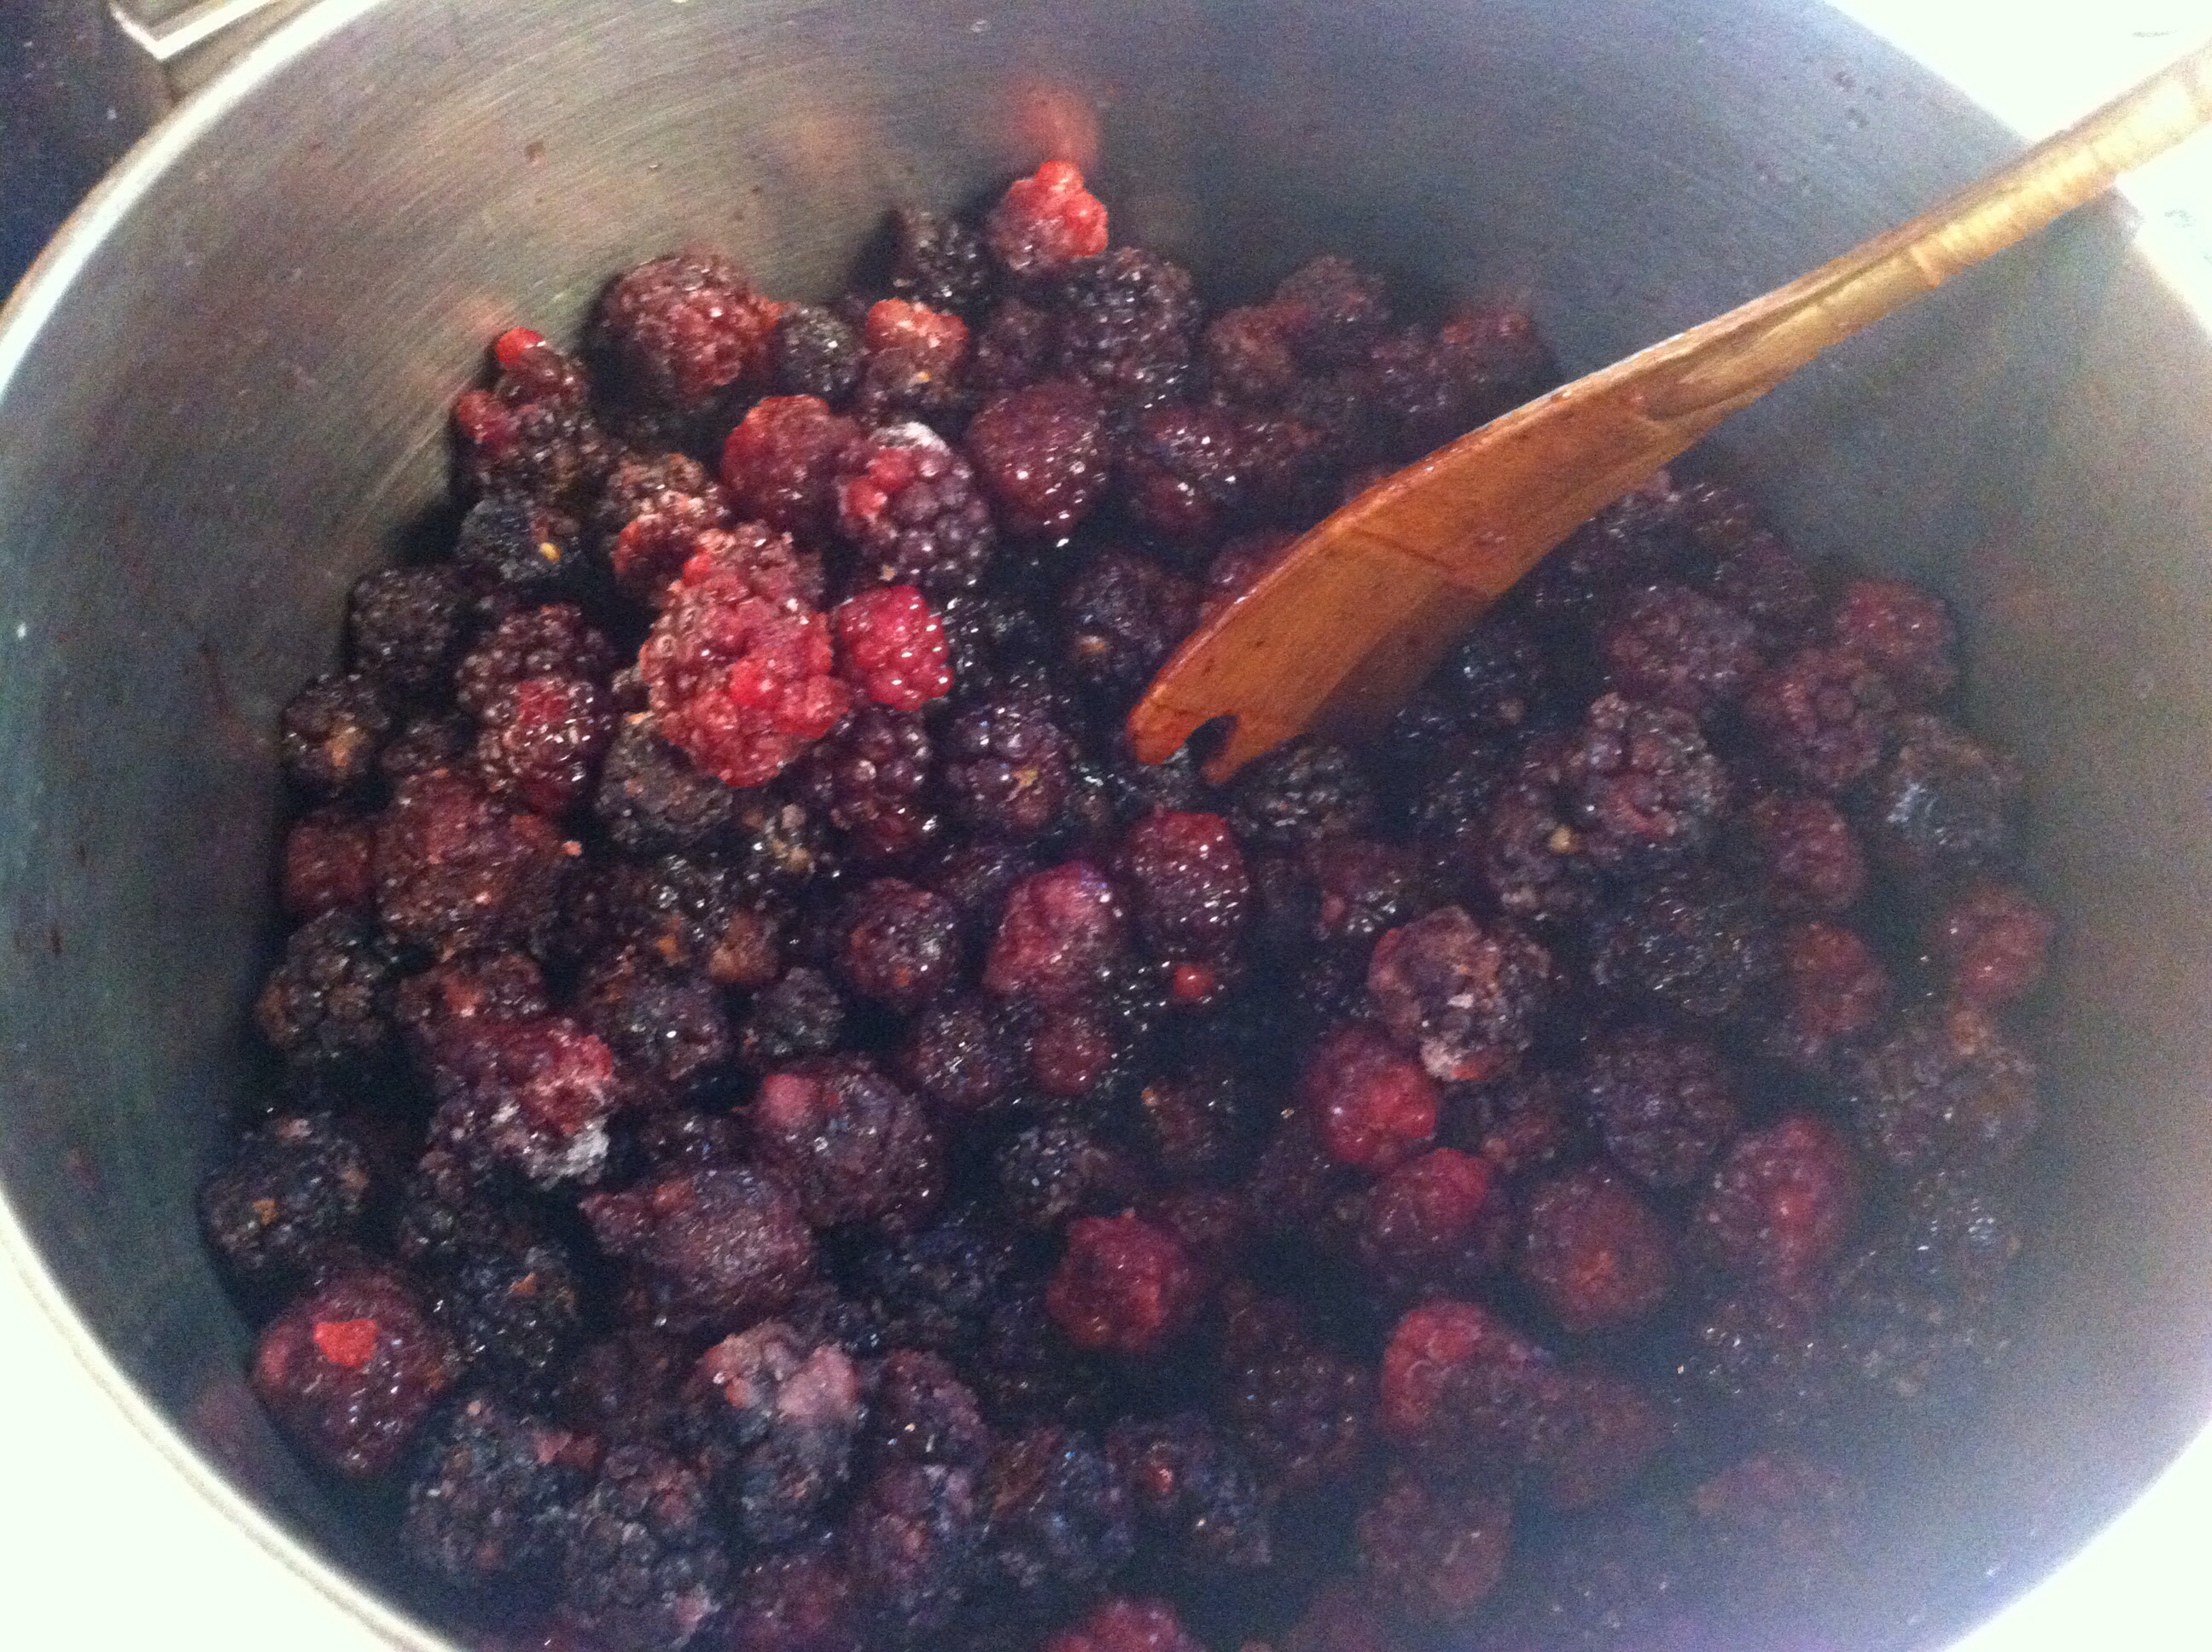
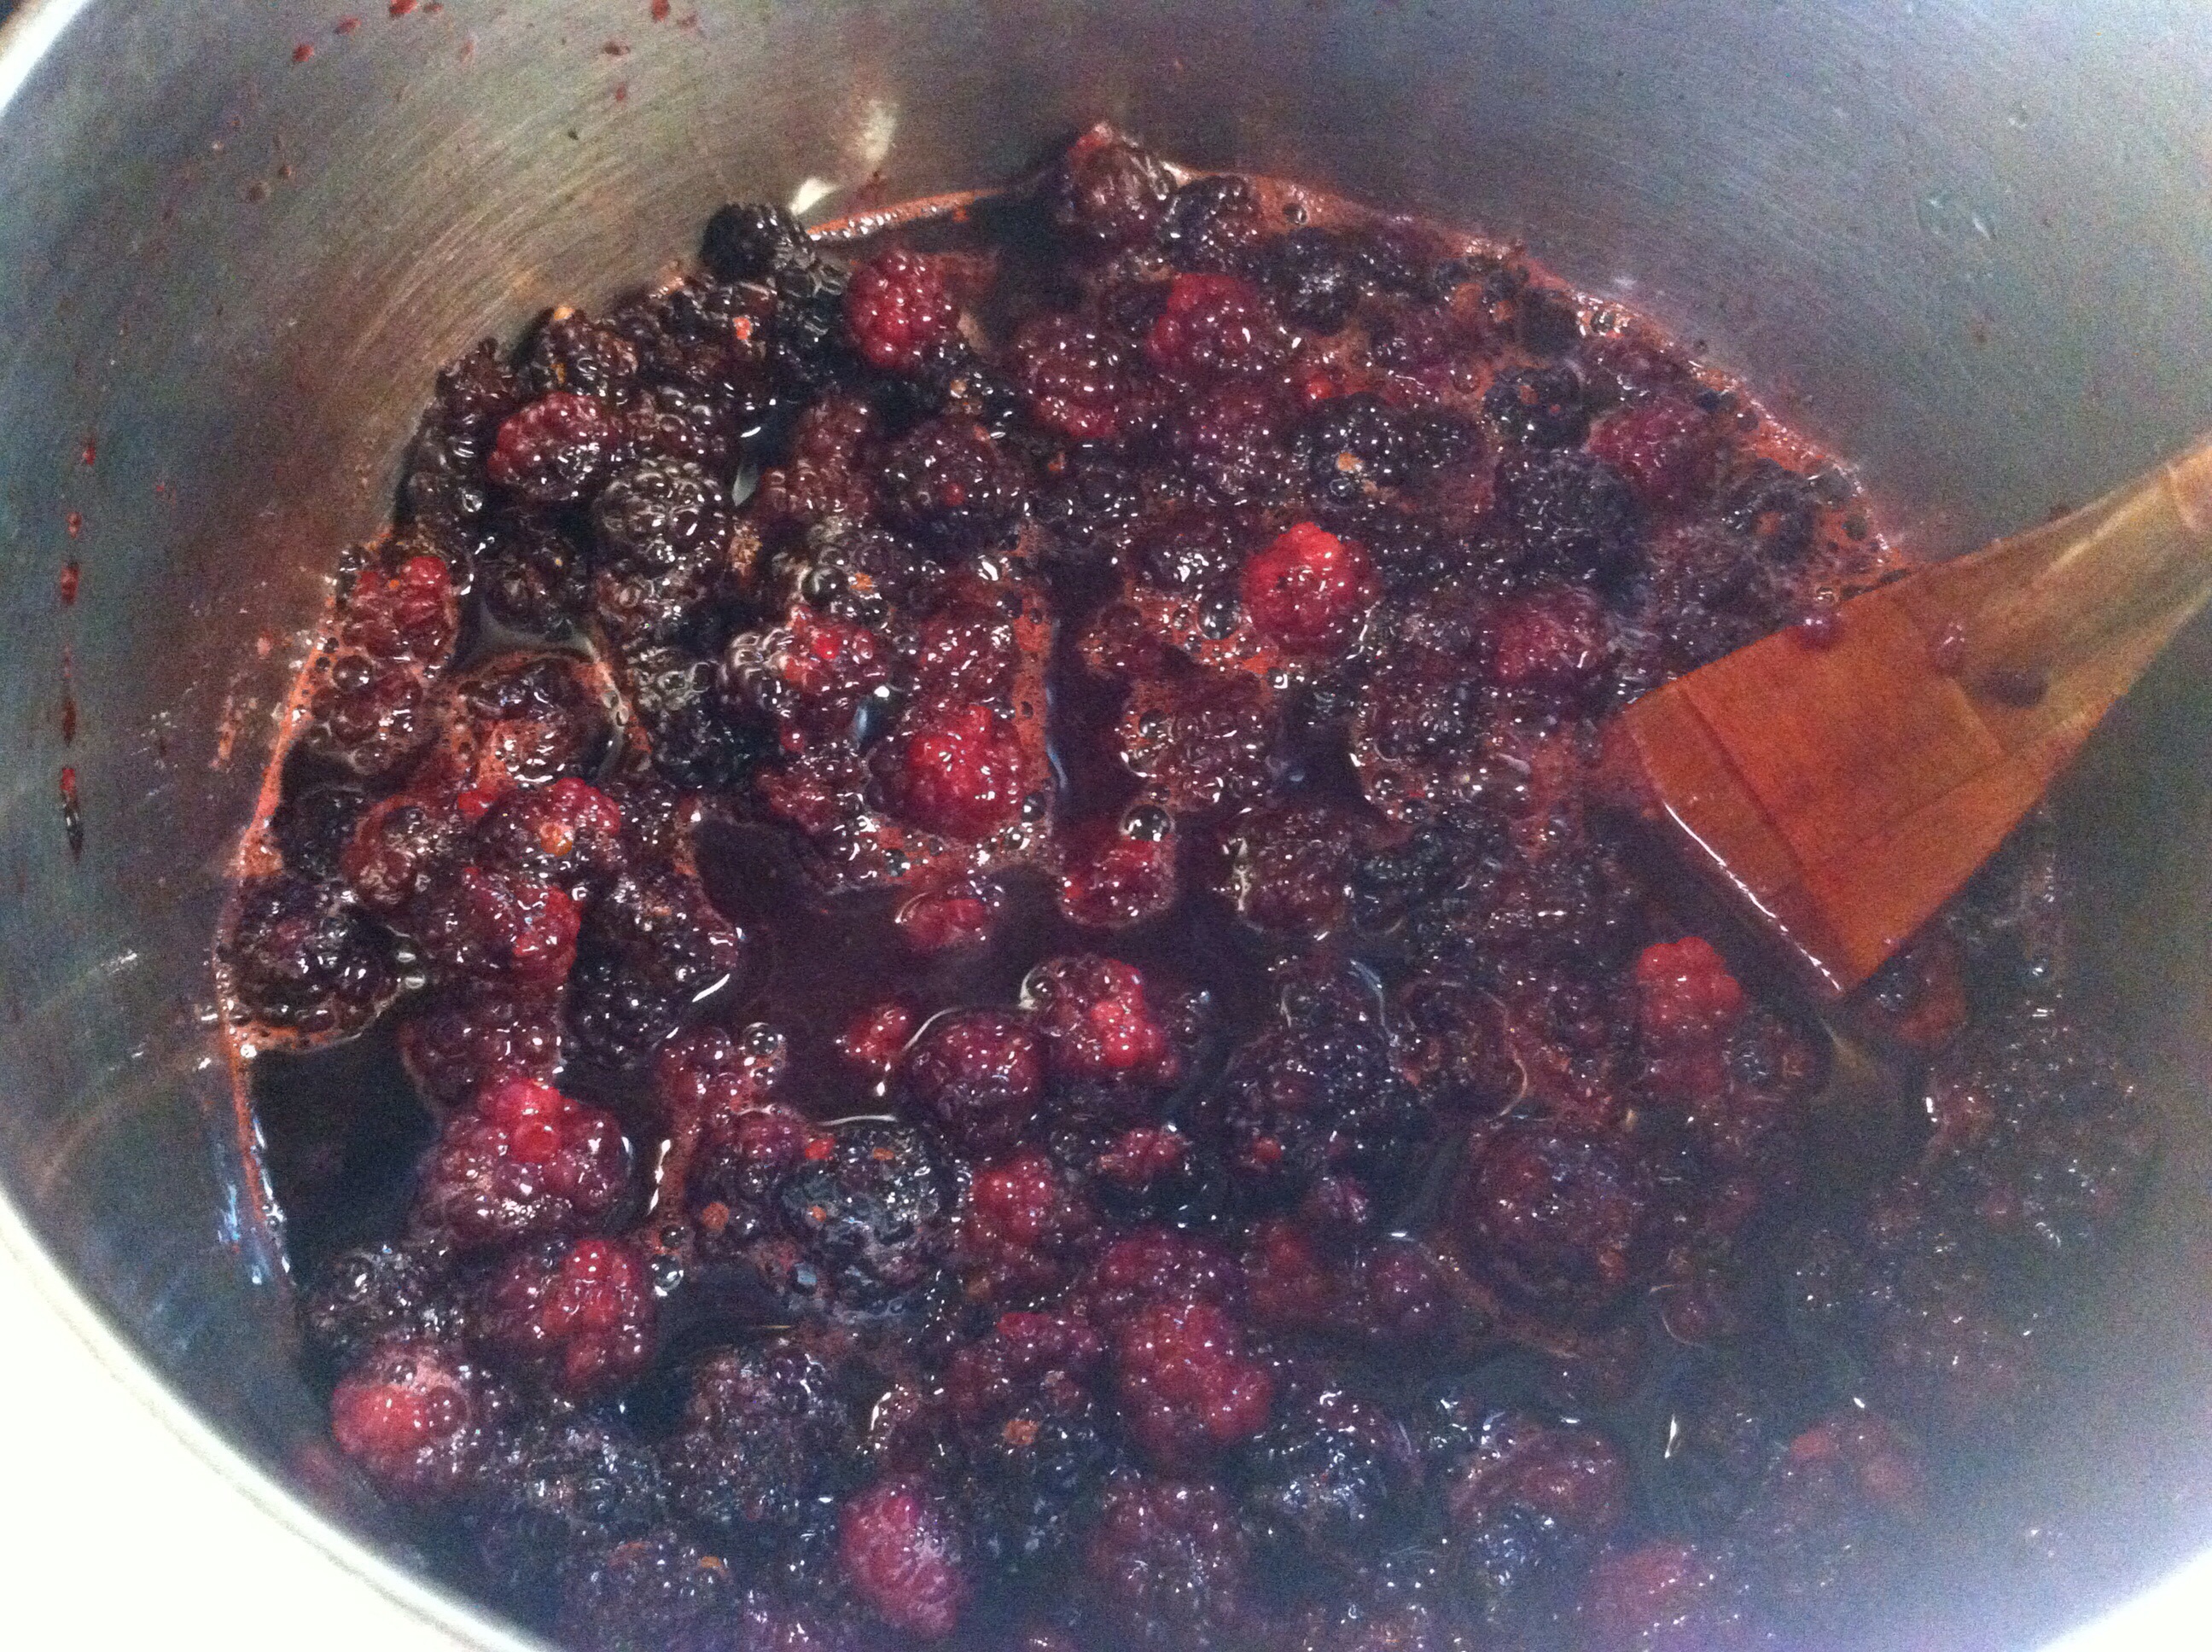
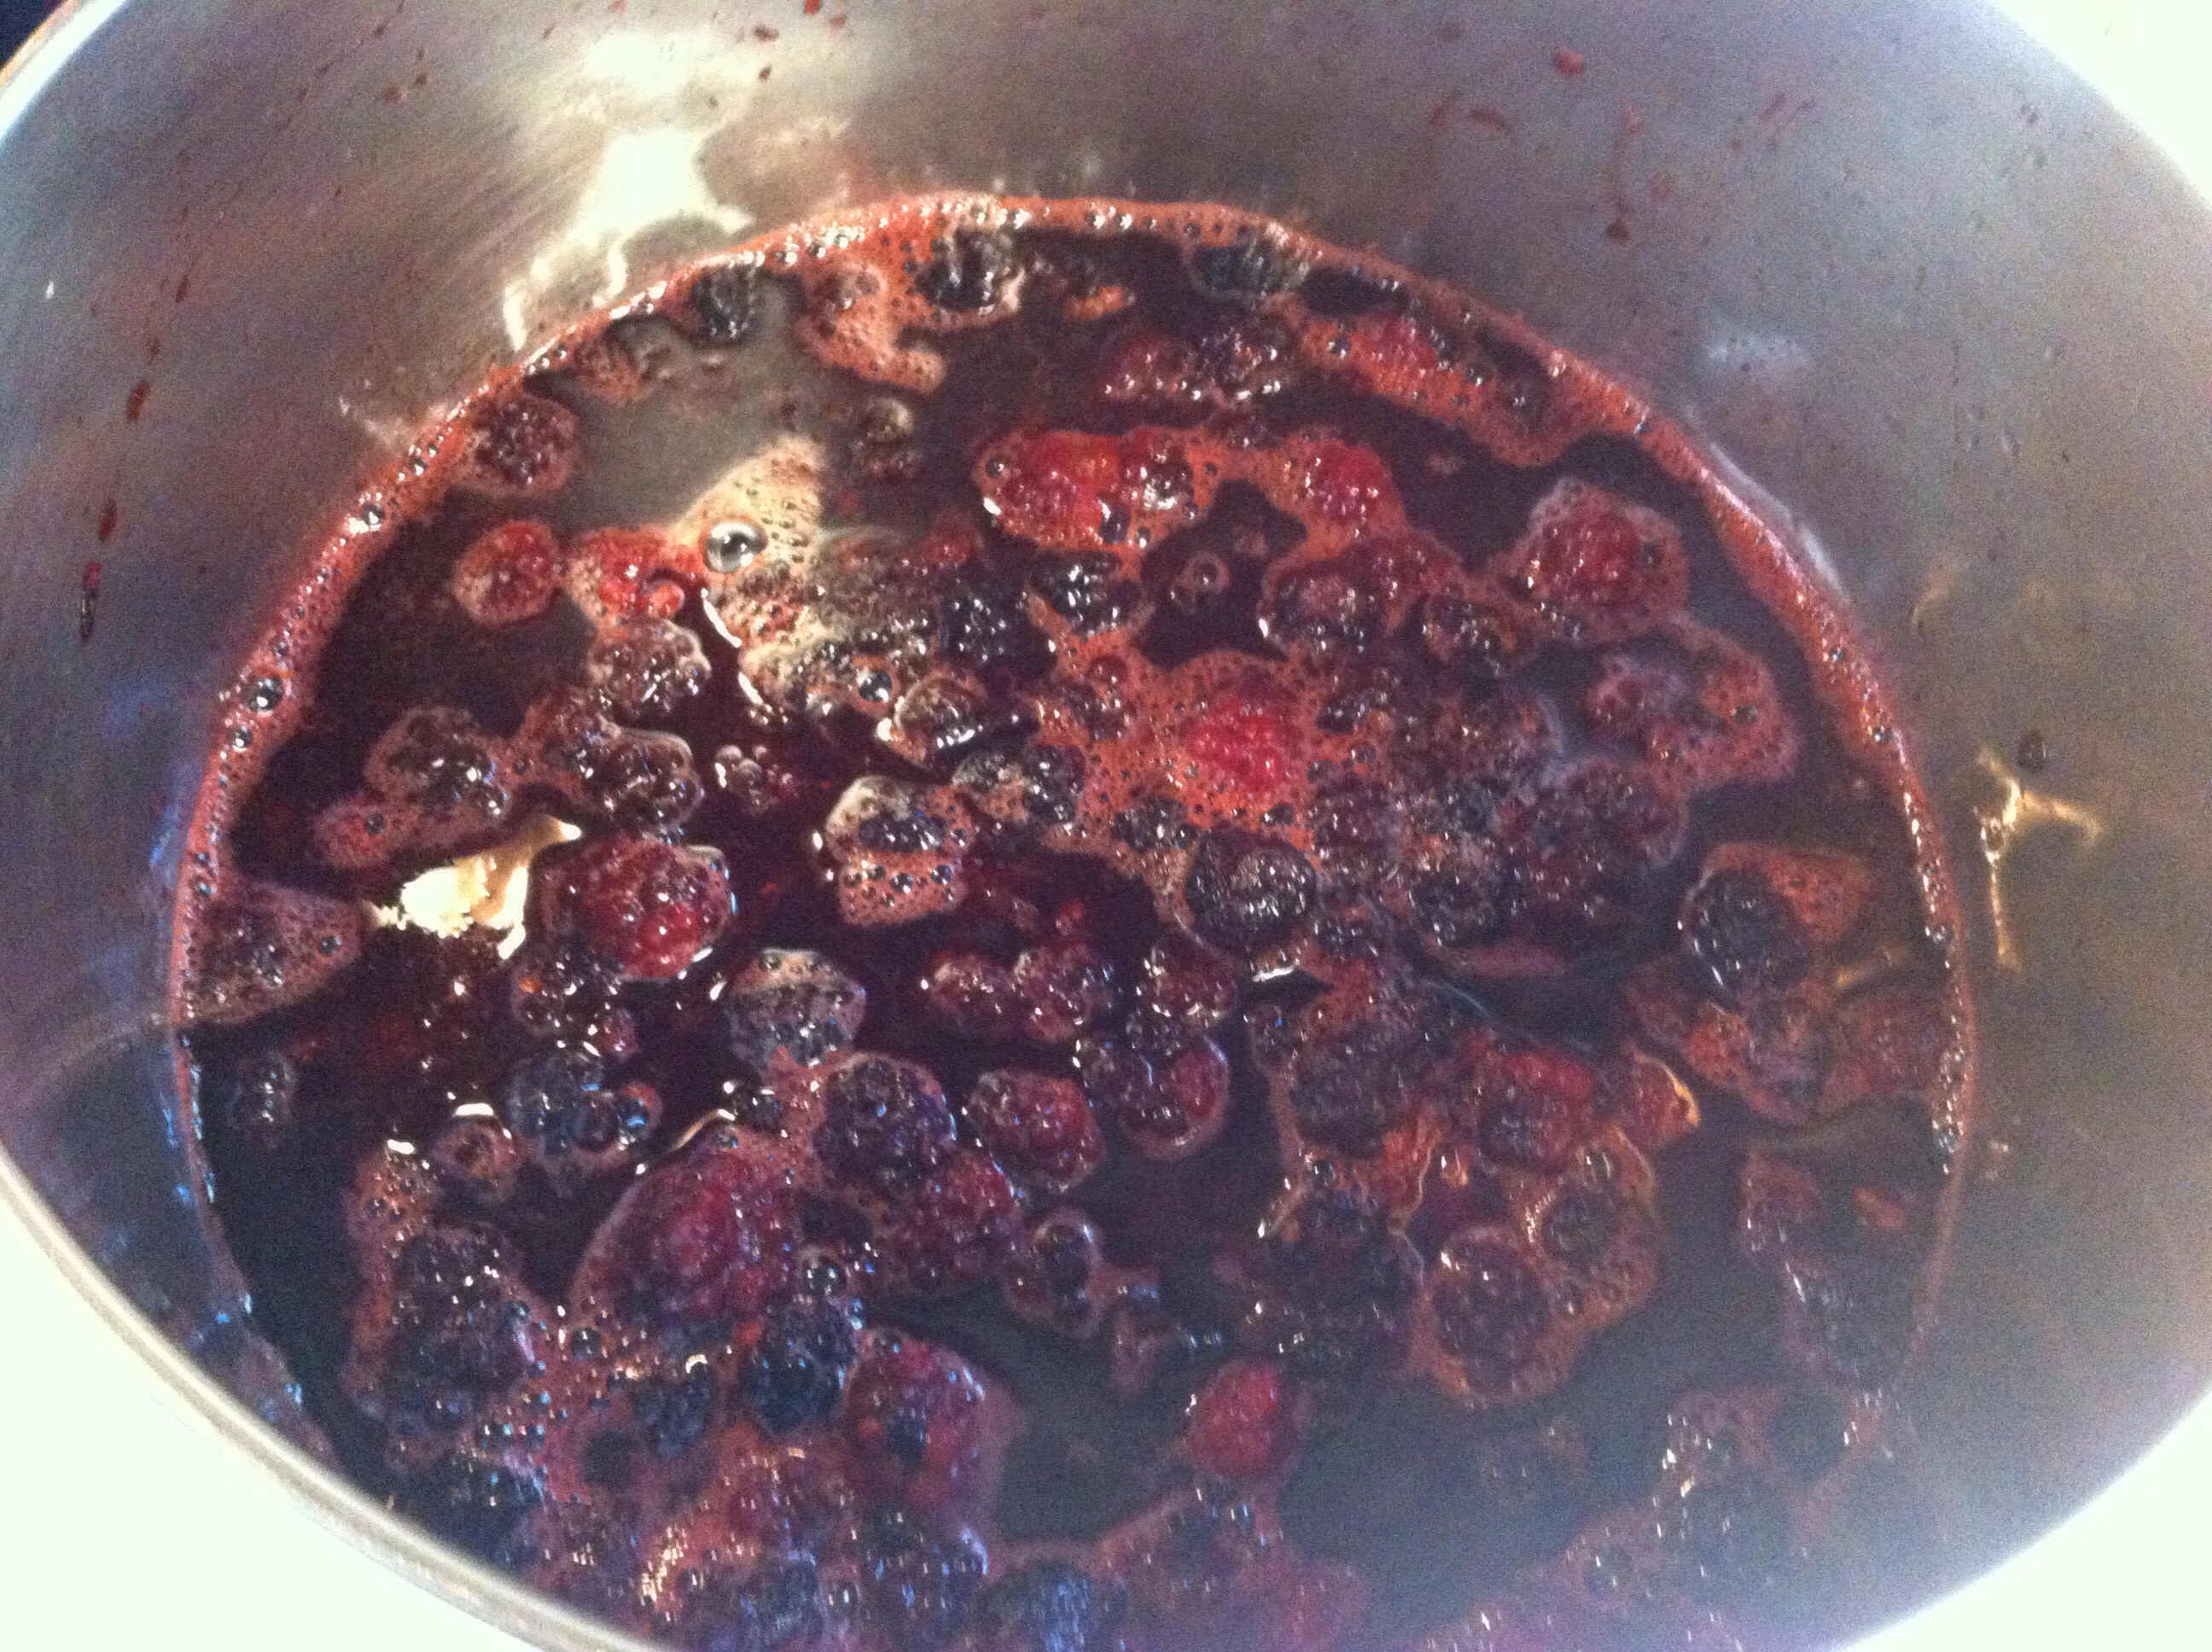
Place the berries in large stockpot and heat up a little bit. This will just start the process of breaking the berry down and also help expedite the thawing process if they were frozen. You don’t want to cook these down too much, just enough to release the juices and allow the berries to go through a food mill easily. I added about 1/2 cup of apple juice to the pot as well {for about 1 gallon of frozen berries}, although this isn’t necessary.
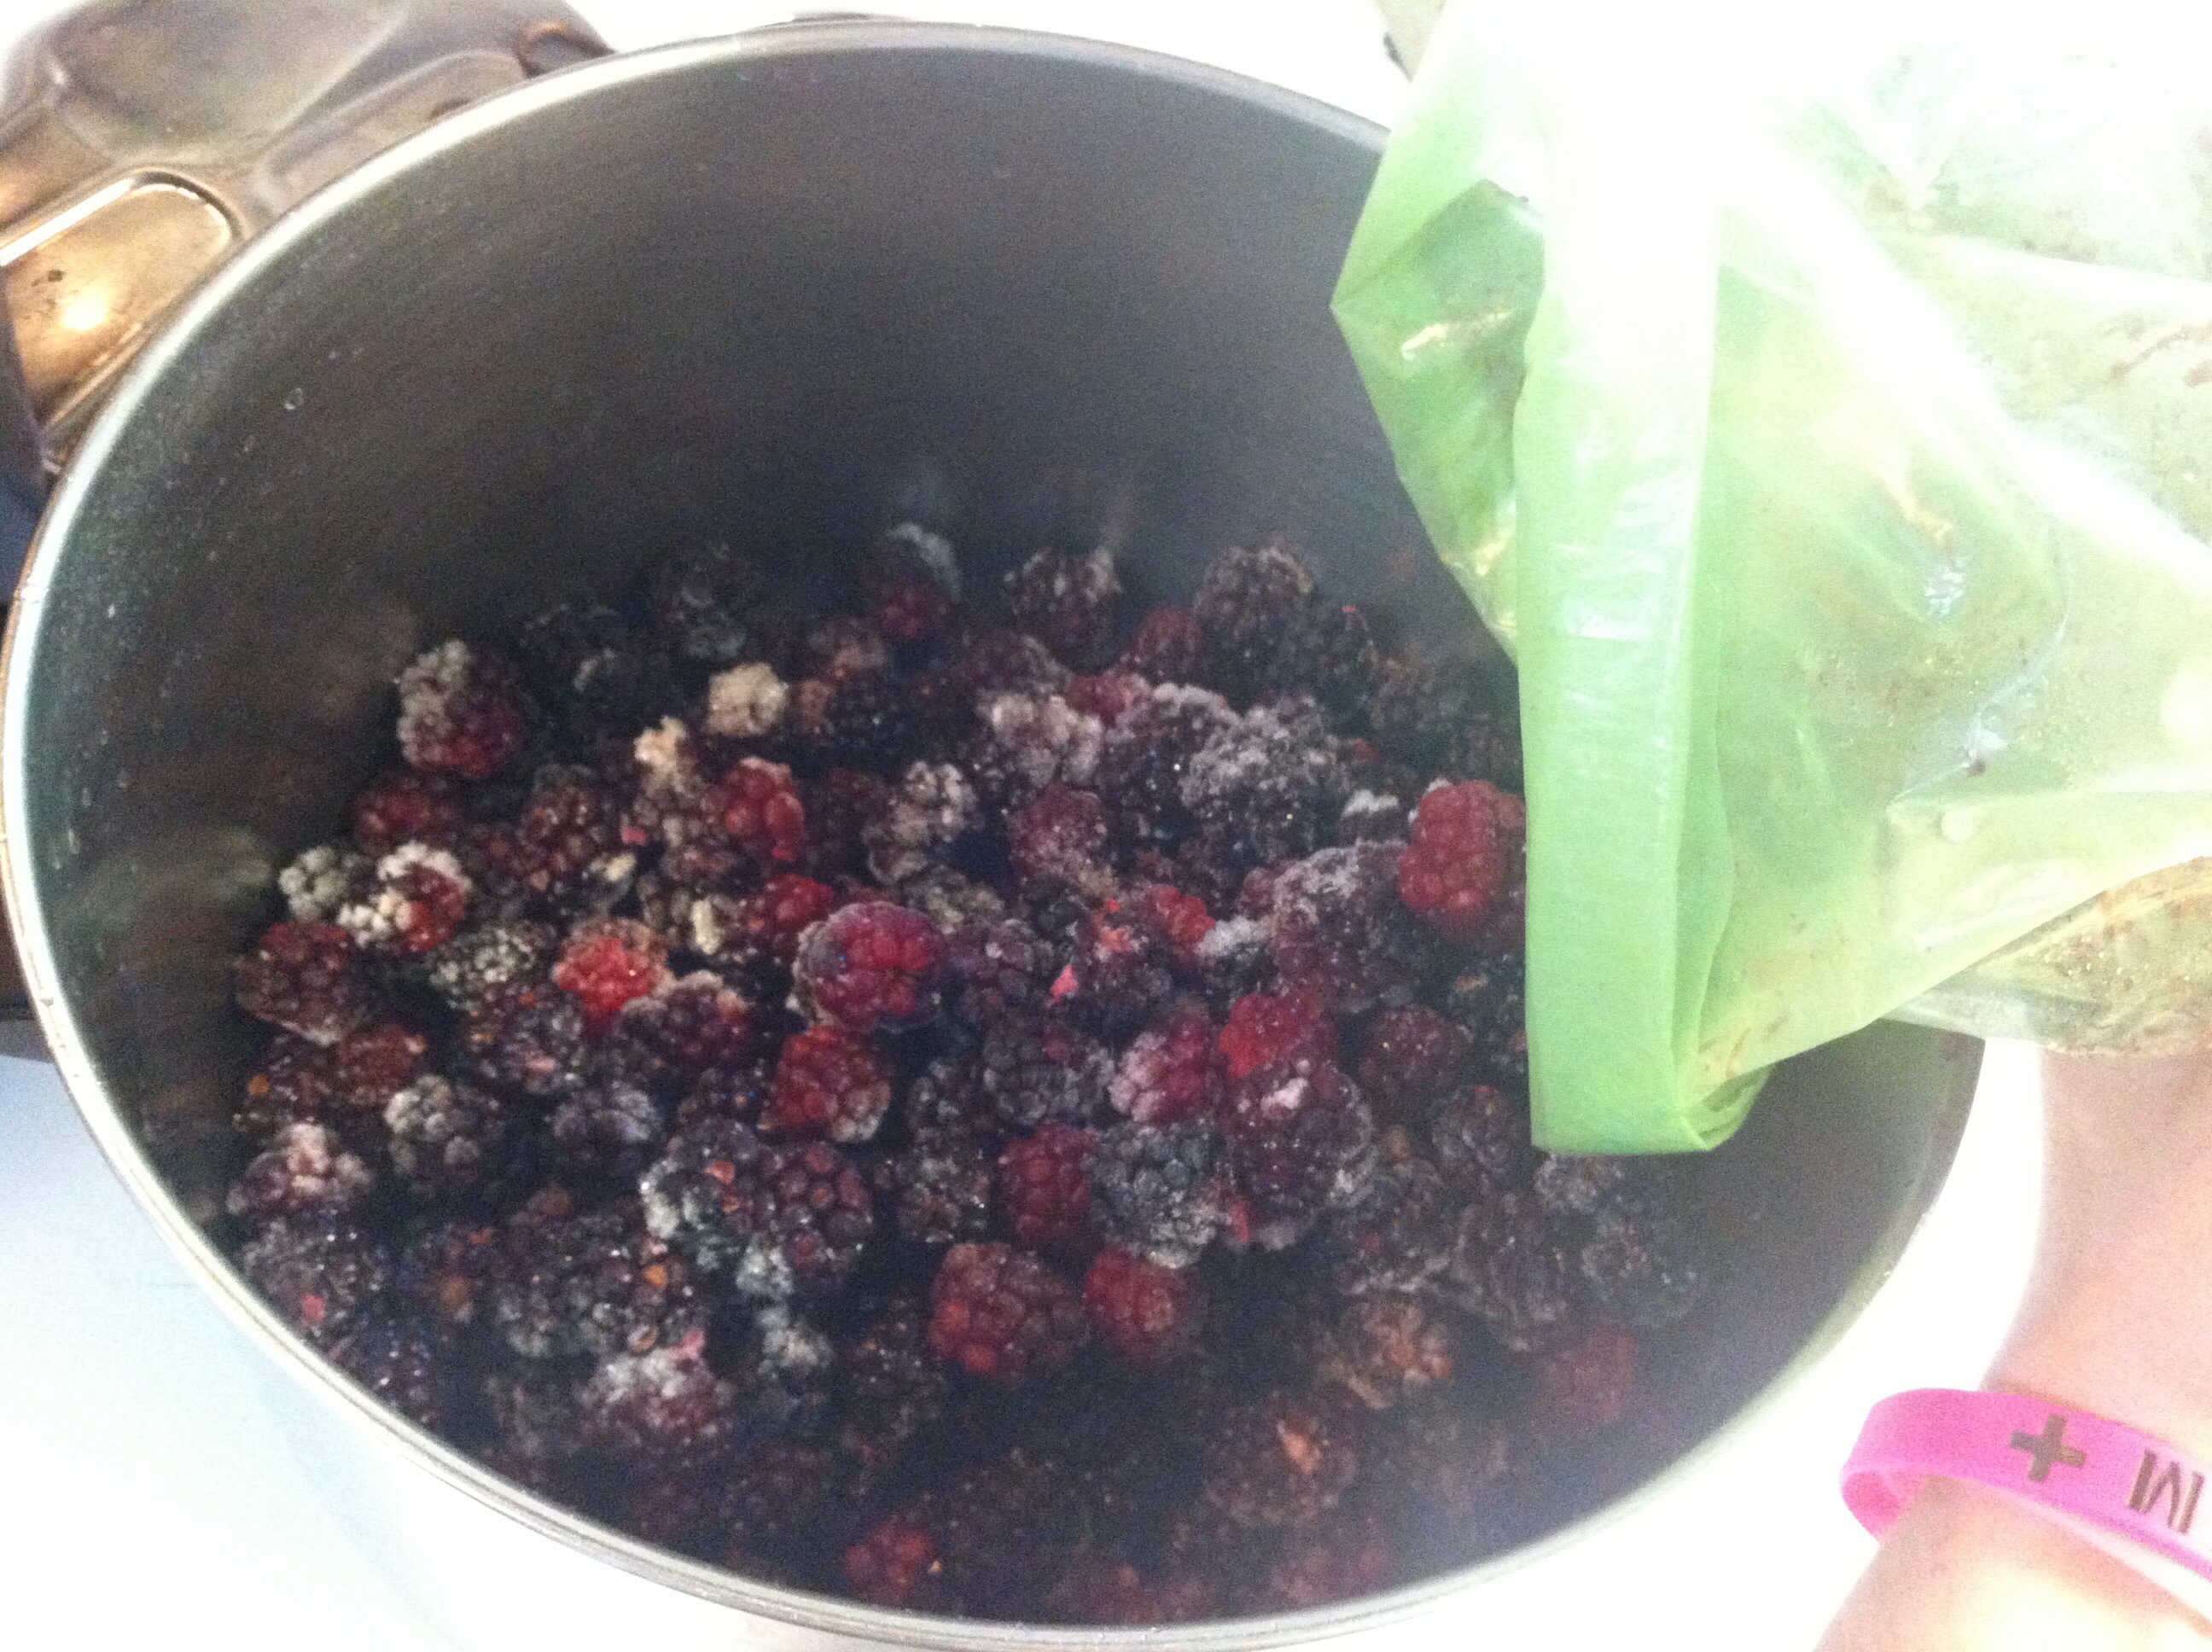
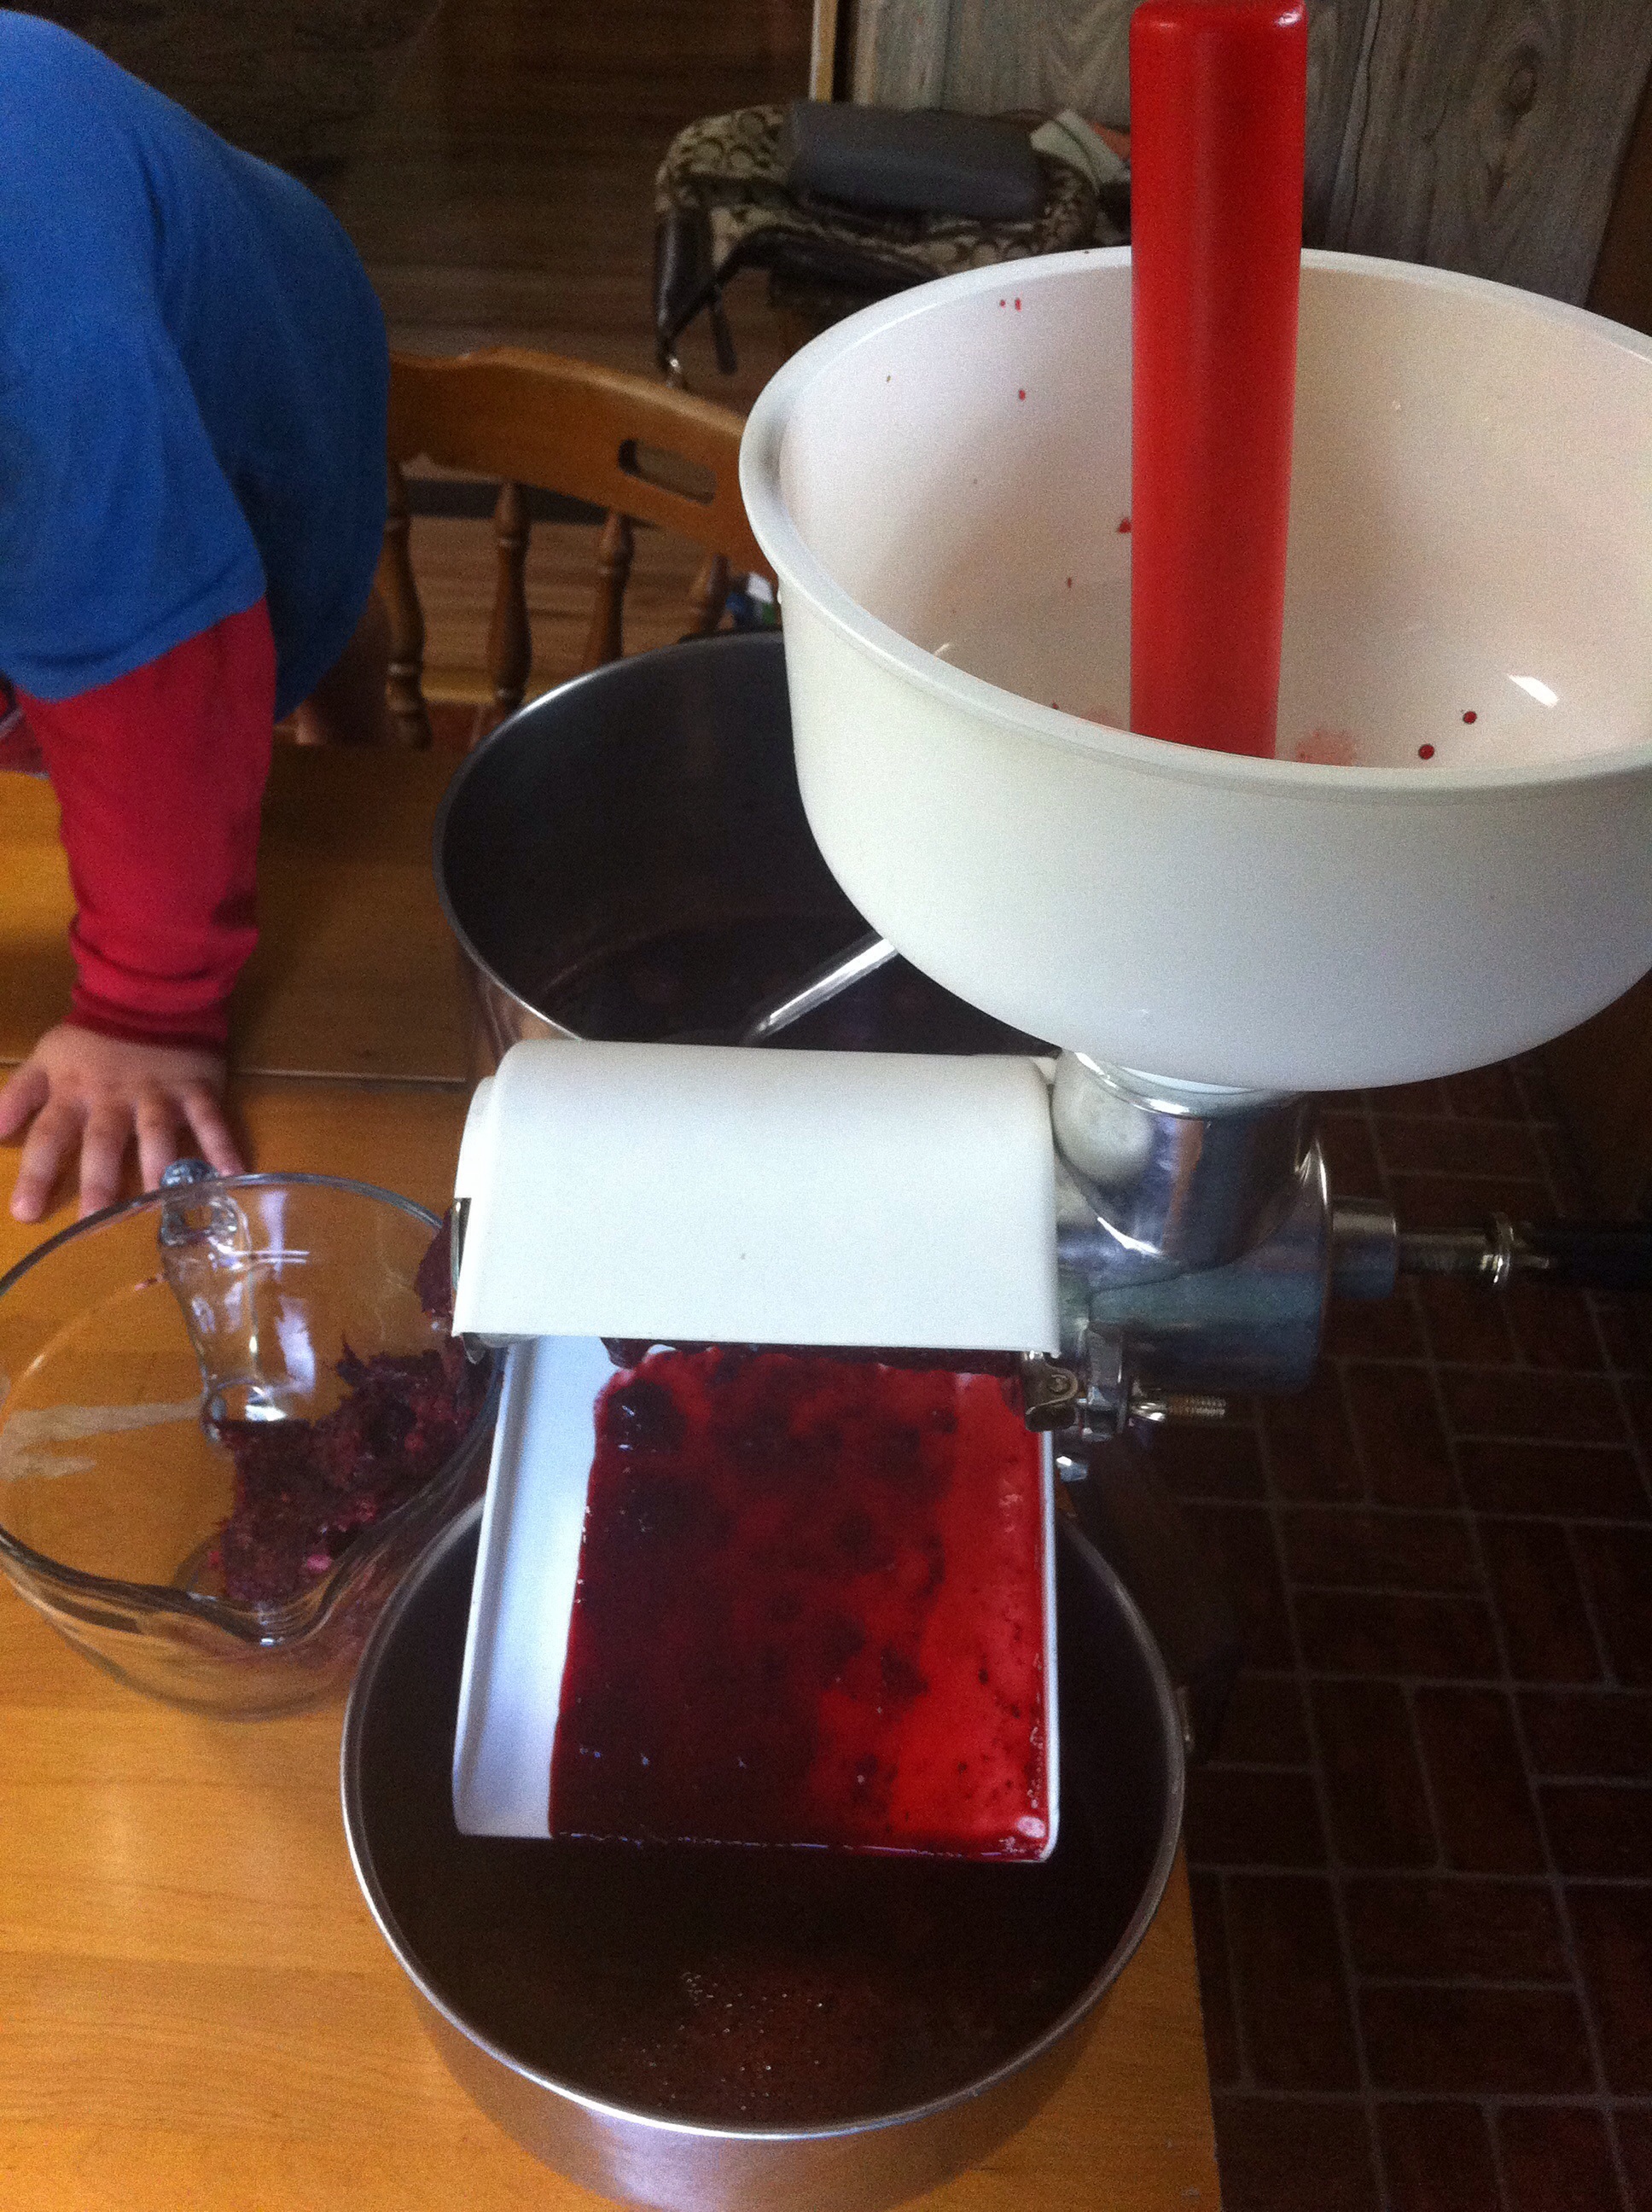
At this point you will want to run the berries through a food mill of some sort to remove the seeds. We have a food mill and sauce maker, similar to this one on Amazon. This is another version, although I don’t have one.
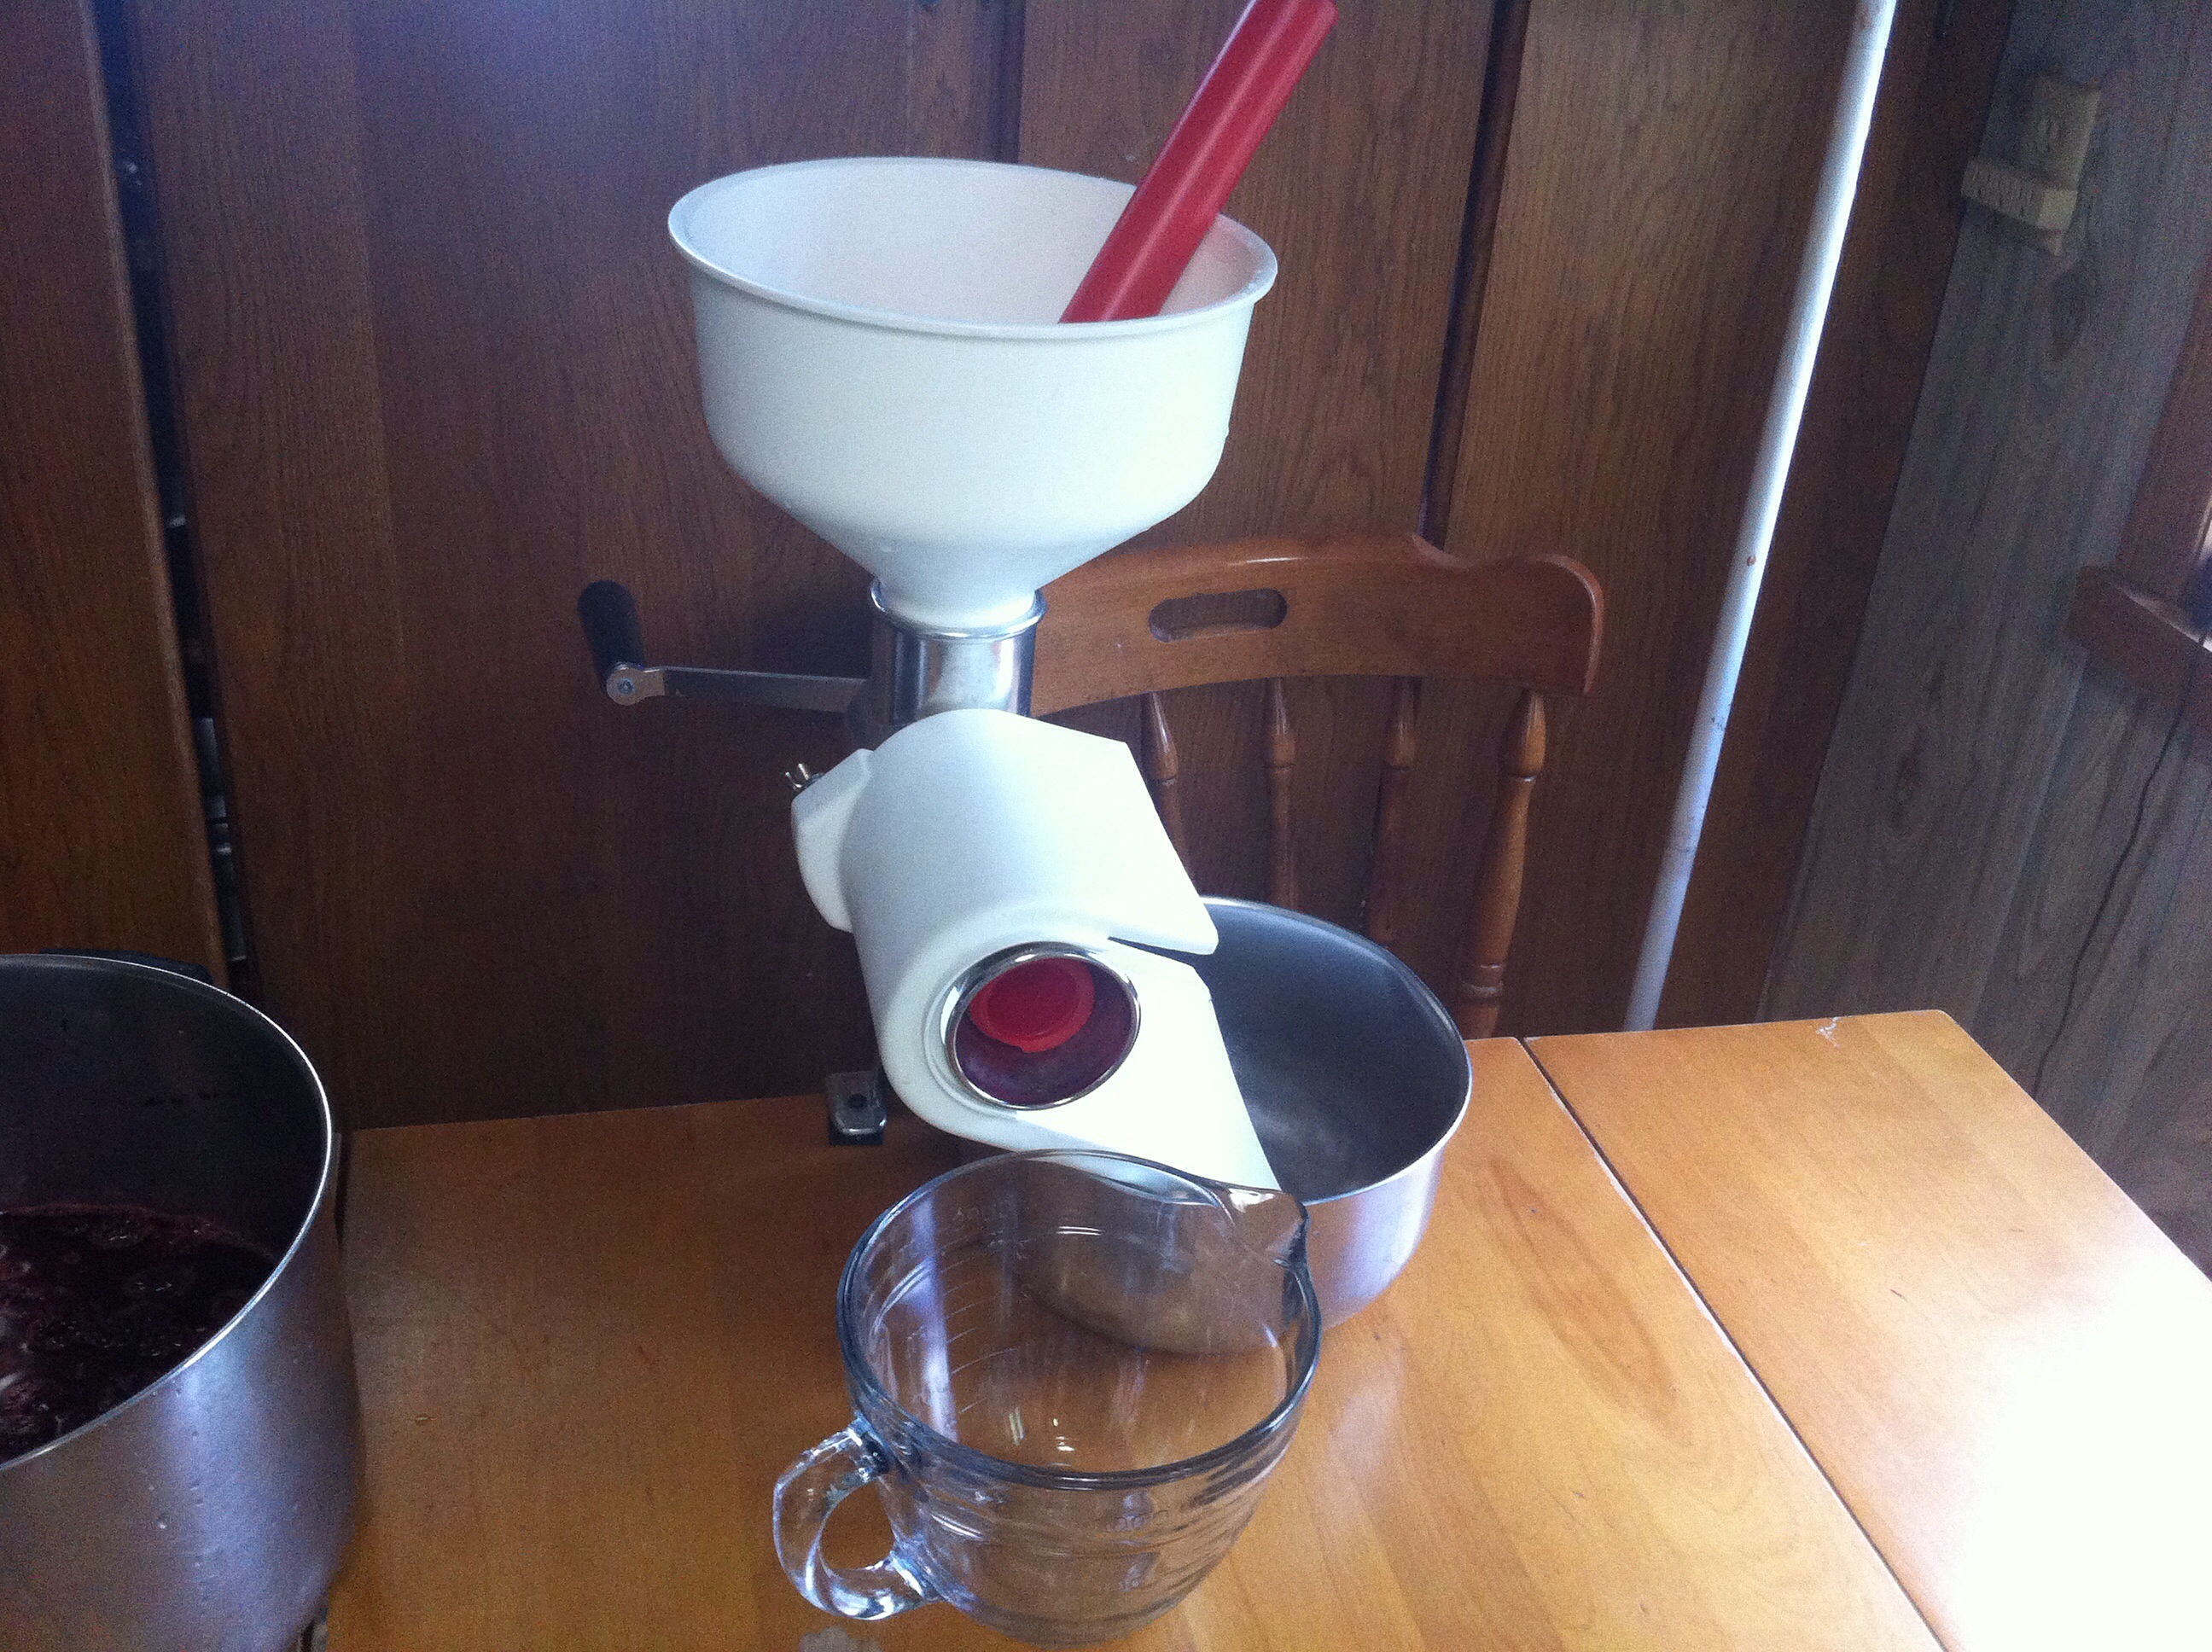
The blackberries go into the top funnel area where they are pushed down, while you use a hand crank to pulverize the berries and run them through the mill. The juice/leftover berries come out the side and the seeds are spit out the other end.
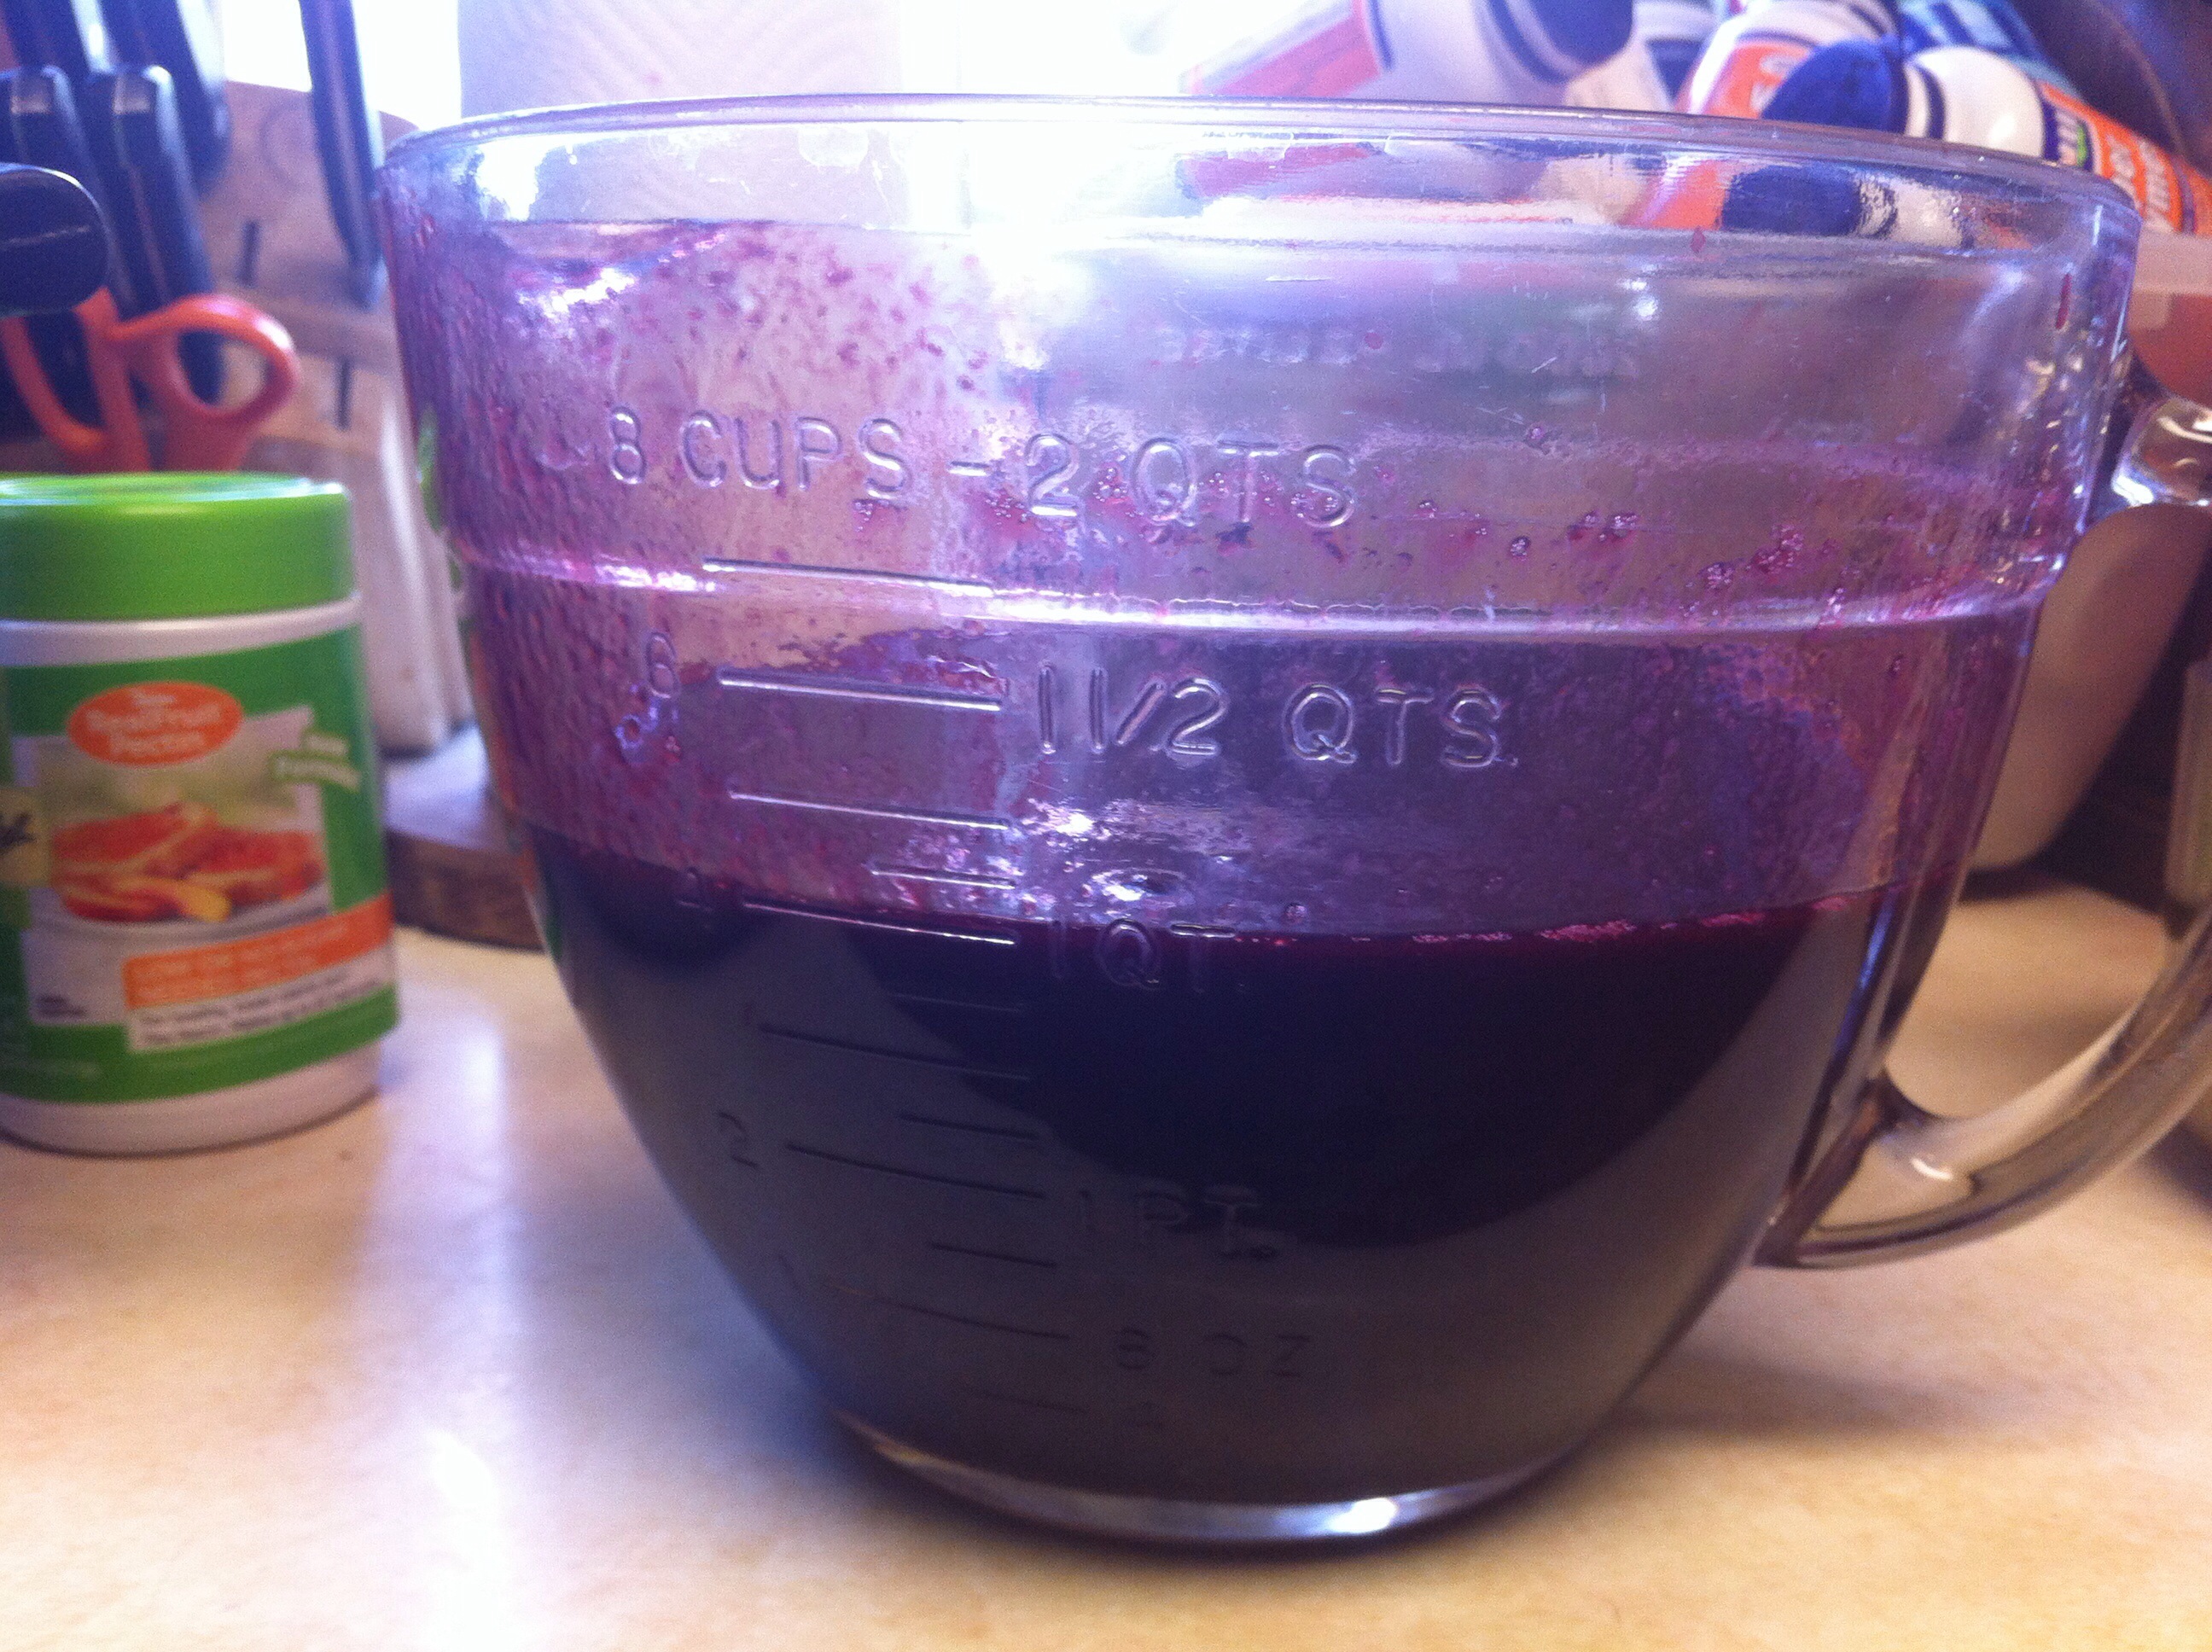
What will be left is the seed-free, pulpy juice that needs to be measured out for the recipe. I found that 1 gallon of the frozen berries made about 8 cups of the berry juice, which is enough for 2 batches. If you find that you don’t have quite enough juice to equal the 4 cups for the recipe, apple juice, or some other type of berry juice {or even water for that matter} can be added to make it equal the 4 cup mark. Note: When making jams and jellies it is important to not double recipes because it interferes with the pectin being able to set the jam properly.
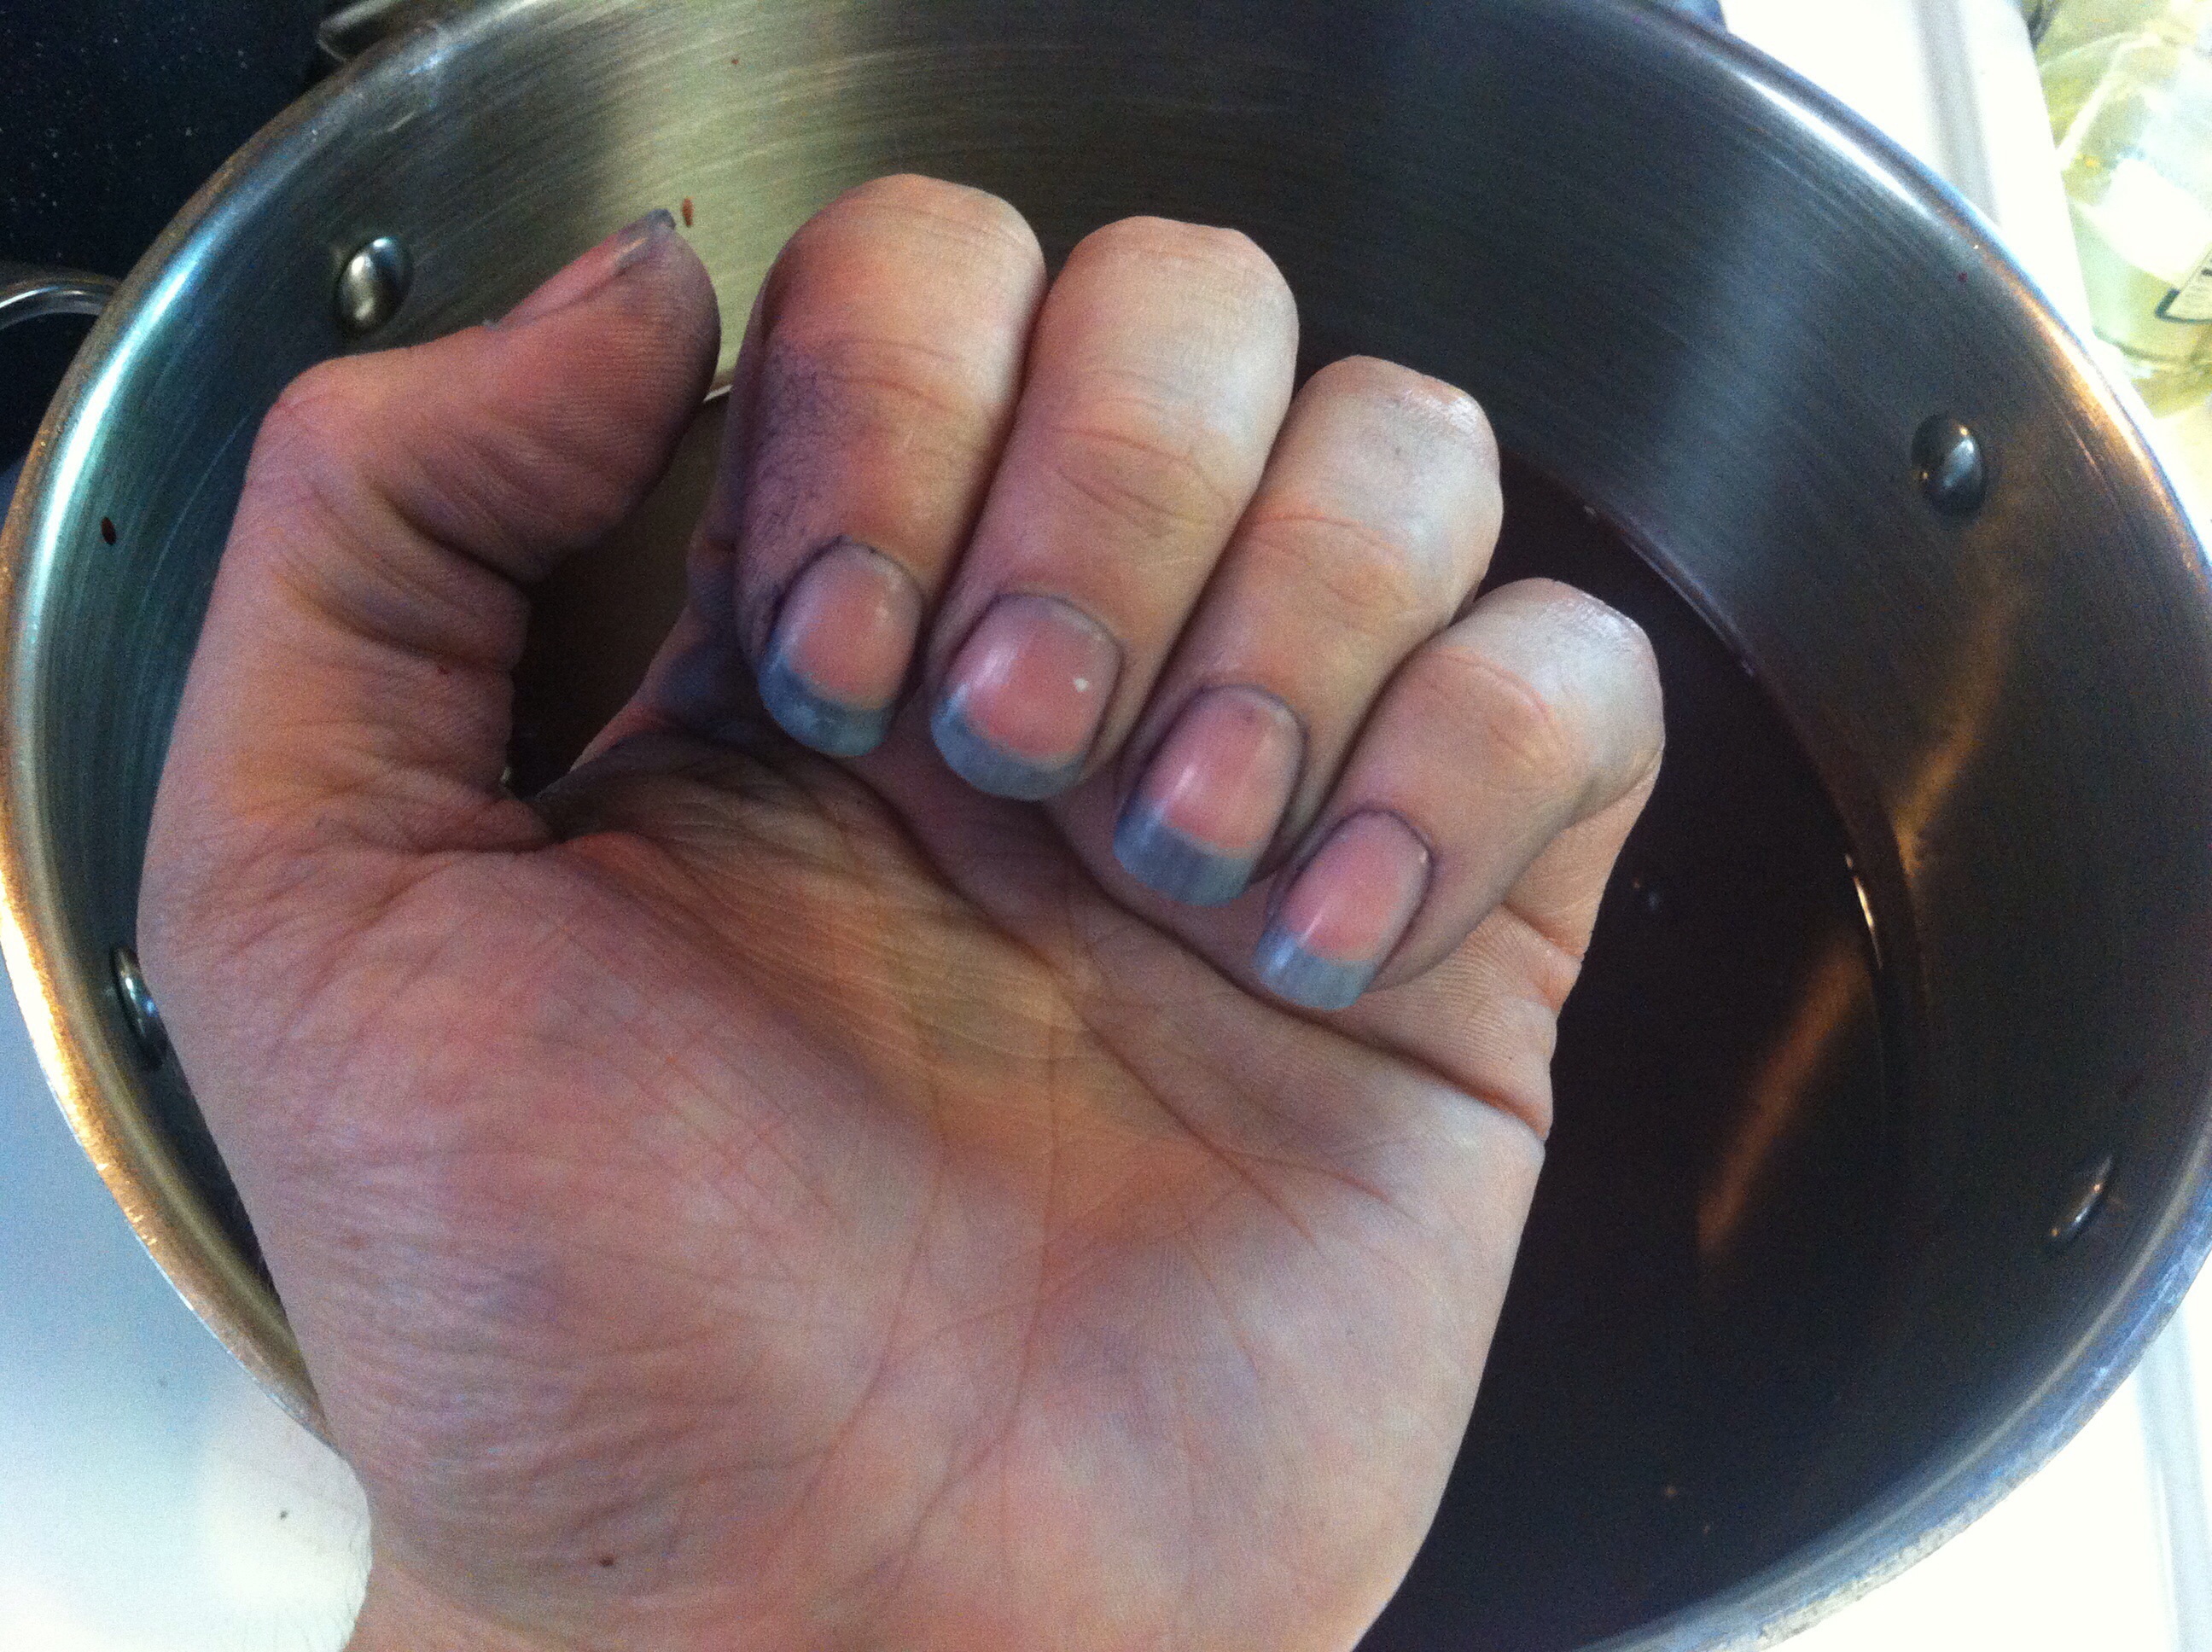
Be forewarned….blackberry juice does stain {I had just grown out my nails too!} A berry manicure isn’t quite the type of manicure that I usually go for! Wait…I very rarely go for any type of manicure these days…I guess I’ll take what I can get!
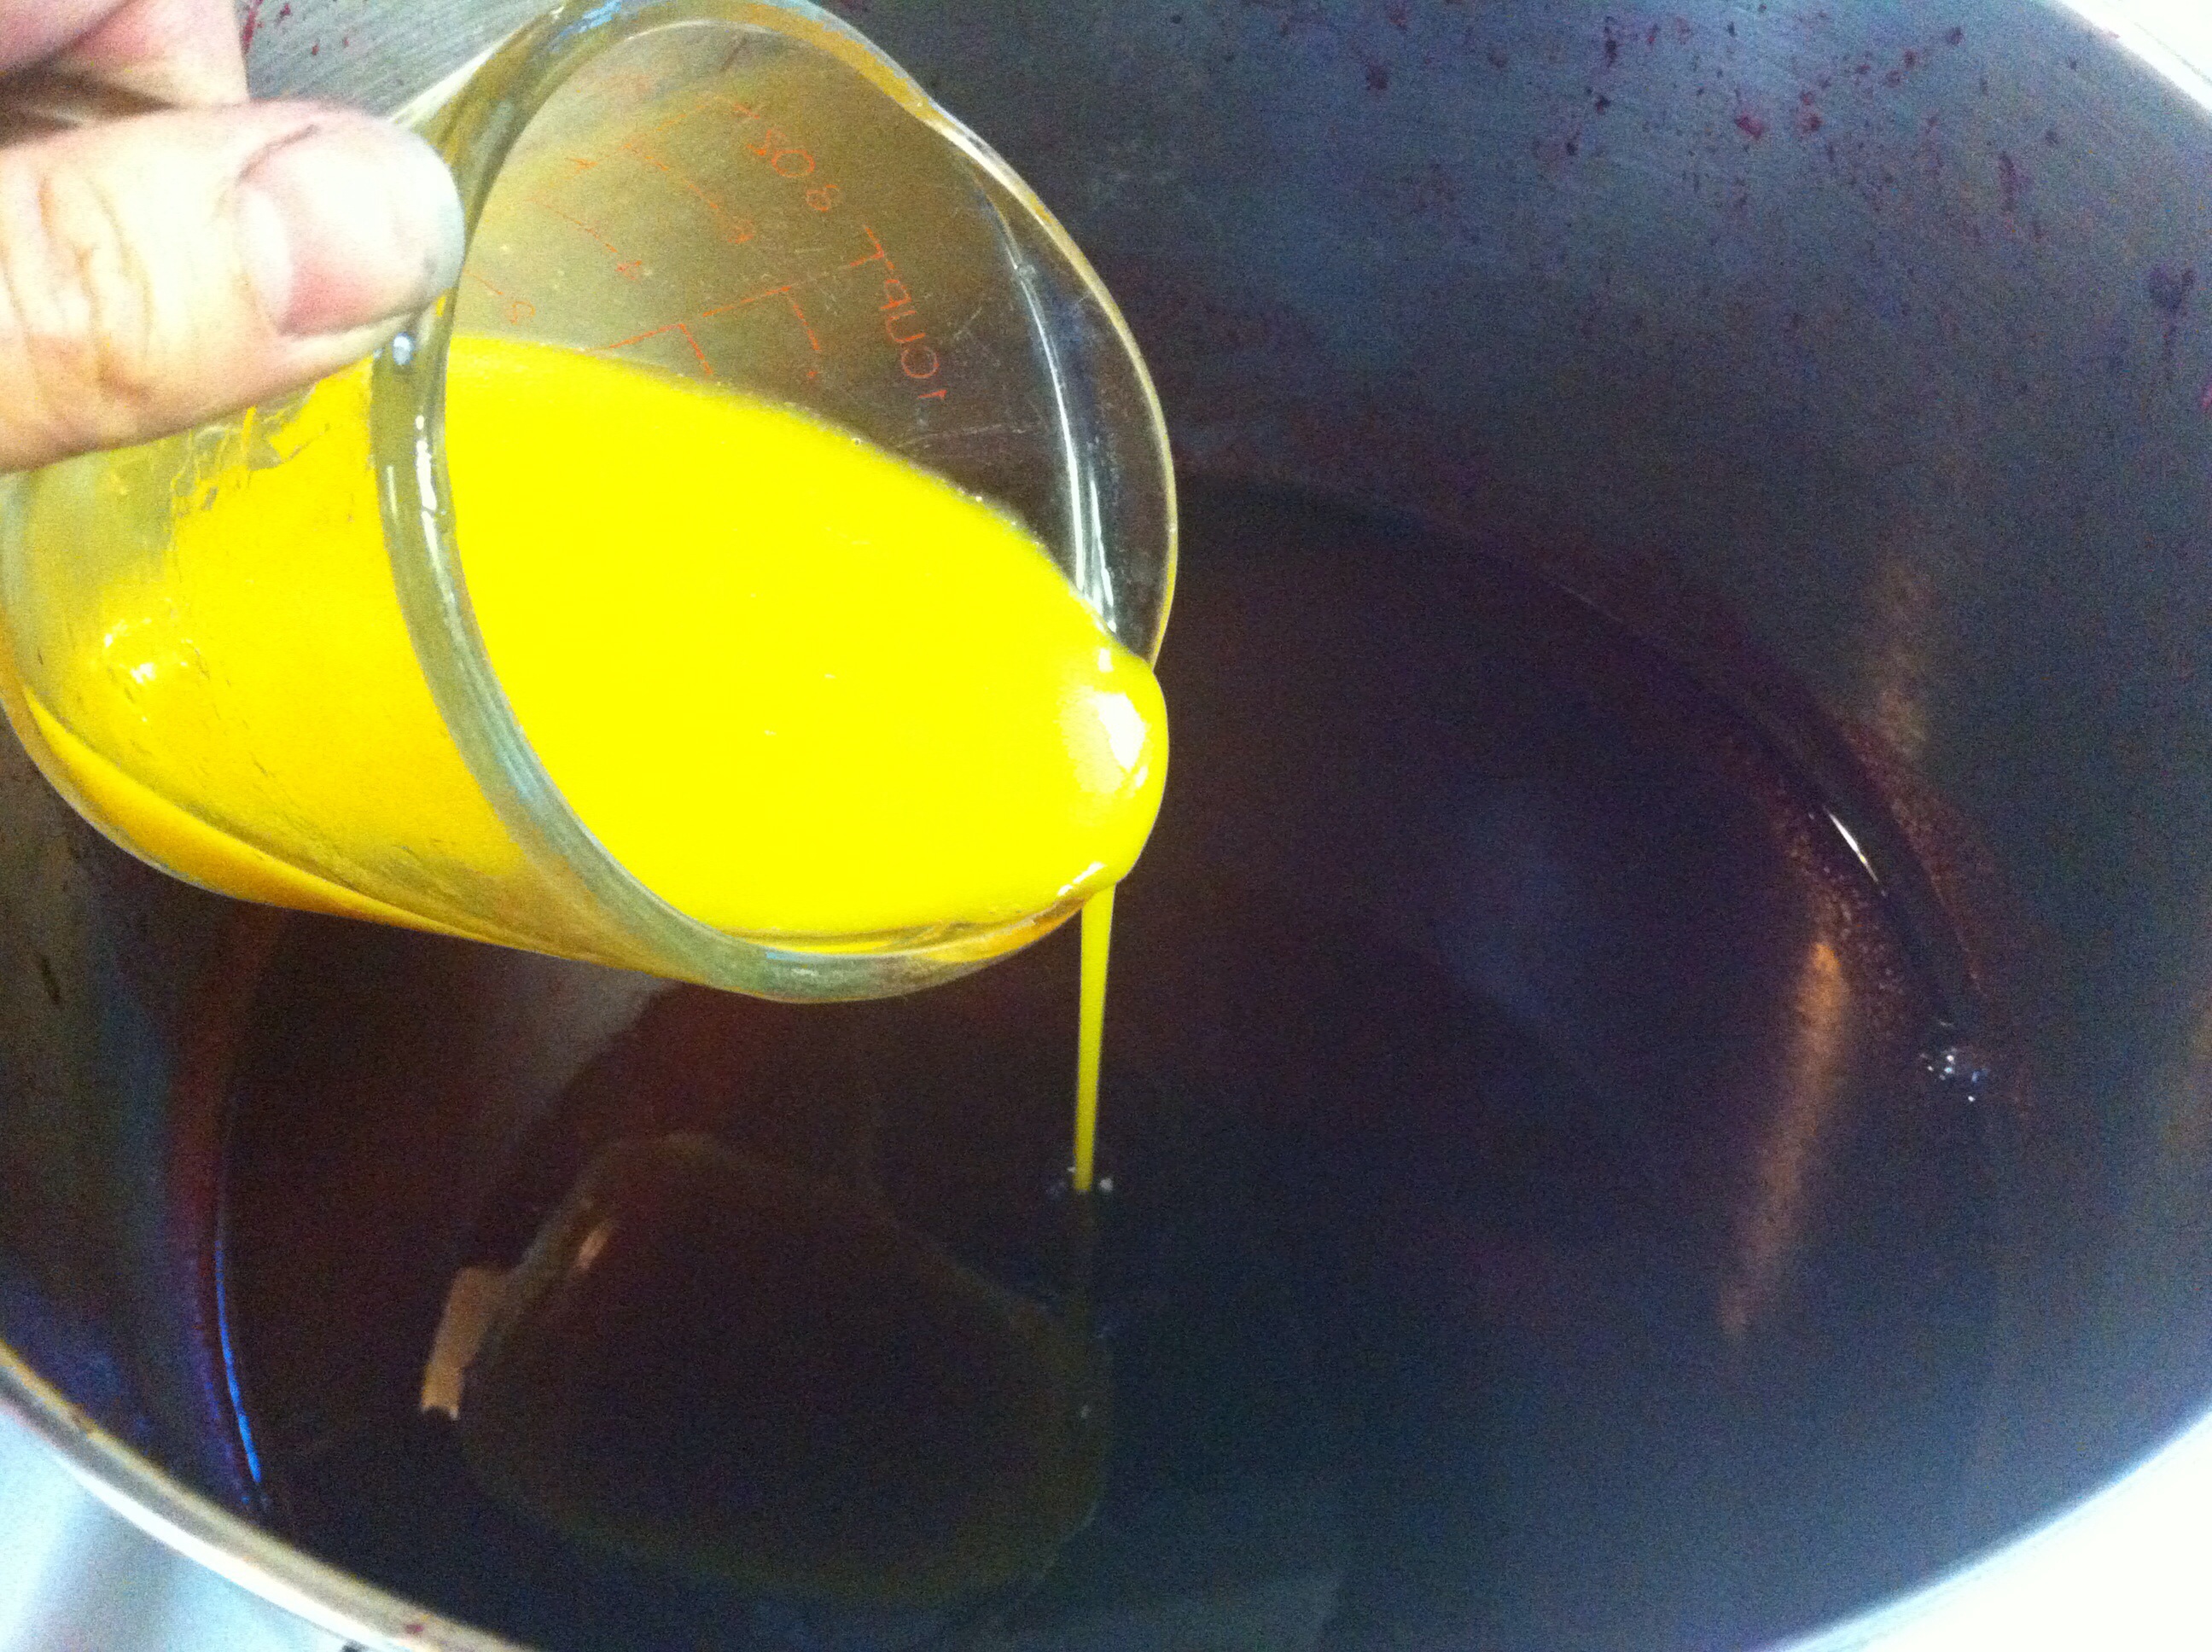
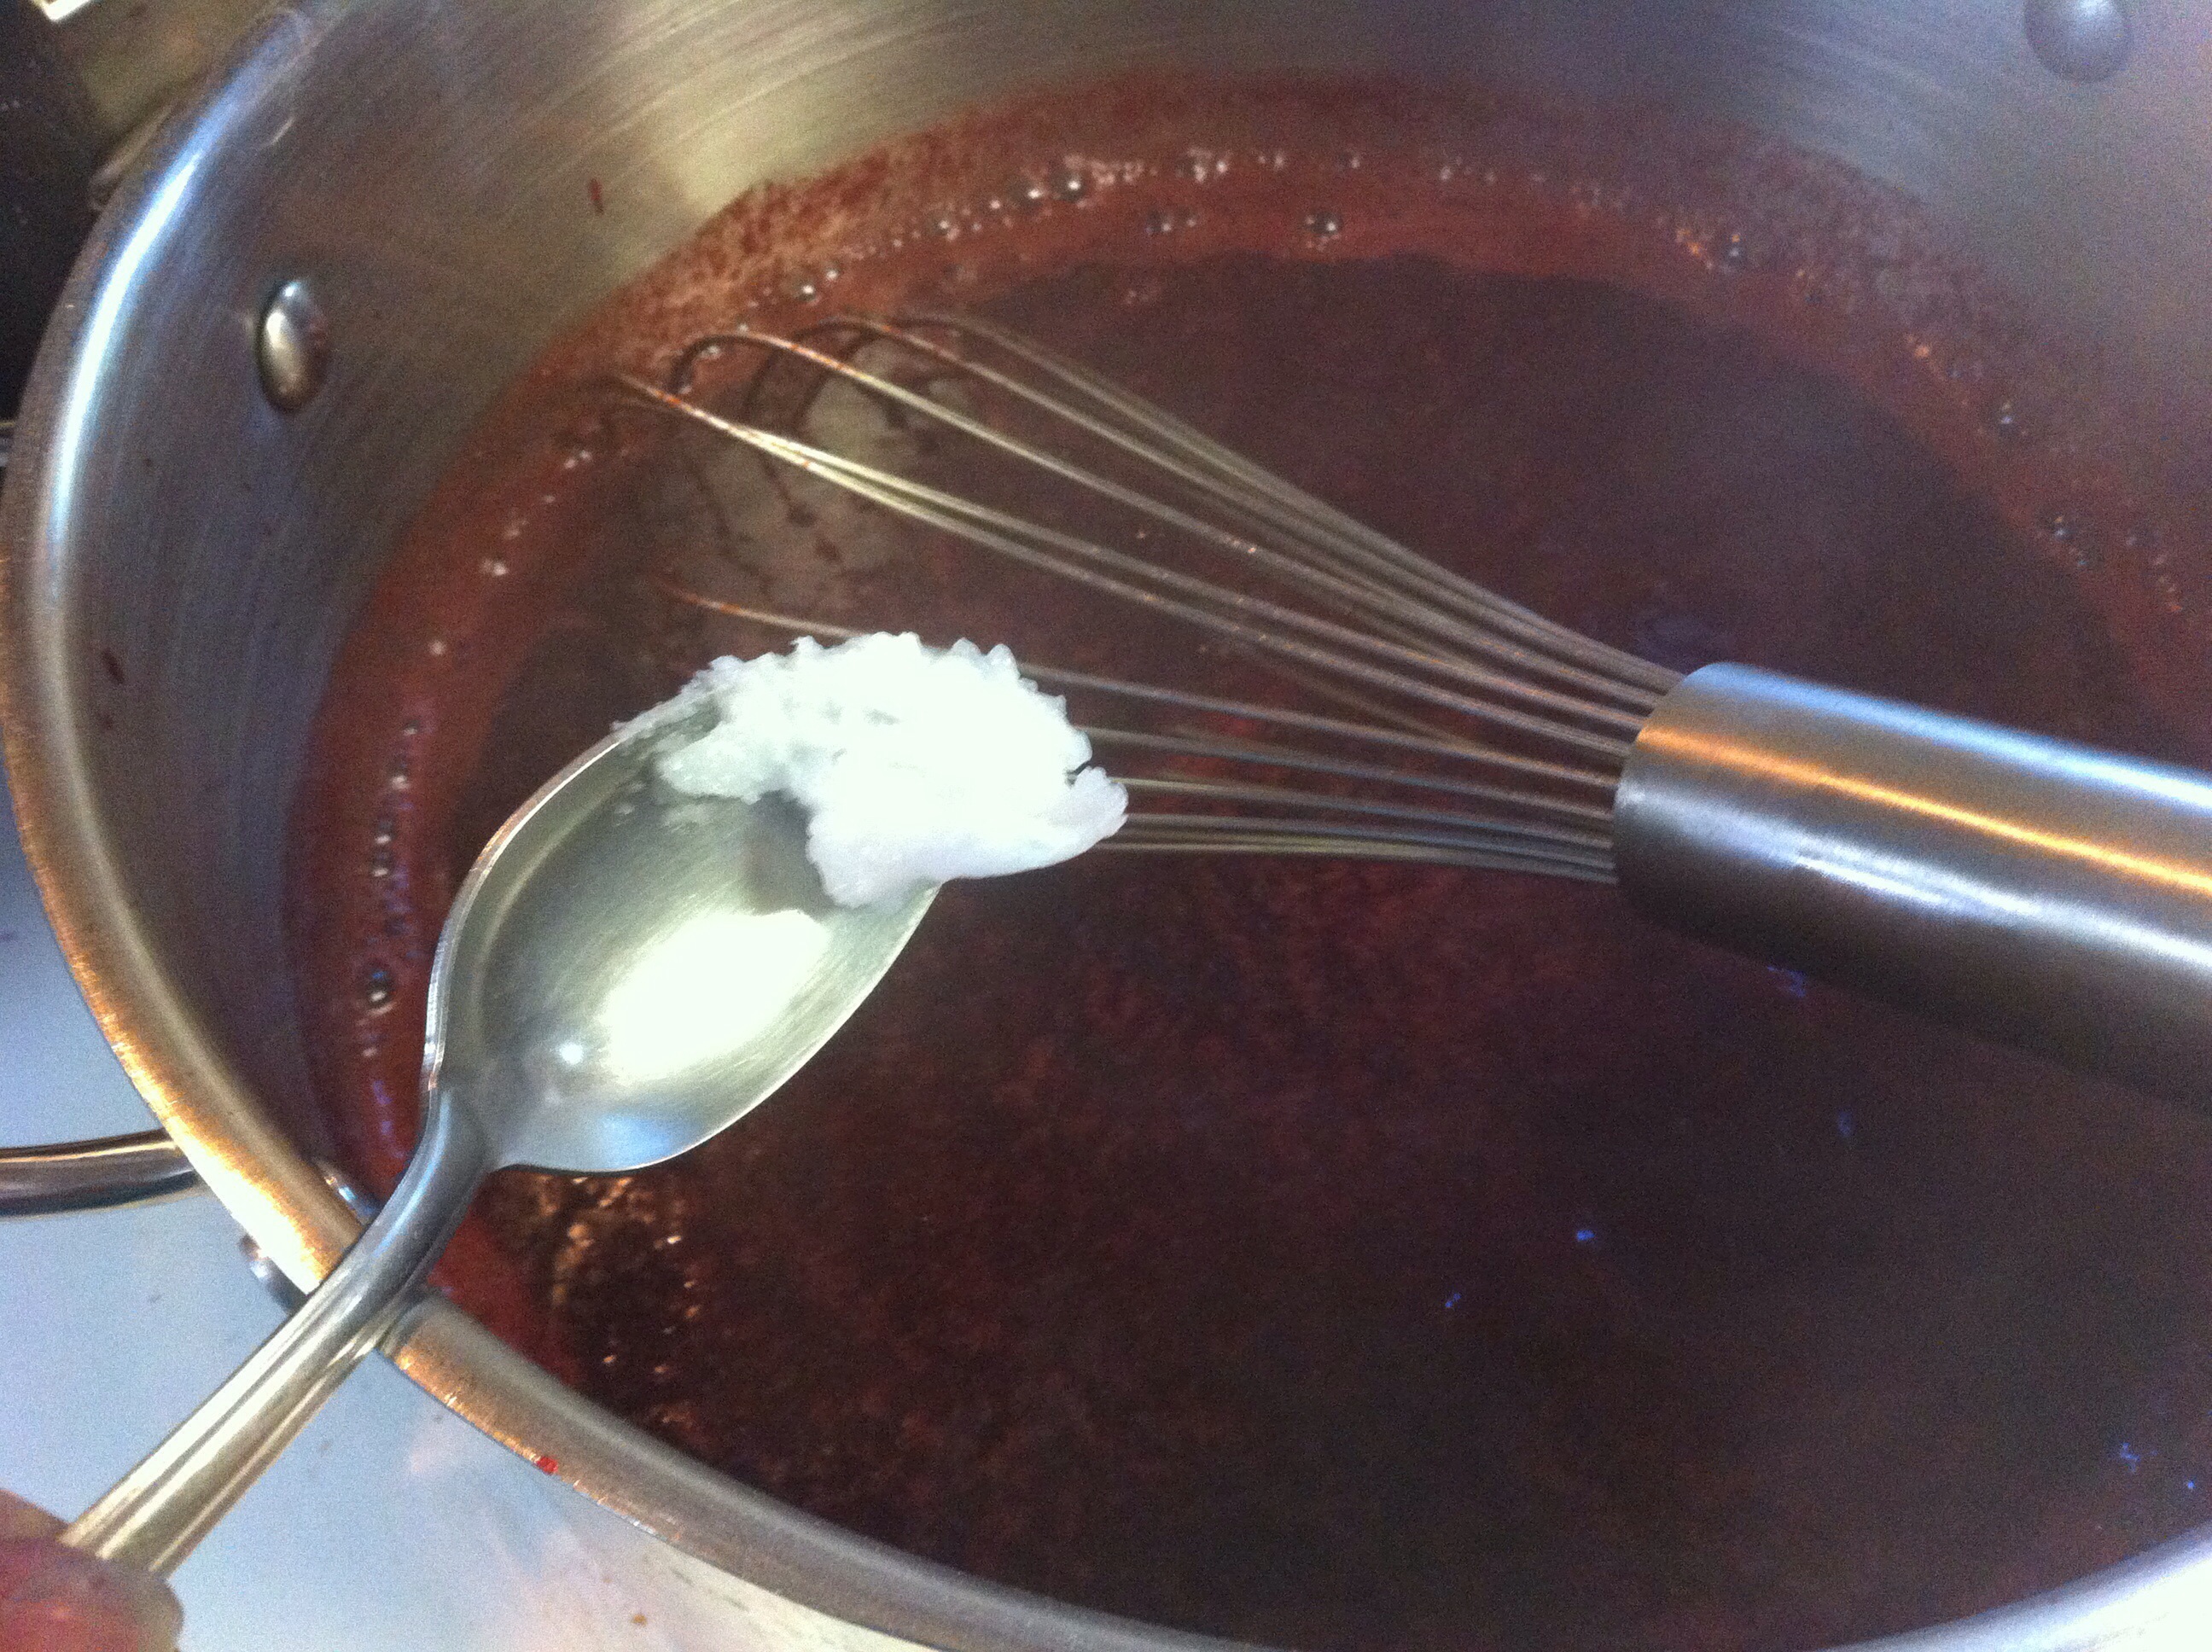
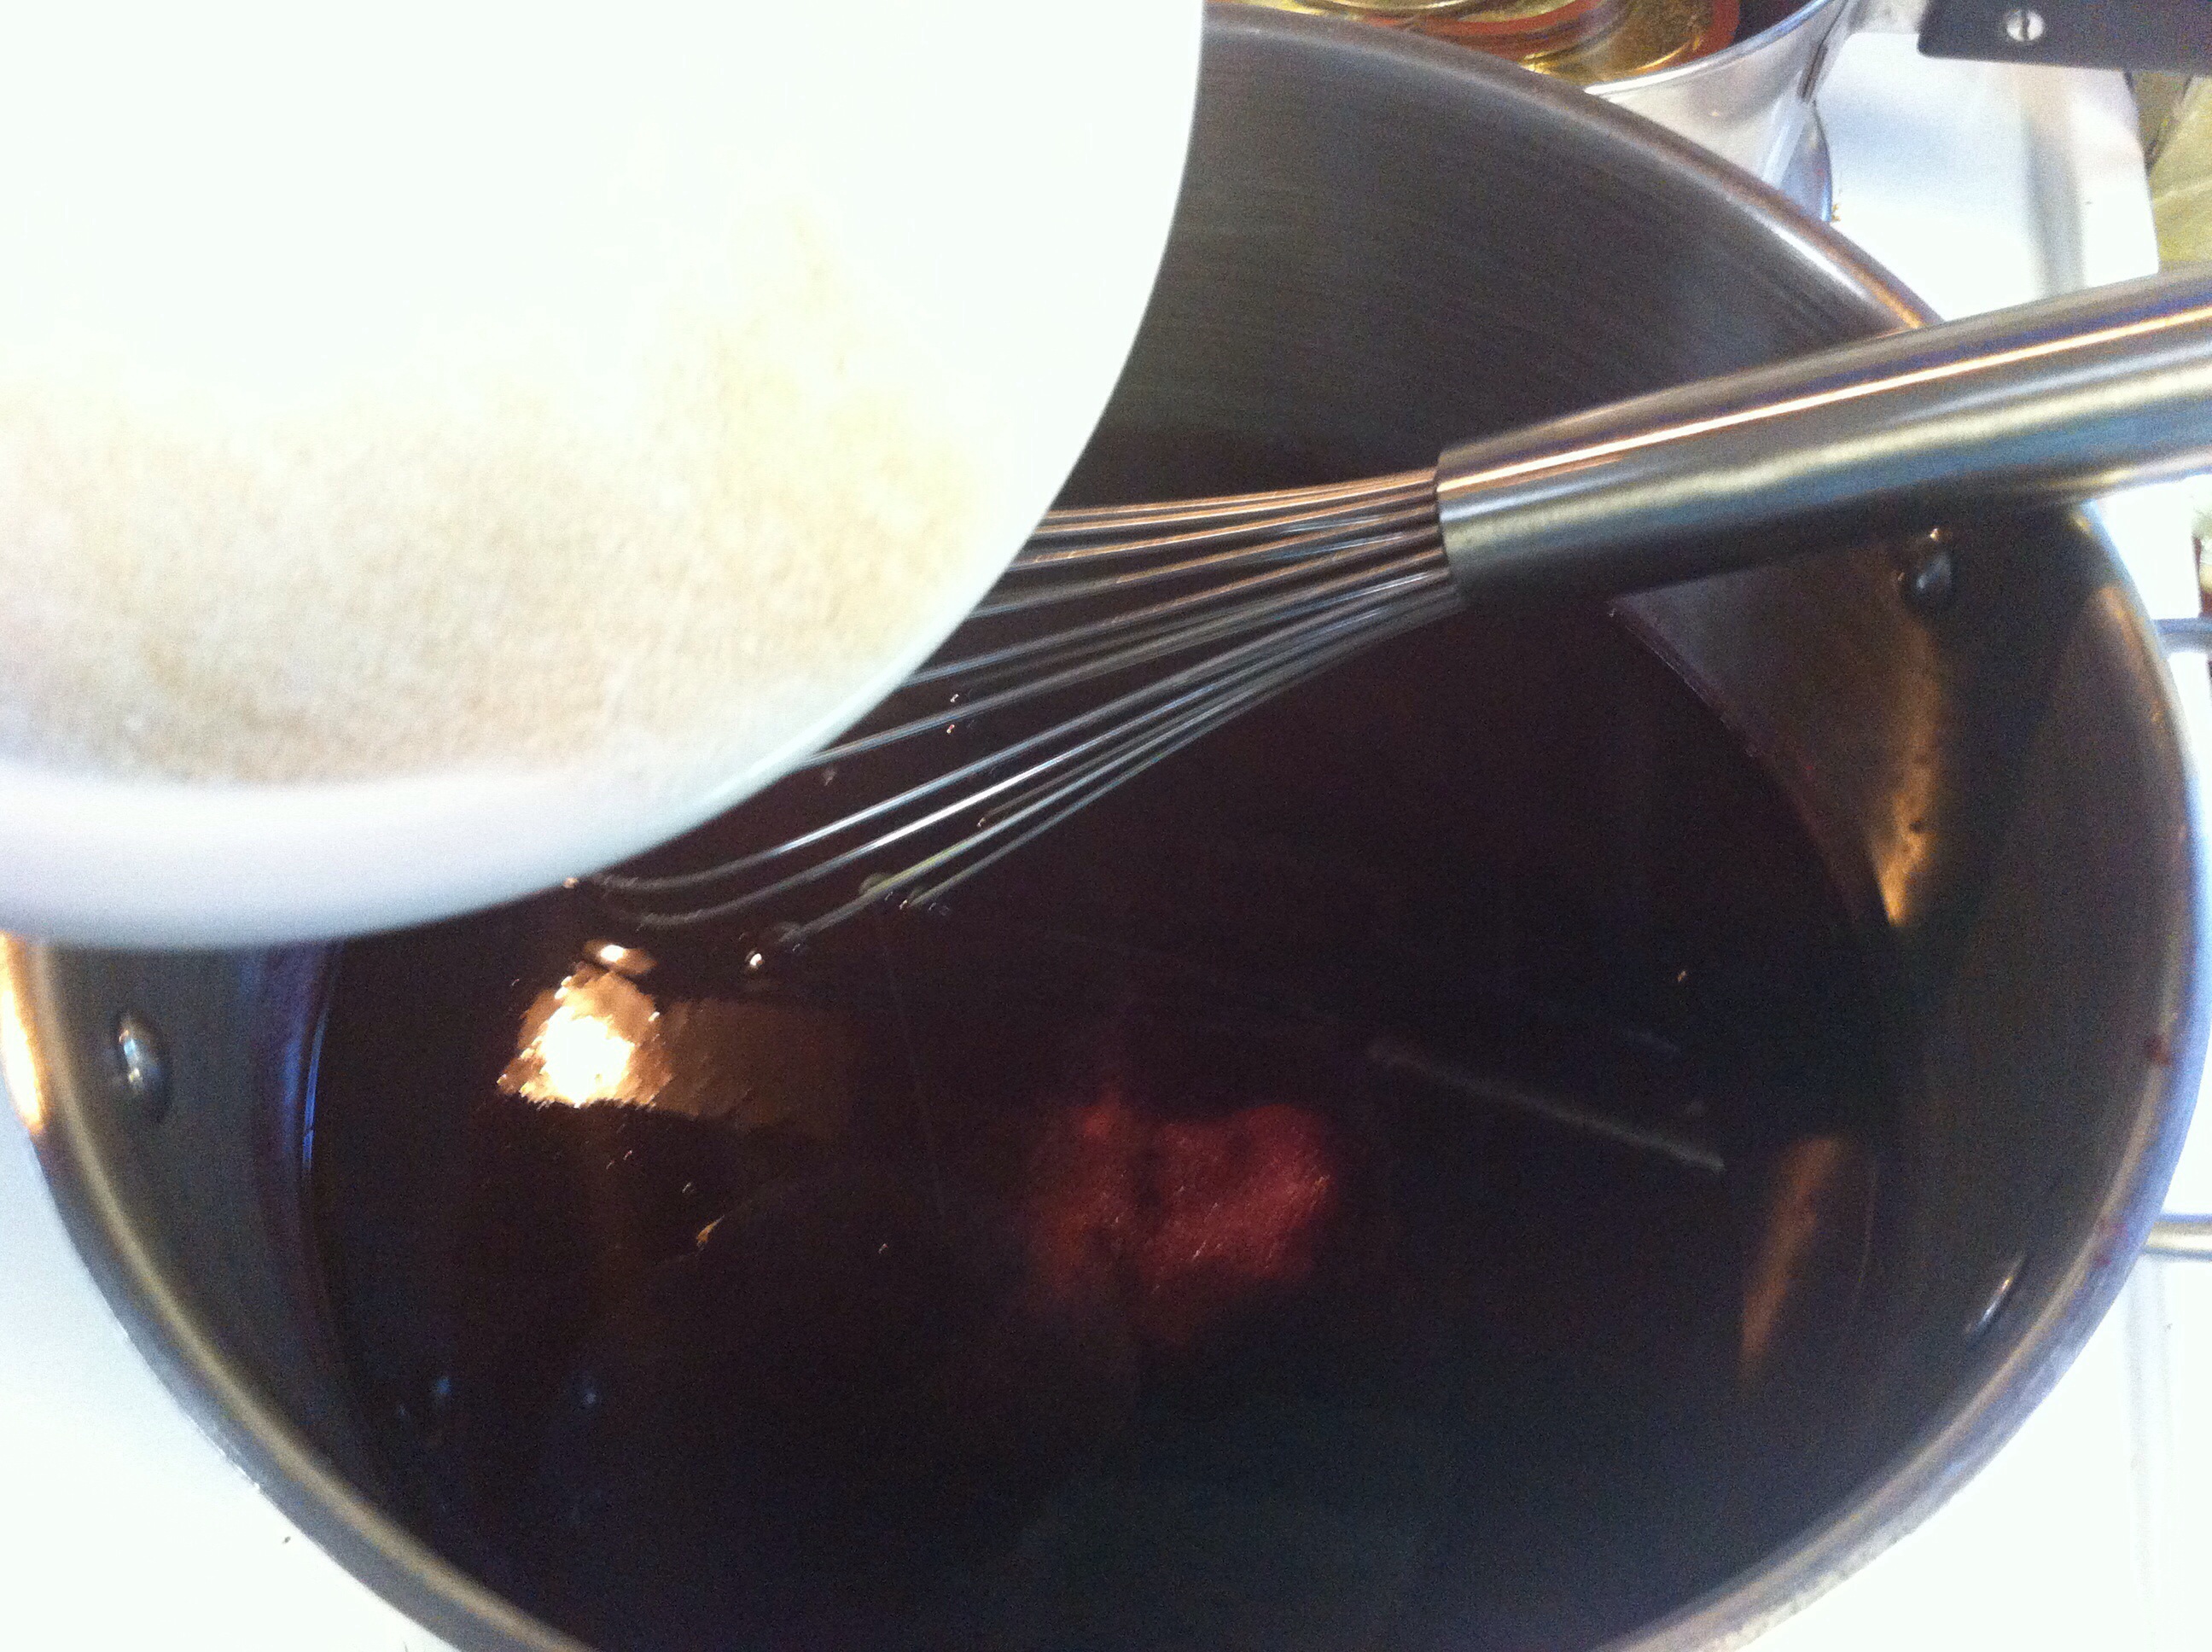
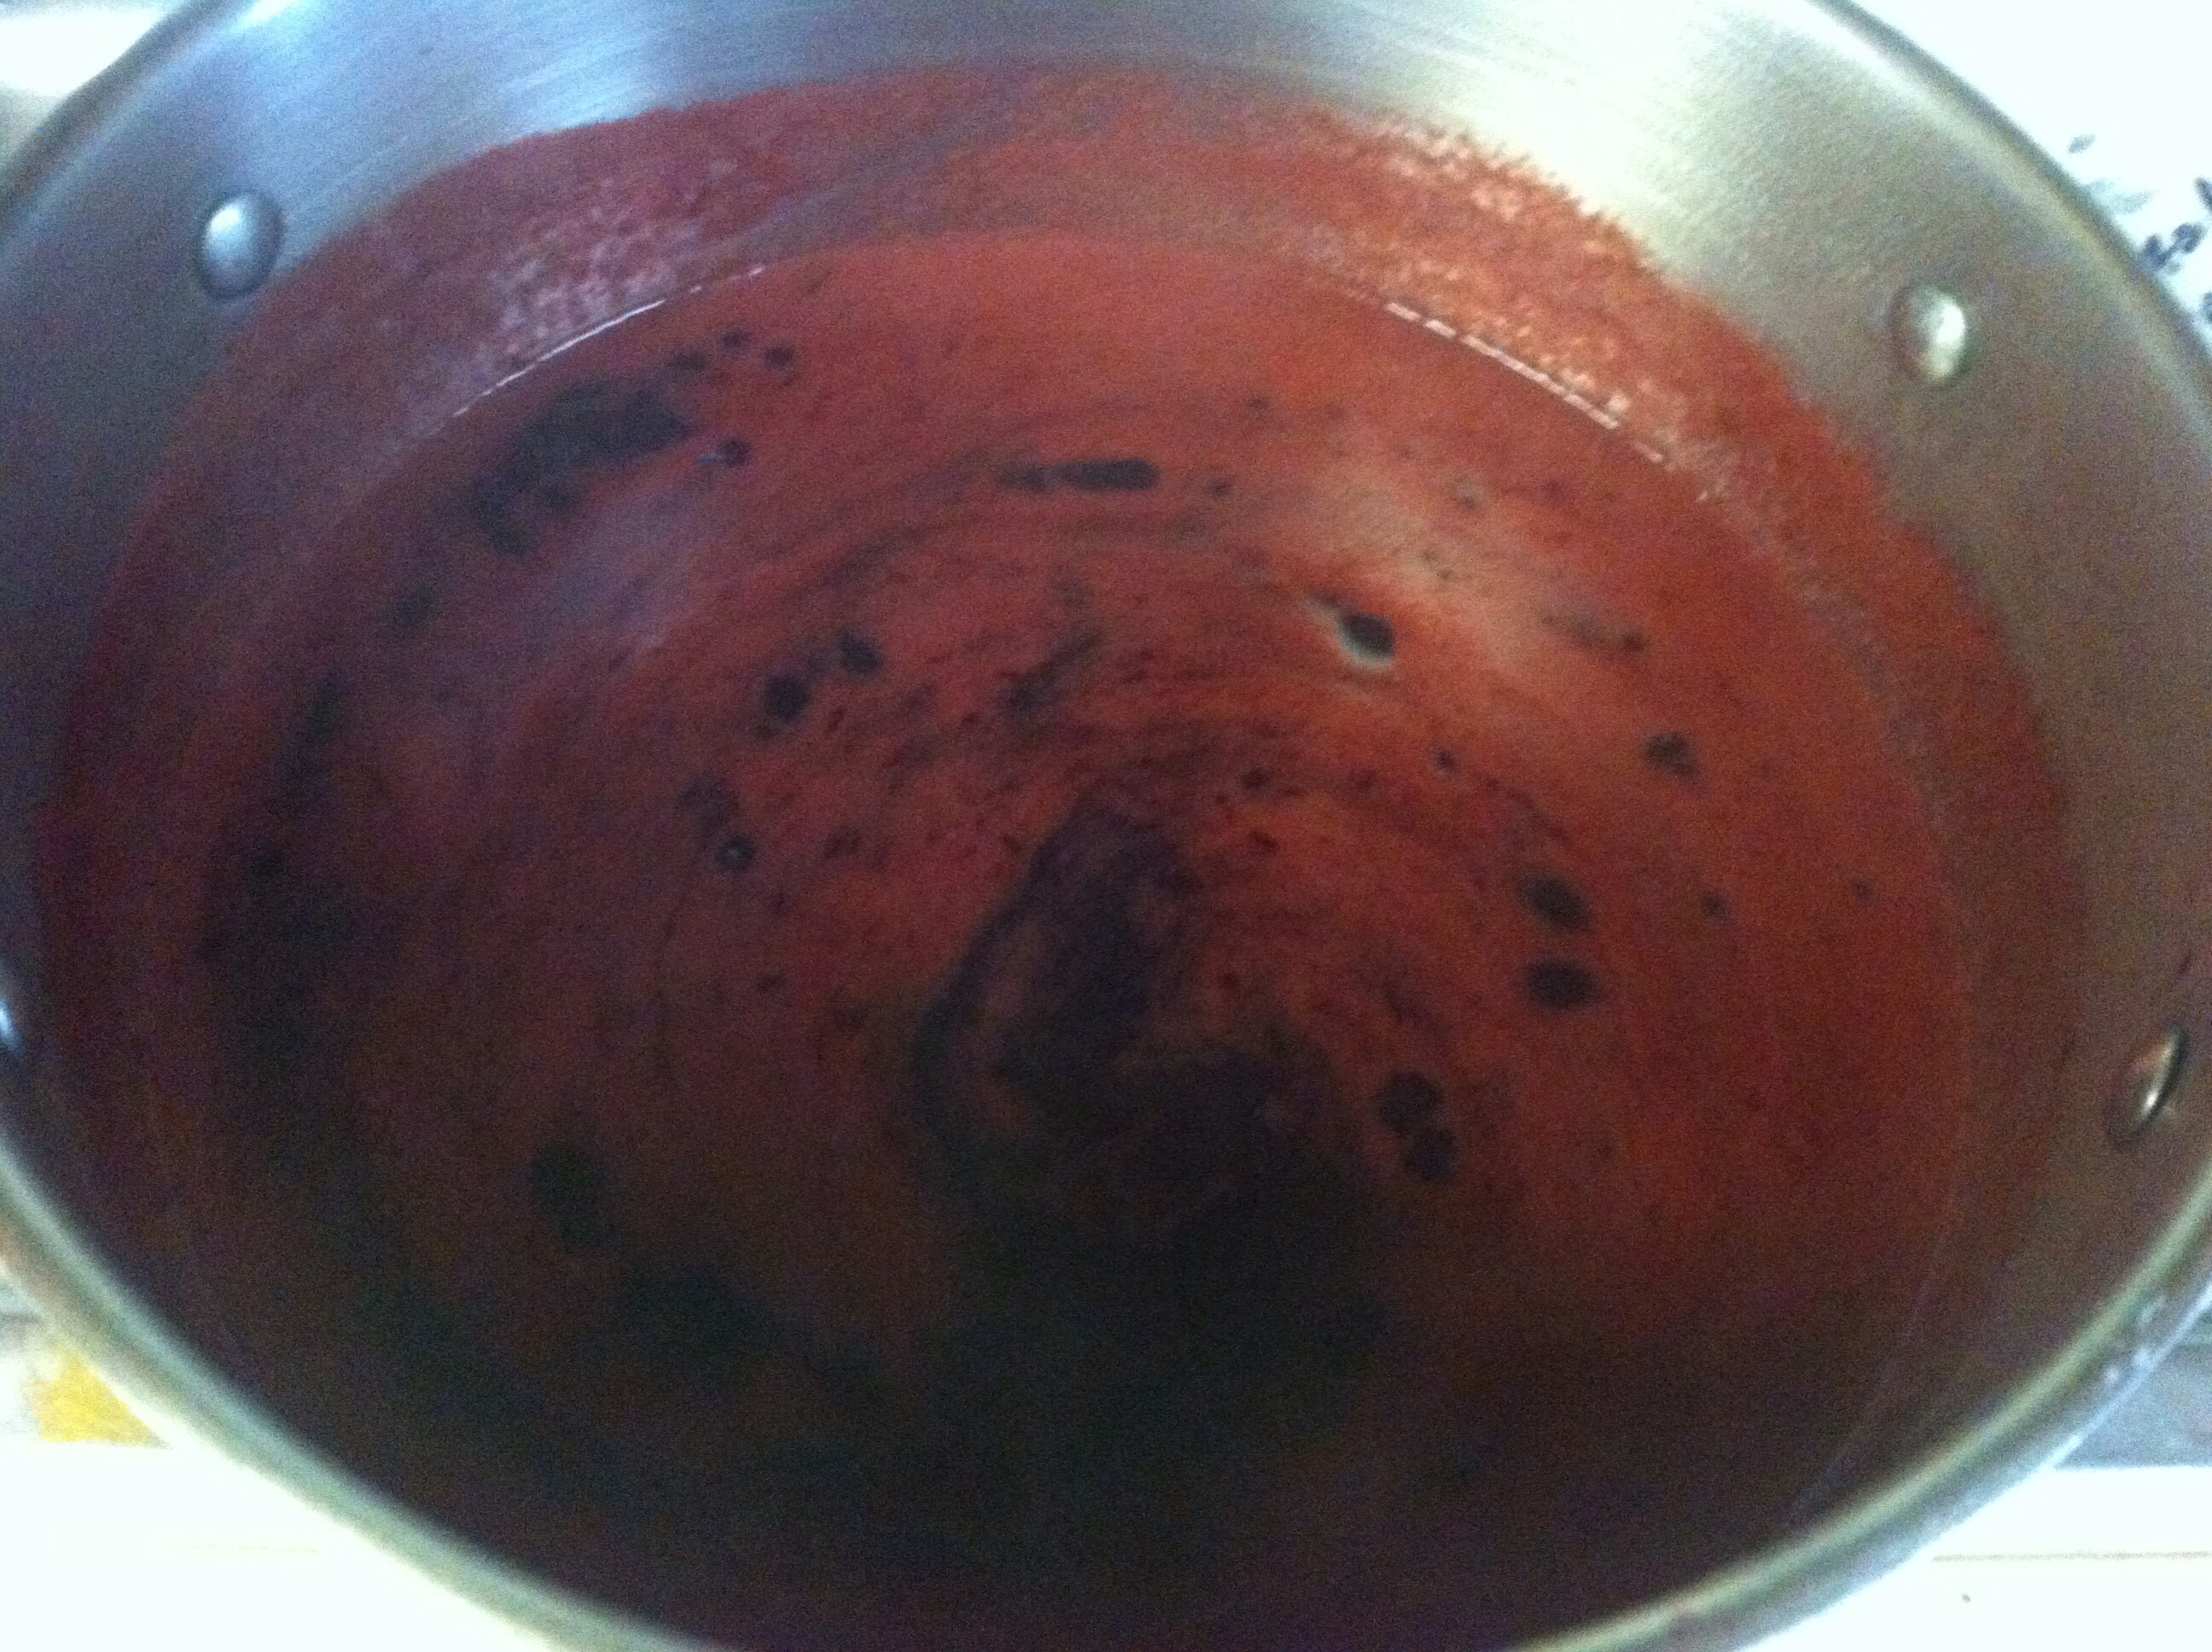
Mix blackberry pulp/juice and the orange juice concentrate in a bit stock pot. If you are using the coconut oil {or butter} it should be added now as well. The oil helps to keep the jam from frothing up…it really does help!
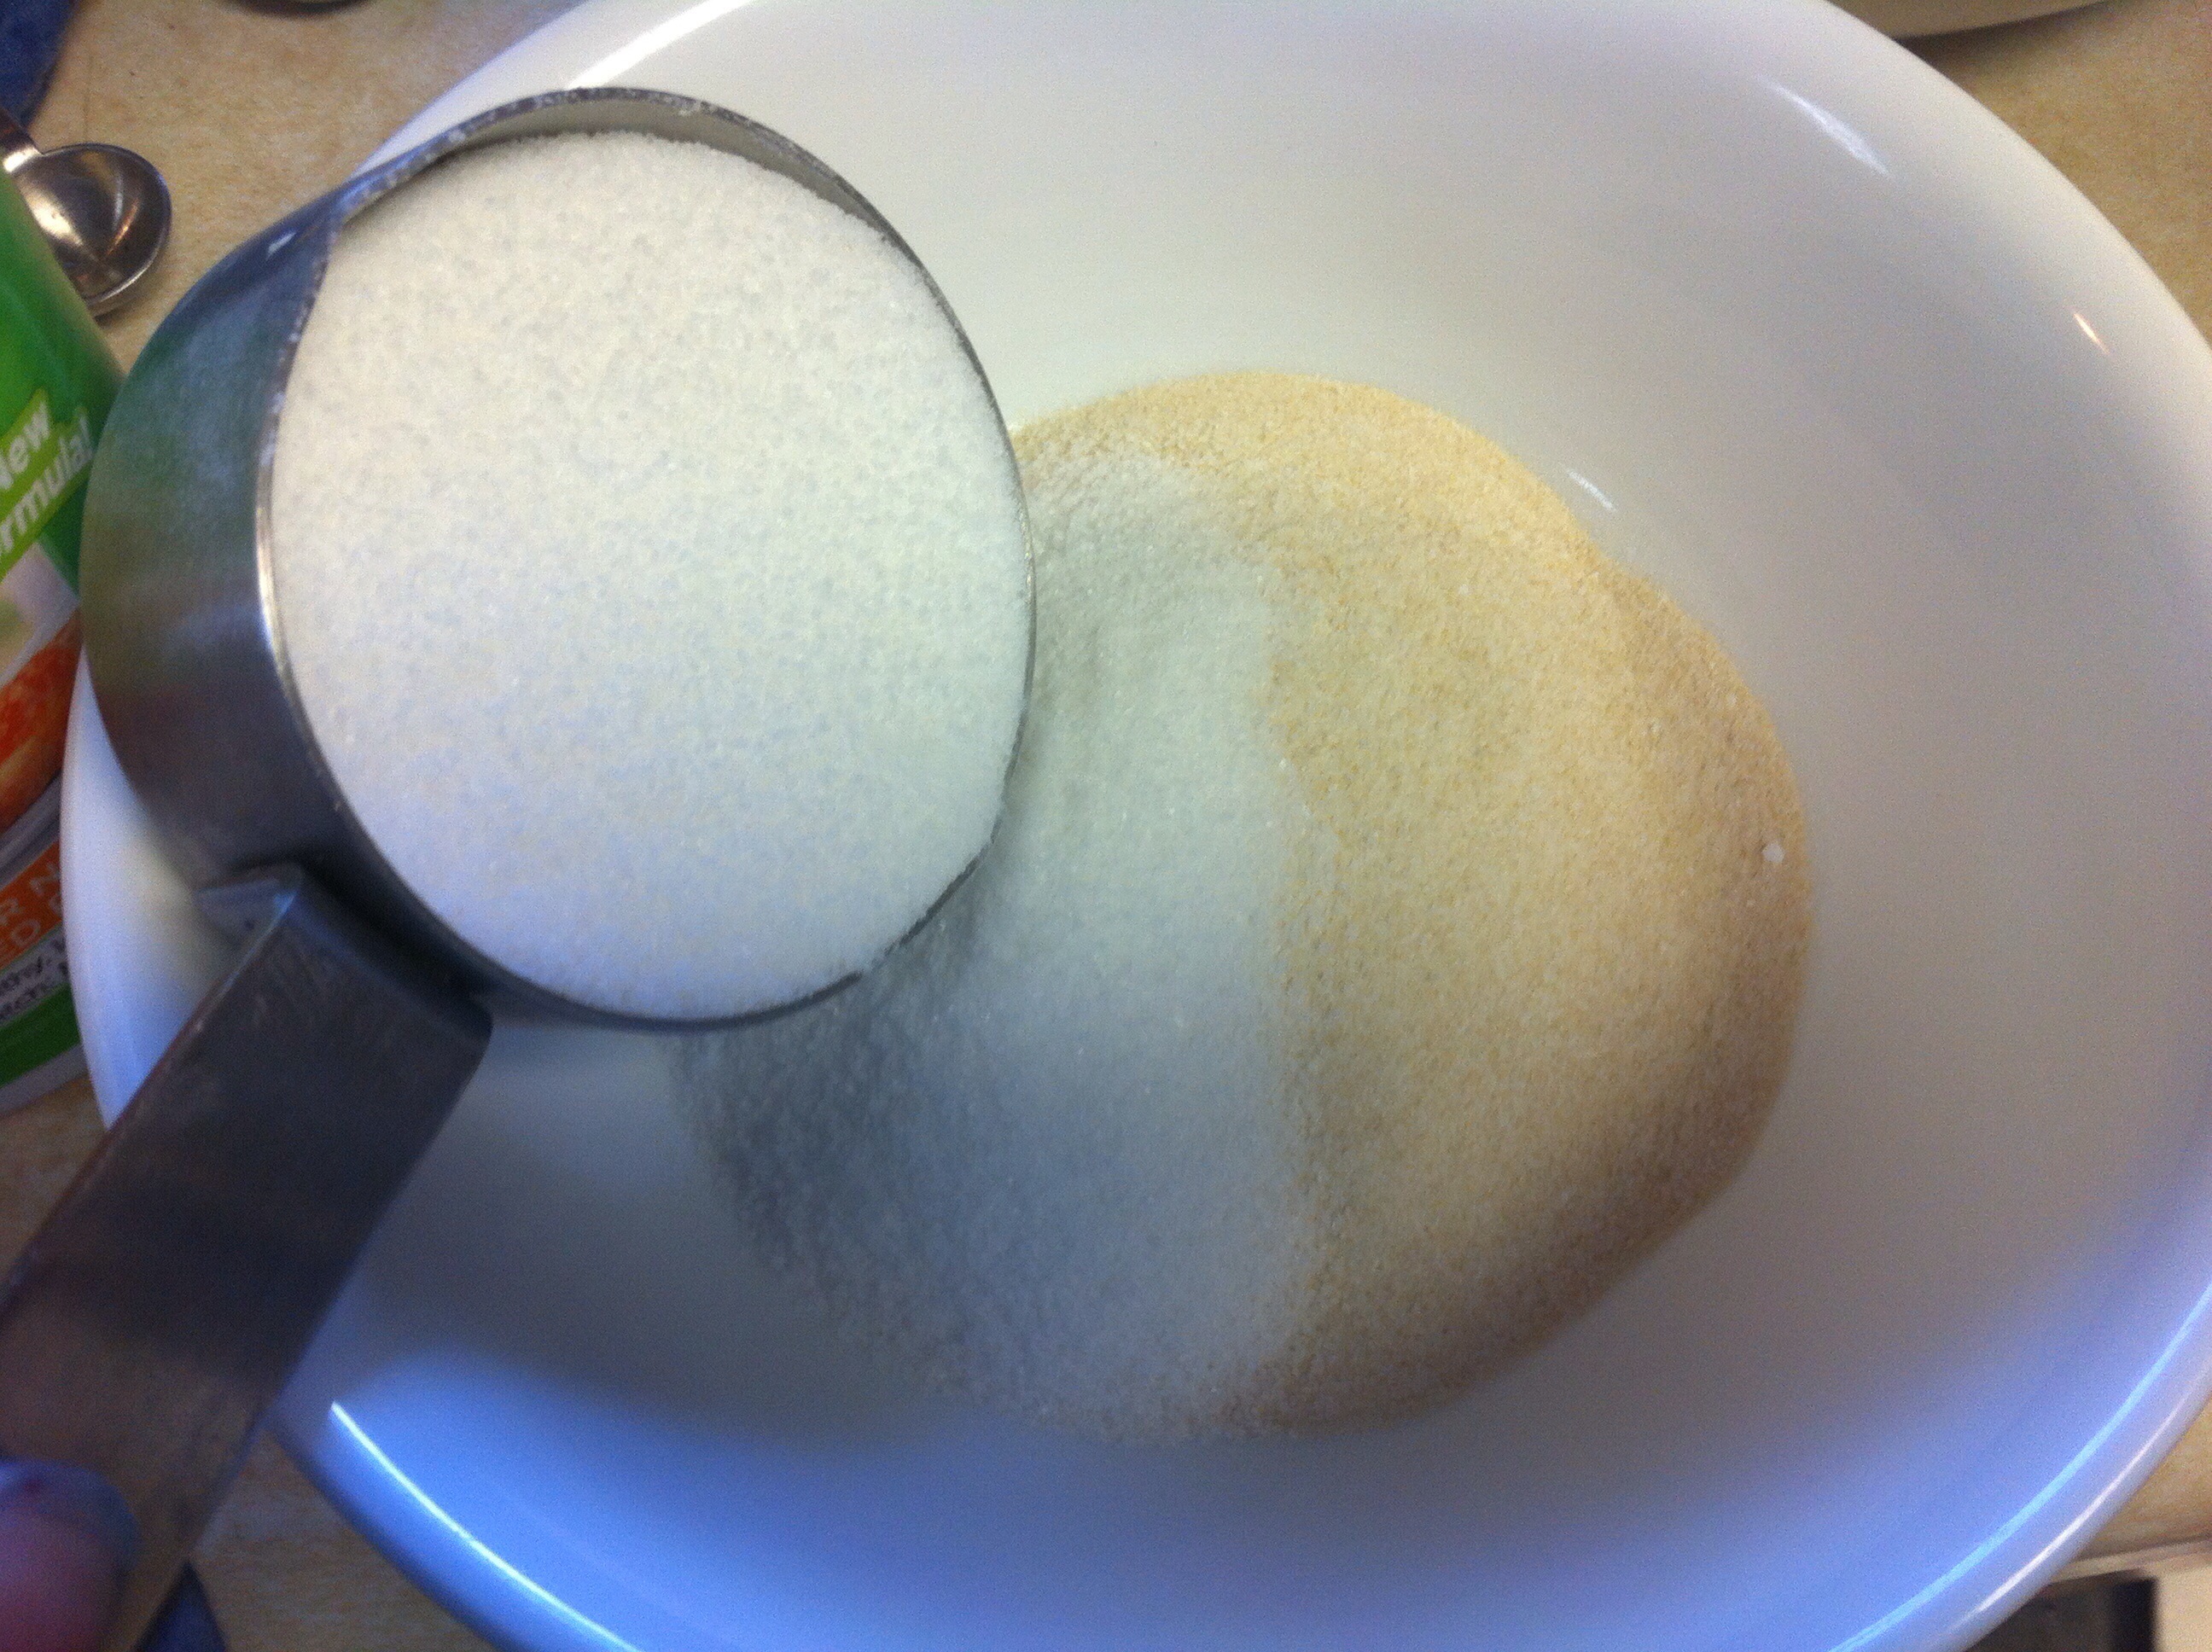
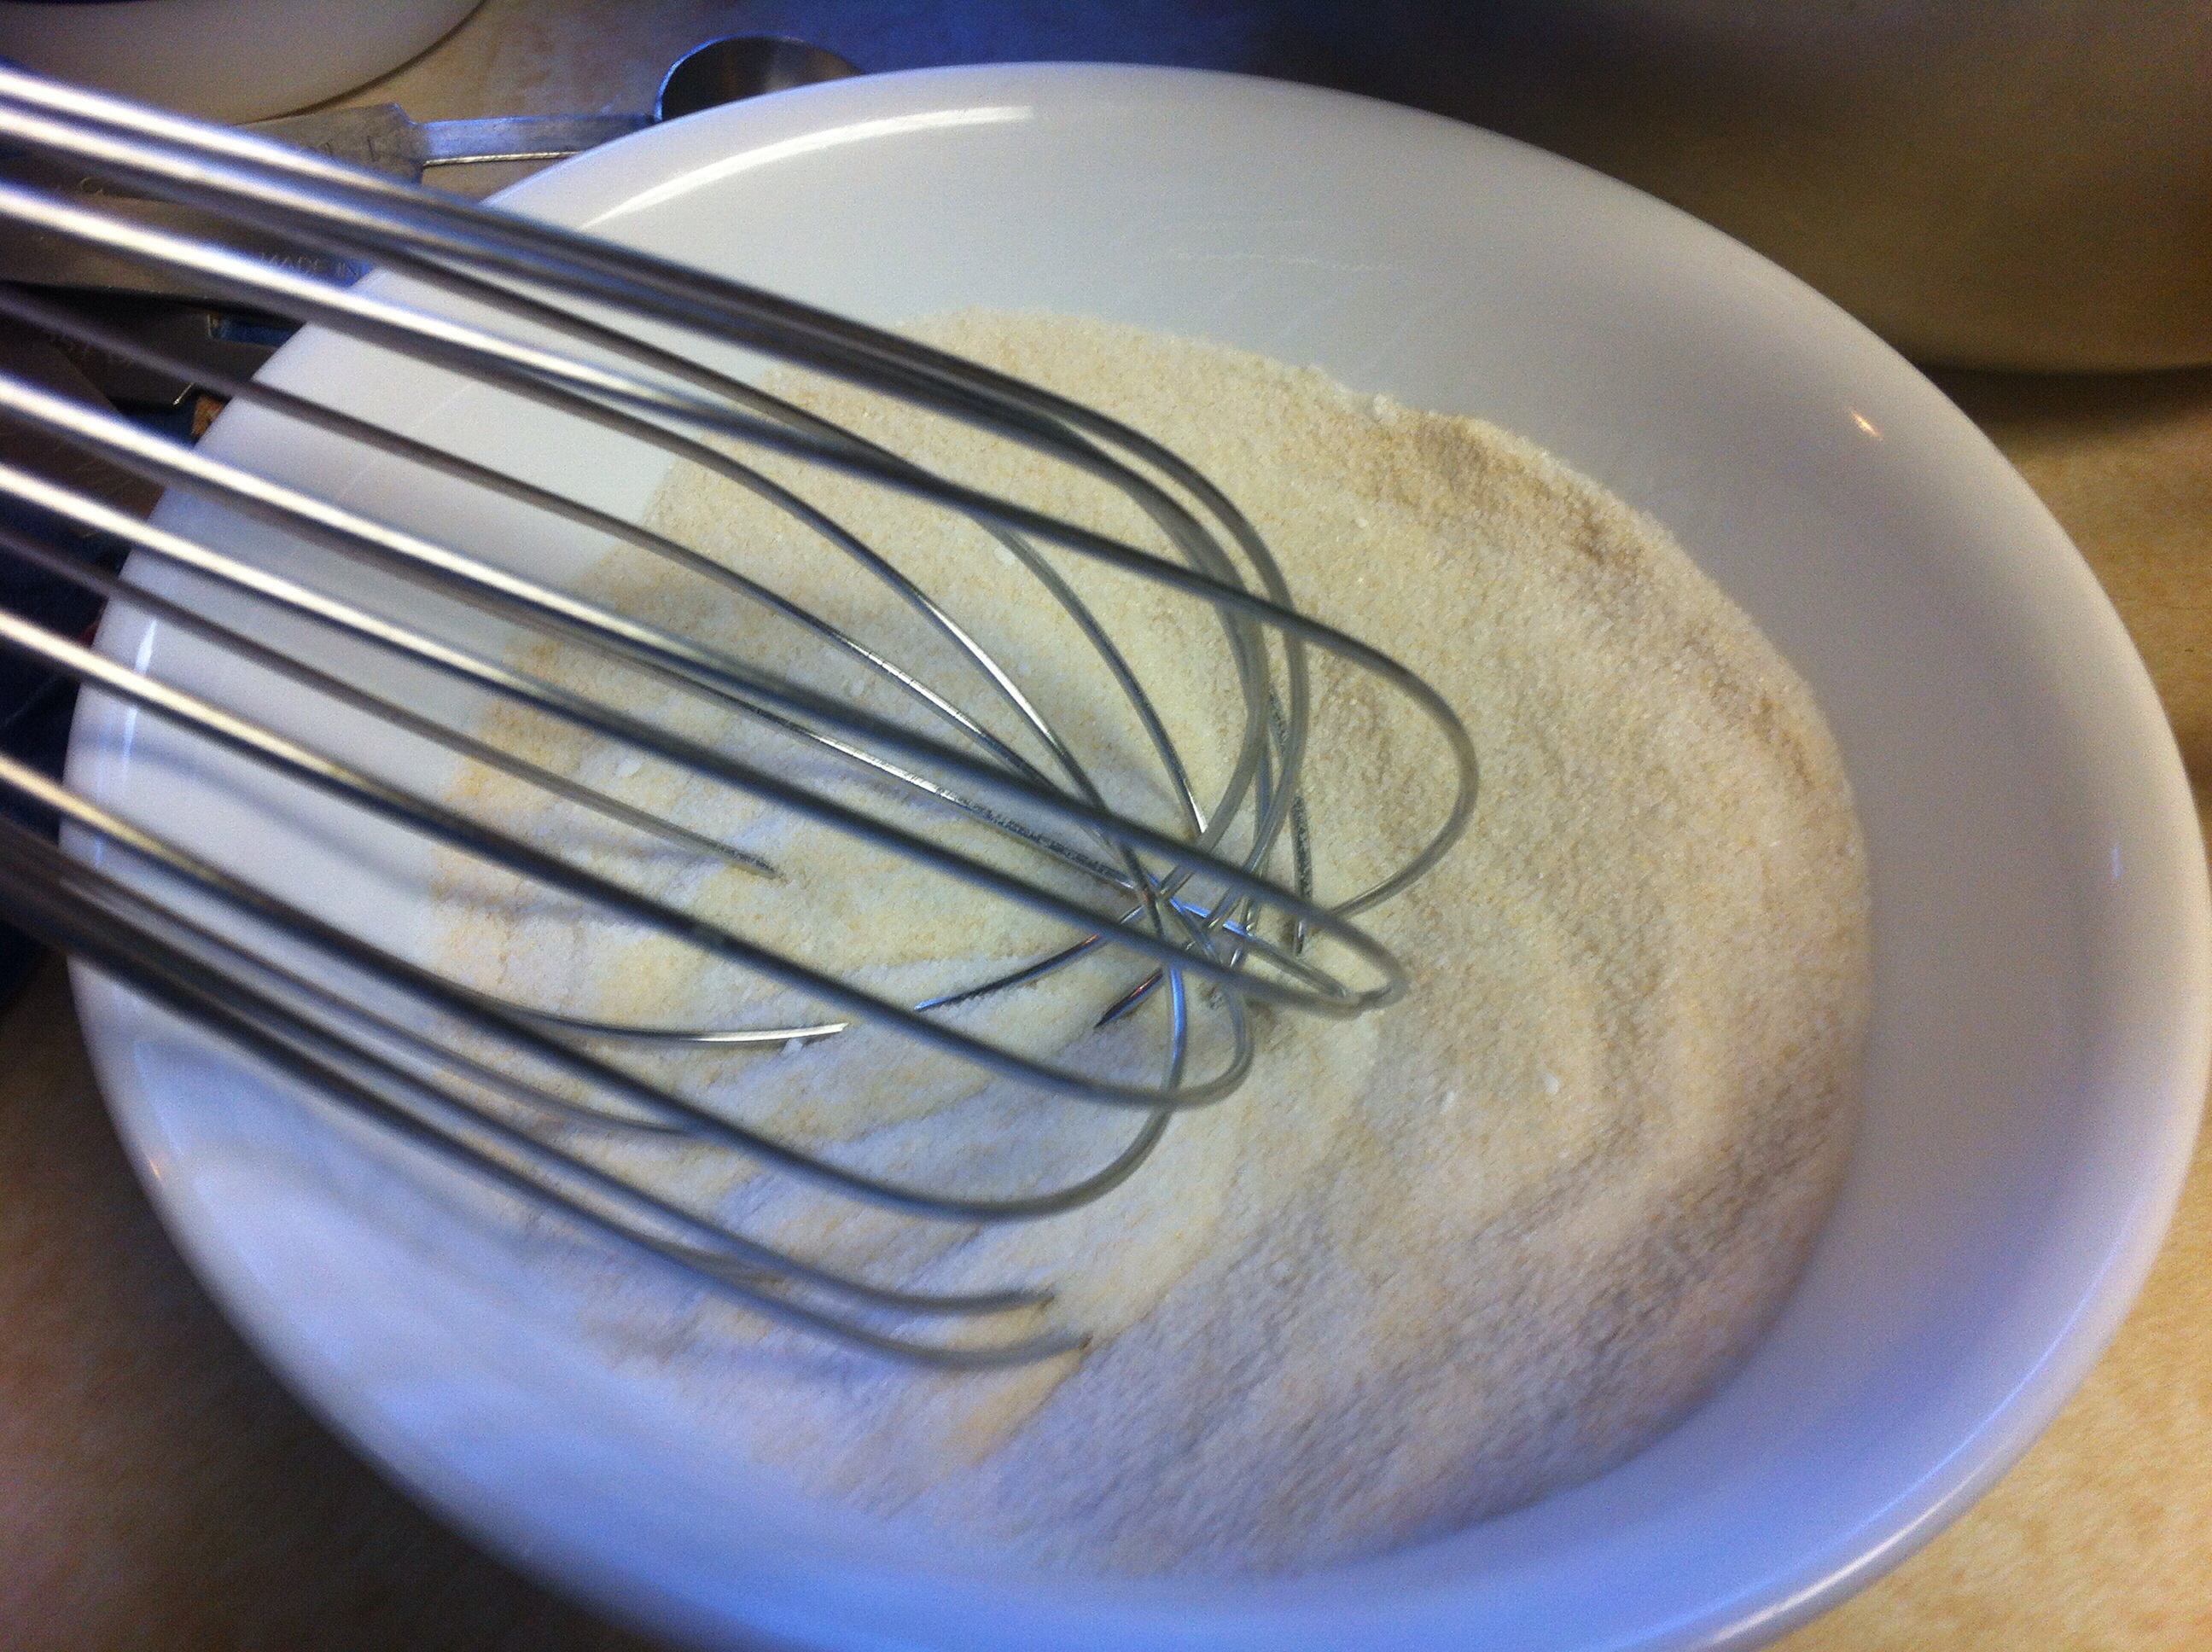
Mix pectin in a bowl with about 1/4 cup – 1/3 cup of sugar. This helps to keep the pectin from clumping up when pouring and mixing into the juice. Slowly stir in pectin mix and bring up to a boil.

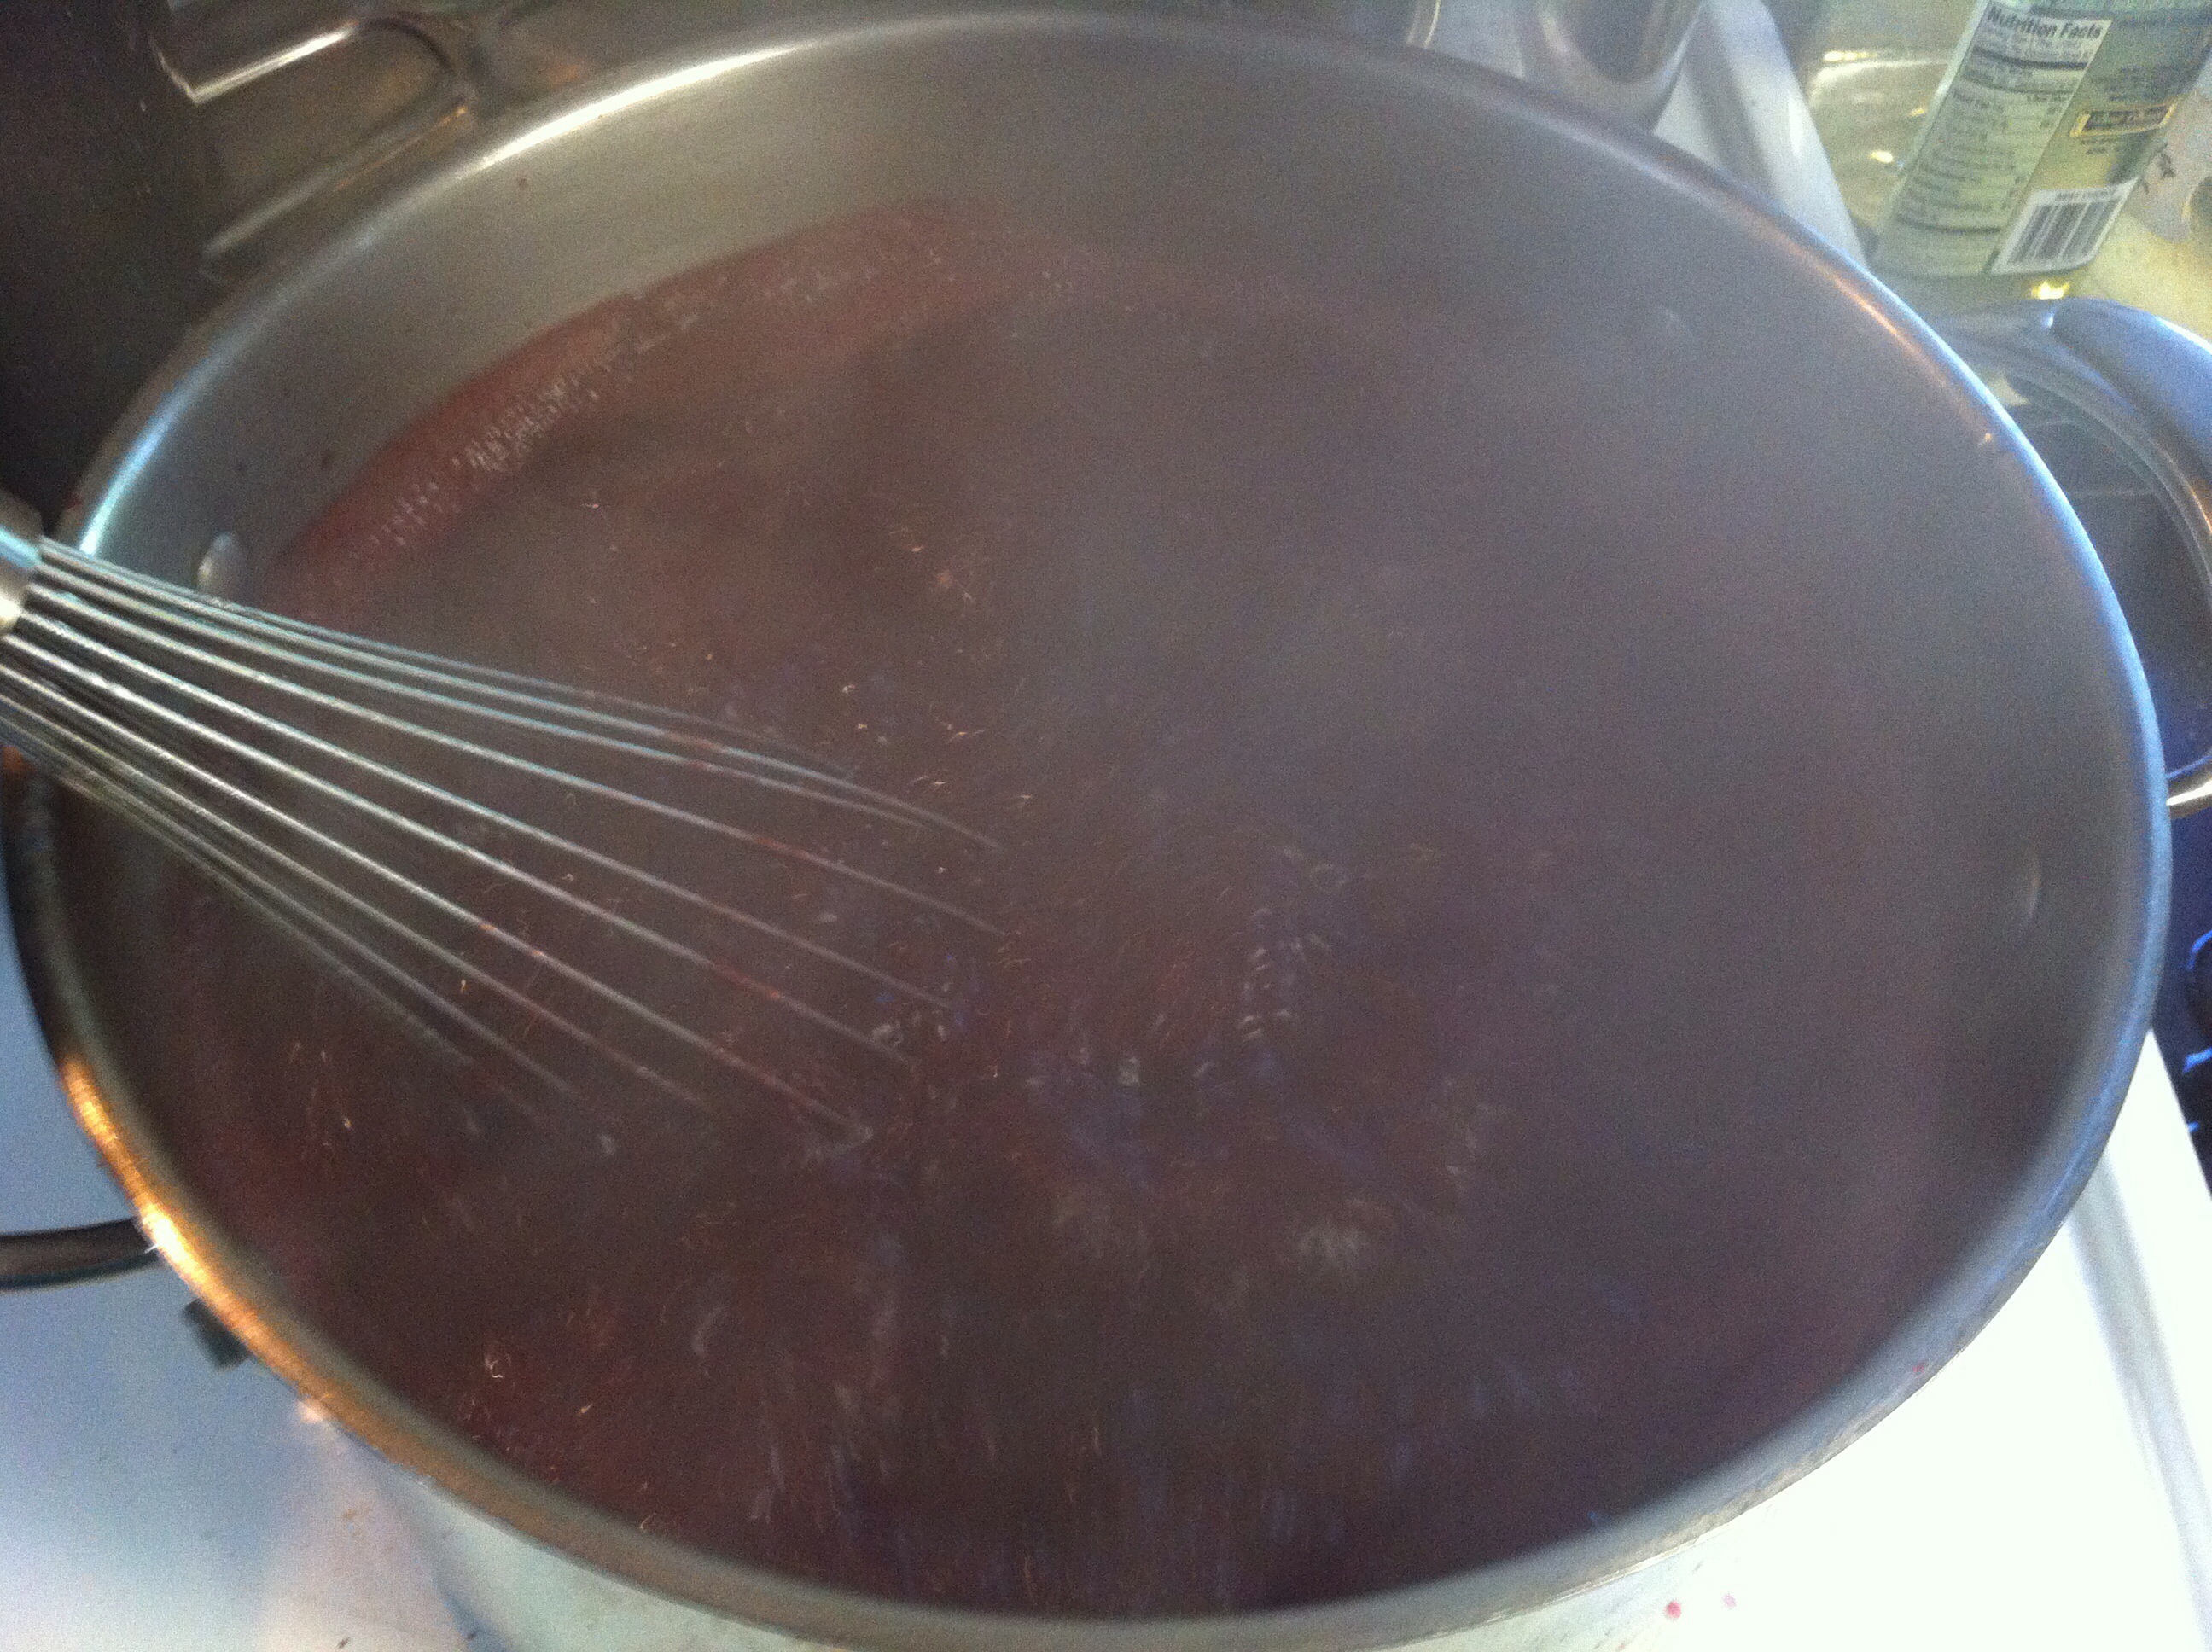
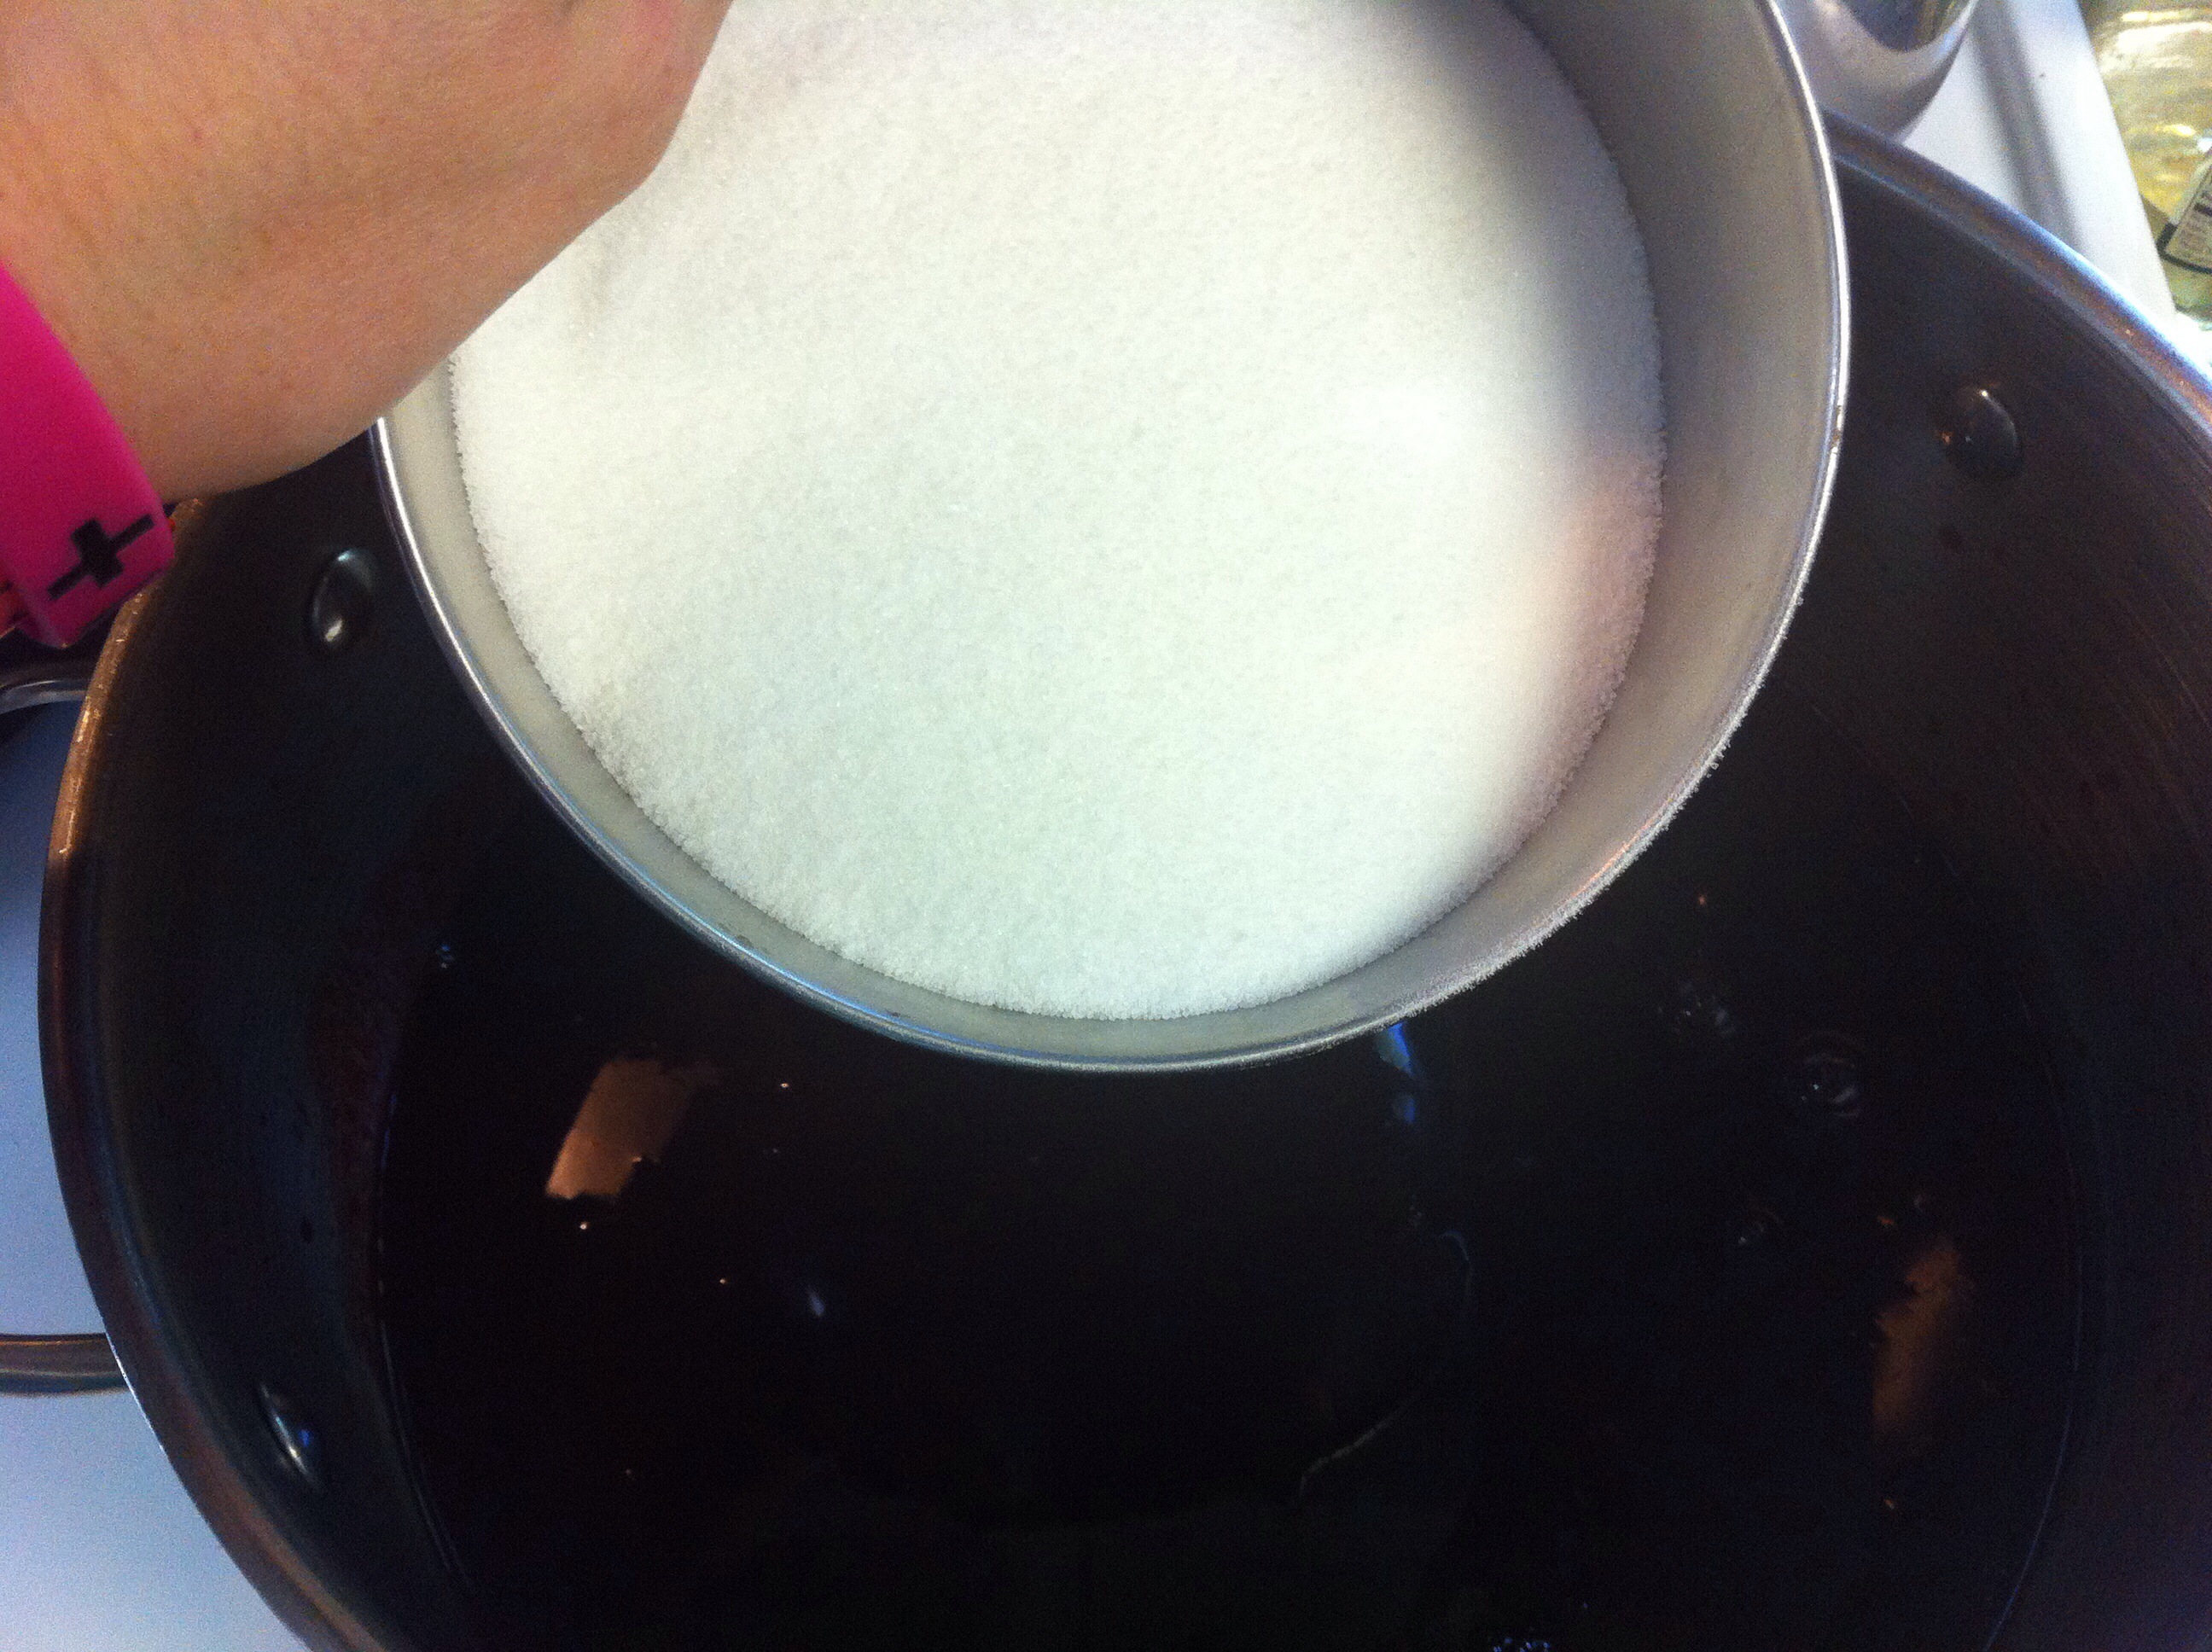
Once the juice and pectin mixture has come to a boil, add the sugar-making sure to stir constantly and bring to a hard boil {that can’t be stirred out} for 1 minute.

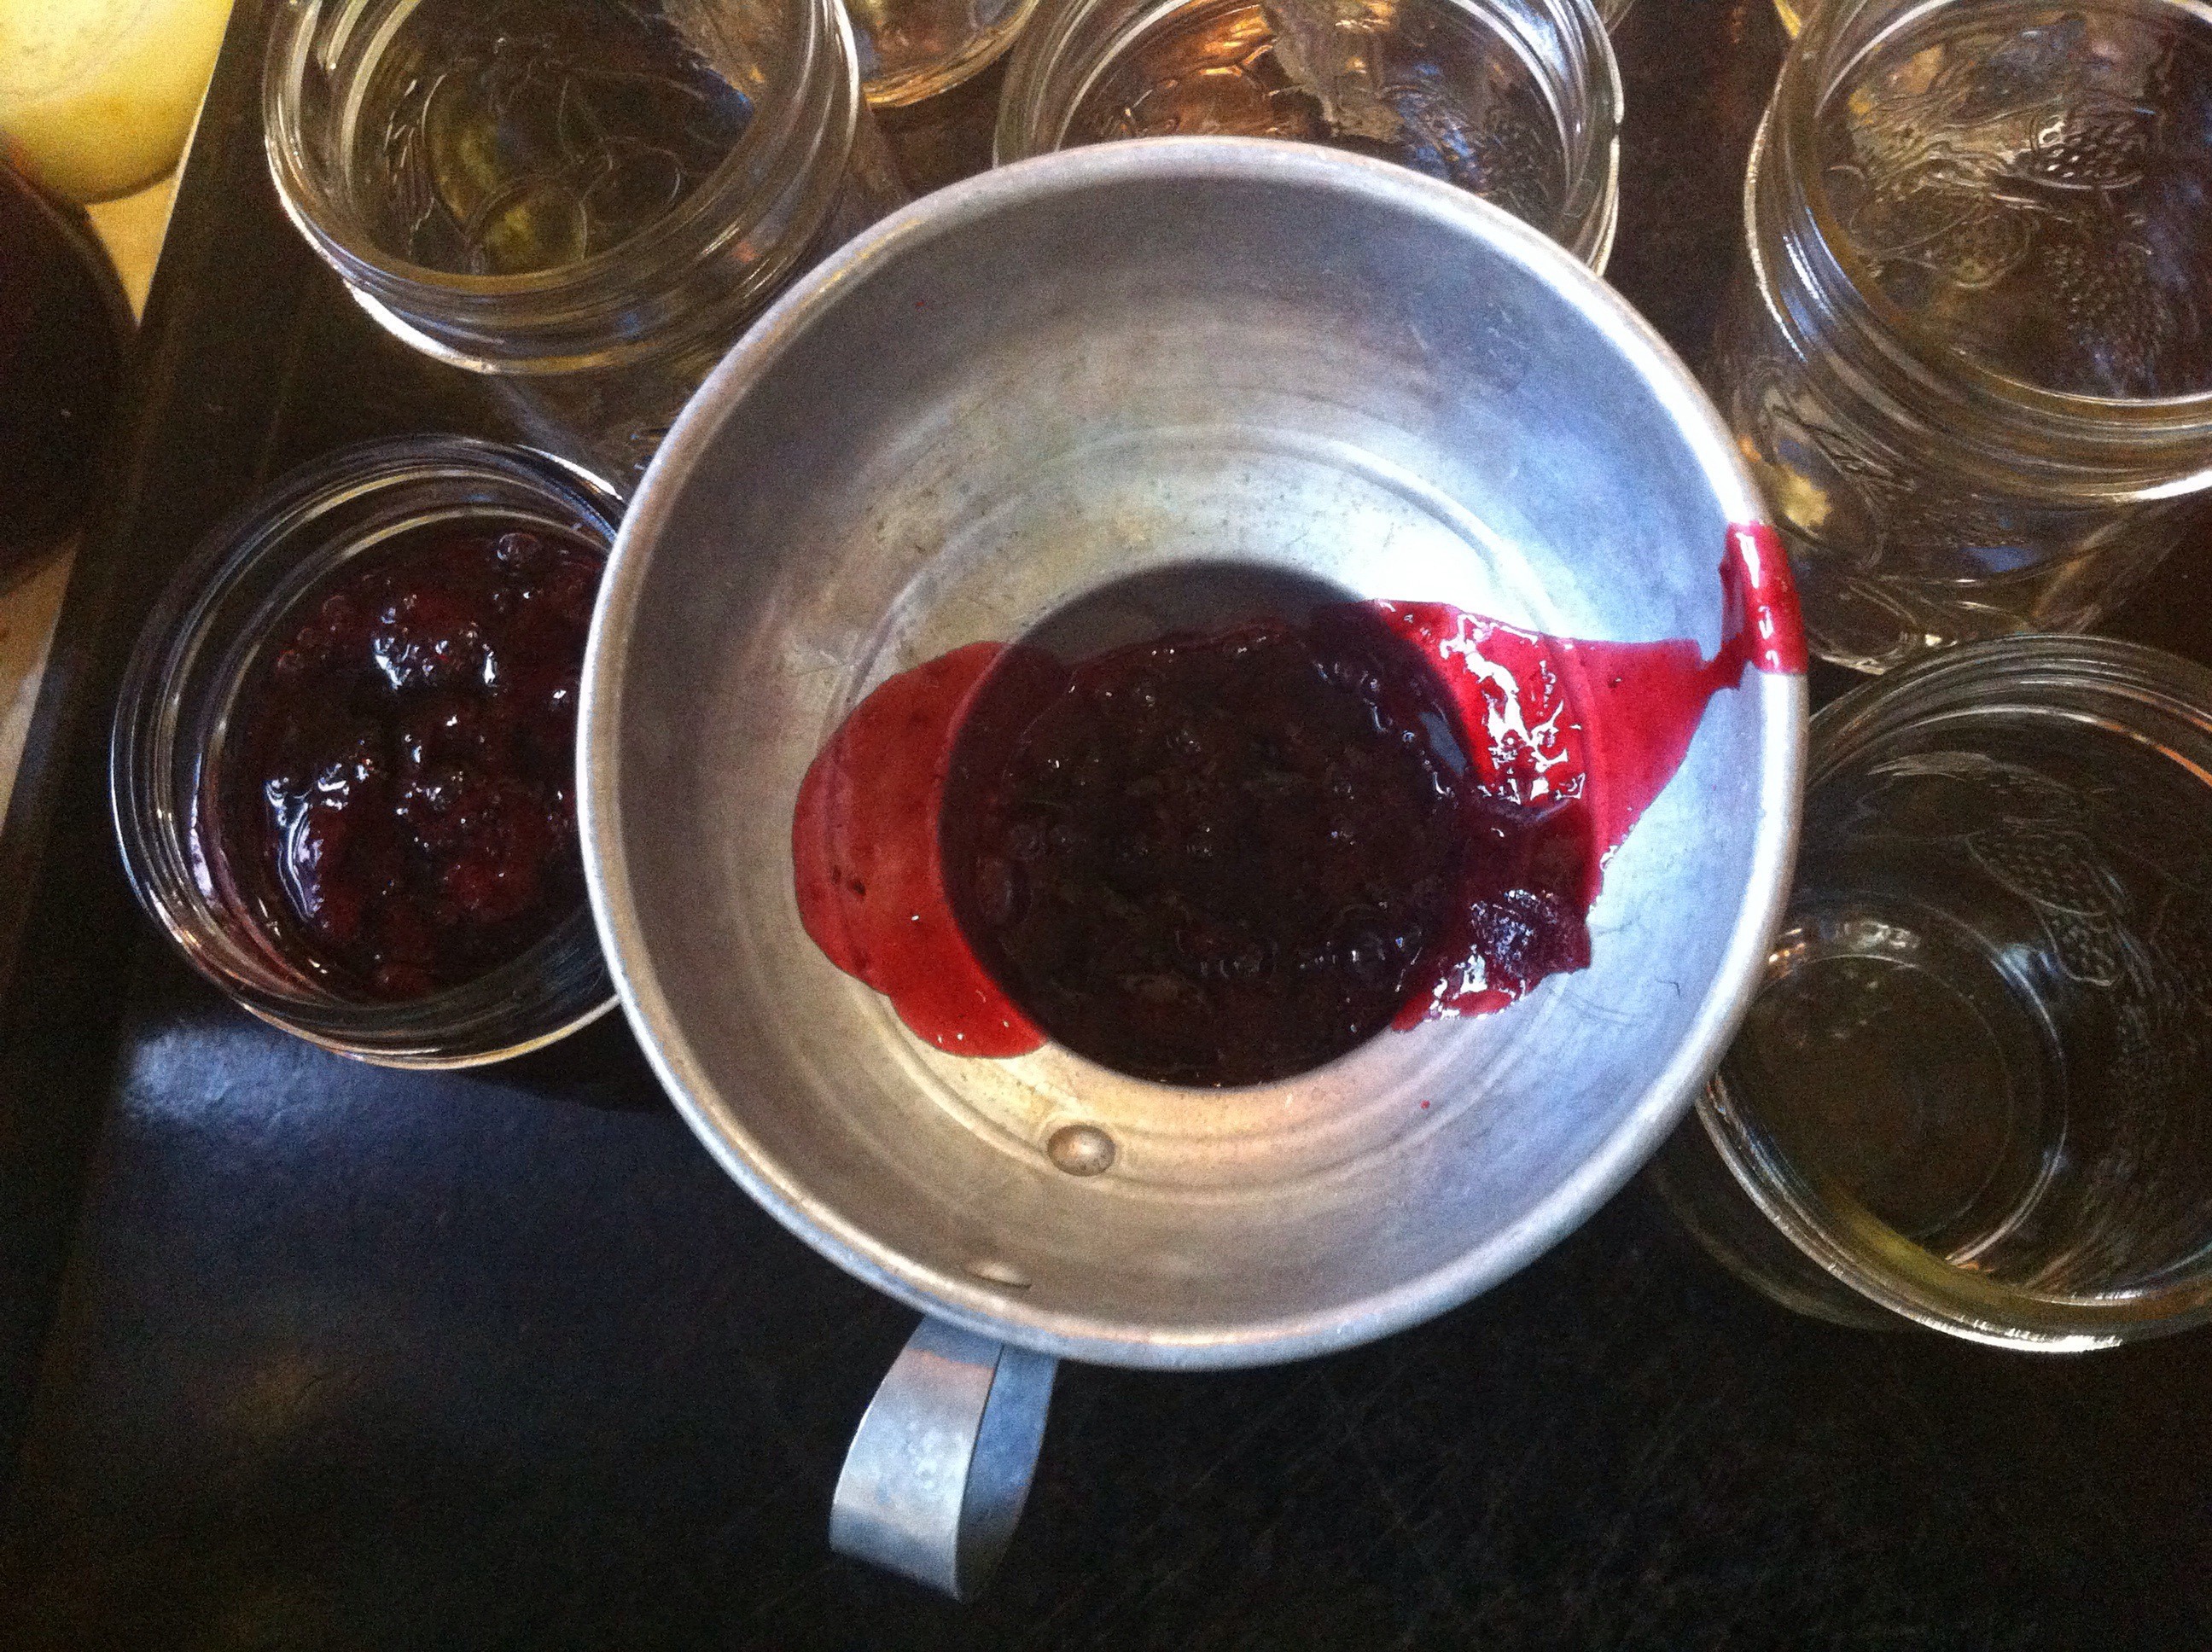
Remove pot from heat.
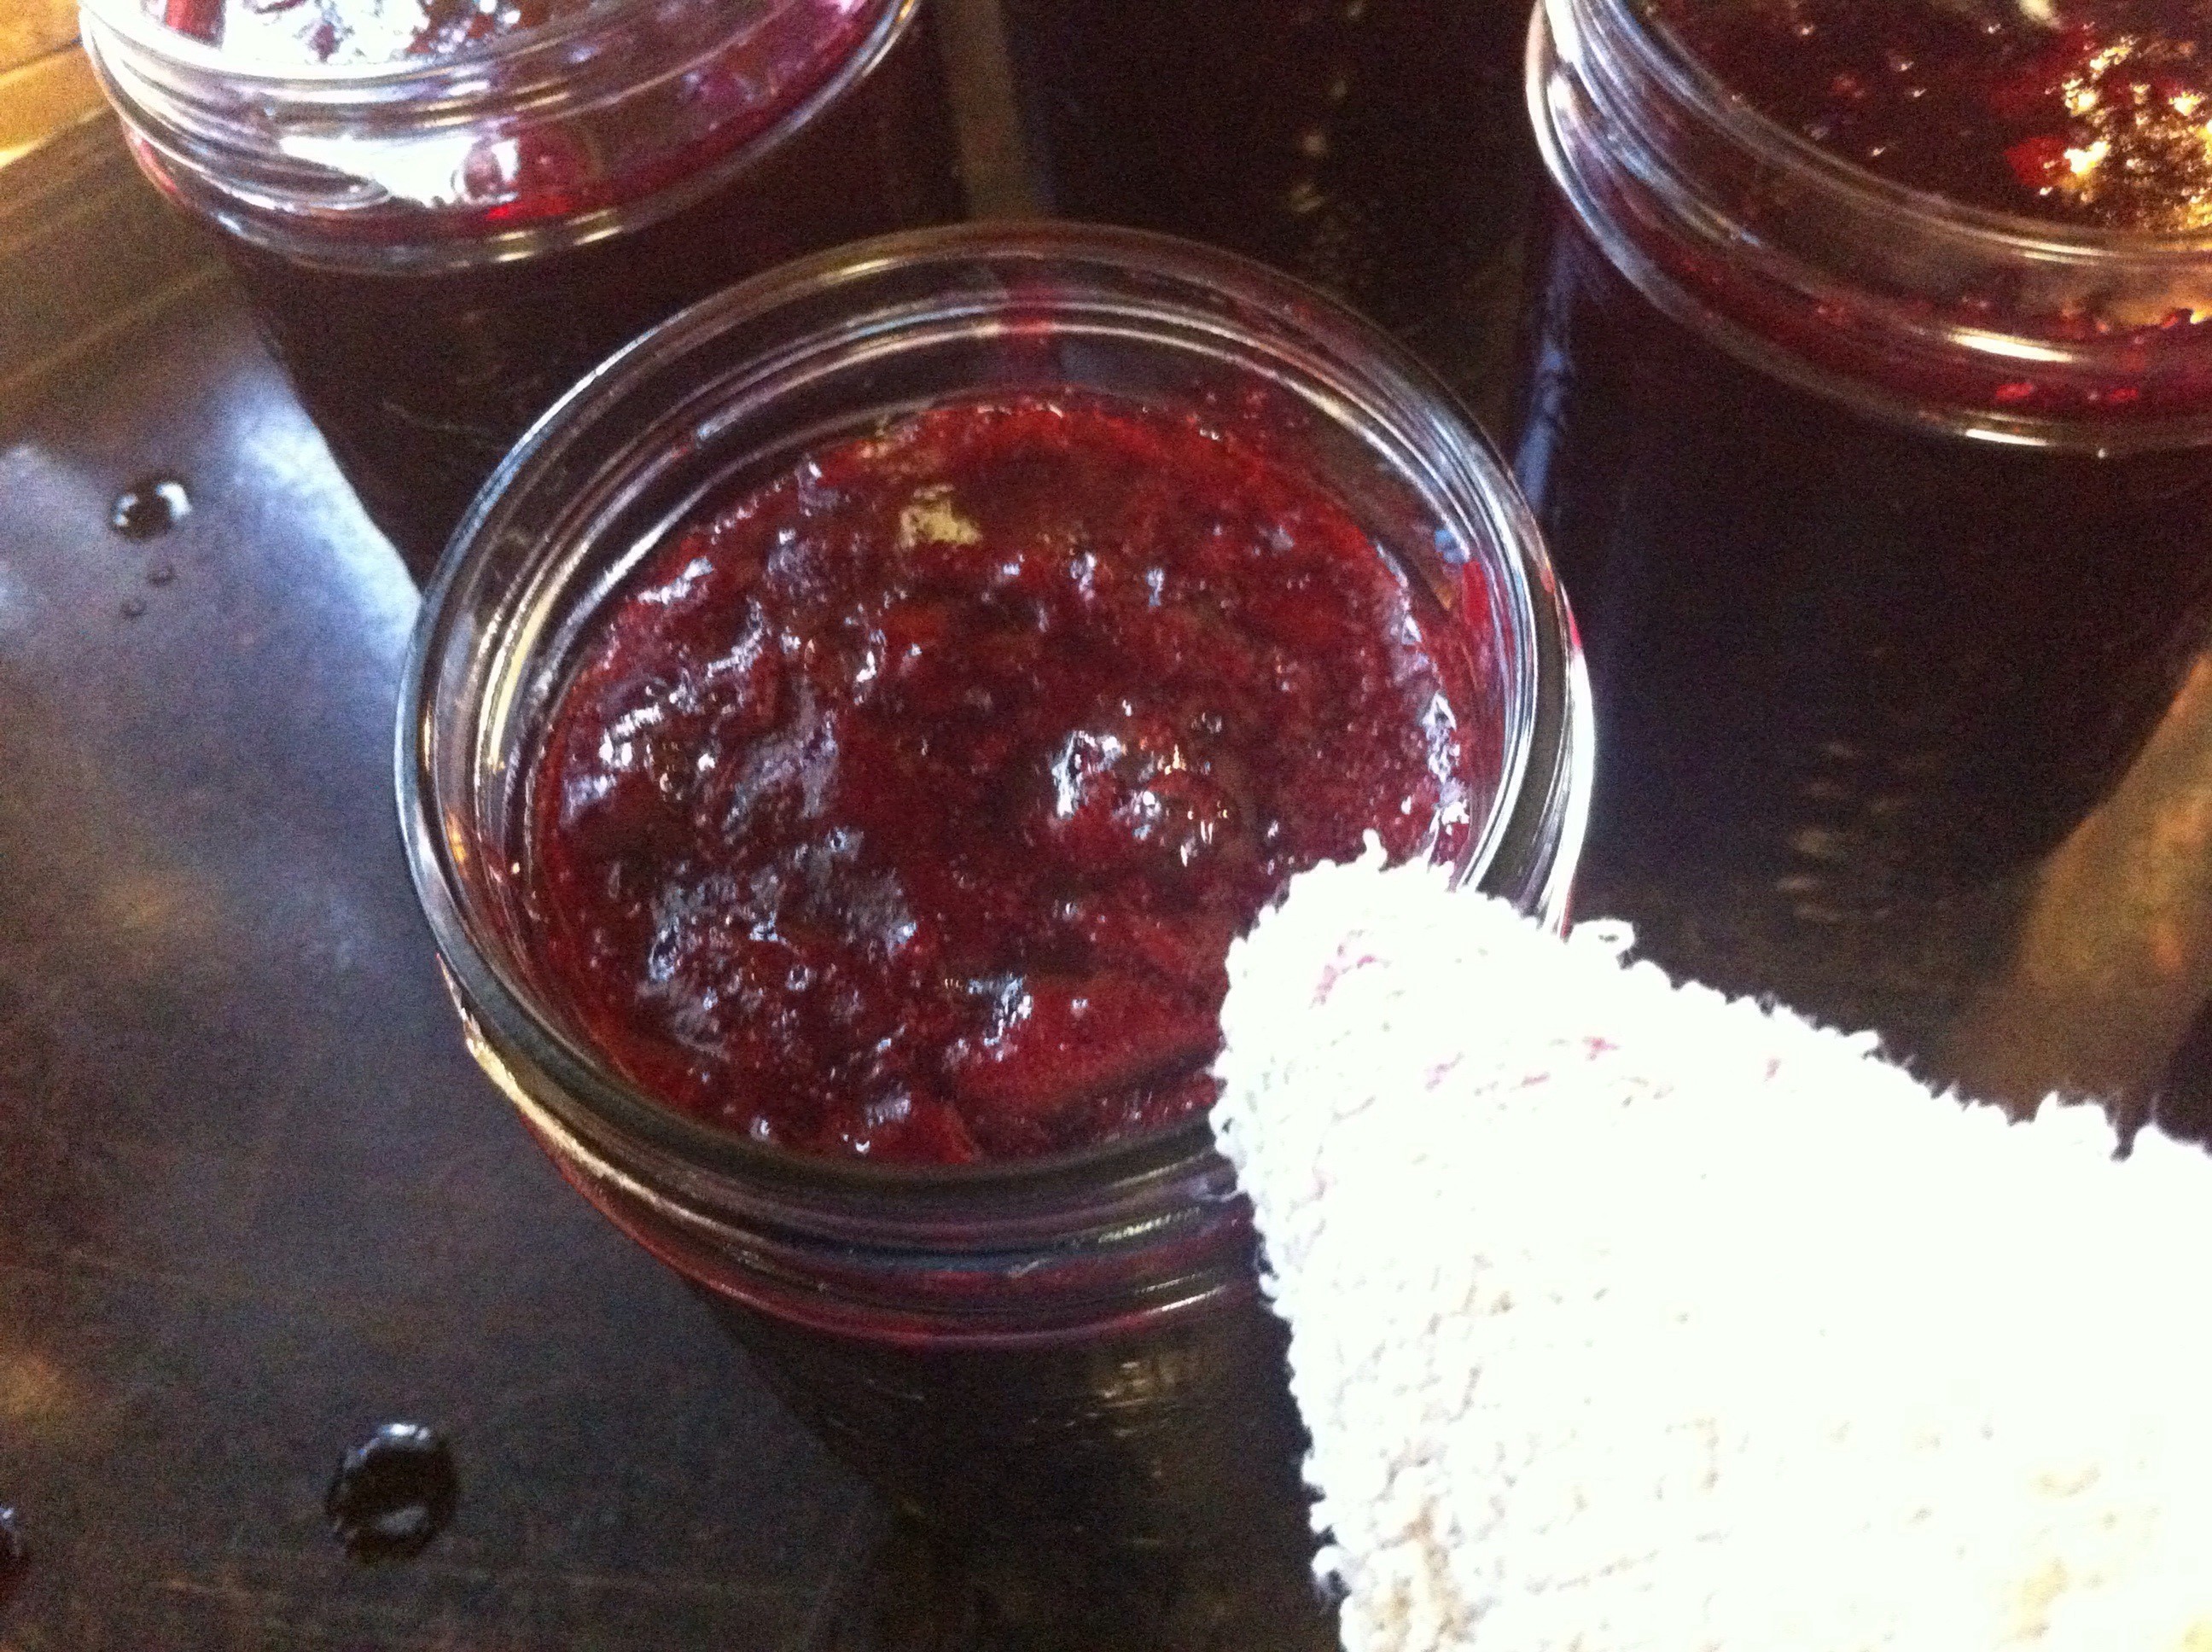
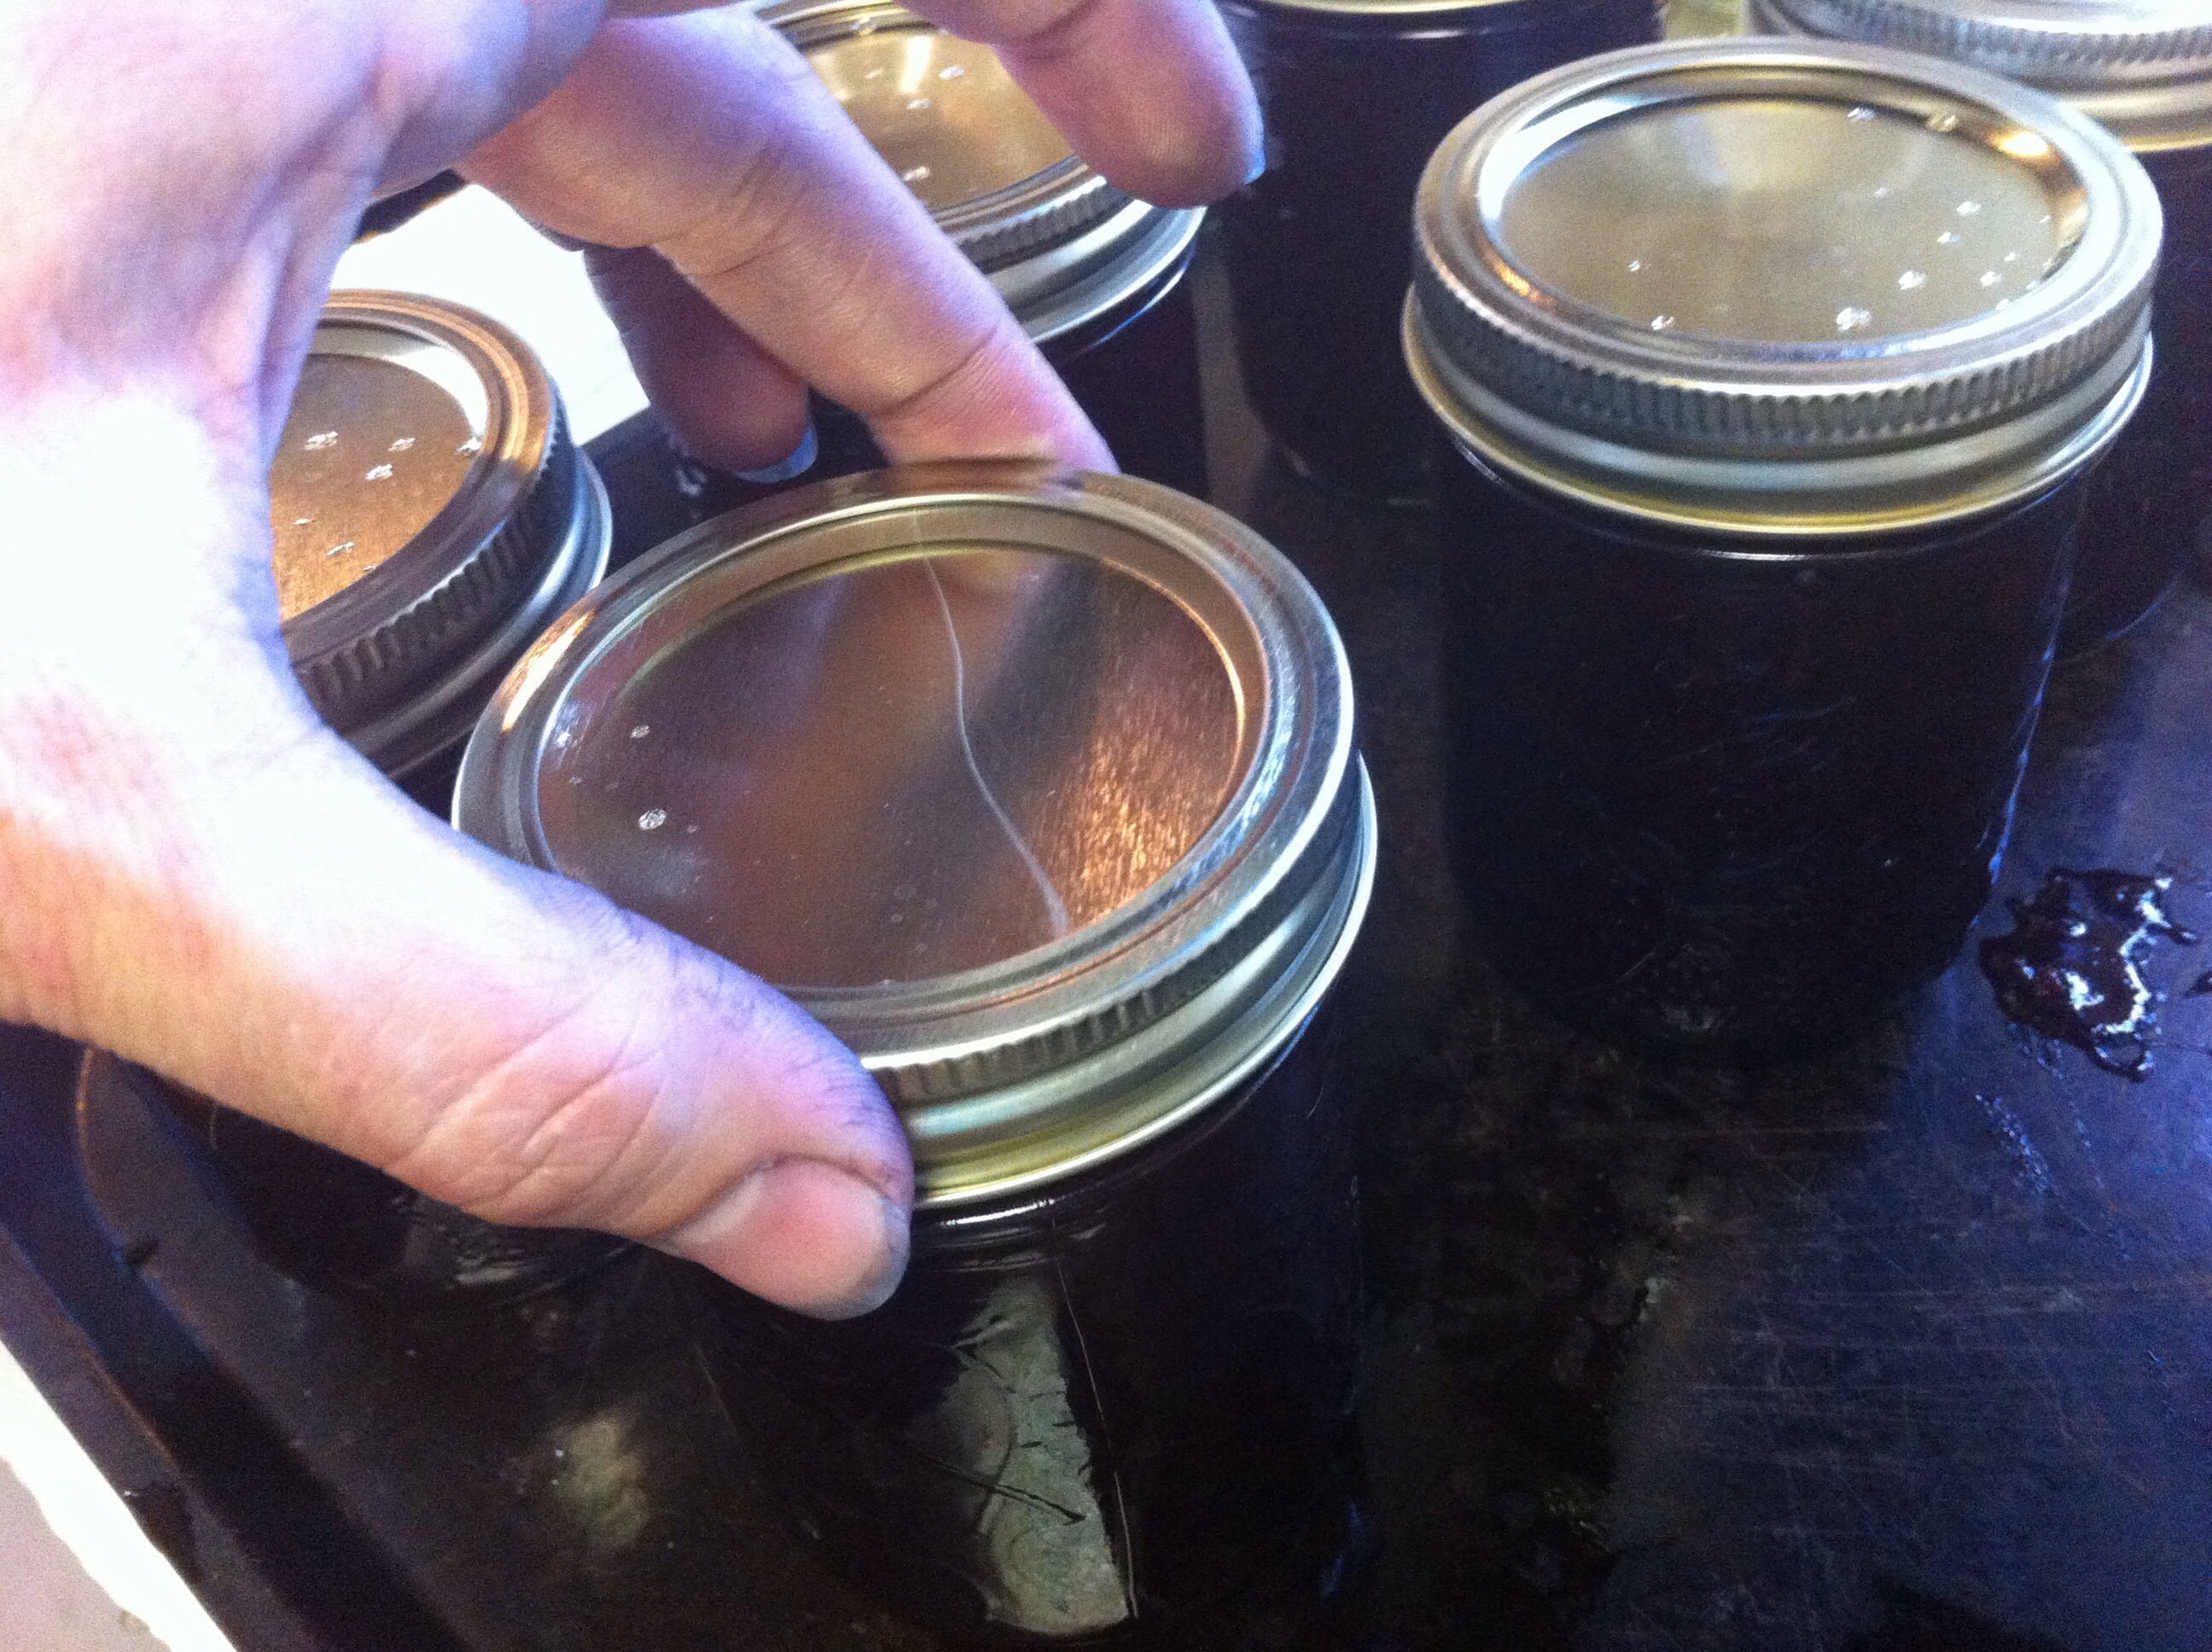
Pour into prepared, hot, sterilized jars. Leave 1/4″ headspace at the top of jar.
Wipe rims clean with a clean and damp paper towel or towel and place hot lid and ring on {making sure the ring is tightened to *just* finger tight}.
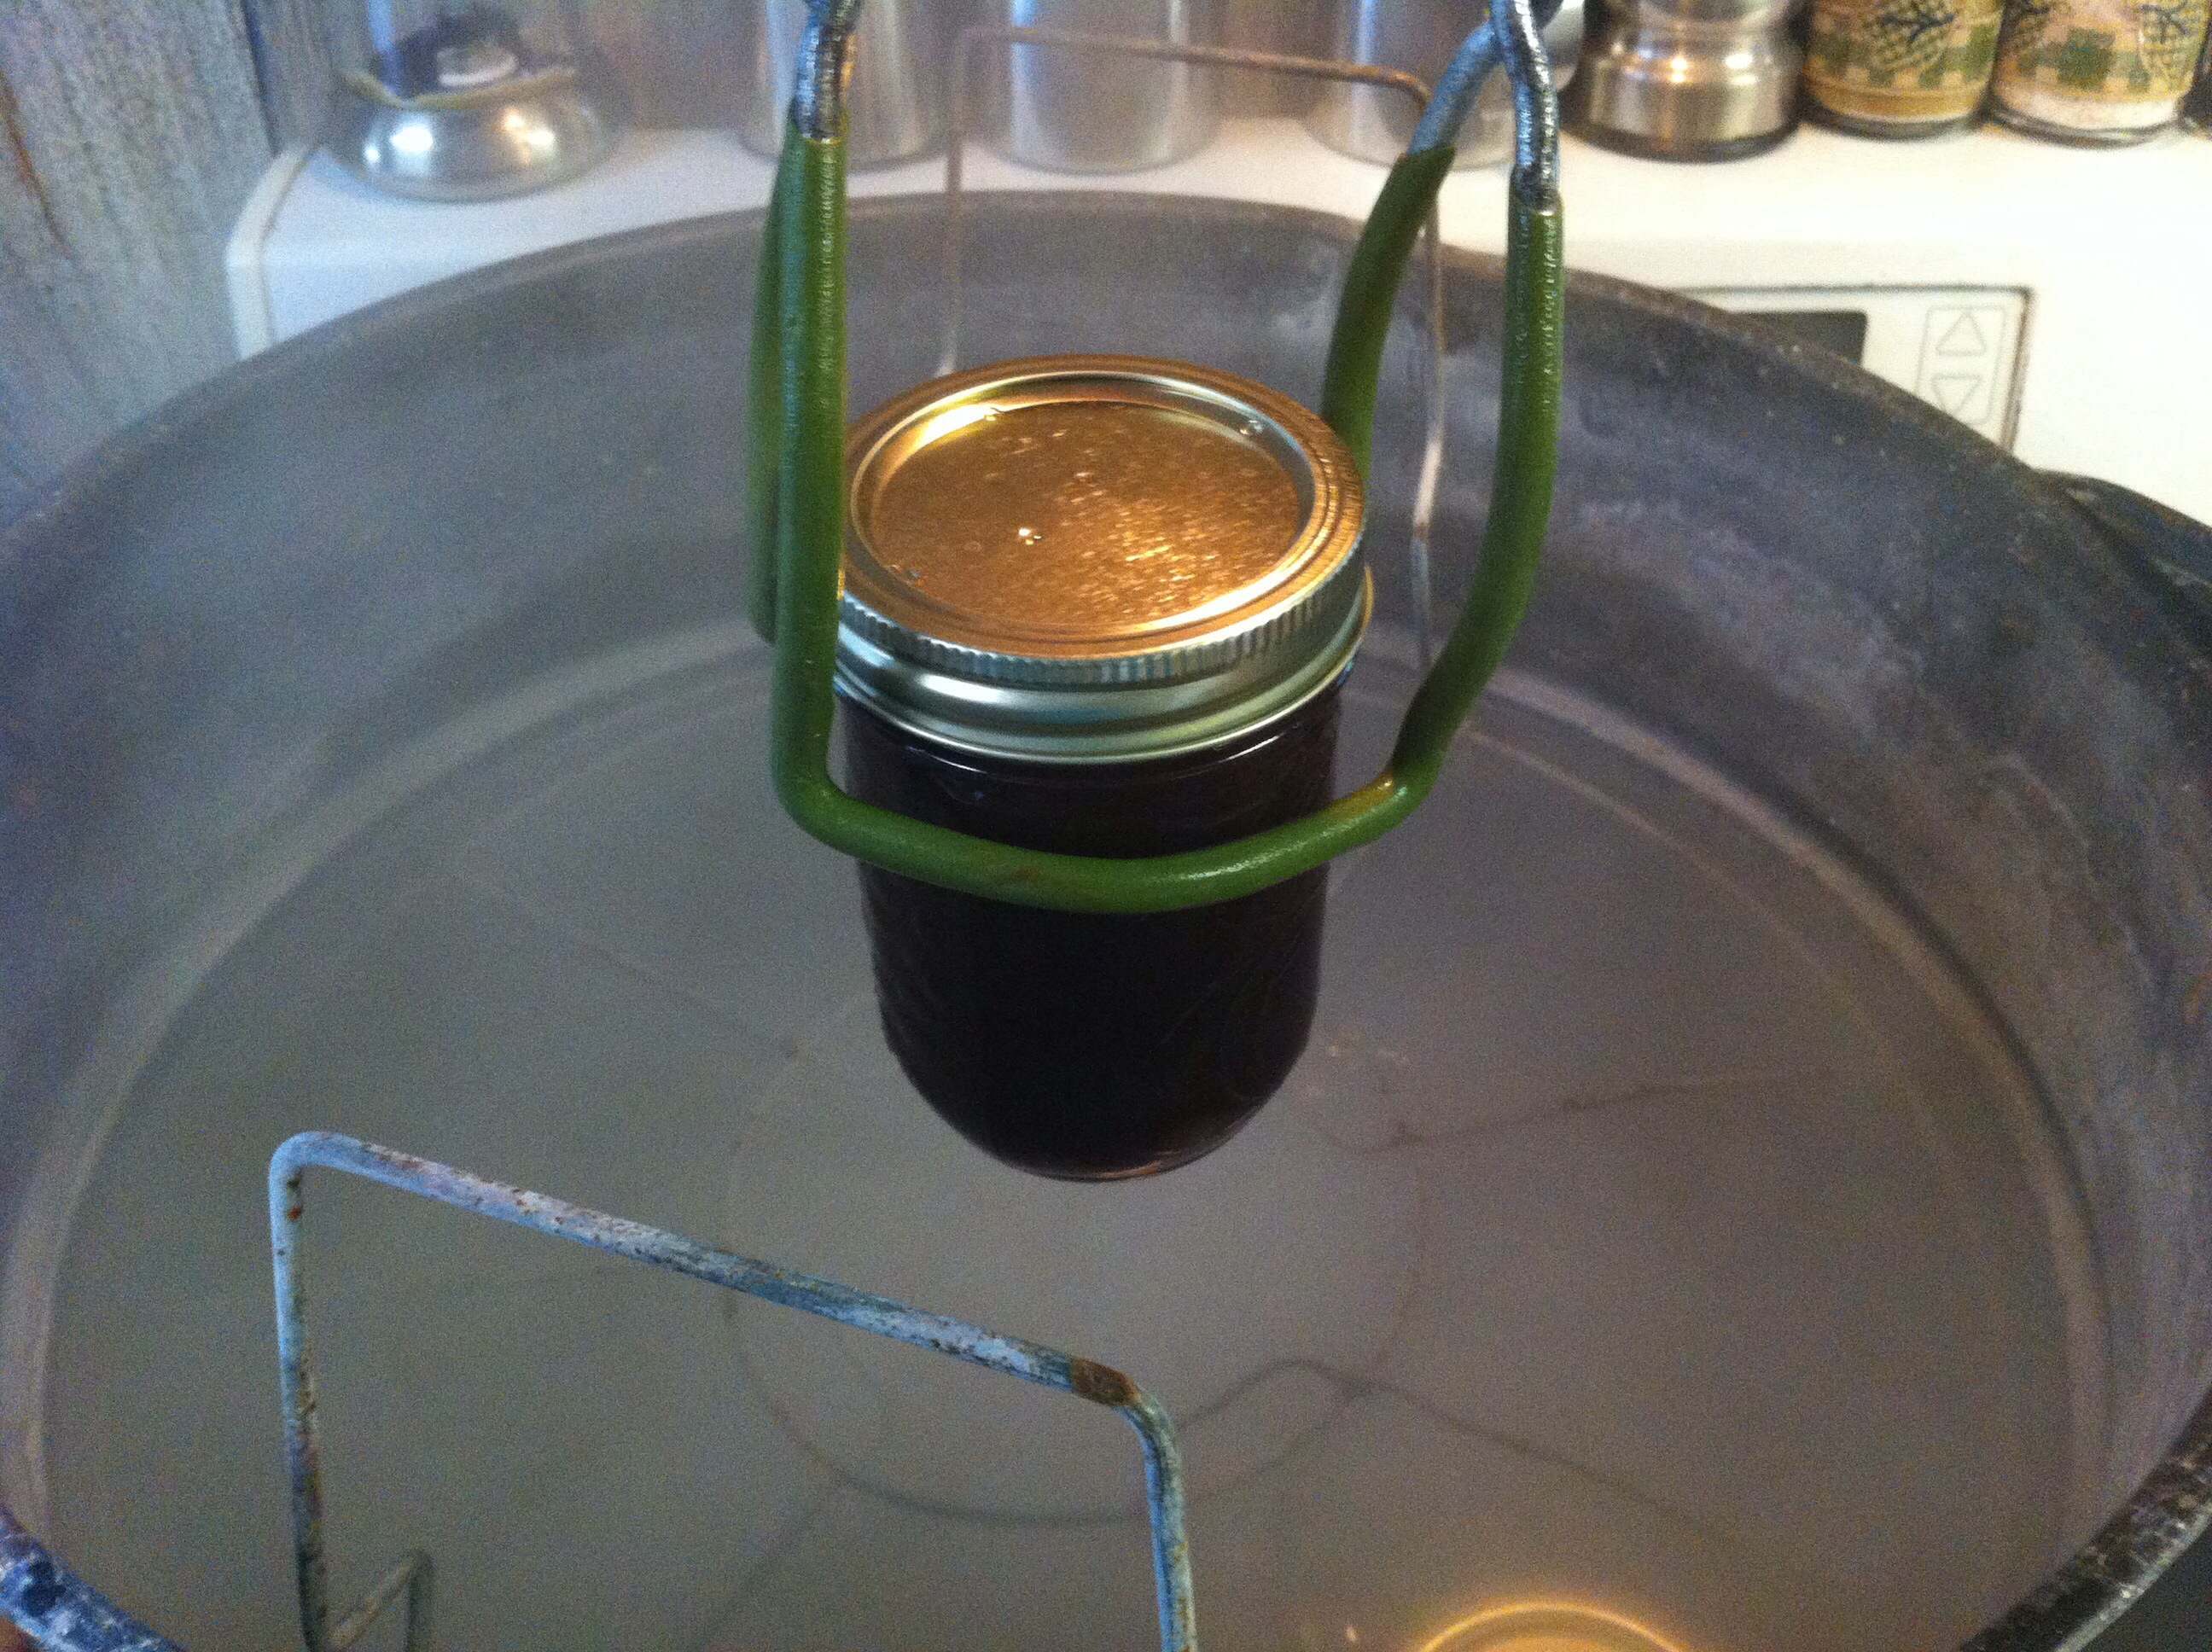
Process in water bath canner for 10 minutes if you live at an altitude at or below 1,000 feet {if you are at a 1,001-3,000 foot elevation: increase processing time by 5 minutes; 3,001-6,000 foot elevation: increase processing time by 10 minutes; 6,001-8,000 foot elevation: increase processing time by 15 minutes; 8,001-10,000 foot elevation: increase processing time by 20 minutes}. I live at an elevation just above 1,000 feet, so I had to process my jars for 15 minutes.
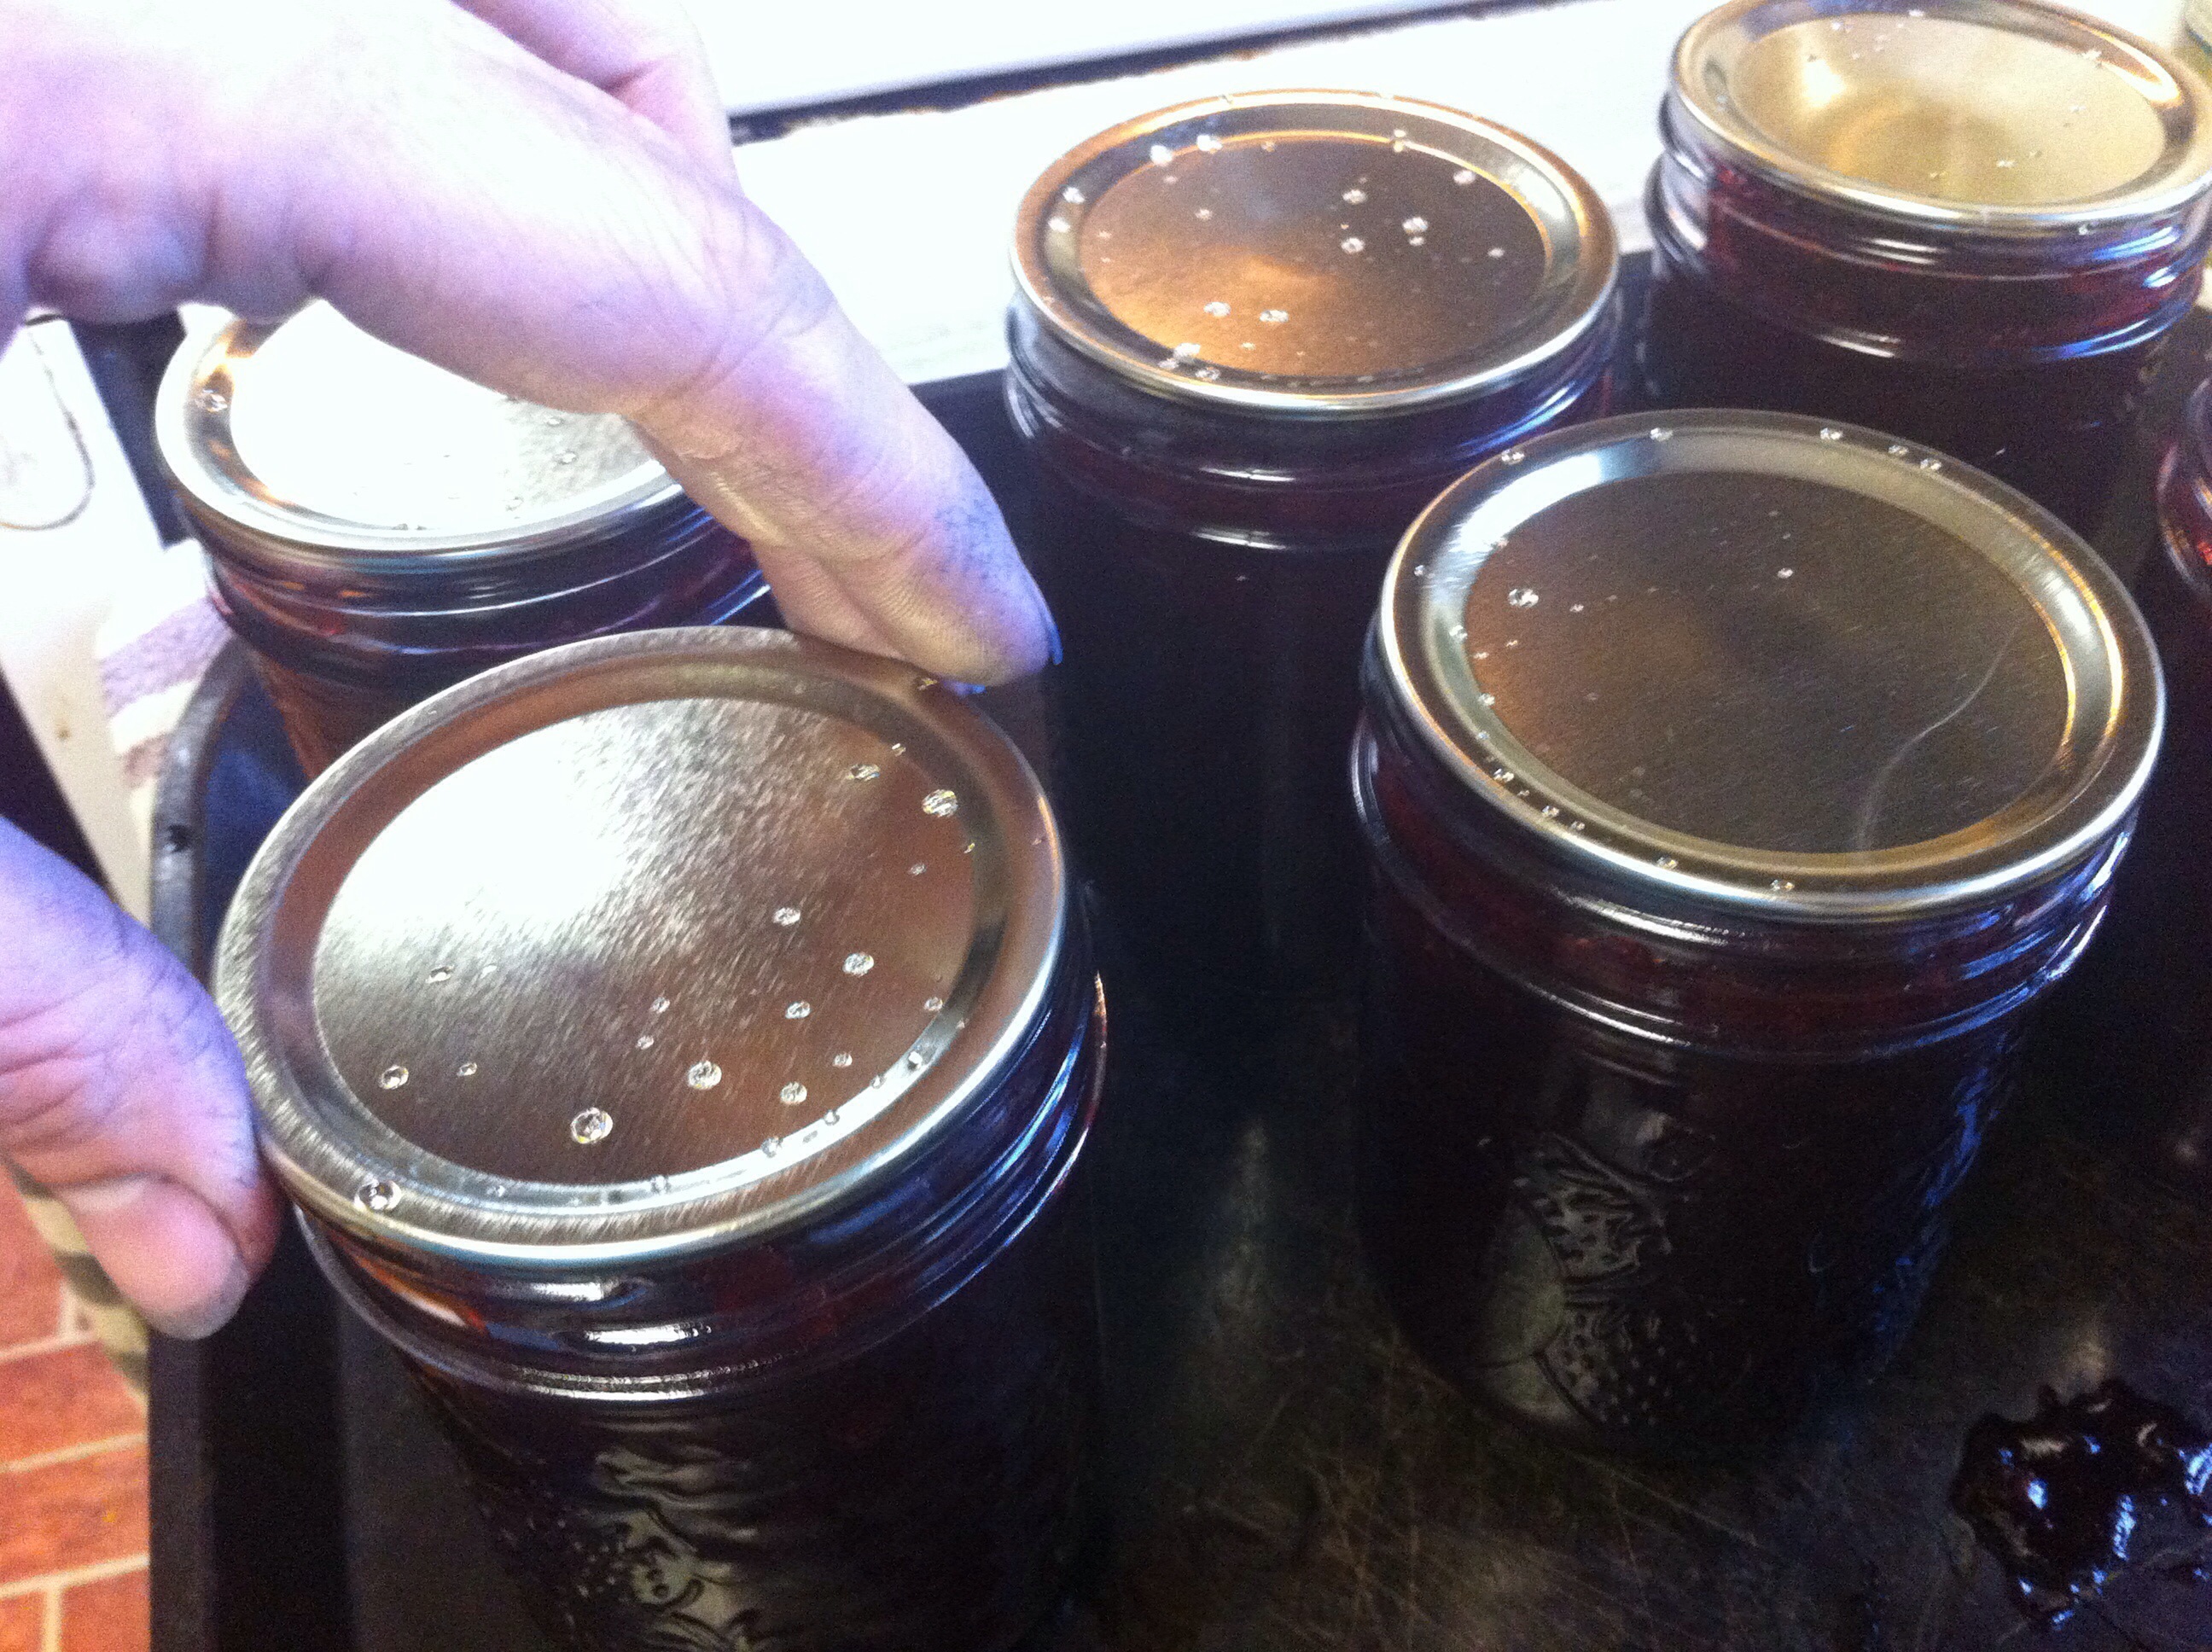
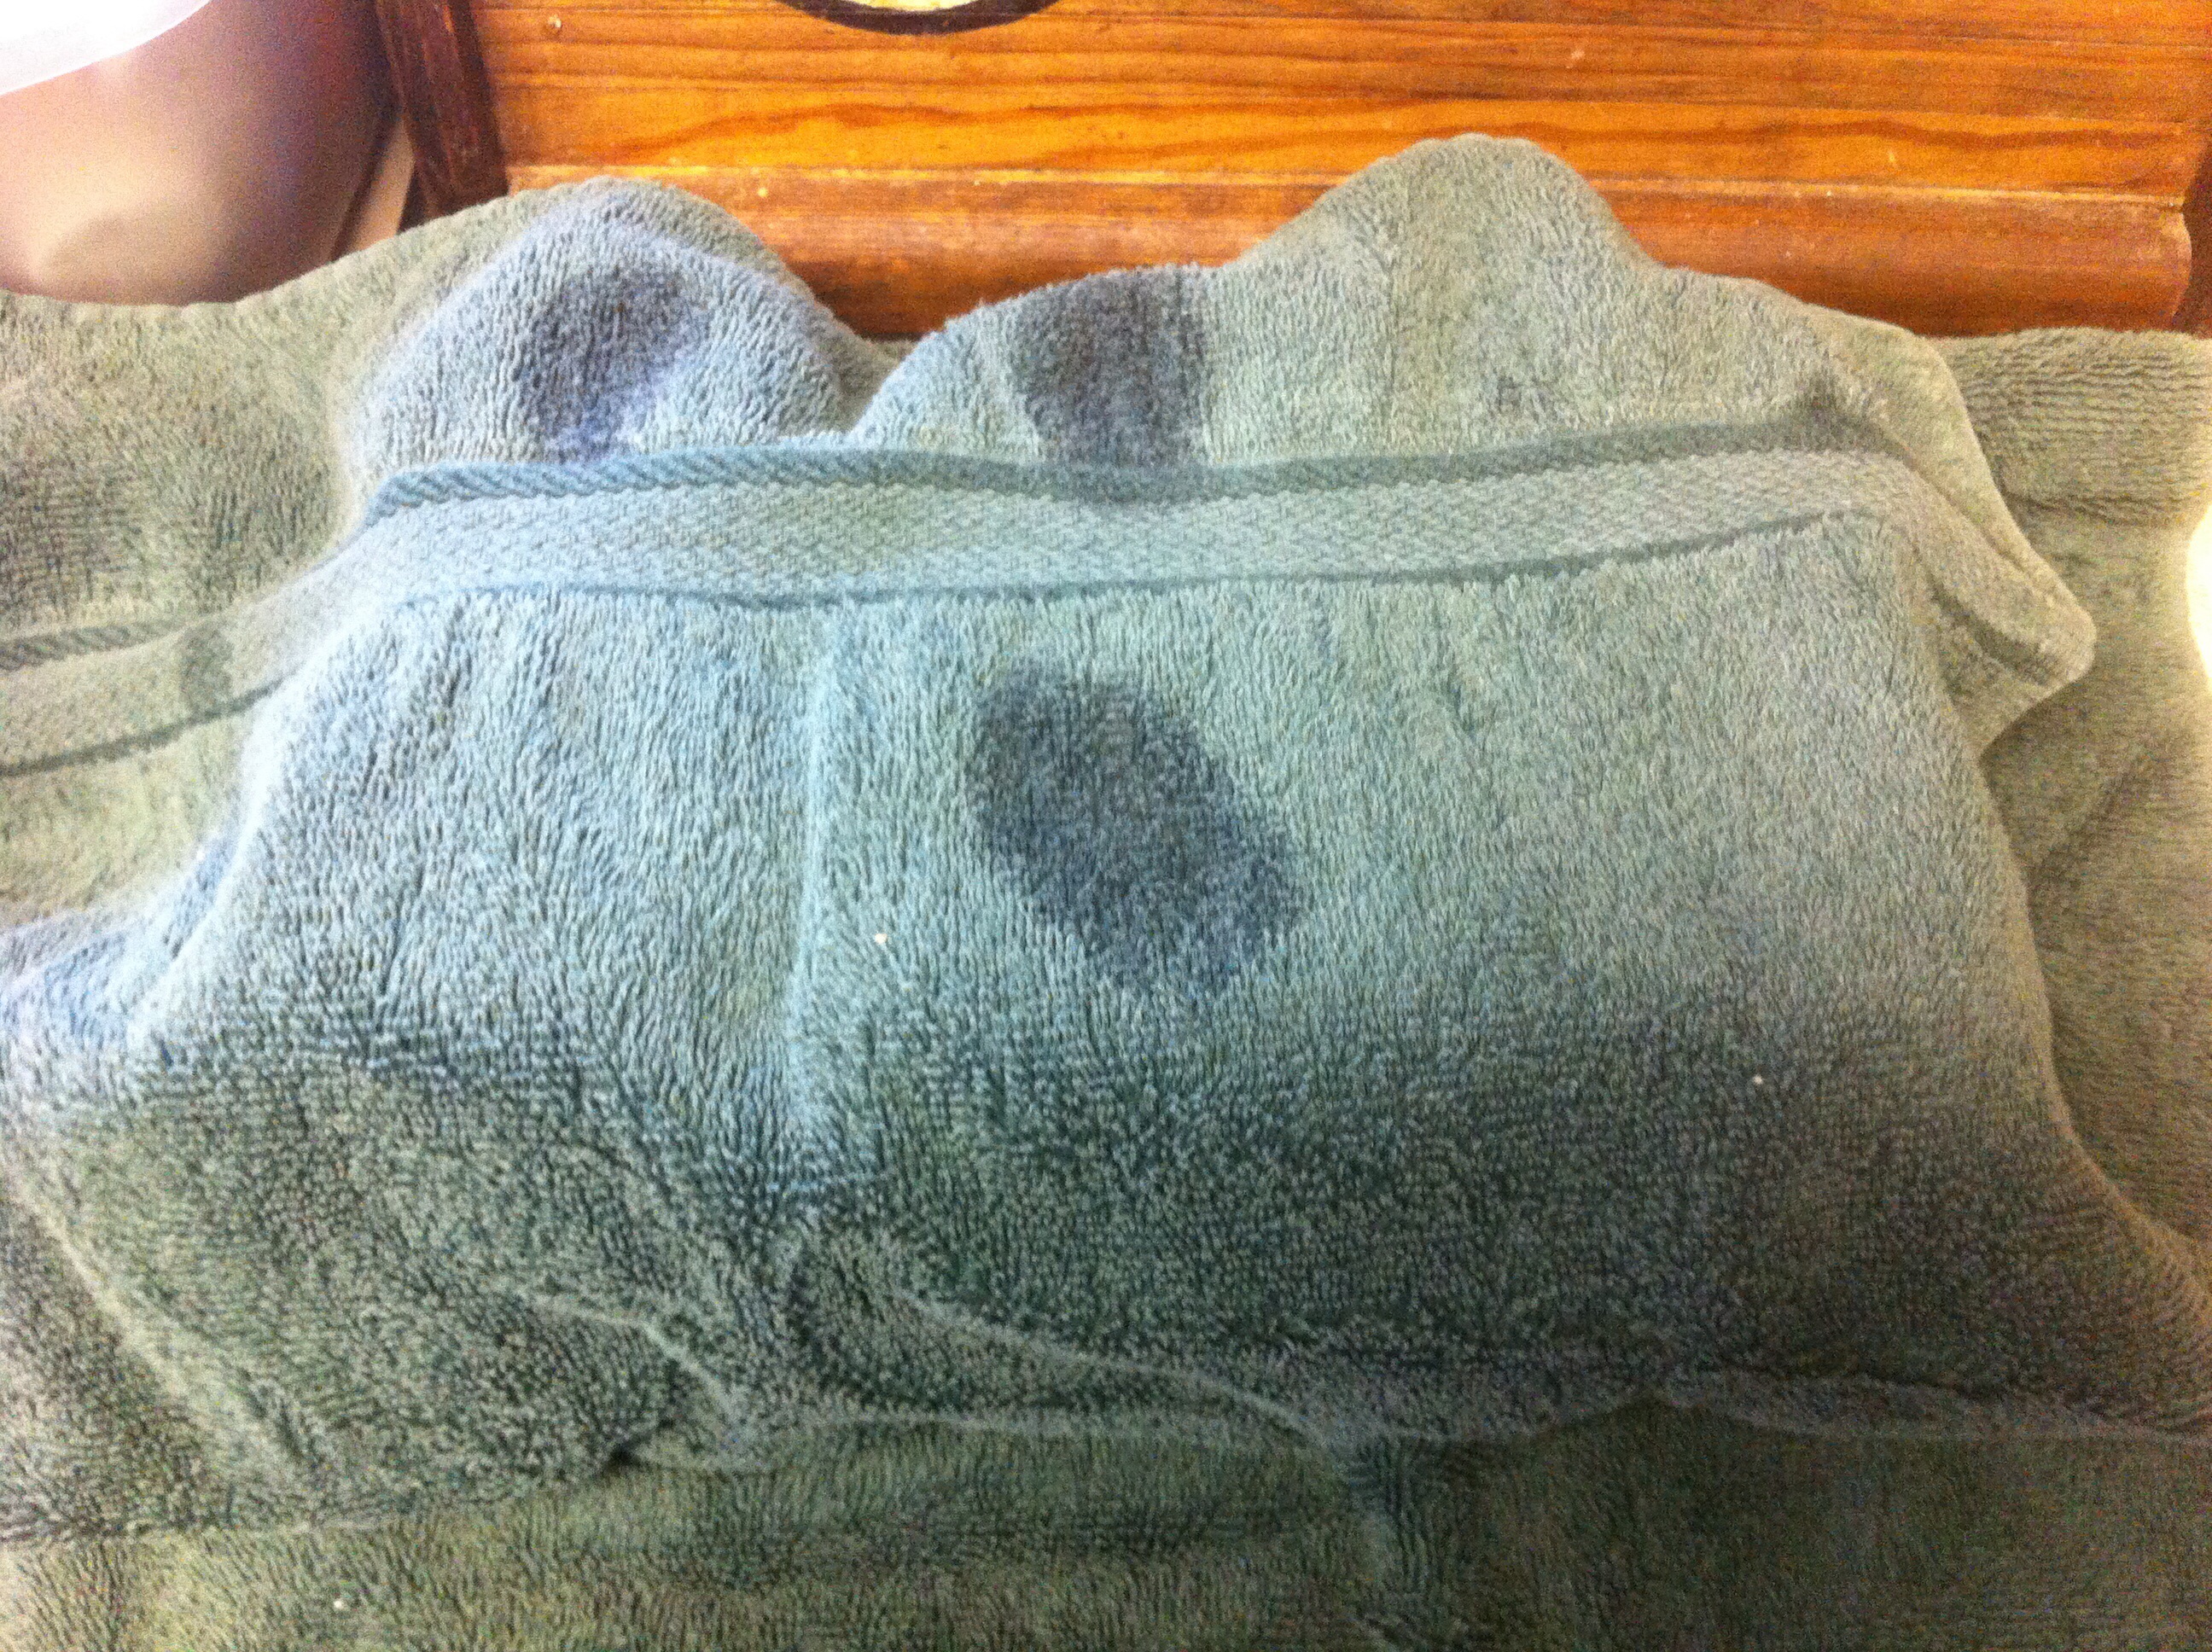
Once the jars have processed, carefully remove them and place on a towel-lined surface. Don’t worry if there is water on top of the jar when they are taken out of the water bath, it will dry. Try not to tip the jar to the side to run the water off, because it can interfere with the jar sealing correctly.

I like to place a towel over the jars at this point as well, just until they have cooled off a bit. Sometimes the cooler air hitting the hot jars can crack the jars, which is not good. This step, I learned recently at a canning class, isn’t a necessary step. I prefer un-cracked jars though, so I will probably continue to place a towel over them until they are cooled. You decide. You will also start to hear the “pinging” sound of the jars sealing once they have been taken out of the water bath and have started cooling. This is a music to my ears, and is something that you definitely want to be hearing!
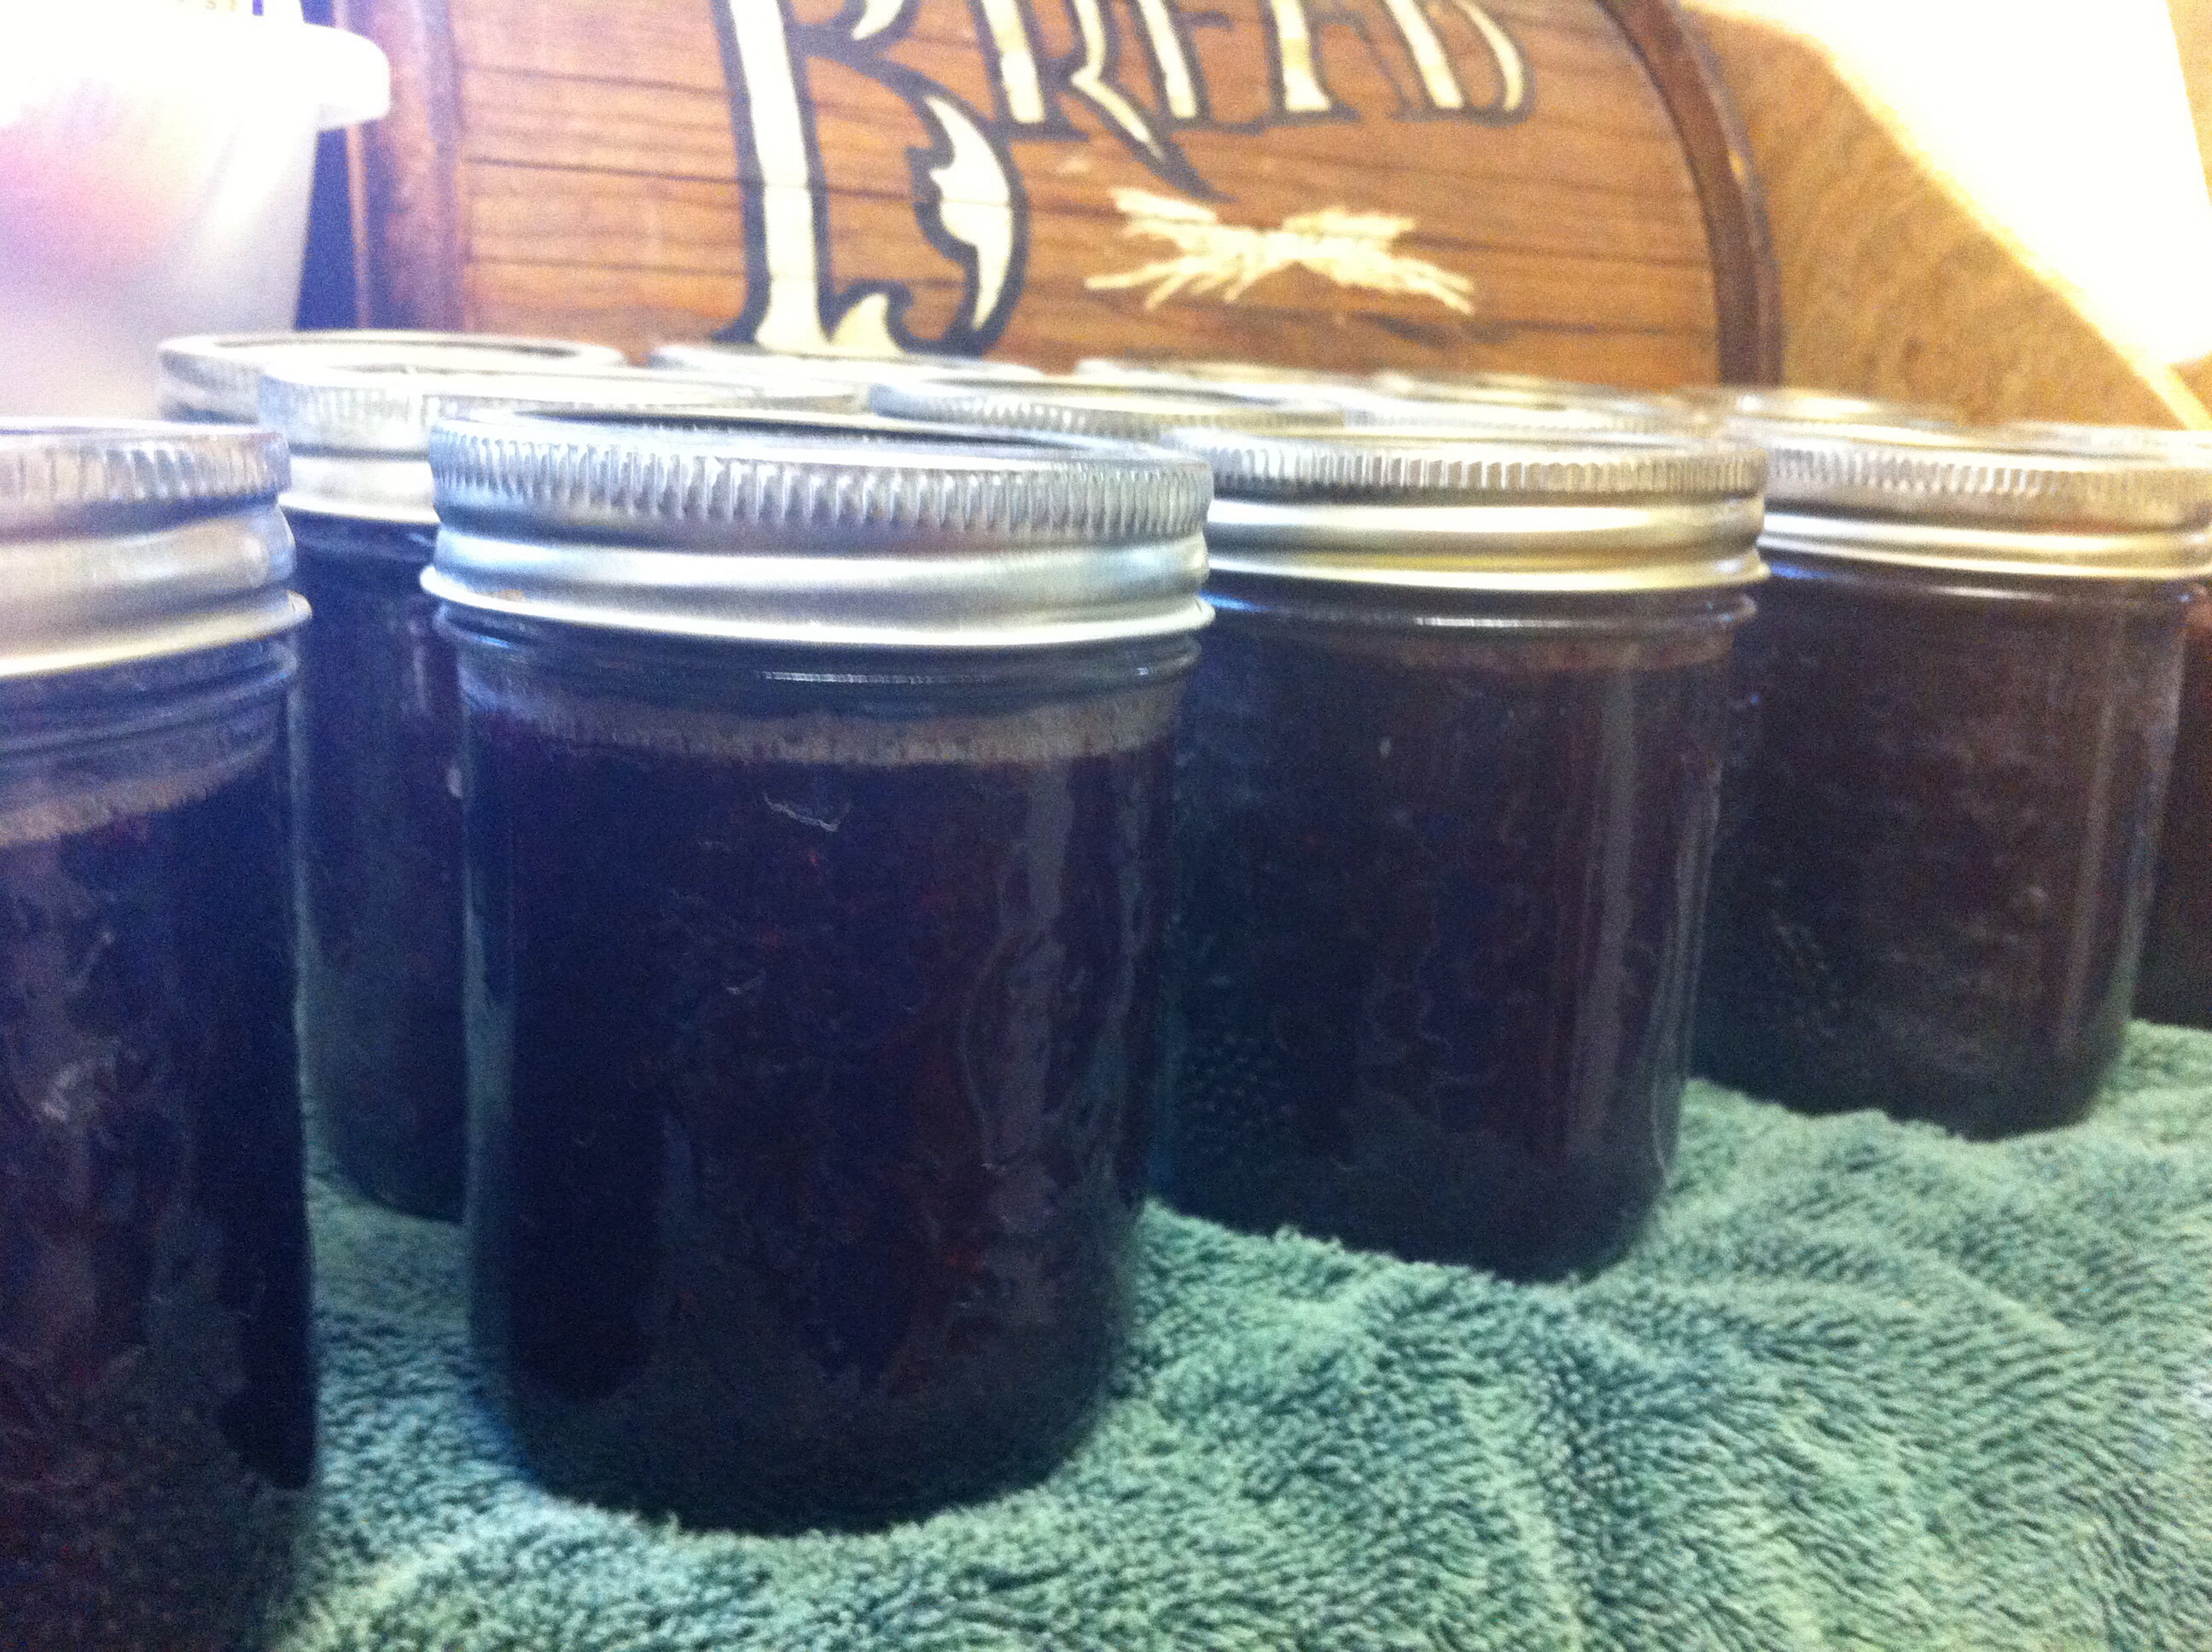
Once the jars have cooled completely, make sure they all have sealed by gently pressing in the center of the lid. It shouldn’t pop back. If it does pop back, label and date the jar and place in the fridge to be used first. If they are sealed, label and date and place in a pantry or storage until ready to be used. Enjoy!
If you enjoyed this post, you may also like…


Pingback: Tart Cherry Pie Jam |
Pingback: Pressure Canned Chicken Breast |